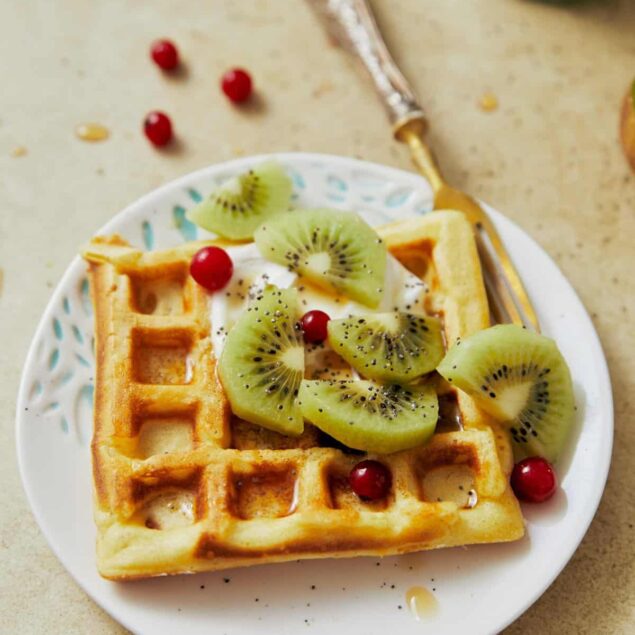
Celiac sufferers, rejoice! Get out that waffle iron and expand that brunch menu—Gluten-Free Waffles are here!
Who says you can’t have crispy, golden waffles just because you’re gluten-free? These waffles are a delightful balance of a crisp exterior and a fluffy, tender interior, with a hint of sweetness from vanilla and sugar.
Whether you’re serving these waffles for a weekend brunch or a quick, midweek breakfast, they’re a crowd-pleaser that fits into gluten-free diets and can easily accommodate dairy-free lifestyles. Plus, they’re great for prepping ahead as you can store them in the freezer and pop them in the toaster at a moment’s notice.
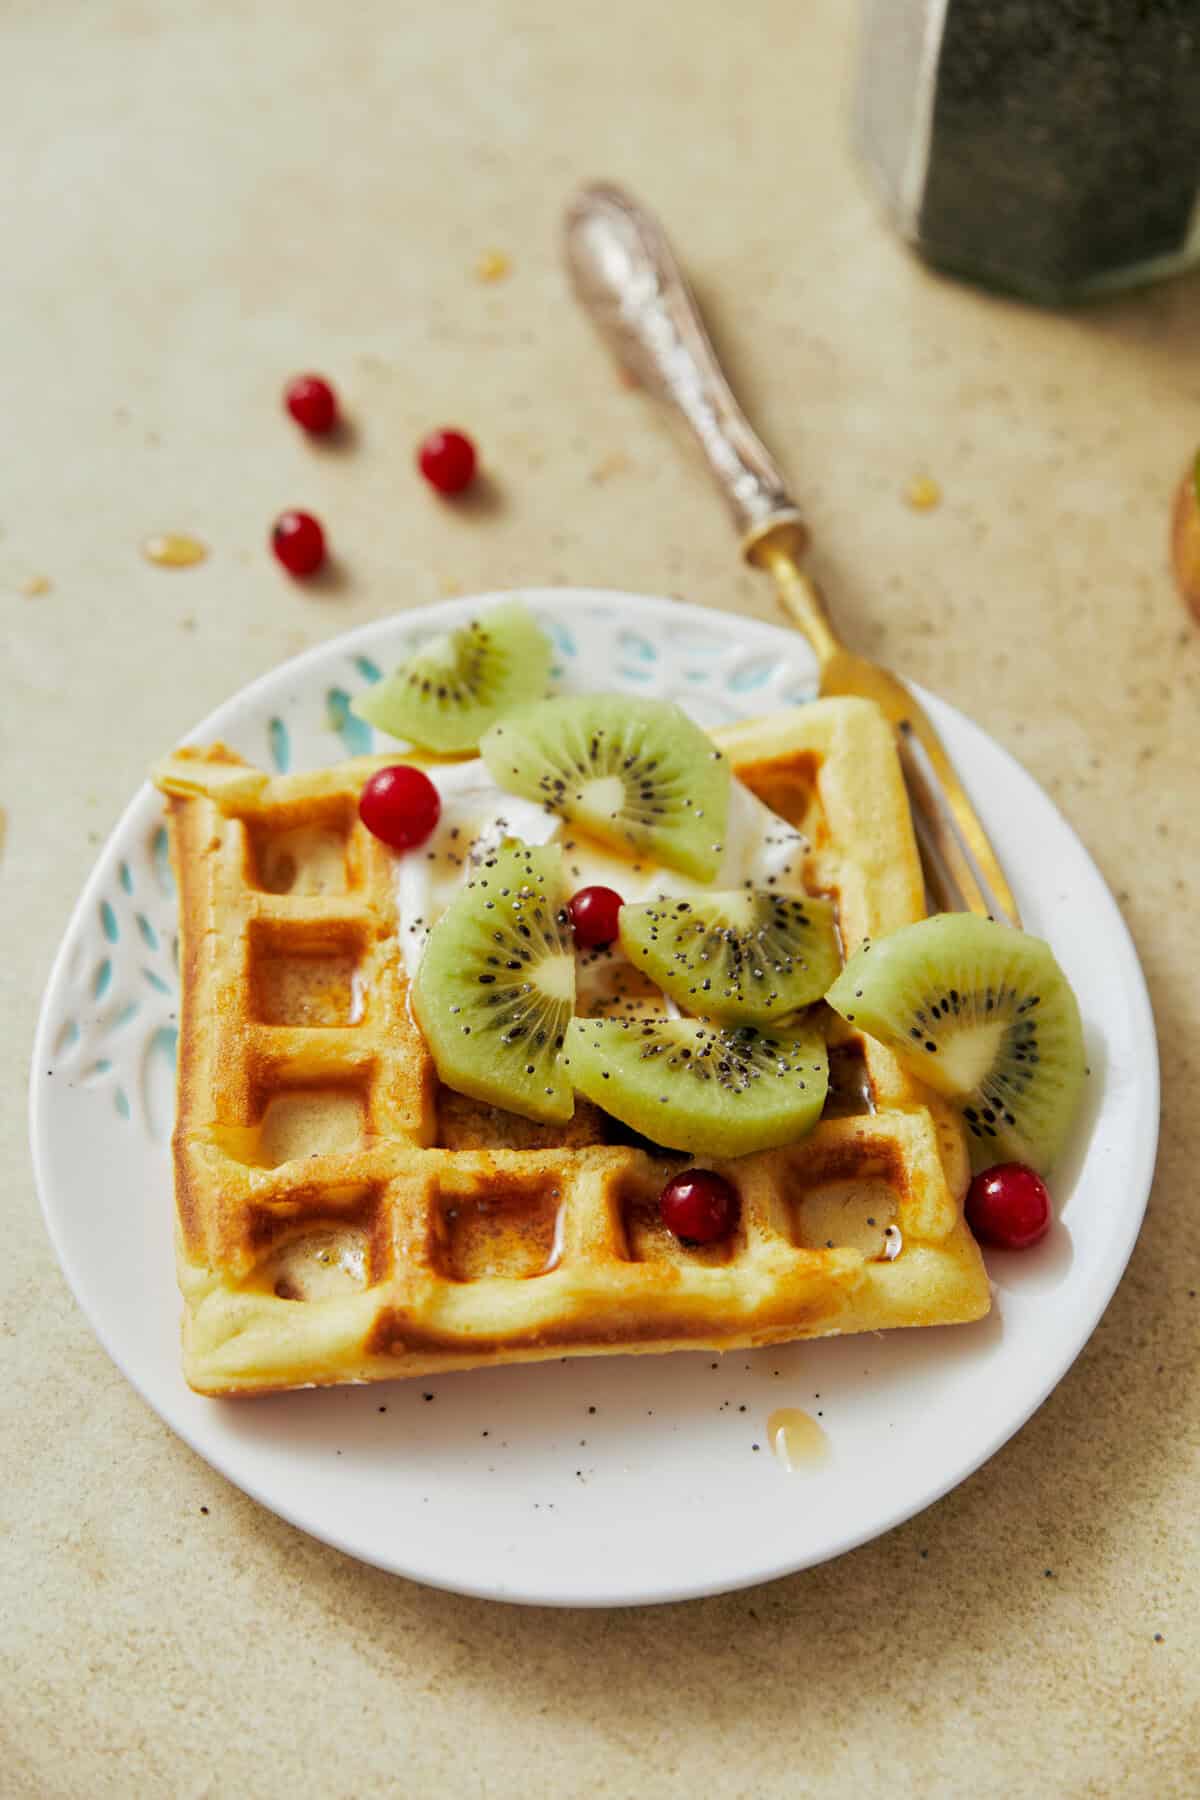
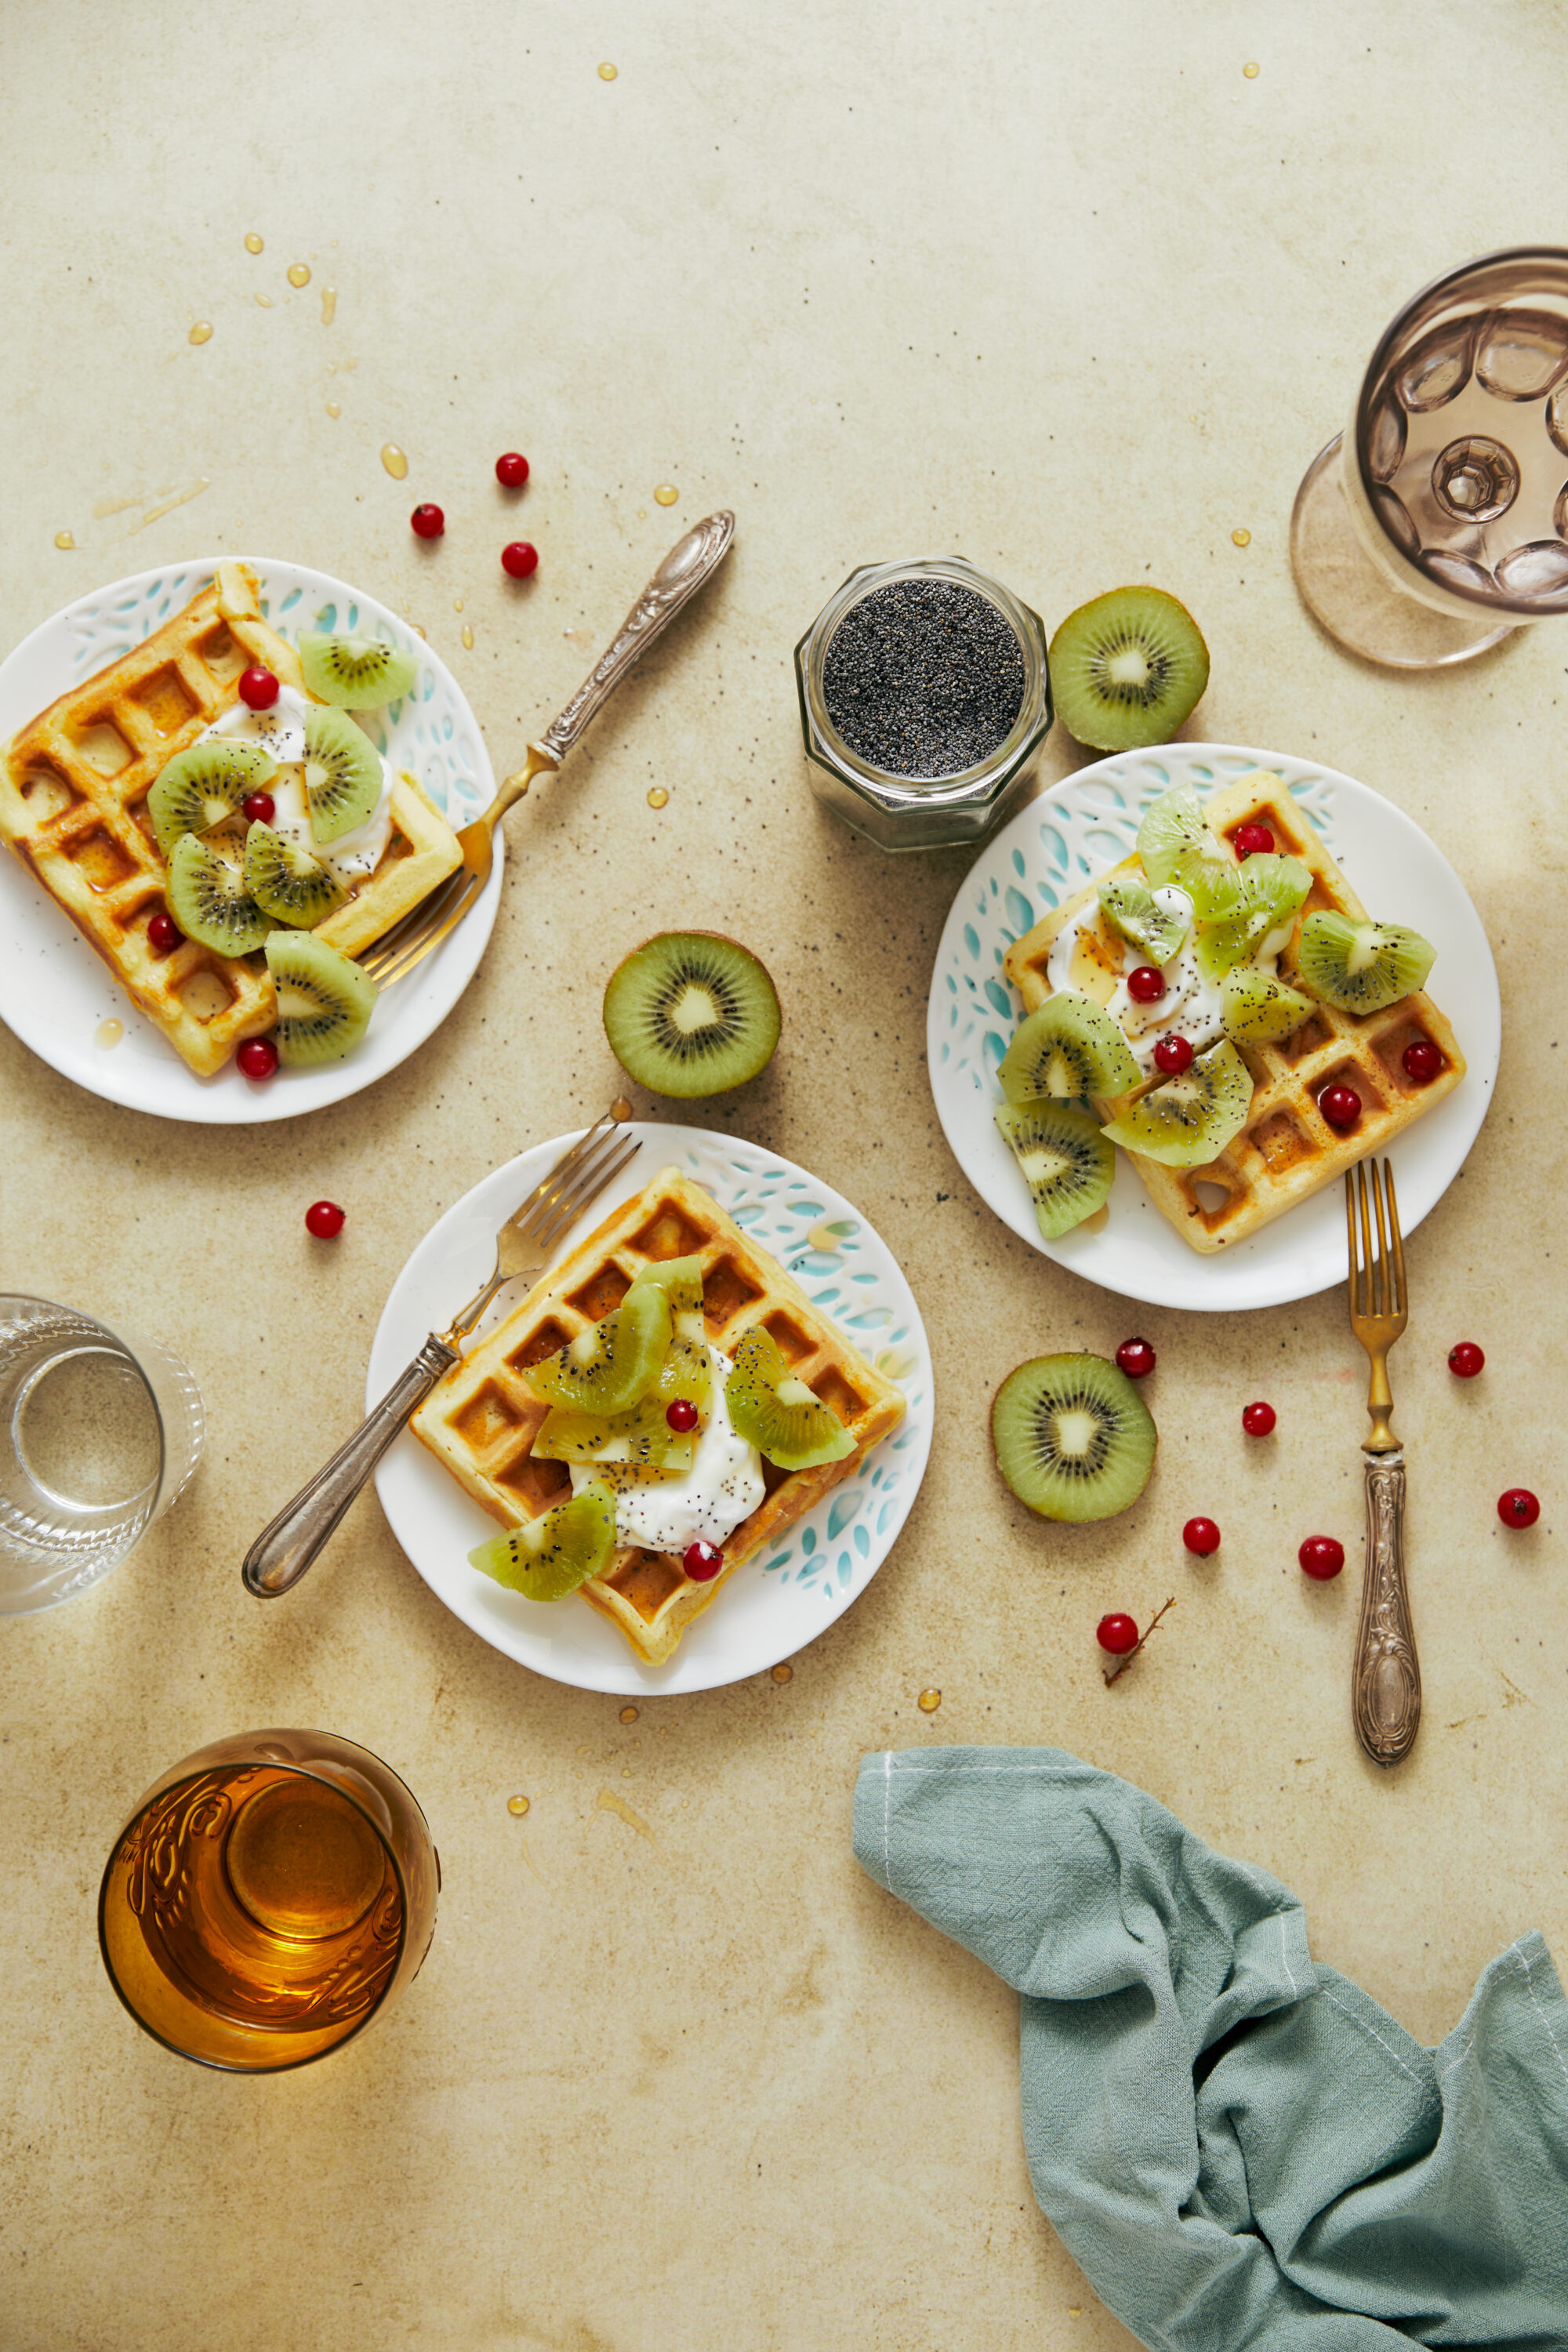
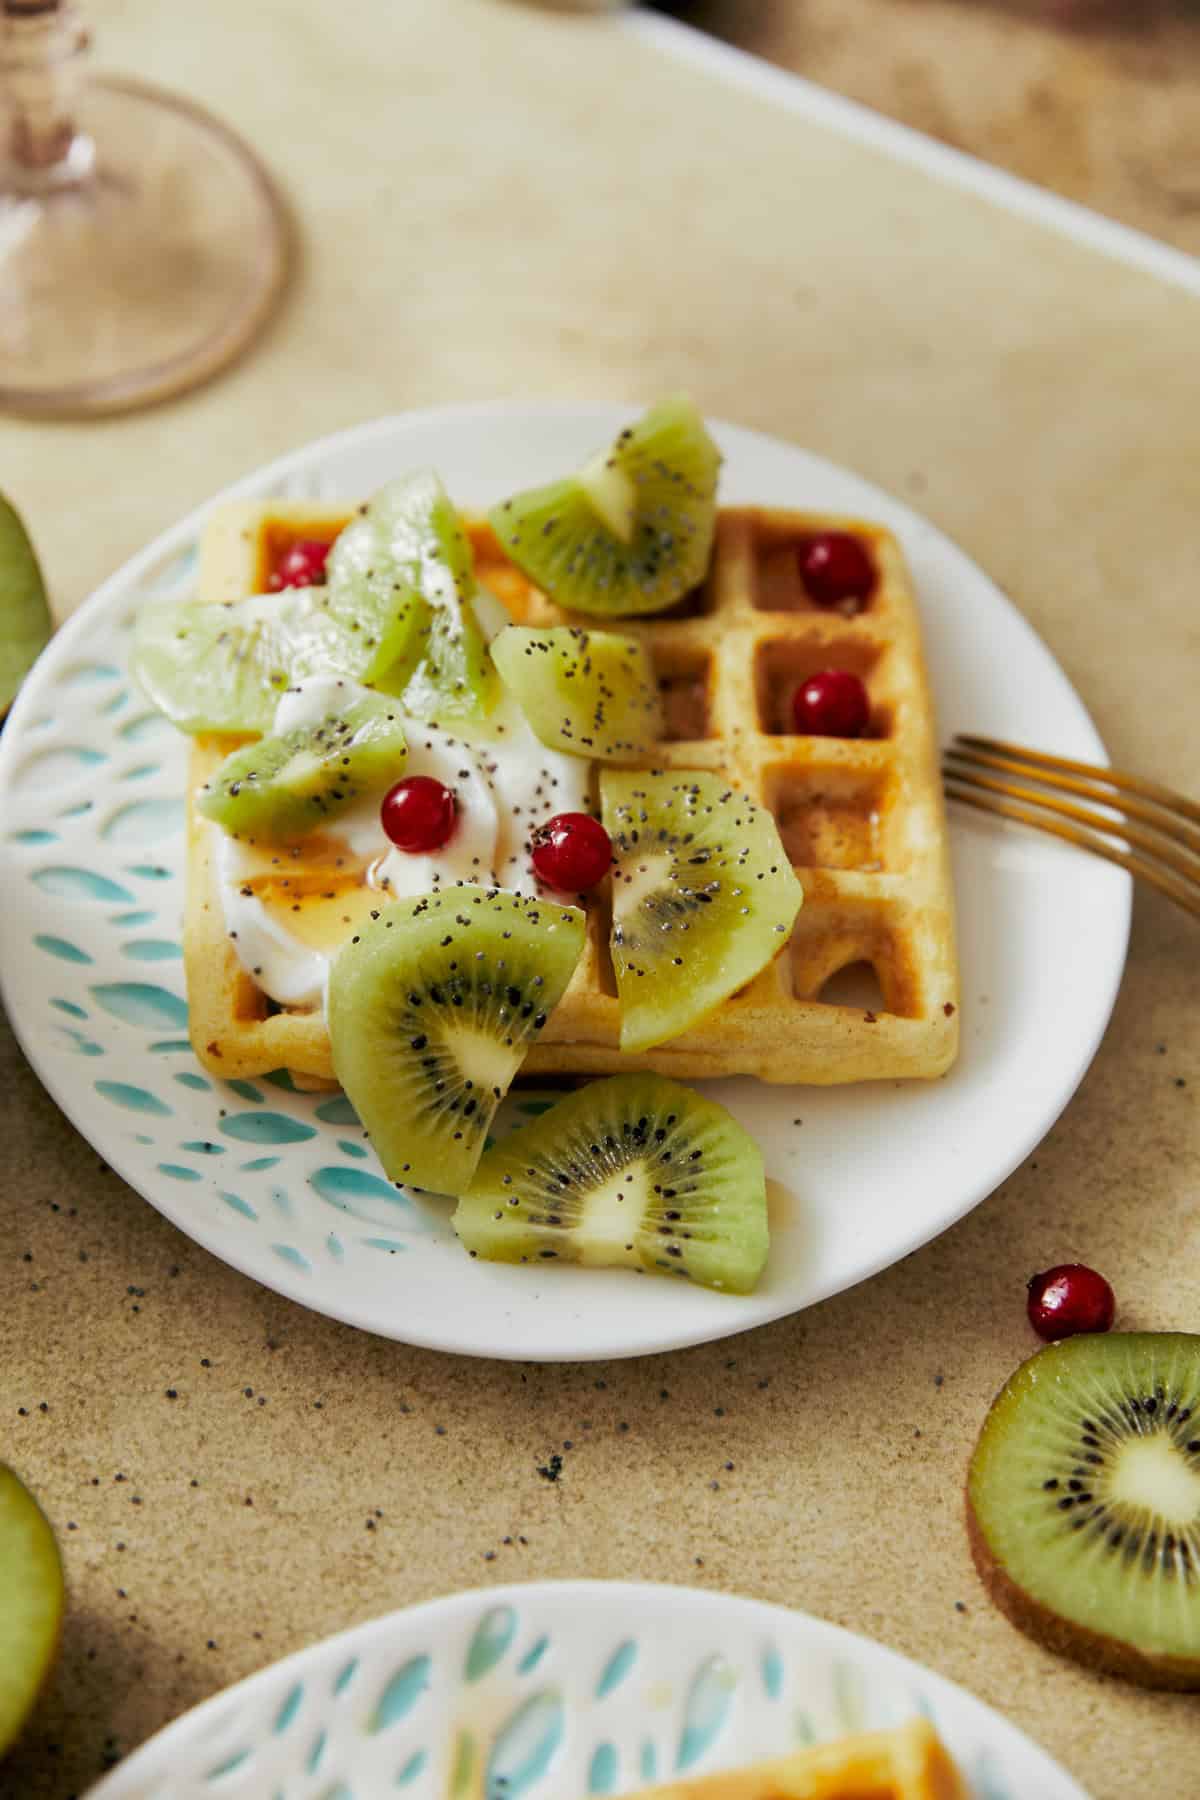
This recipe holds a special place in my kitchen. After plenty of trial and error, I found the perfect combination of ingredients to deliver waffles that rival any traditional recipe. Feel free to dress them up with fresh fruit, whipped cream, or a drizzle of maple syrup – or keep it simple and let the buttery vanilla flavor shine on its own.
Are Gluten-Free Waffles Healthy?
These waffles offer a balanced treat that’s indulgent yet adaptable. Plus, the recipe can be customized to meet your nutritional goals: swap out granulated sugar for less refined coconut sugar, or use plant-based milk to make it dairy-free.
To make the recipe even healthier, consider adding mix-ins like ground flaxseeds, chia seeds, or a handful of chopped nuts for an extra dose of fiber and protein, and opt for melted coconut oil as your fat of choice for its rich flavor and potential health benefits.
How To Prevent Waffles From Sticking To The Iron
Nothing puts a damper on the joy of waffle-making like a stubborn waffle that won’t release from the iron. But don’t worry – there are plenty of ways to make sure your waffles slide out effortlessly every time!
Start by preheating your waffle iron fully; using it while it’s still too cold can cause the batter to stick. A generous application of nonstick spray or brushing the iron with avocado oil or olive oil will also create a protective barrier. The type of waffle iron you’re using matters, too. If you have a nonstick model, you won’t need to grease it or preheat it as much as a cast iron version. Be patient and resist the urge to open the iron prematurely – wait until the steam subsides, as this is a sign your waffle is cooked through.
Finally, don’t forget: less is more when it comes to batter. Overfilling can lead to overflow and sticking, so err on the side of caution for your first pour and then estimate how much you should be using per waffle.
How To Make Ahead And Store
To store waffles, let them cool completely before transferring them to an airtight container. They’ll keep in the refrigerator for up to 3 days. For longer storage, freeze them for up to 3 months in an airtight container or freezer-safe bag. Snap off a waffle like you would with a frozen slice of bread, then reheat in your toaster or oven for best results.
Serving Suggestions
There are so many ways you can make your gluten-free waffles look as good as they taste. For brunches, I love to serve the waffles with plenty of Chocolate Buttercream Frosting, Dairy-Free Caramel Sauce, and Strawberry Whipped Cream so people can decorate their own. For garnish, chocolate-covered fruit always seems like a match made in heaven, and I love these recipes for Chocolate-Covered Blueberries, Chocolate-Covered Strawberries, and Chocolate-Covered Raspberries.
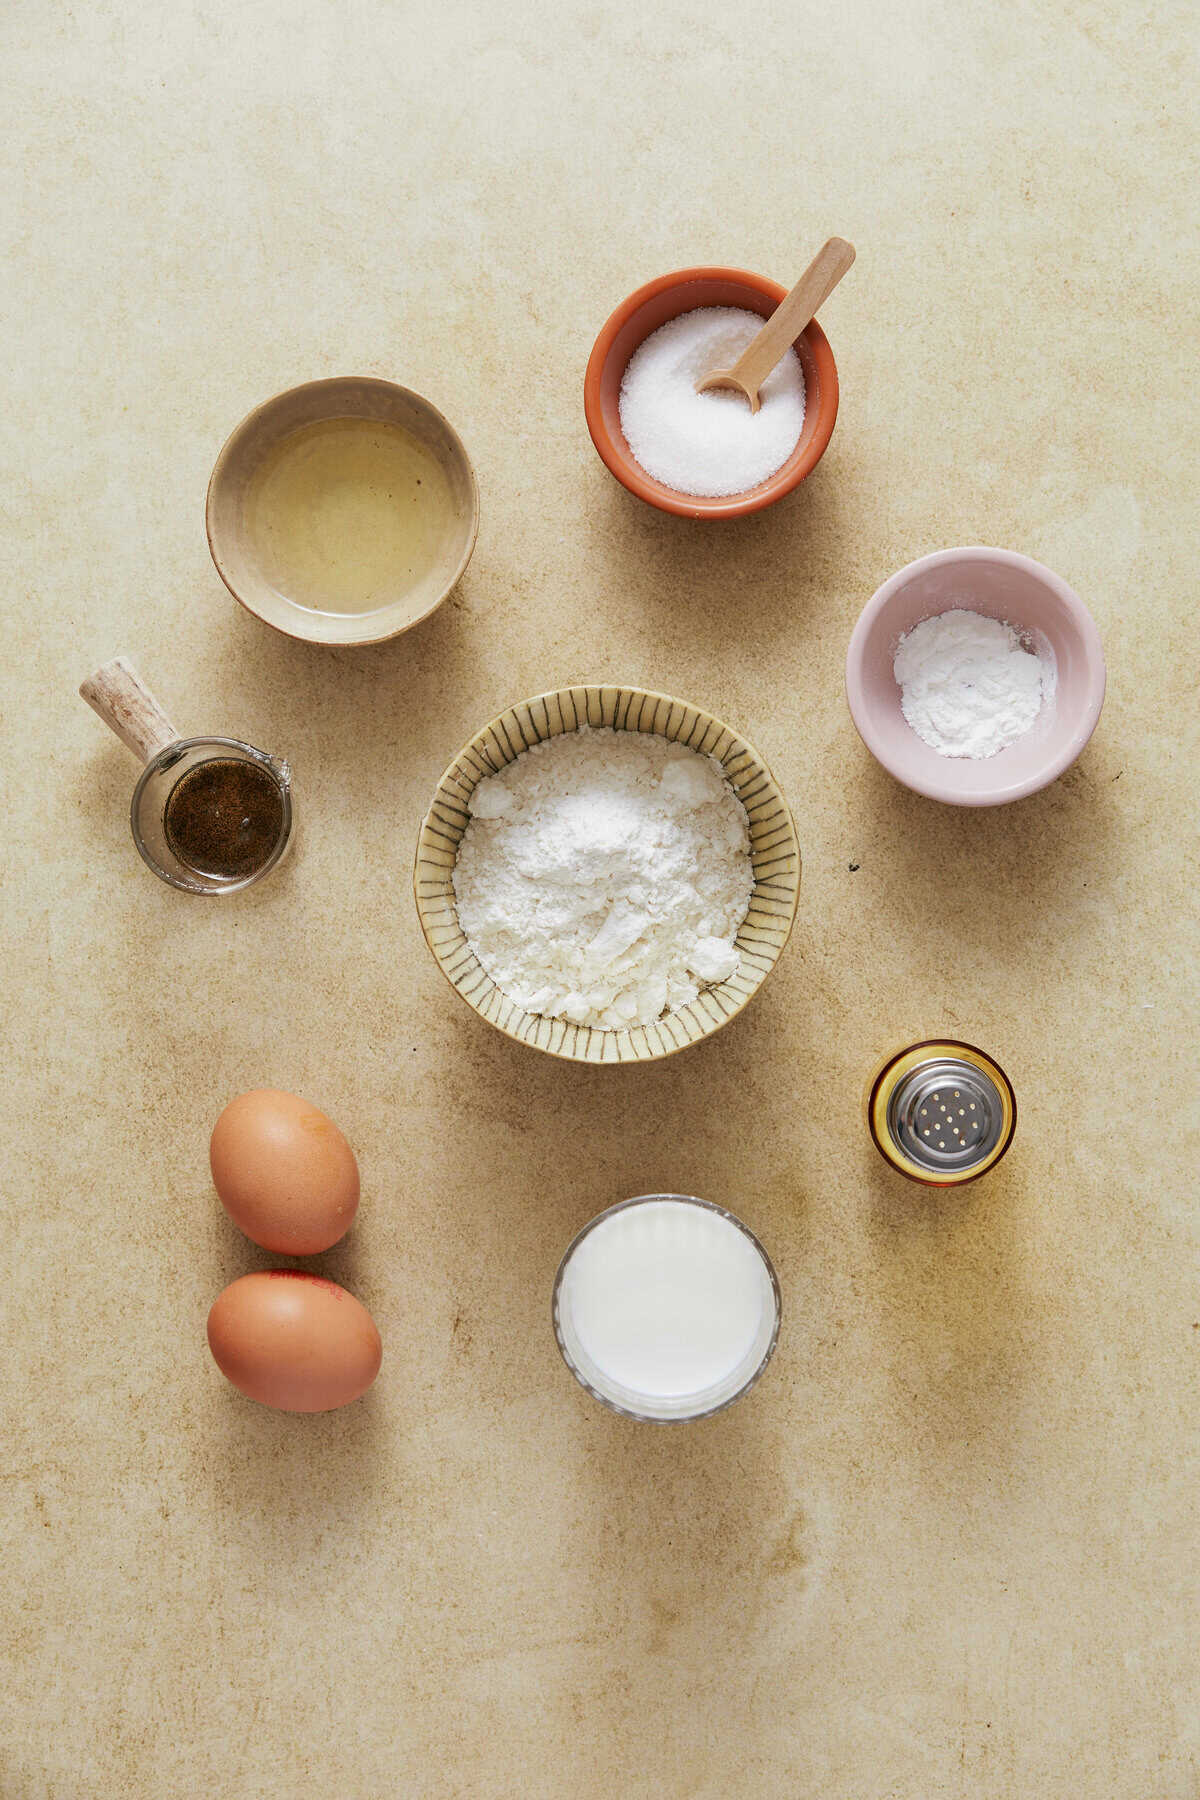
Ingredients
- 2 cups gluten-free, all-purpose flour
- 3 tablespoons granulated sugar
- 1 tablespoon baking powder
- 1 teaspoon sea salt
- 1 1/4 to 1 1/2 cups milk or plant-based milk
- 3 tablespoons canola oil or melted coconut oil
- 2 large eggs
- 1 tablespoon pure vanilla extract
Instructions
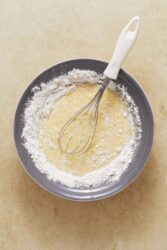
- In a large mixing bowl, whisk together the gluten-free flour, sugar, baking powder, and sea salt.

- Combine the milk, oil, eggs, and vanilla extract in a separate bowl, whisking until the mixture is blended.

- Pour the wet ingredients into the dry ingredients and stir until just combined, leaving the batter with a few lumps. If it's too thick, adjust the consistency with additional milk if needed.
- Preheat your waffle iron and lightly grease it with oil or nonstick spray. Pour some of the batter onto the iron and cook according to the manufacturer's instructions (they need to be golden and crisp).
- Serve the waffles hot with your choice of toppings.
Nutrition Info:
Nutrition information are estimates only and may vary based on the specific brands, ingredients, and portion sizes you use. This data is provided for informational purposes only.
Leave a Comment