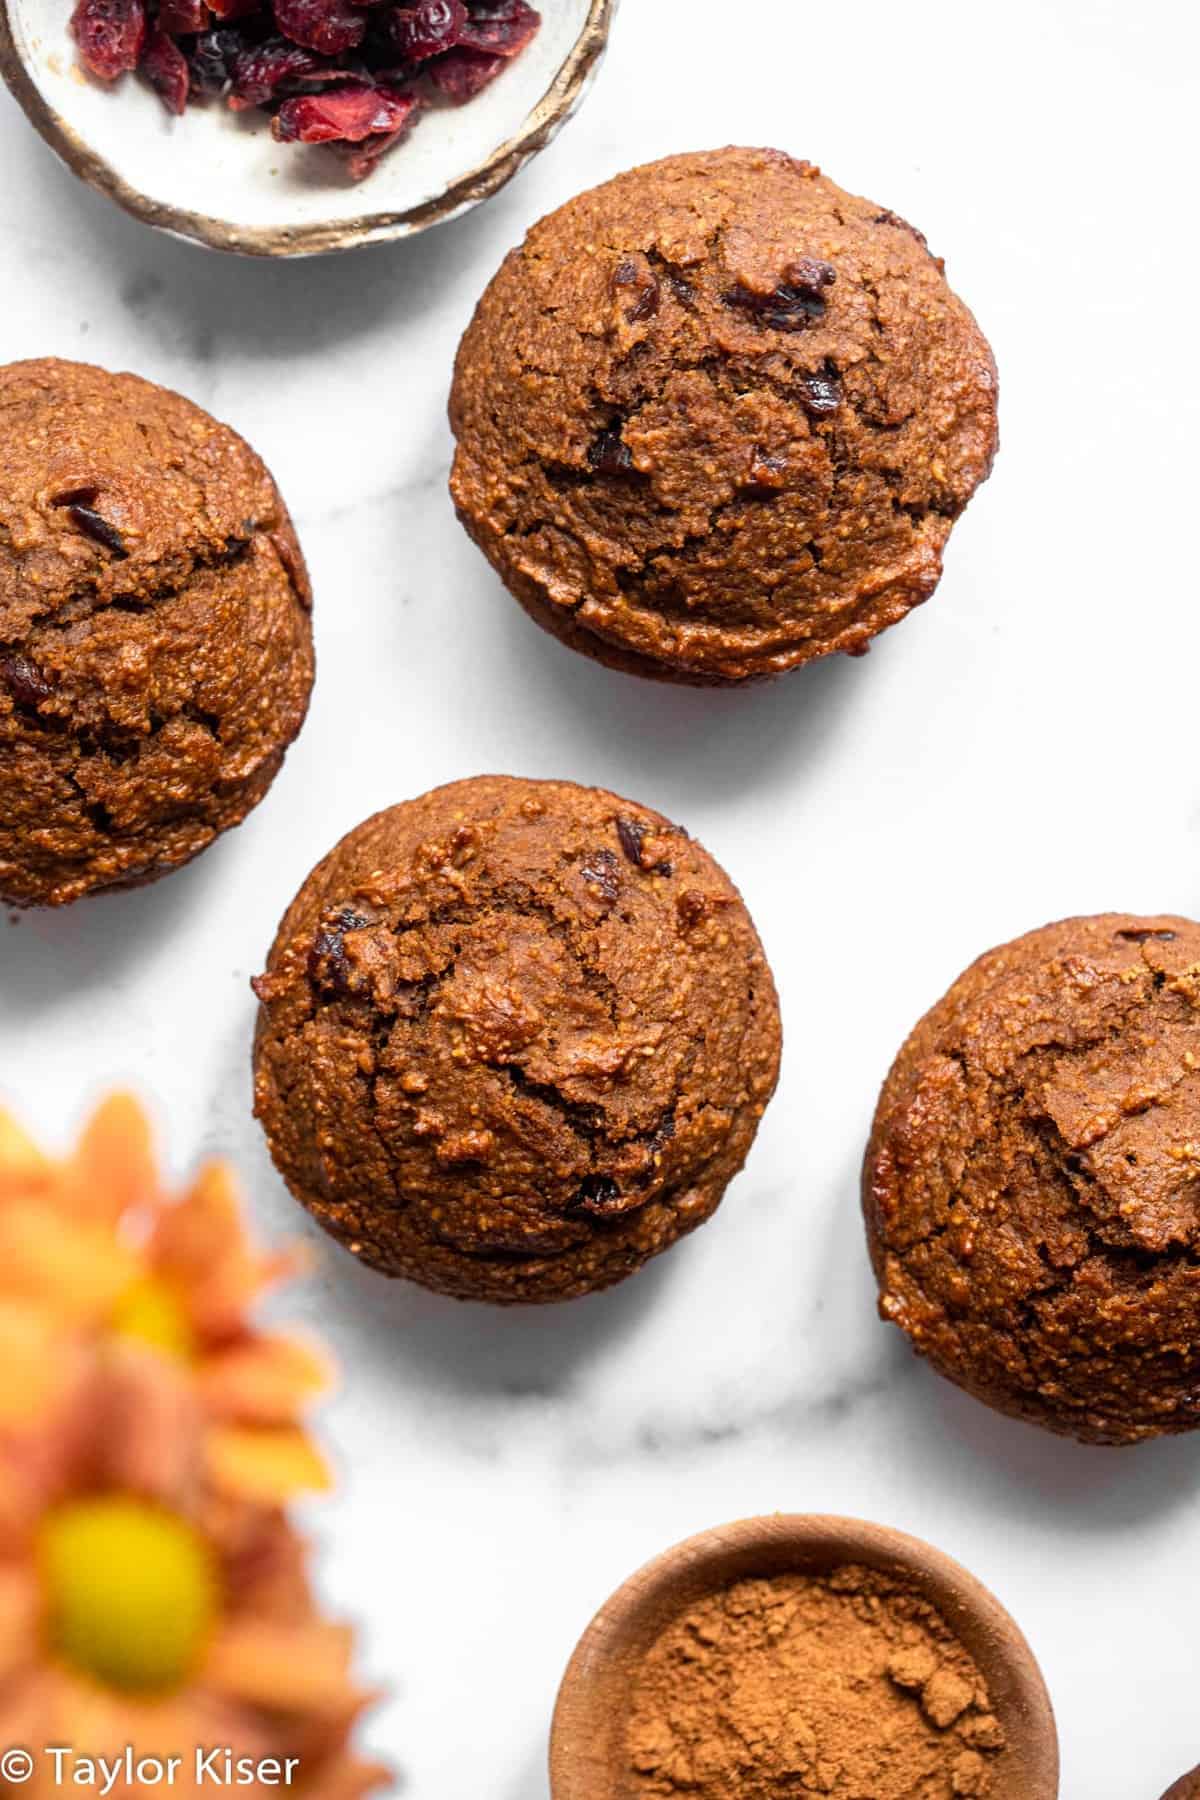
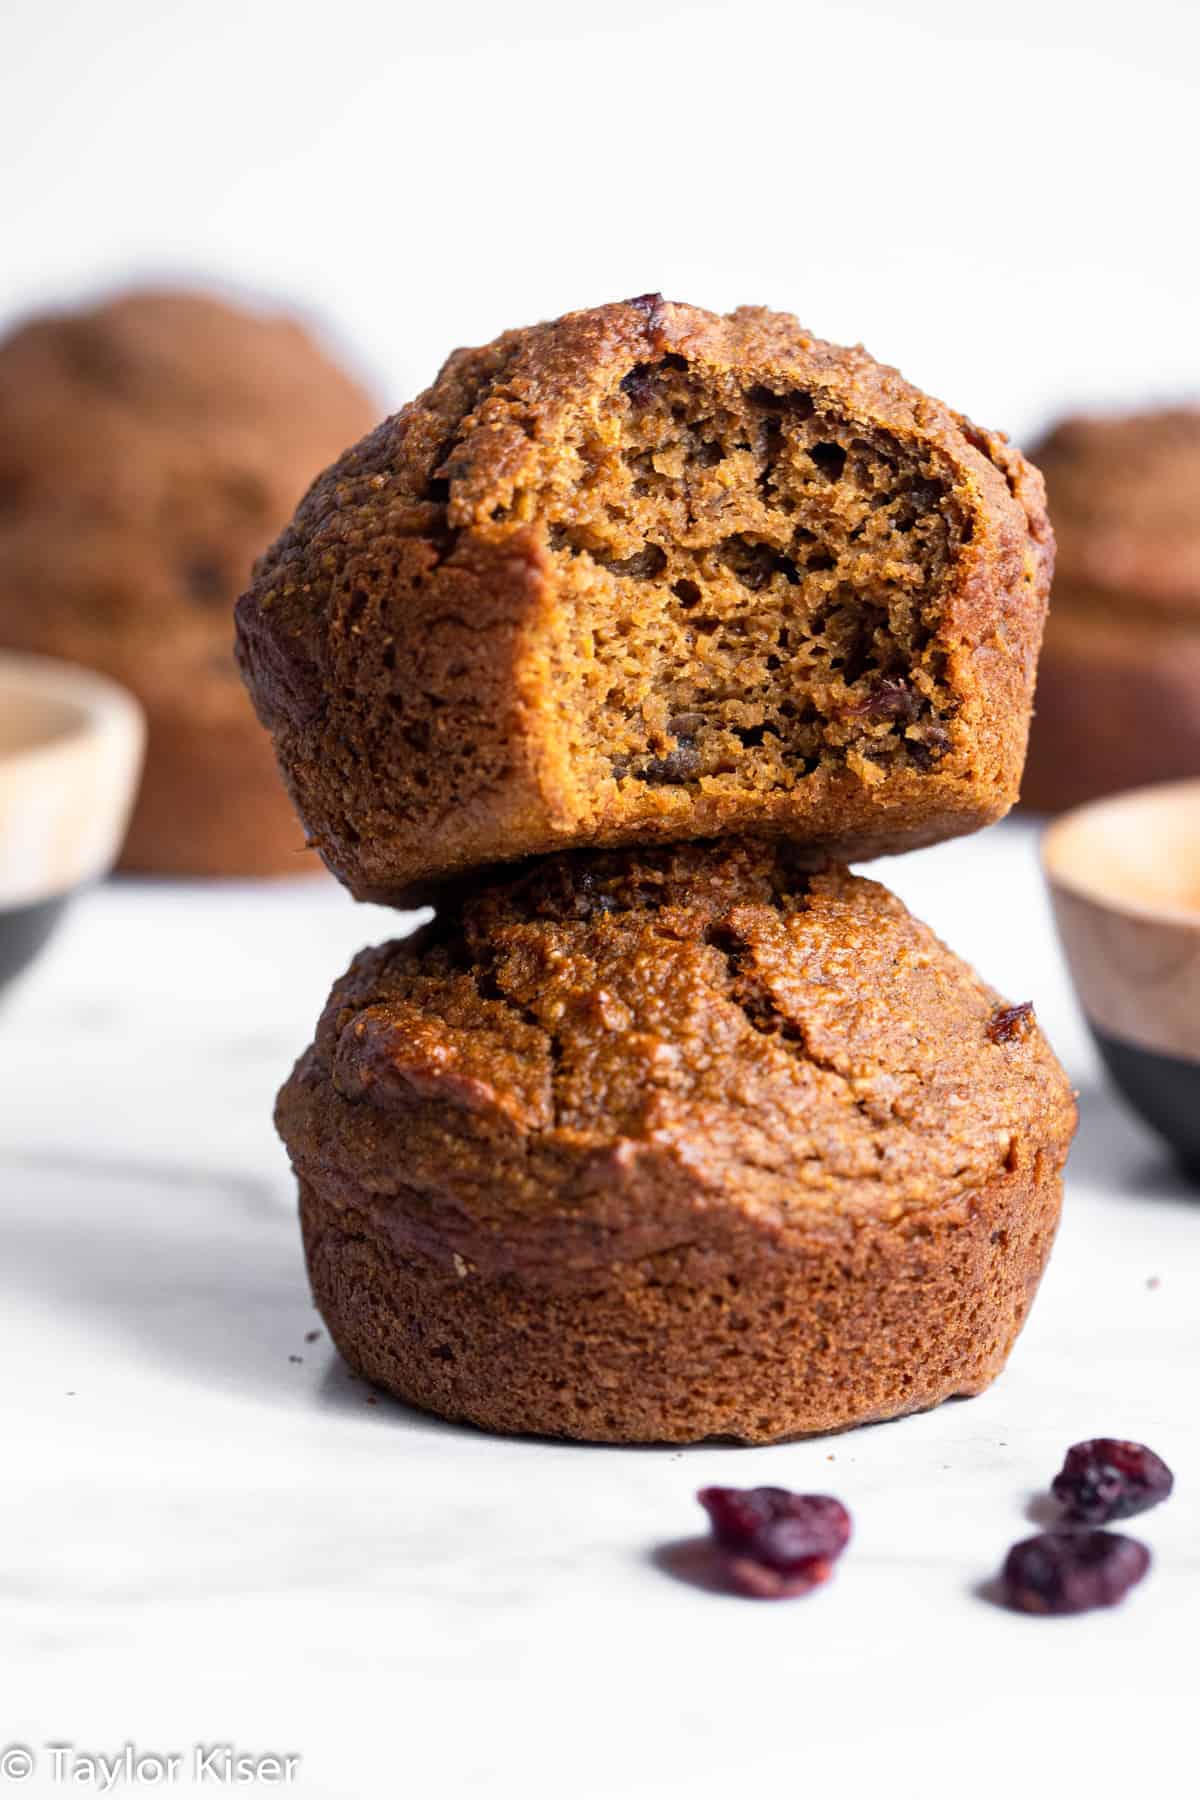
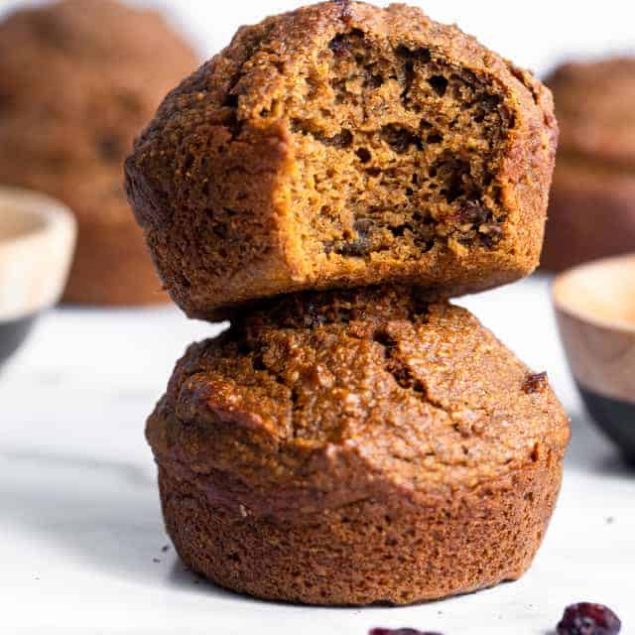
These Gluten-Free Pumpkin Oatmeal Muffins With Cranberries are perfect for breakfast or a snack!
Is there anything better than a crispy muffin top? The whole muffin is good and all, but the top? That’s where it’s at.
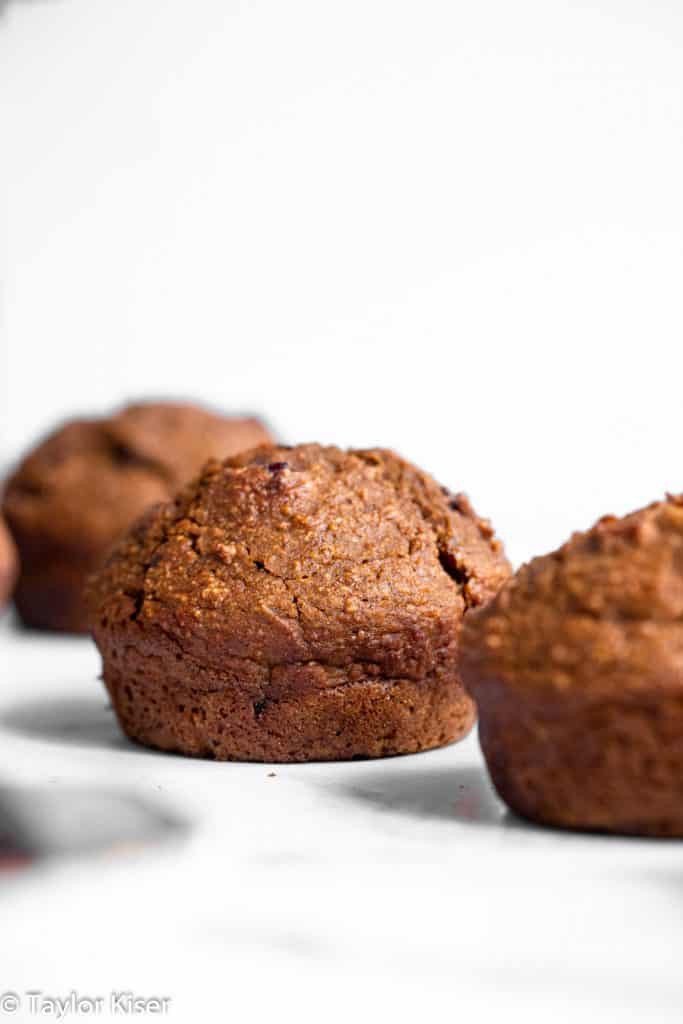
If you agree, we have good news: These healthy pumpkin oatmeal muffins have the most deliciously domed bakery-style tops and are bursting with chewy dried cranberries and spicy cinnamon and ginger. This combination just screams fall, and we pinky swear that you are going to love it!
You’ll also be pleasantly surprised to learn you achieve all this bakery-quality goodness with zero oil. That’s right, this recipe yields the most moist, tender muffins all without any oil. It really is possible!
Are These Gluten-Free Pumpkin Oatmeal Muffins With Cranberries Healthy?
This is a healthy pumpkin muffin recipe for a few reasons. To start, they’re made with oat flour, which means they’re naturally gluten-free. The oats also provide more fiber than traditional flour, which is beneficial for digestion and can help you feel fuller for longer. Pumpkin contains vitamins A and C, plus additional antioxidants that support eye and immune health. And don’t forget about the Greek yogurt, which adds protein and calcium.
Now, these muffins are still muffins, and they contain some ingredients that are best consumed in moderation. The recipe uses coconut sugar, which, while lower on the glycemic index than regular sugar, is still a form of sugar. Dried cranberries, although full of antioxidants, can also contribute to the sugar content (especially if you use sweetened ones). However, when you compare this recipe to your standard store-bought muffin, well… there is no comparison! They’re a wholesome, fiber-rich treat that’s a better alternative to so many sugary baked goods lining store shelves.
Gluten-Free Doesn’t Mean Flavor-Free
Gluten-free baking sure has come a long way, and these pumpkin oatmeal muffins prove it. If you’ve tried dry, crumbly, and flavorless gluten-free baked goods before, the good news is you can leave them in the past. The combination of gluten-free oat flour with pumpkin, Greek yogurt, and egg ensures a moist, tender crumb and a satisfying bite that doesn’t sacrifice texture in the name of a dietary restriction. The pumpkin and cranberries add natural flavor, while the warm spices, vanilla, and coconut sugar bring a touch of sweetness without being overwhelming.
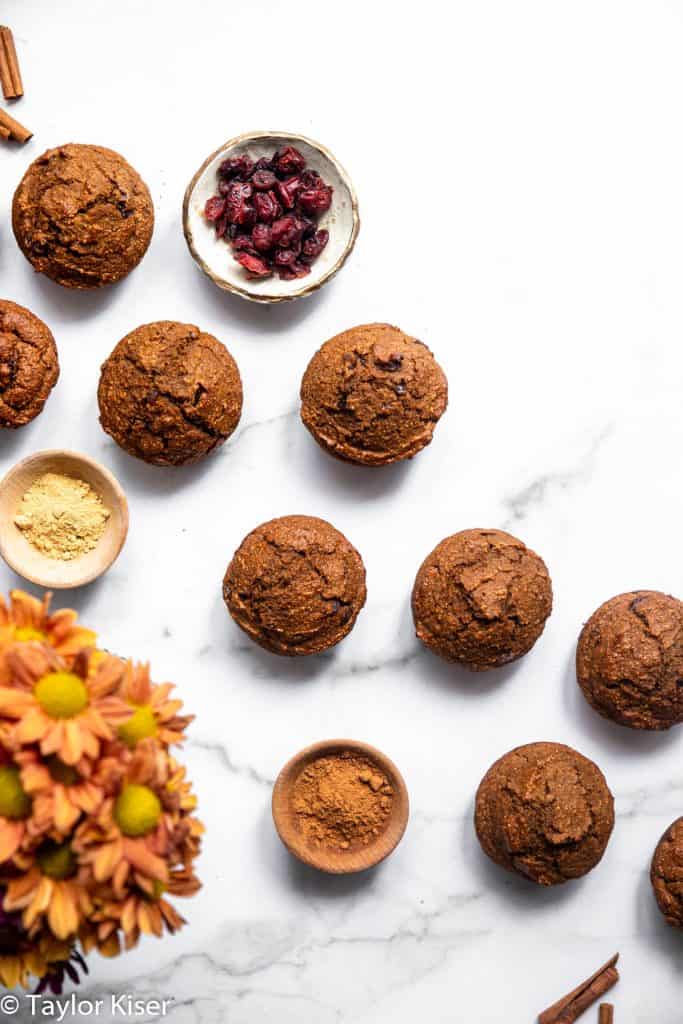
How to Make Ahead and Store
These muffins can be stored in an airtight container at room temperature for up to 3 days. If you keep them in the fridge, they’ll last up to a week. You can also freeze these muffins for up to 3 months by wrapping each one individually in plastic wrap and placing them in a freezer-safe bag. When you’re ready to eat, thaw them at room temperature or warm them in the microwave for about 20 to 30 seconds.
Serving Suggestions
These muffins would be heavenly served with some homemade Pumpkin Seed Butter, Almond Butter, Pecan Butter, or Pistachio Butter.
For more delicious gluten-free muffins, try these Gluten-Free Lemon Poppyseed Muffins, Gluten-Free Zucchini Muffins, and Gluten-Free Sweet Potato Muffins.
Ingredients
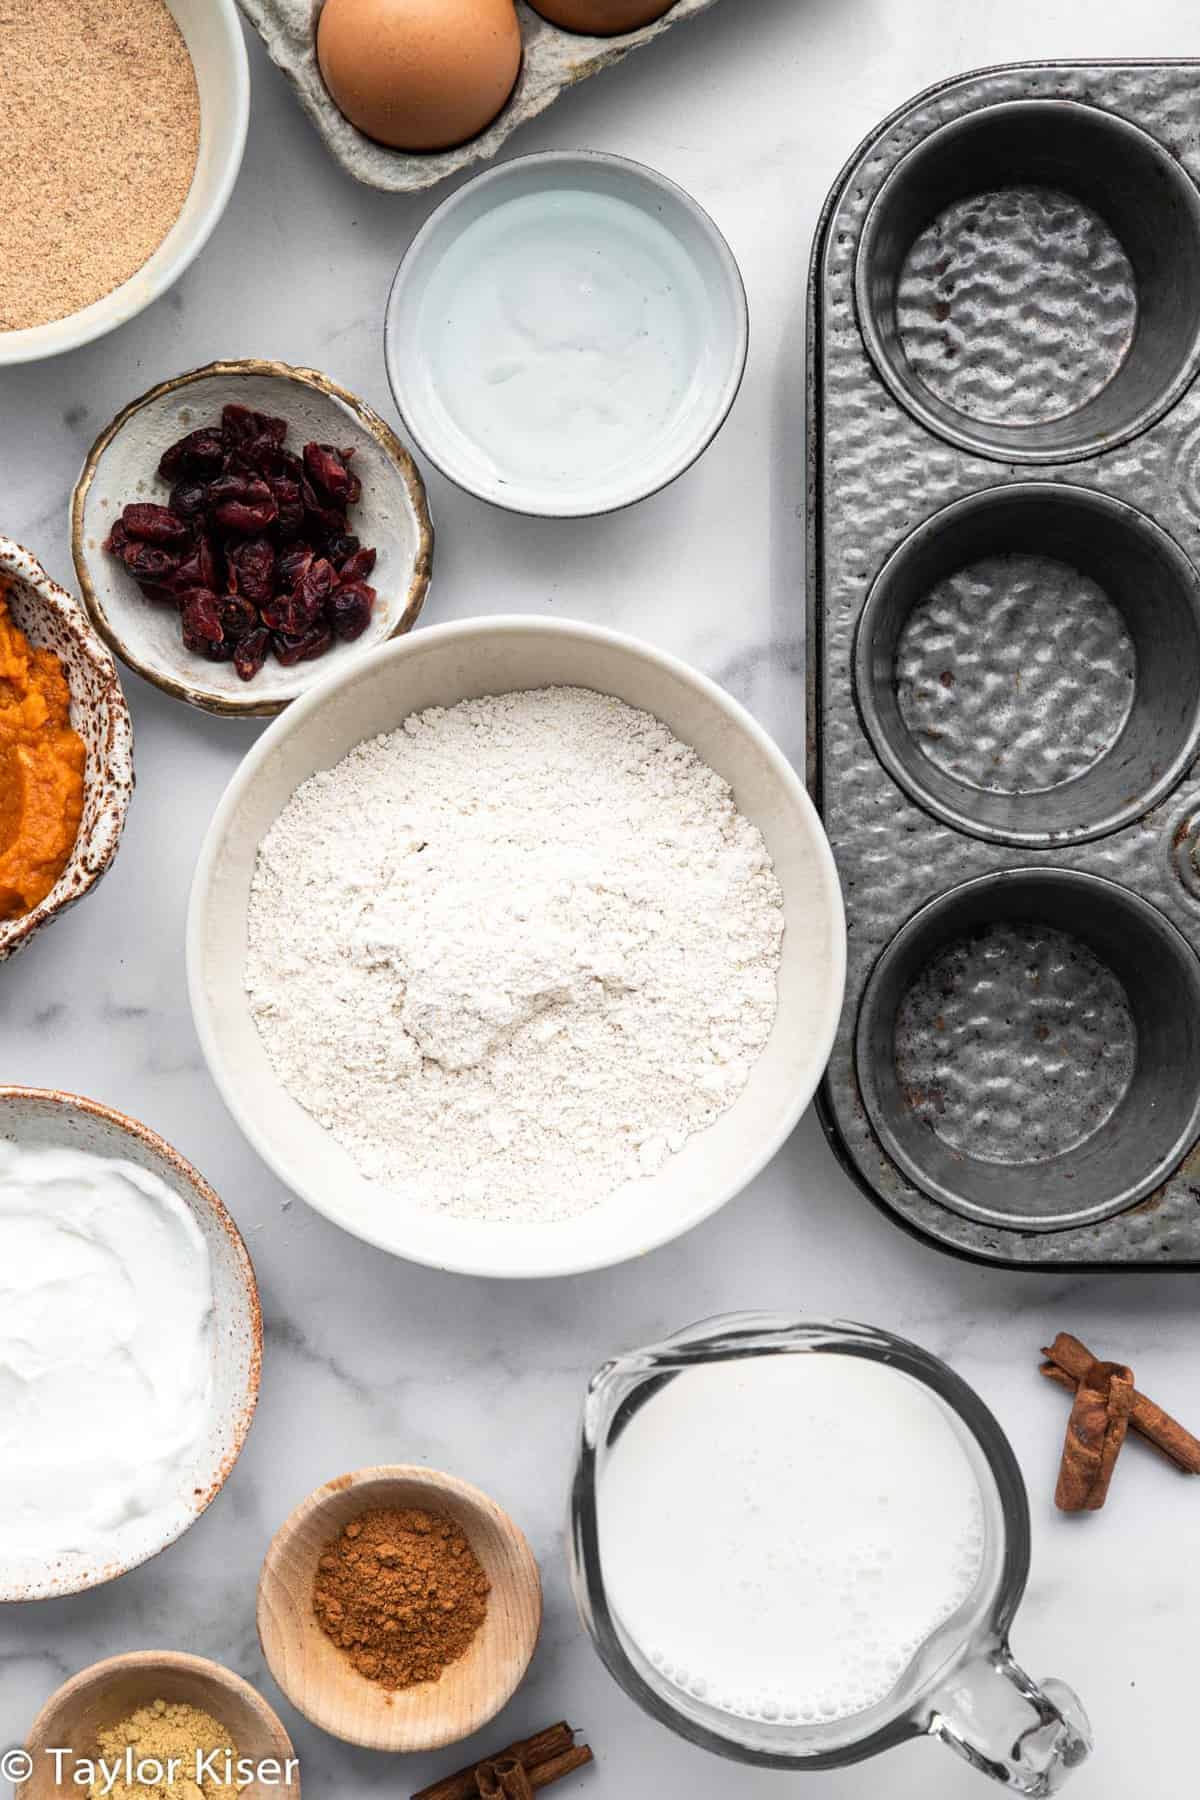
- 1 1/4 cups oat flour (135 grams)
- 1 teaspoon baking powder
- 1/2 teaspoon baking soda
- 1/4 teaspoon salt
- 1 1/2 teaspoons pumpkin pie spice
- 1/2 teaspoon ginger powder
- 1/2 teaspoon cinnamon
- 3/4 cup canned pure pumpkin
- 1 egg
- 1/2 cup coconut sugar (or brown sugar)
- 1/4 cup Greek yogurt plain and non-fat
- 1/4 cup vanilla almond milk un-sweetened
- 1/2 teaspoon vanilla extract
- 1/3 cup dried cranberries roughly chopped
Instructions
- In a medium bowl, combine the oat flour, baking powder, baking soda, salt, pumpkin pie spice, ginger powder, and cinnamon.
- In a separate large bowl, whisk together the canned pumpkin, egg, sugar, Greek yogurt, almond milk, and vanilla until well combined.
- Slowly add the dry ingredients into the wet ingredients, followed by the cranberries. Mix until just combined. Cover and refrigerate 1 hour.
- Heat your oven to 450°F and spray a muffin pan with cooking spray. Fill 8 of the cavities about 2/3 of the way full.
- Bake for 5 minutes. Then, turn the heat down to 375°F and bake another 15 to 17 minutes or until a toothpick inserted in the center comes out clean.
- Let cool completely in the pan before eating.
Tips & Notes:
Nutrition Info:
Nutrition information are estimates only and may vary based on the specific brands, ingredients, and portion sizes you use. This data is provided for informational purposes only.

Leave a Comment