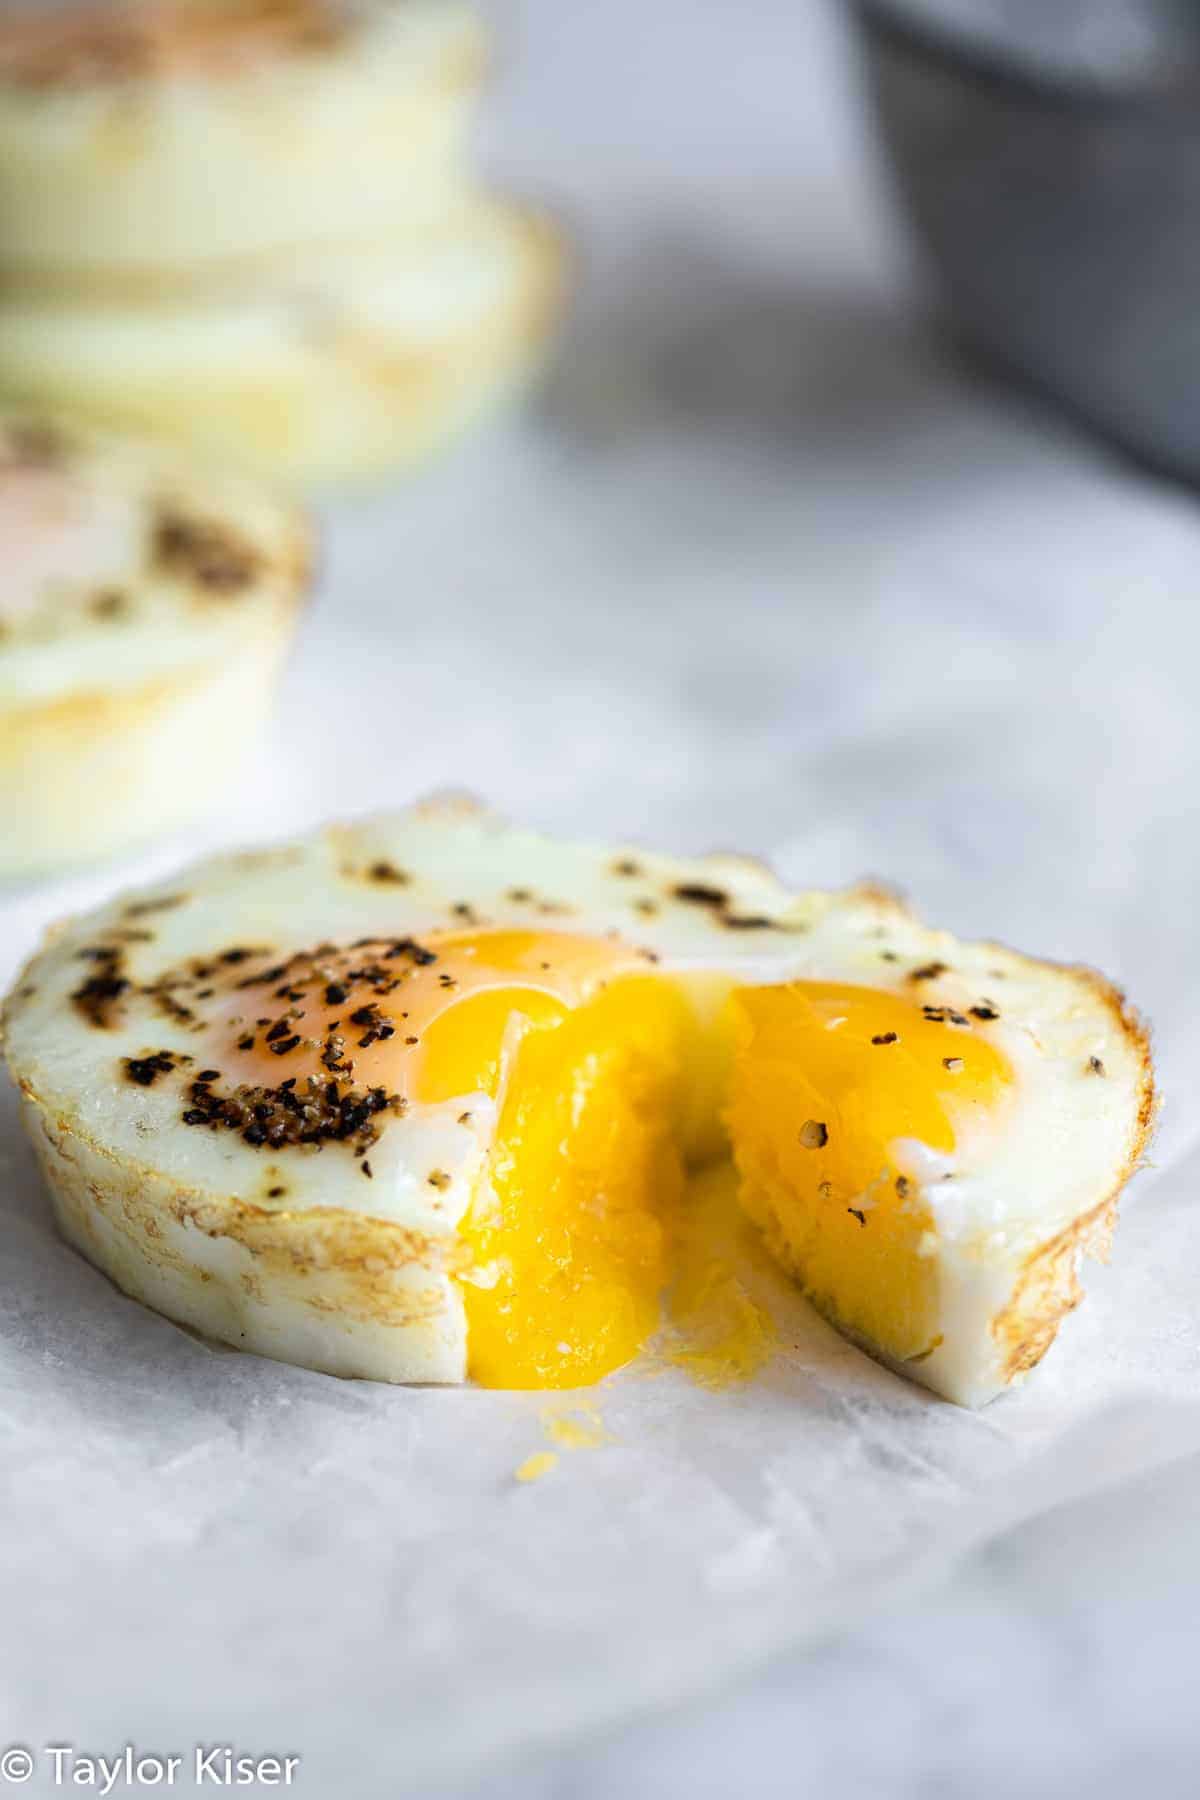
Forget scrambling or flipping for a crowd! These oven-baked eggs are a game-changer for quick, mess-free brunch prep.

Cooking eggs for a group can feel like a juggling act. Between scrambling, frying, and flipping, it’s hard to keep up. But what if there was a better way? Enter oven-baked eggs, your new best friend for stress-free breakfasts. This simple technique has been around for ages but doesn’t get the spotlight it deserves. With a dozen eggs, a muffin tin, some cooking spray, and your oven, you’ll have perfectly cooked eggs in no time. This method is ideal for brunches, meal prep, or whenever you need an easy way to serve a crowd without breaking a sweat.
Eggs have long been a breakfast favorite, and for good reason: They’re delicious, versatile, and satisfying. Whether you’re a fan of sunny-side-up or hard-boiled, oven-baked eggs provide a unique way to enjoy this classic staple. Plus, they’re endlessly customizable if you want to get creative. No need for fancy gadgets—just crack, bake, and serve!
Are Oven-Baked Eggs Healthy?
Eggs are a nutrient-packed food that fit beautifully into many diets. They’re a good source of protein and contain vitamins like B12 and D, as well as minerals such as selenium and zinc. Baking eggs also requires minimal added fat, making it a light and straightforward cooking method. Plus, they pair well with a variety of other healthy foods, from leafy greens to whole-grain toast. While everyone’s definition of “healthy” can vary, this recipe ticks the boxes for simplicity and balanced eating.
The Secret Tool For Effortless Egg Cooking
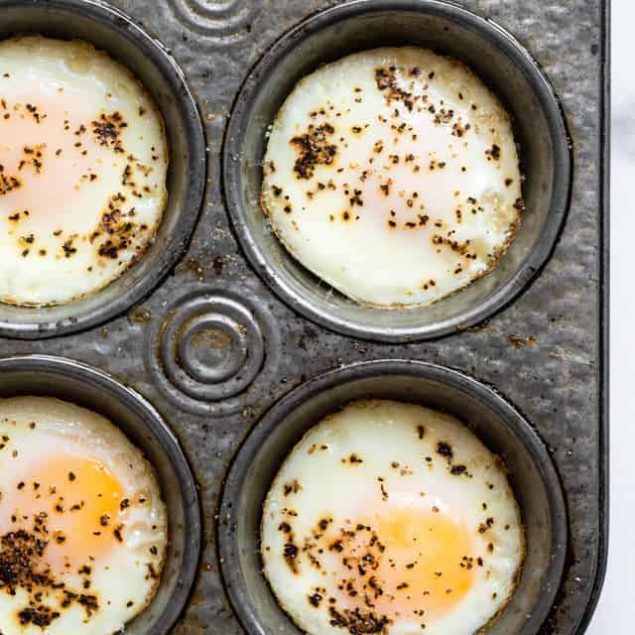
Using a muffin tin to bake eggs isn’t just convenient; it’s also genius. The individual cups keep each egg perfectly contained, allowing them to cook evenly without any extra fuss. Whether you’re cooking a dozen eggs or just a few, the muffin tin ensures consistent results every time. Plus, cleanup is a breeze—especially if you use a nonstick pan and a bit of oil or cooking spray. Silicone muffin pans are another great option. They make popping out the eggs a breeze.
How To Make Ahead And Store
Once my baked eggs have cooled completely, I place them in an airtight container or resealable bag. Store them in the fridge for up to 5 days. If you’d like to freeze them, they’ll keep well for up to 6 months. To reheat, thaw in the fridge overnight and warm them up in the microwave or a low-temperature oven.
Serving Suggestions
These eggs are great to feed a crowd on Thanksgiving or Christmas morning (or ANY morning, for that matter) and they also make a great high-protein snack any other time of the day. Serve them alongside some Eggnog Snickerdoodle Baked French Toast Casserole, Healthy Vegan Pancakes or even some Eggnog Gluten-Free Vegan Waffles With Chocolate Chips, and you will have the perfect protein-packed addition to your meal! You could also just make them for any Saturday morning breakfast, served up with some Easy Sweet Potato Hash Browns for a complete meal.
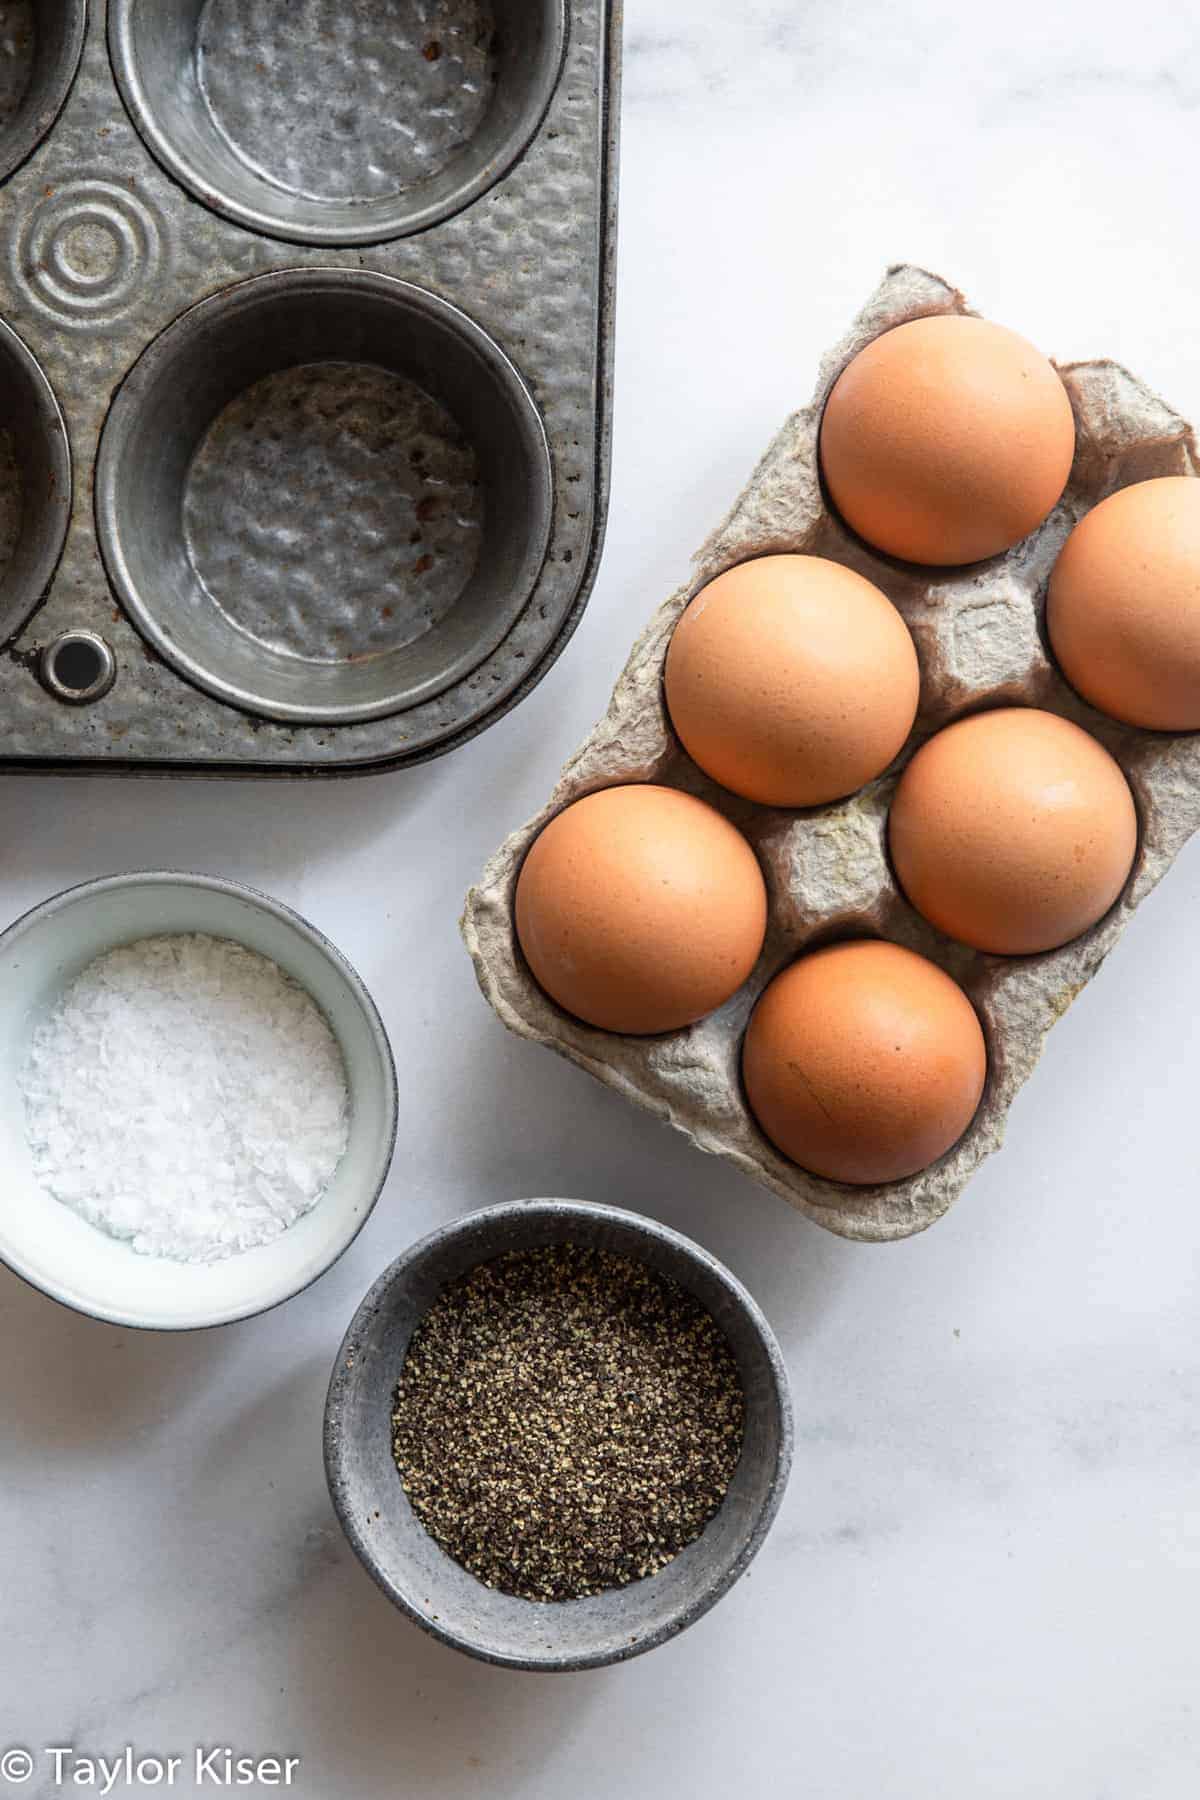
Ingredients
- 12 large eggs (or as many as you want)
- Salt and pepper
- Cooking spray
Instructions
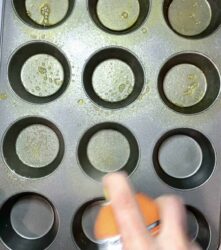
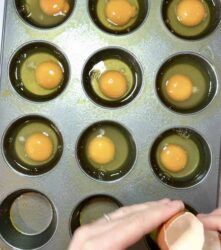
- Preheat your oven to 400℉ and generously spray a nonstick muffin pan with cooking spray.
- Crack each egg into a muffin cavity, being careful not the break the yolk. Sprinkle each with salt and pepper.
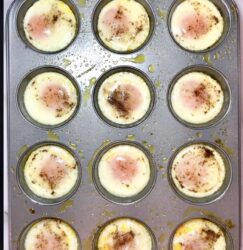
- Bake for 10-12 minutes, or until the yolk is cooked to your desired consistency.
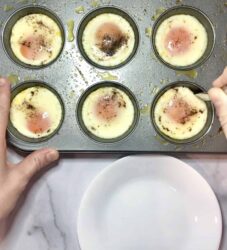
- If they don't come out of the pan right away, just run a butter knife around the edges.
Nutrition Info:
Nutrition information are estimates only and may vary based on the specific brands, ingredients, and portion sizes you use. This data is provided for informational purposes only.

We tried this recipe and they were very good. The only problem was that there was a thin crust over the top of the egg that was rubbery. It was easy to peel off but is there a trick to making the eggs without that crust. Thanks so much in advance for your answer
That rubbery crust is likely a result of overcooking the eggs or the oven temperature being too high. To avoid the crust, you can try a few things:
1. Try preheating your oven to 350°F (175°C) instead of 400°F. A lower temperature can help cook the eggs more evenly and avoid that unwanted rubbery texture.
2. Start checking the eggs a bit earlier, around the 8-minute mark, to make sure you’re not overcooking them. You can then keep an eye on them and pull them out when they’re just right.
3. To maintain moisture and prevent the crust from forming, consider adding a small splash of water or milk to each muffin cavity with the egg, or give the eggs a light brushing with melted butter or oil before baking.
4. If you don’t mind a different texture, you can lightly beat the eggs before pouring them into the muffin pan. This can help promote more even cooking and prevent that thin rubbery layer.
I hope these tips help you achieve the perfect oven-baked eggs next time!
Great recipes with eggs. Bookmarked quite a few to mke. Thank you! Love the pesto ddition.
Thanks Linda! Hope you like them all 🙂
Such a clever idea. Could these be refrigerated and reheated later on? I’m wondering how they hold up. Could be an easy meal prep idea for the week
Hi Sandra, I am so happy you like them. Agreed they are great for meal prep. You cna store them in the fridge for 3 day, just make sure they have cooled down completely before putting them in the fridge.
I was making sheet pan pancakes at the same time, and this worked out perfectly! The pancakes needed to be baked at 425°, so the eggs got to come along for the ride. Both items baked for 10 minutes. When the pancakes were ready, the eggs were mostly hard-cooked but with a tiny bit of softness remaining. Definitely worked well for a no-stress breakfast!!
That’s GREAT! Love to read this
As a state daycare facility…THESE ARE A LIFE SAVER! Cooking for thirty plus kiddos is hectic enough without all those complicated recipes out there. THANK YOU for this easy, kids size friendly recipe!
Can you use cupcake papers in the muffin tins to do this? Thank you
Yes, you can use cupcake papers, but they might stick to the eggs. A well-greased nonstick muffin pan works well for easier removal. Enjoy!
For even easier clean up I’m going to try using cupcakes liners. Your thoughts?
I haven’t tried but think it should work! Please let me know if you do and I will add to the tip section of the article.