

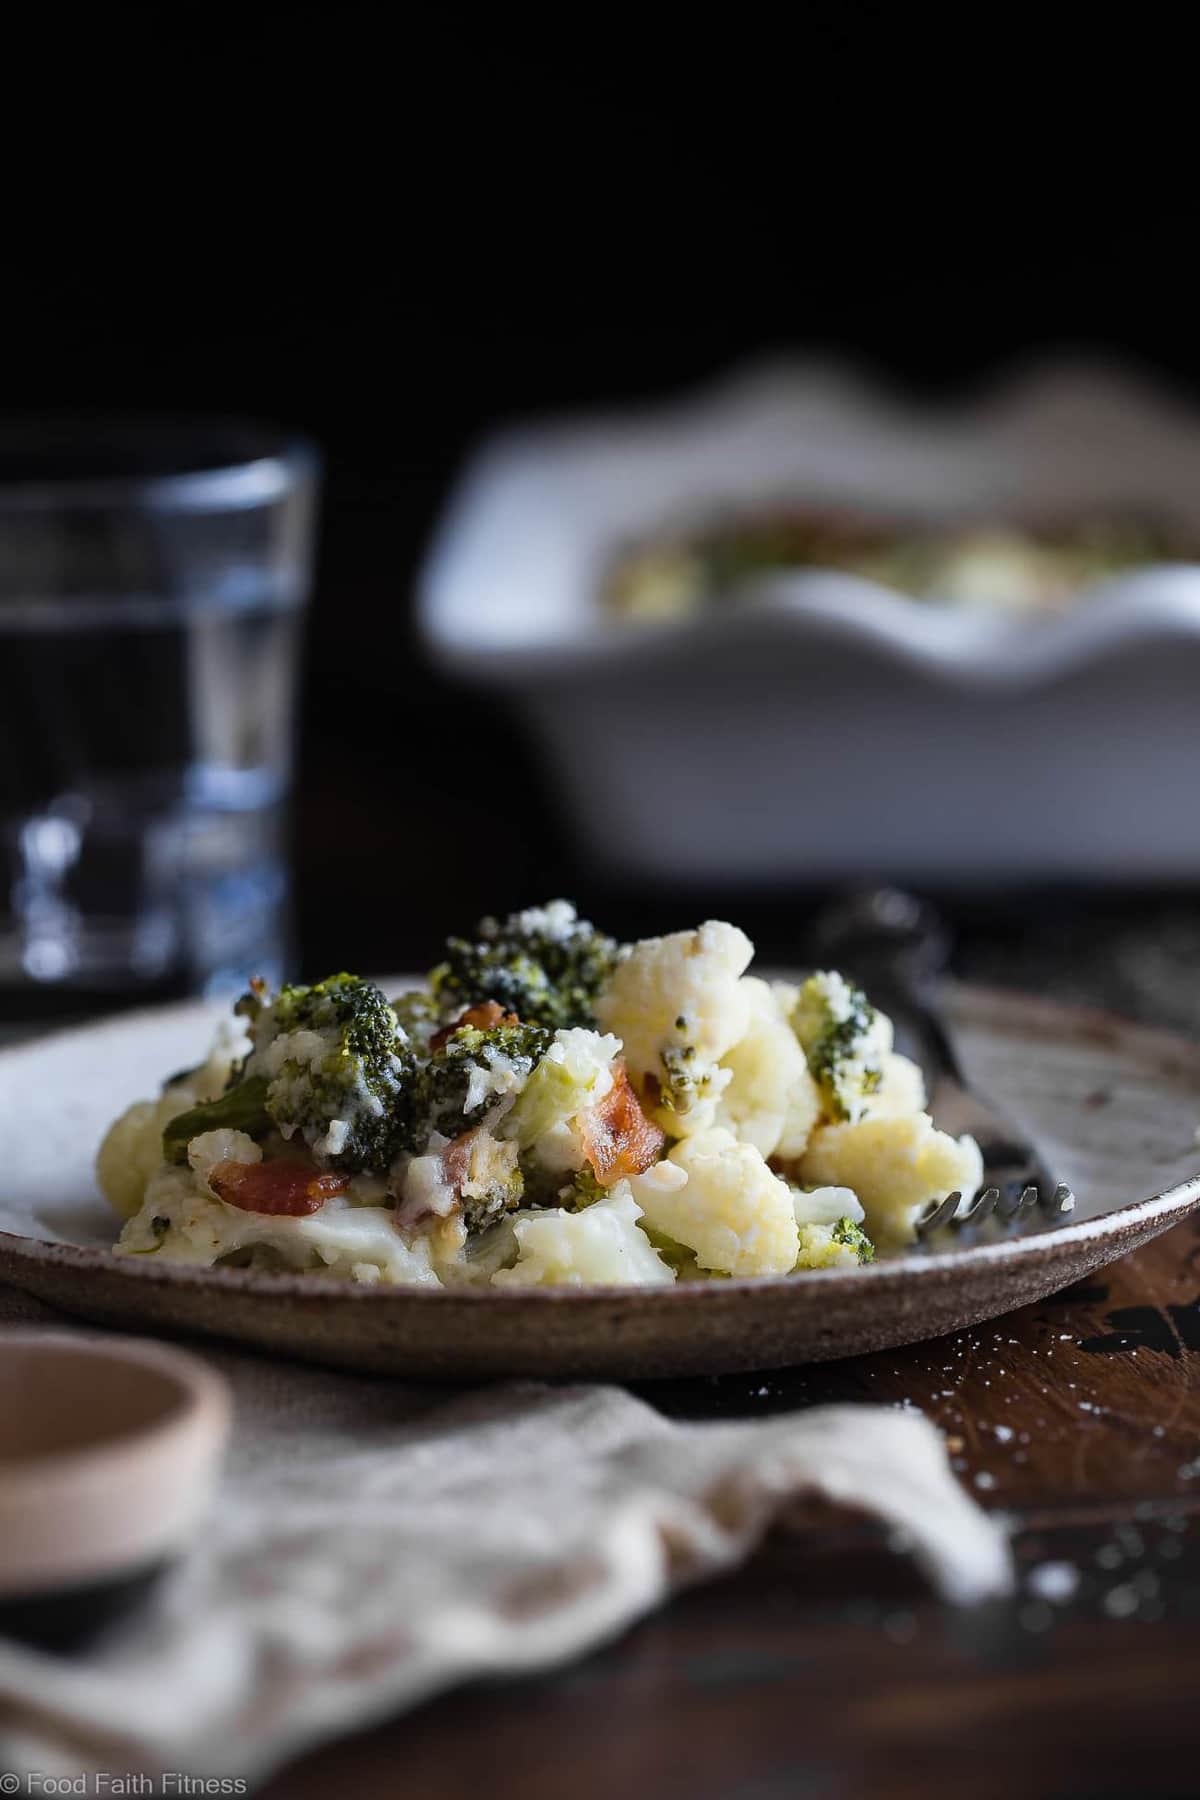
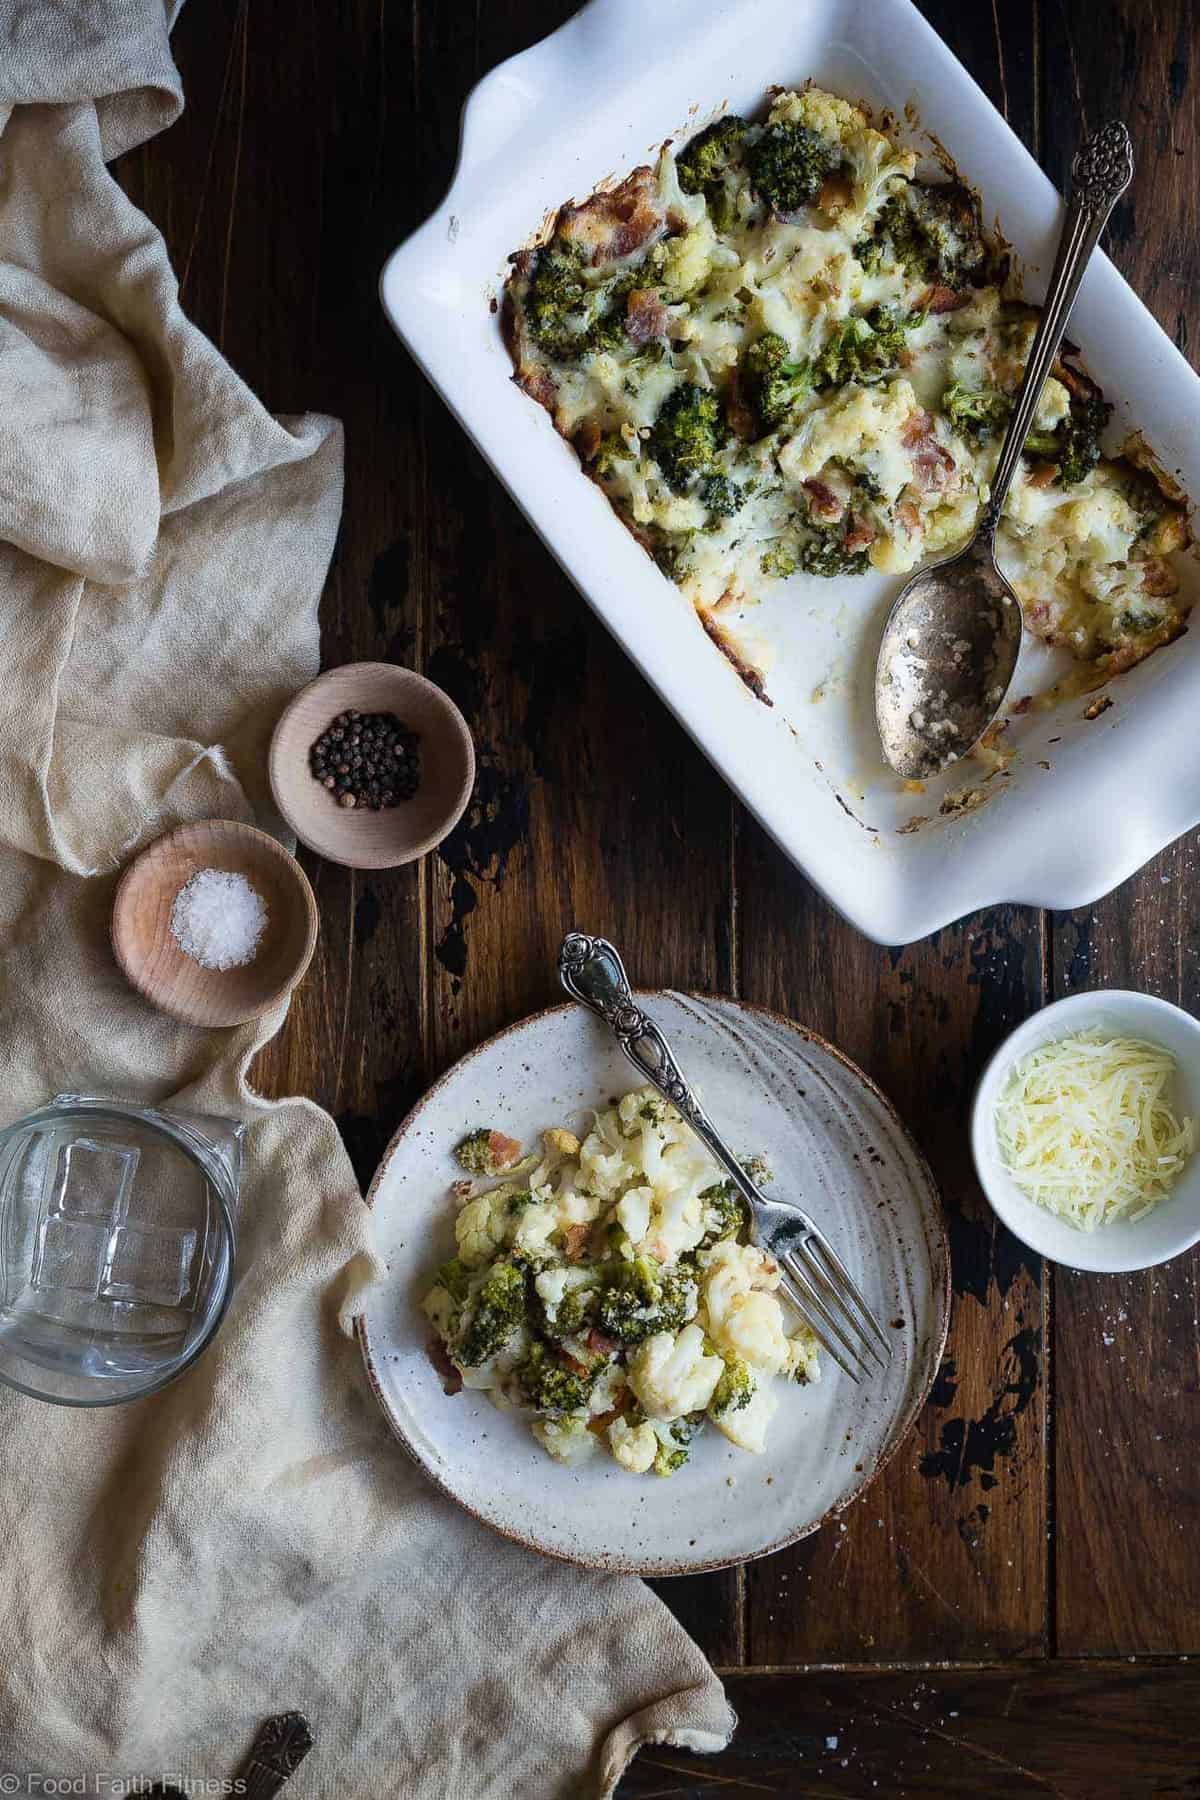
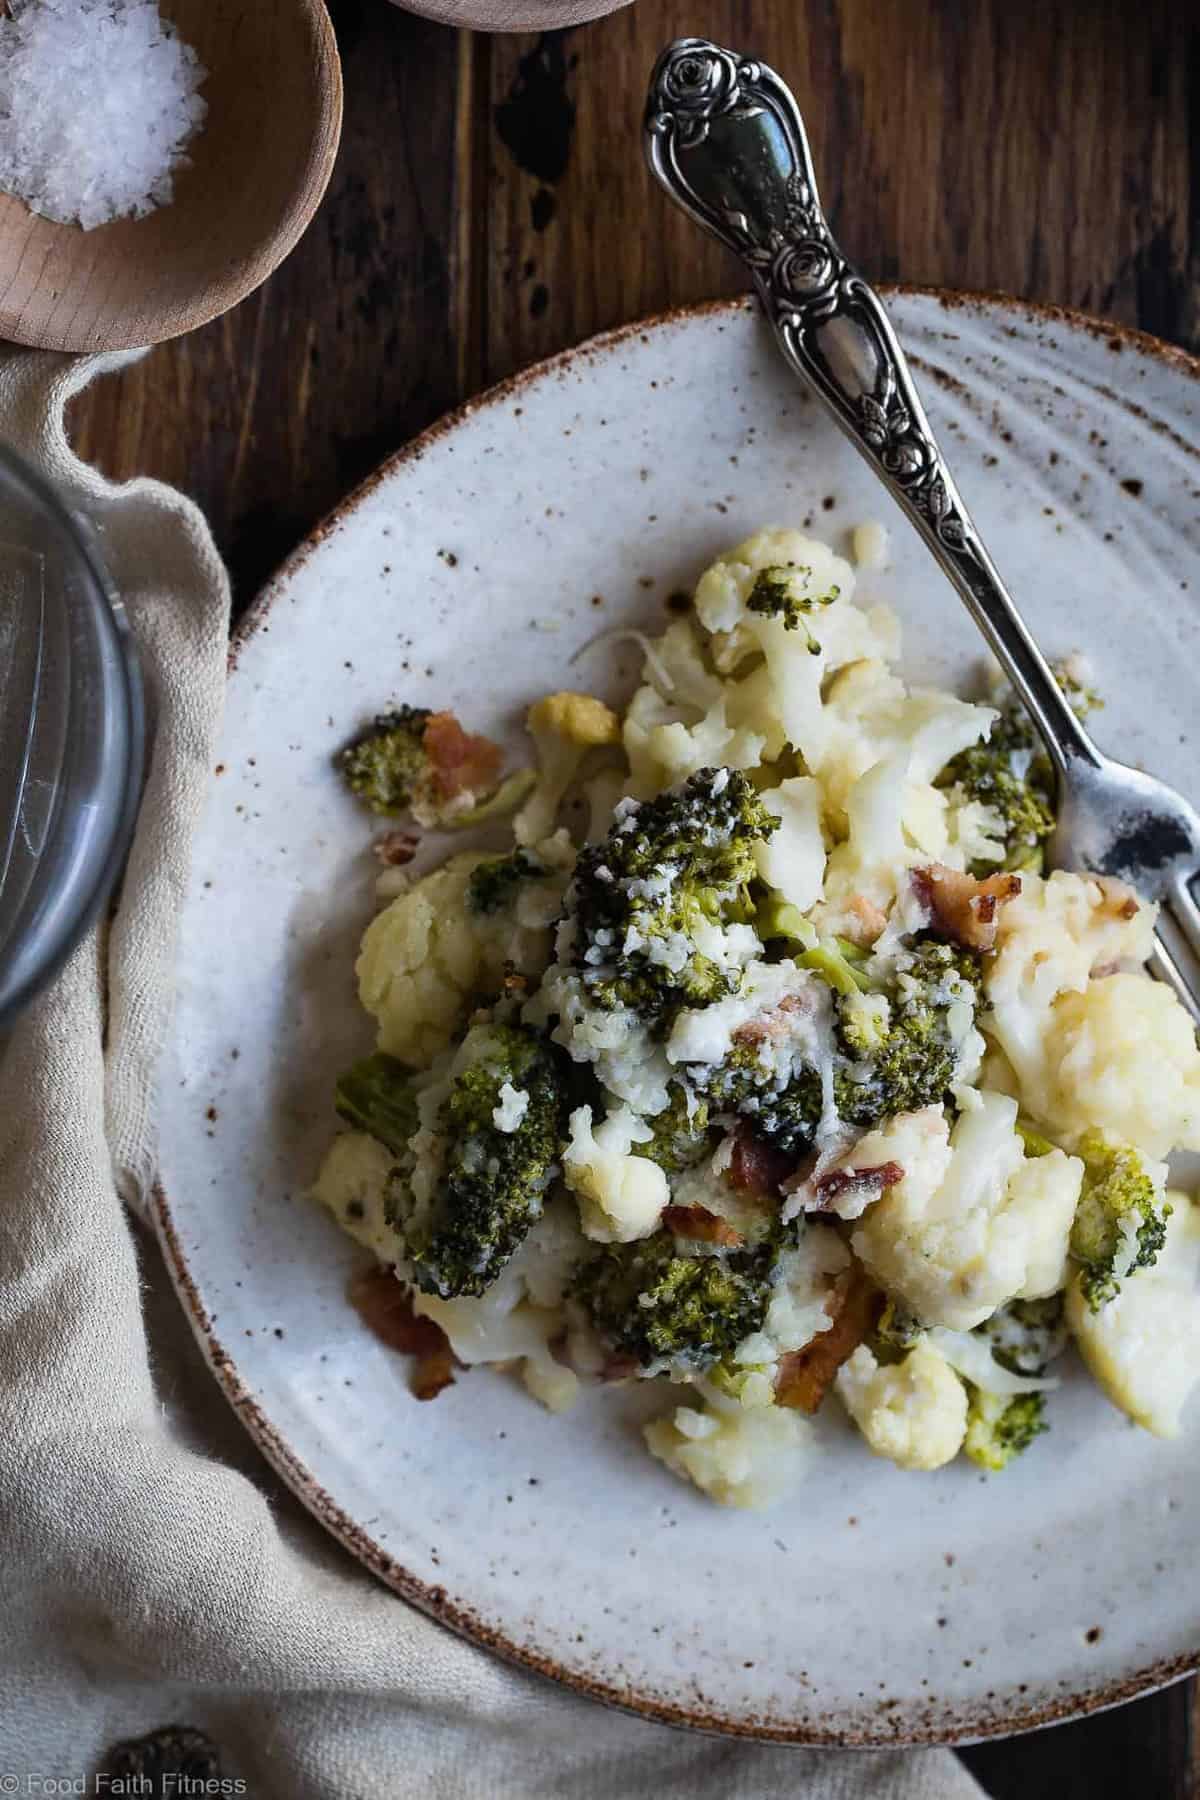
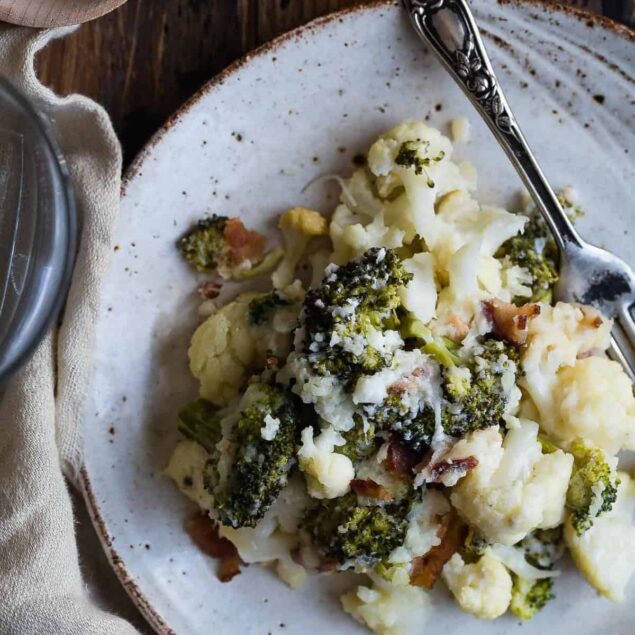
Looking for a vegetable side dish that dazzles even the pickiest of eaters? Look no further than this Easy Cheesy Broccoli-Loaded Cauliflower Casserole.
Cruciferous vegetables are my favorite type of veggie for a few reasons: they’re hearty, nutritious, and taste excellent with cheese. Seriously, on my pickiest days, I can whip up a bowl of sautéed broccoli, sprinkle some shredded cheddar on top with some garlic salt, and feel like I’m dining in a nice restaurant.
Not everyone is as into vegetables as I am, though. To make sure the picky eaters in my life get their portion of healthy veggies, I need to get creative and make sure the vegetable side dish is nothing short of a masterpiece.
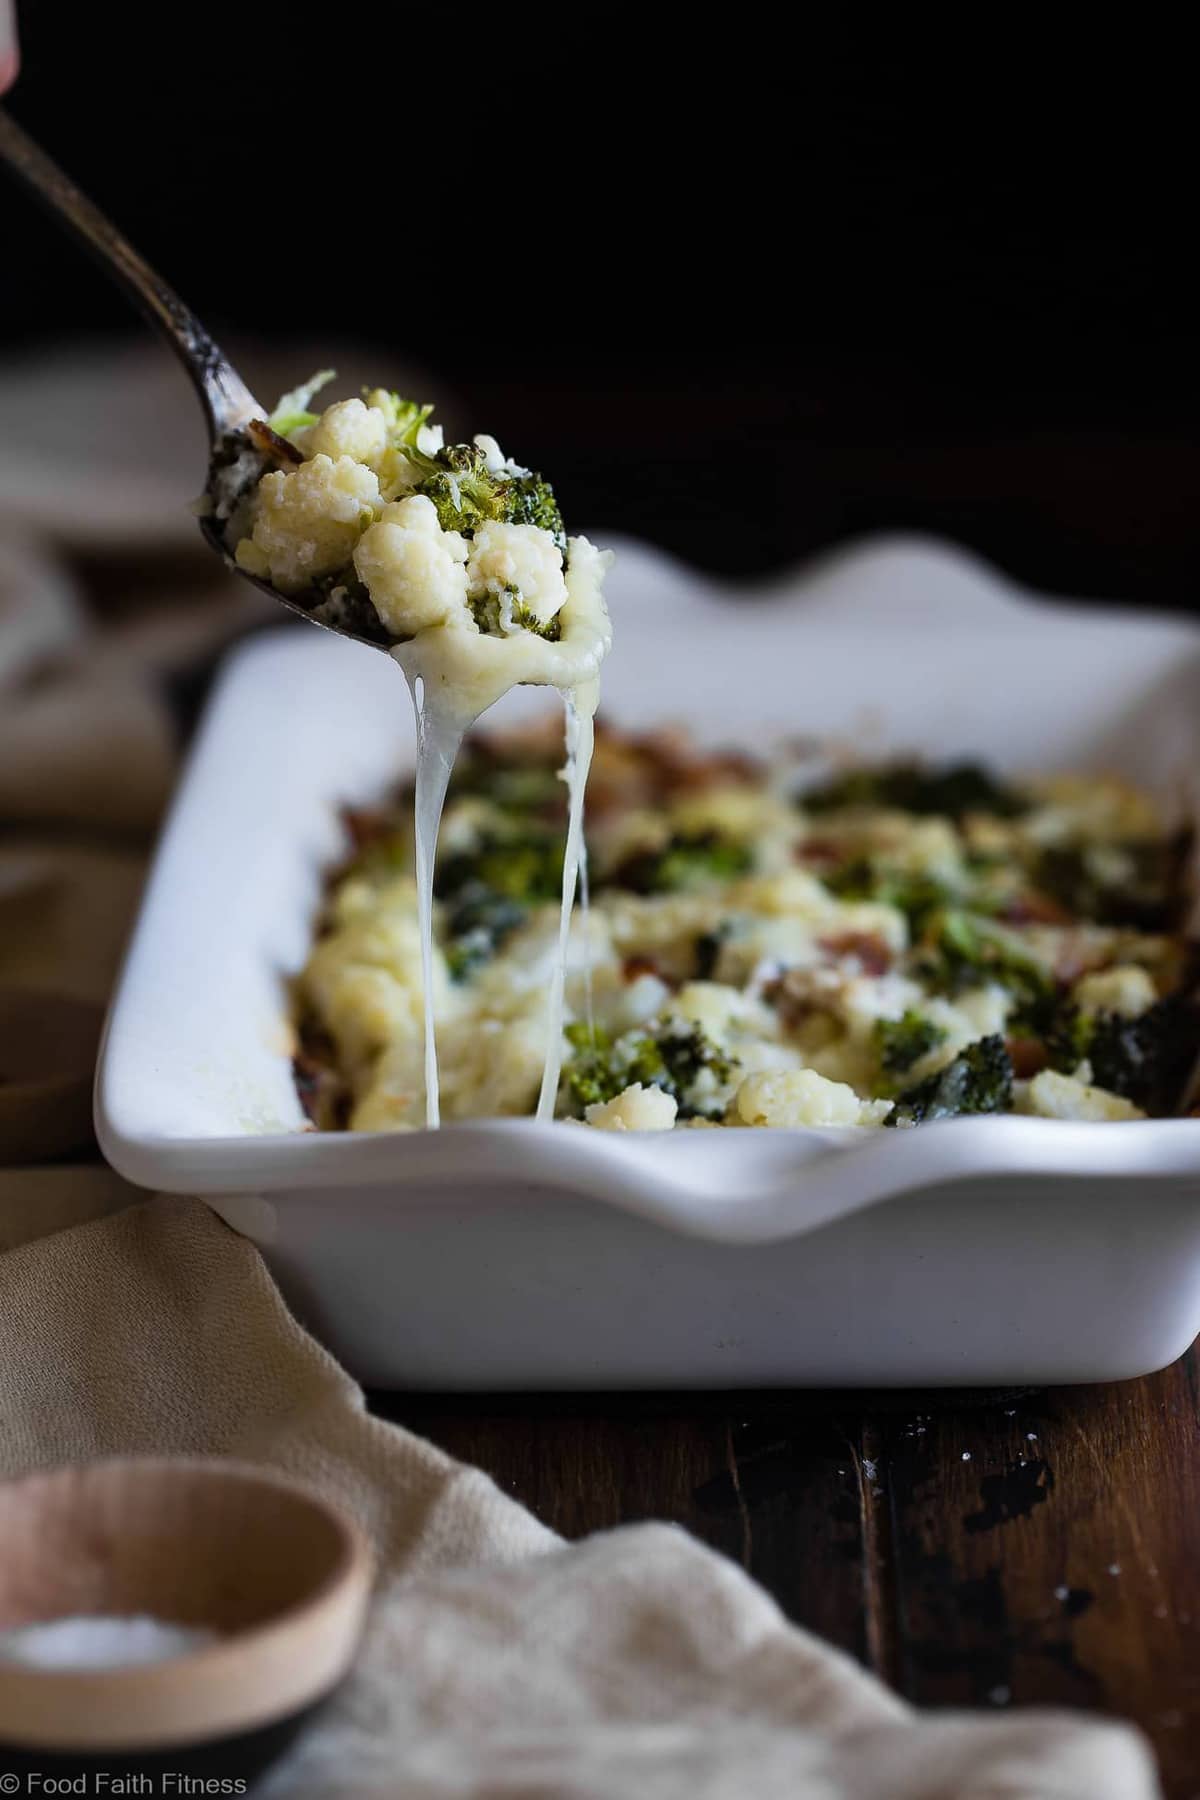
This cheesy broccoli cauliflower casserole dish is a huge crowd-pleaser. Not only do we get a nice dose of Parmesan cheese with our cruciferous vegetables, but we also get just enough salty, smoky bacon flavor to trick us into thinking it’s the main dish. Paired with the creamy texture of the Greek yogurt and melted cheese, the tender broccoli and cauliflower are toothsome and savory with every bite. That’s why this casserole is gone every time I bring it to a potluck.
Tasty tips for cruciferous perfection
To ensure the perfect cheesy broccoli and cauliflower casserole, keep a few things in mind:
- Don’t skip the pressing: Even if you’re pressed for time, pressing the water out of the broccoli and cauliflower is important! If you skip this step, you will end up with a watery casserole.
- Experiment with cheeses: Don’t like Parmesan? Toss in some shredded cheddar, provolone, pepper jack, or Gruyère.
- Avoid adding extra raw vegetables: If you want to add in onions or peppers, for example, cook them on the stove first!
- It’s best with fresh vegetables: If you must use frozen broccoli and cauliflower, however, thaw it first, then drain it in a colander and pat it dry before baking the florets.
How do I store leftovers?
Store leftover cauliflower casserole in an airtight container in the fridge for up to 4 days. You can also freeze it in freezer-safe containers for up to 3 months. Let it thaw in the fridge overnight before reheating it in the oven until hot. You can also reheat it in the microwave, but the texture will be better if you use the oven!
Serving suggestions
Serve this casserole alongside chicken dishes such as Oven-Baked Chicken Thighs, Roasted Chicken, or Quinoa-Crusted Chicken. It’s also great with pork main dishes like Broiled Pork Chops and Baked Pork Tenderloin. With a main dish, serve the casserole with a side of fluffy Brown Rice for a complete meal!
Ingredients
- 2 slices bacon
- 3 cups broccoli cut into large florets
- 2½ cups cauliflower cut into large florets
- ½ teaspoon sea salt
- ½ cup Parmesan cheese finely grated and tightly packed
- ⅔ cup plain Greek yogurt full-fat
- 1 tablespoon garlic minced
- 1 pinch ground black pepper
Instructions
- Preheat oven to 400°F and spray an 8×8-inch pan with cooking spray.
- Cook the slices of bacon in a large pan on medium heat until golden brown and crispy, about 3-4 minutes per side, flipping once. Transfer to a paper towel-lined plate and pat with another paper towel to absorb the excess fat. Set aside. Reserve the bacon fat.
- Add the broccoli and cauliflower to a large bowl. Pour the bacon fat over the vegetables and toss until coated. Add in the salt and toss once more.
- Spread the vegetables in a single layer on a baking sheet, making sure to not crowd them. Bake in the preheated oven until the vegetables begin to release their moisture and the cauliflower just begins to become fork-tender, about 10 minutes.
- Lay some paper towels out on a flat surface and use a spoon to transfer the roasted veggies onto it in a single layer. Using another layer of paper towels on top, press out the moisture. Don’t smash the vegetables, but try to get out as much moisture as you can. Repeat with another layer of paper towels on top.
- Place the vegetables back into the bowl and add all the remaining ingredients. Stir until everything is well mixed. Chop up the cooked bacon slices and stir them in.
- Transfer the mixture to the prepared pan, packing the vegetables together. Bake uncovered until the cheese is melted and bubbly and begins to brown, about 20 minutes.
- Let stand for 5 minutes before serving.
Nutrition Info:
Nutrition information are estimates only and may vary based on the specific brands, ingredients, and portion sizes you use. This data is provided for informational purposes only.



Question: I want to make this for a church dinner…..Is it possible to make it a day ahead and then reheat before serving?
Hi Tonya! You can definitely prepare this dish a day ahead and then reheat it before serving at your church dinner. Here’s how you can do it:
1. Follow the recipe as instructed, from steps 1 through 7.
2. Once the dish has finished baking, let it cool down completely.
3. After it has cooled, cover it with aluminum foil or plastic wrap, and refrigerate it overnight.
4. The next day, before serving, preheat the oven to 350°F (175°C).
5. Remove the foil or plastic wrap, and reheat the dish for about 20-25 minutes, or until it’s heated through and the cheese on top is bubbly.
Keep in mind that reheating times may vary depending on your oven, so keep an eye on the dish as it reheats. Enjoy the dinner and I hope the dish is a hit at your church!