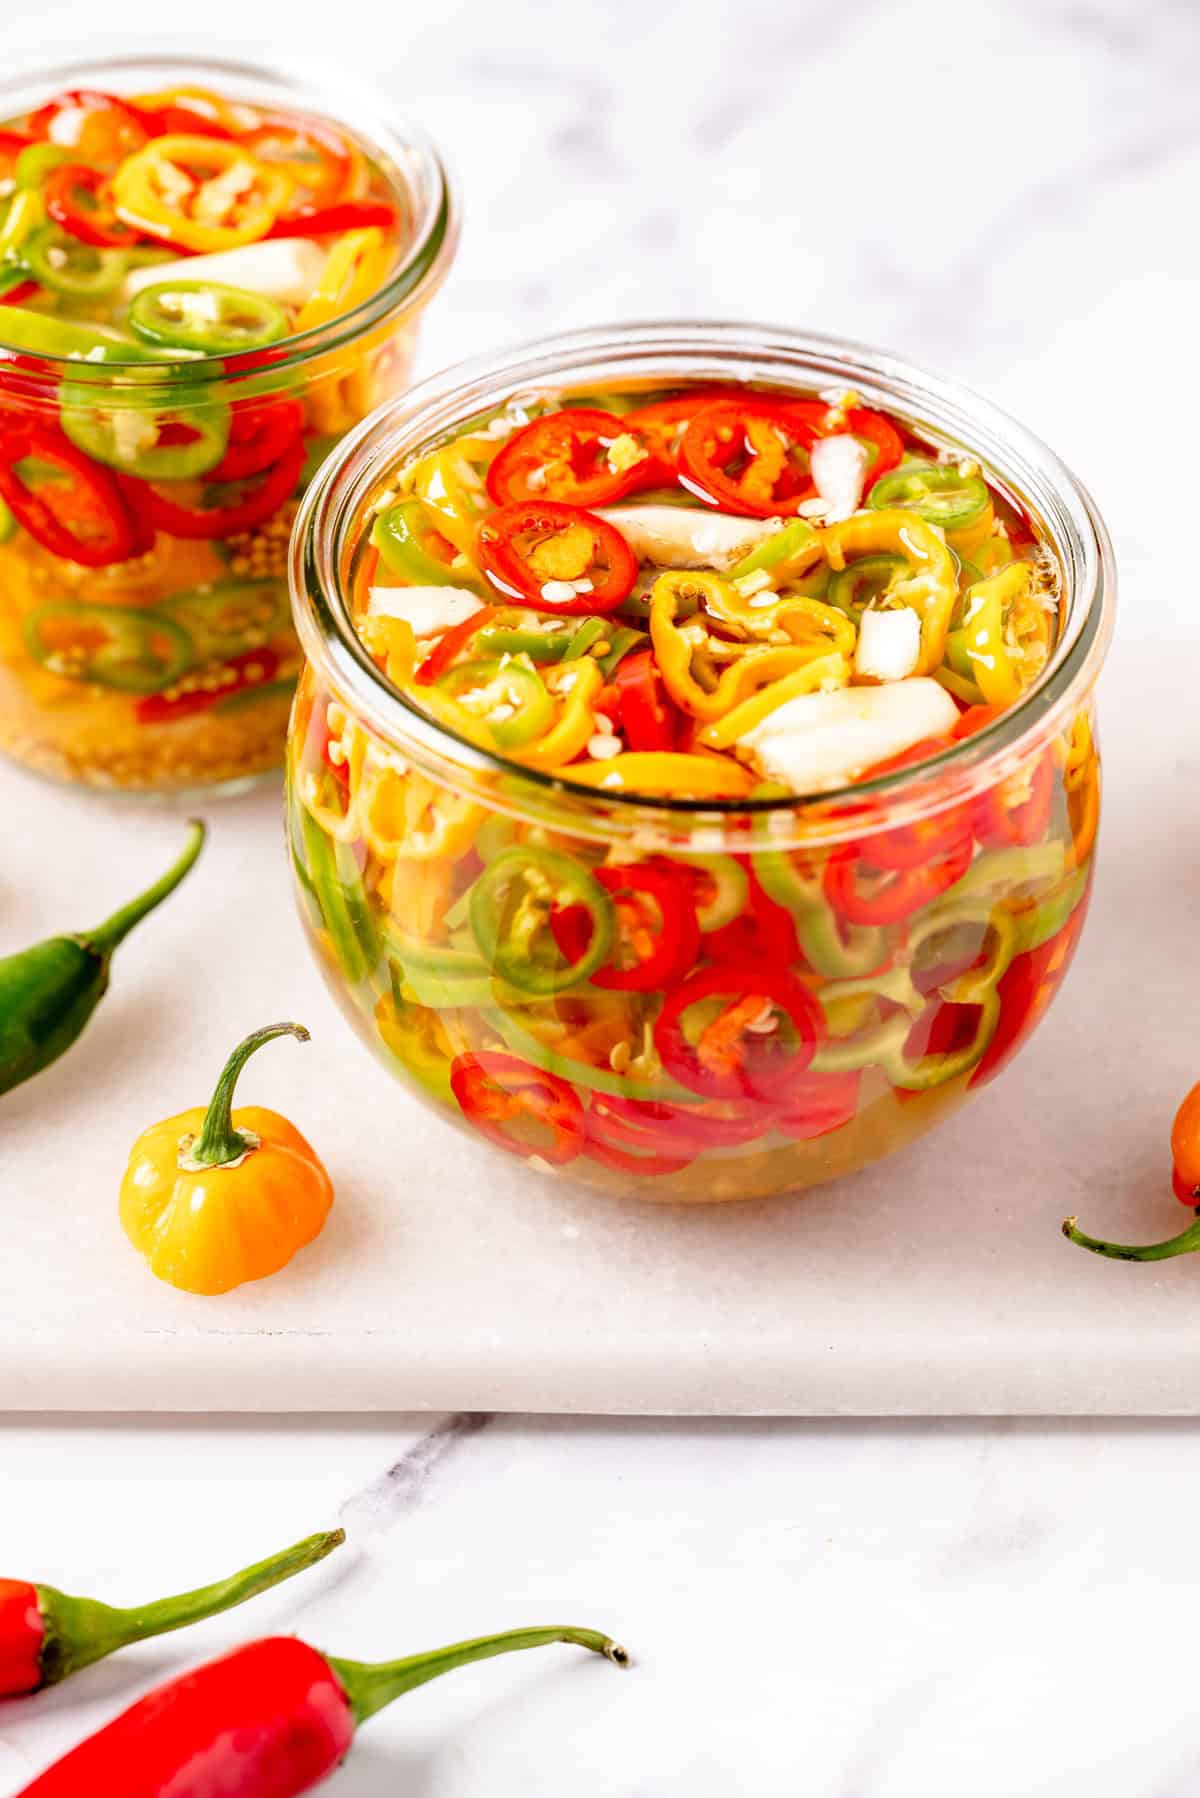
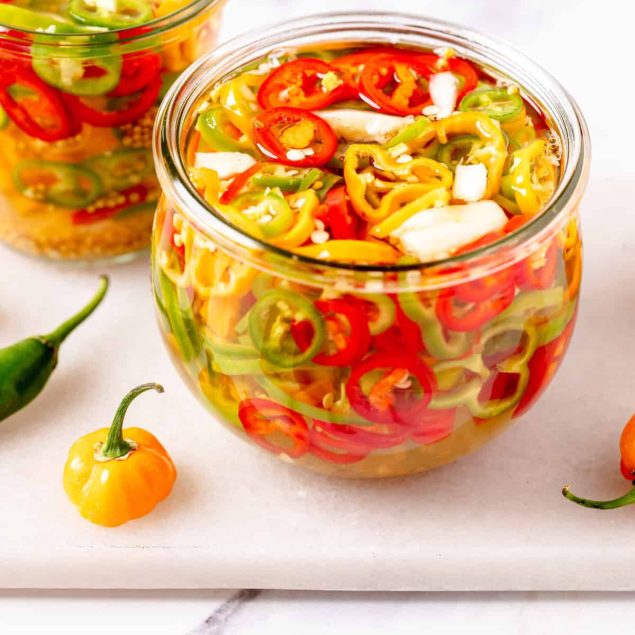
Enjoy the bright, zesty flavors of summer all year long on all kinds of dishes!
My family loves pickled foods. From dill pickles to pickled beets, we adore those briny and bright flavors! The problem we’ve encountered is all the extra salt, sugar, and preservatives in most of the store-bought options. I always thought it would be healthier to make them at home—but I had visions of endless hours of boiling jars, a huge mess in my kitchen, and rancid veggies that weren’t sealed properly. No, thank you!
Then my sister-in-law found this pickled peppers recipe. My inner skeptic came out when I saw how quick and easy the recipe was. I agreed to try it because I’m a team player. Plus, I really wanted to see if they could taste as good as store-bought.
Long story short, it honestly took only 15 minutes to prep everything and make the brine. And when I tasted them the next day, I was floored! The peppers still had a little crunch, and the burst of salty, spicy, sweetly tangy flavors delighted my senses! They weren’t as syrupy as store-bought pickled veggies can be, but that was a good thing.
Now we get together to make double or triple batches of pickled peppers several times a year. My nieces are getting in on the action, too, encouraging us to try different types of peppers and vinegars. My favorite hack is roasting the peppers before pickling them—you’ll find more on that technique below. It deepens the flavor profile and adds a hint of smokiness.
Homemade pickled peppers are perfect for topping tacos and sandwiches or snacking on straight from the jar like regular pickles. I’ve even folded them into omelets! Give this easy recipe a try, and I’m sure you’ll be delighted with the results.
Are Pickled Peppers Healthy?
Homemade pickled peppers can be a nutritious addition to most diets—especially compared to many store-bought options that often contain preservatives and higher levels of sodium. By making them yourself, you can control the amount of salt and sugar, as well as the quality of the ingredients.
Peppers are naturally rich in vitamin C, low in calories, and high in fiber, making them a smart choice for snacking or adding flavor to meals. Spicy varieties, like jalapeños, contain capsaicin, a compound studied for its potential anti-inflammatory and metabolism-boosting properties.
Although this is a vegan and gluten-free recipe, it is quite high in sodium, which is typical for pickled foods. If you’re watching your sodium intake, you can reduce the salt or enjoy these peppers in moderation as a flavorful accent rather than a main component.
Bring Out The Best In Your Peppers
Roasting your peppers before pickling is a simple step that can truly elevate your homemade pickled peppers. Roasting caramelizes the natural sugars in the peppers, deepening their flavor and adding a subtle smokiness that pairs beautifully with the tangy brine. It also softens the peppers, giving them a more tender, agreeable texture.
You can roast smaller peppers whole and larger peppers cut in half. If you’re using your oven’s broiler, place the peppers skin-side up on a baking sheet. If you’d rather grill them, place them directly on the grill grates, skin side down. Roast until the skins are blistered and blackened, turning as needed for even charring. This usually takes five to ten minutes under a broiler or on a grill. I like to leave the charred skins on for extra smoky flavor. But you can make the skins easier to peel off by letting the hot roasted peppers steam in a bowl covered by a lid or plate for 10–15 minutes.
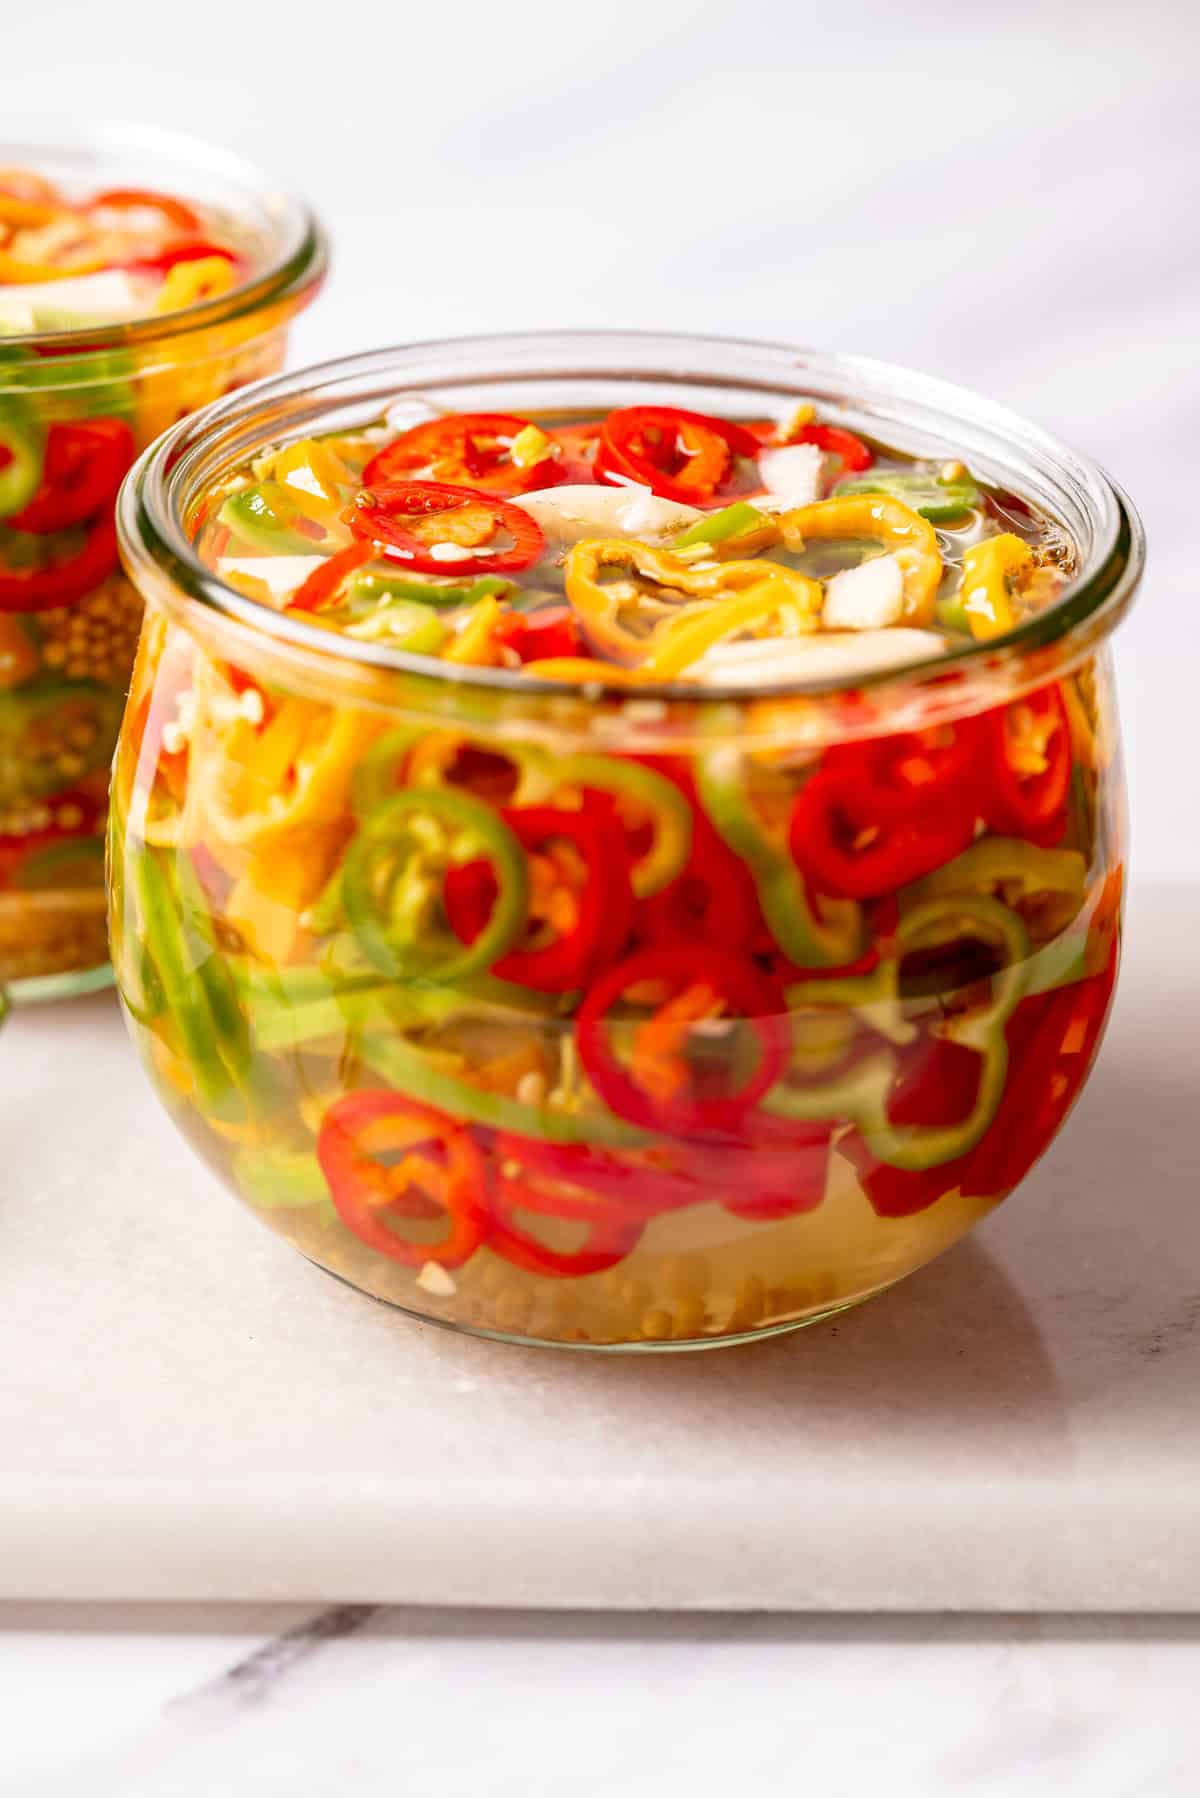
After roasting and slicing your peppers, be sure to let them marinate in the pickling brine for at least a day or two in the refrigerator. This allows the flavors to meld and the peppers to fully absorb the sweet, tangy, and salty notes of the brine. The result? A vibrant, flavorful medley of pickled peppers with layers of taste and just the right amount of heat!

FAQs & Tips
How Do I Store Leftovers?
Pickled peppers are perfect for long-term storage. Simply keep the cooled jars in the fridge, where they’ll stay fresh for 2–3 months. For shelf-stable storage—in a cool, dark pantry for up to 12 months—you’ll need to use a proper canning method, which involves these four steps: 1. Fill clean mason jars with your hot peppers and brine, leaving about 1/2 inch of headspace.
2. Wipe the rims, apply the lids, and screw on the bands until fingertip tight. 3. Process the jars in a boiling water bath for 10 minutes to ensure a safe seal. 4. Cool the jars on a towel or rack. As they cool, you’ll hear a “pop”—which means the jars are sealed.
What’s The Difference Between Pickling And Fermenting?
Pickling preserves food by adding an acid, such as vinegar, which gives the food a salty-sour flavor and prevents spoilage. Fermenting, on the other hand, uses beneficial bacteria to naturally convert sugars in the food into lactic acid, creating a tangy flavor without any added acid. Fermentation also adds probiotics, which are beneficial for gut health.
What Kinds Of Peppers Should I Use?
I used a combo of jalapeños, bell peppers, and banana peppers for this recipe. But you’ve got a wide array of other colorful options to choose from—all of which work well in this pickling recipe! For example, Cubanelle peppers are mild and flavorful with a spice level comparable to banana peppers. Hungarian peppers have a sweet-hot flavor with a slightly higher heat range. Sweet cherry peppers are named for their small, round, cherry-like shape. They tend to have very low heat levels and a juicy, tangy flavor.
Serving Suggestions
There are nearly endless ways to enjoy the briny brilliance of these pickled peppers! I like snacking on them straight from the jar, but they’d make an exceptional topping for a Margherita Pizza or these Air-Fryer Nachos. They add brilliant flavor to handhelds, like this Avocado Egg Sandwich, this Chicken Caesar Wrap, or a Cowboy Burger. And they’re a naturally flavorful addition to salads, especially this vibrant Mexican Chopped Salad, this nutrient-dense Vegan Salad, or this bold and beautiful Antipasto Salad.
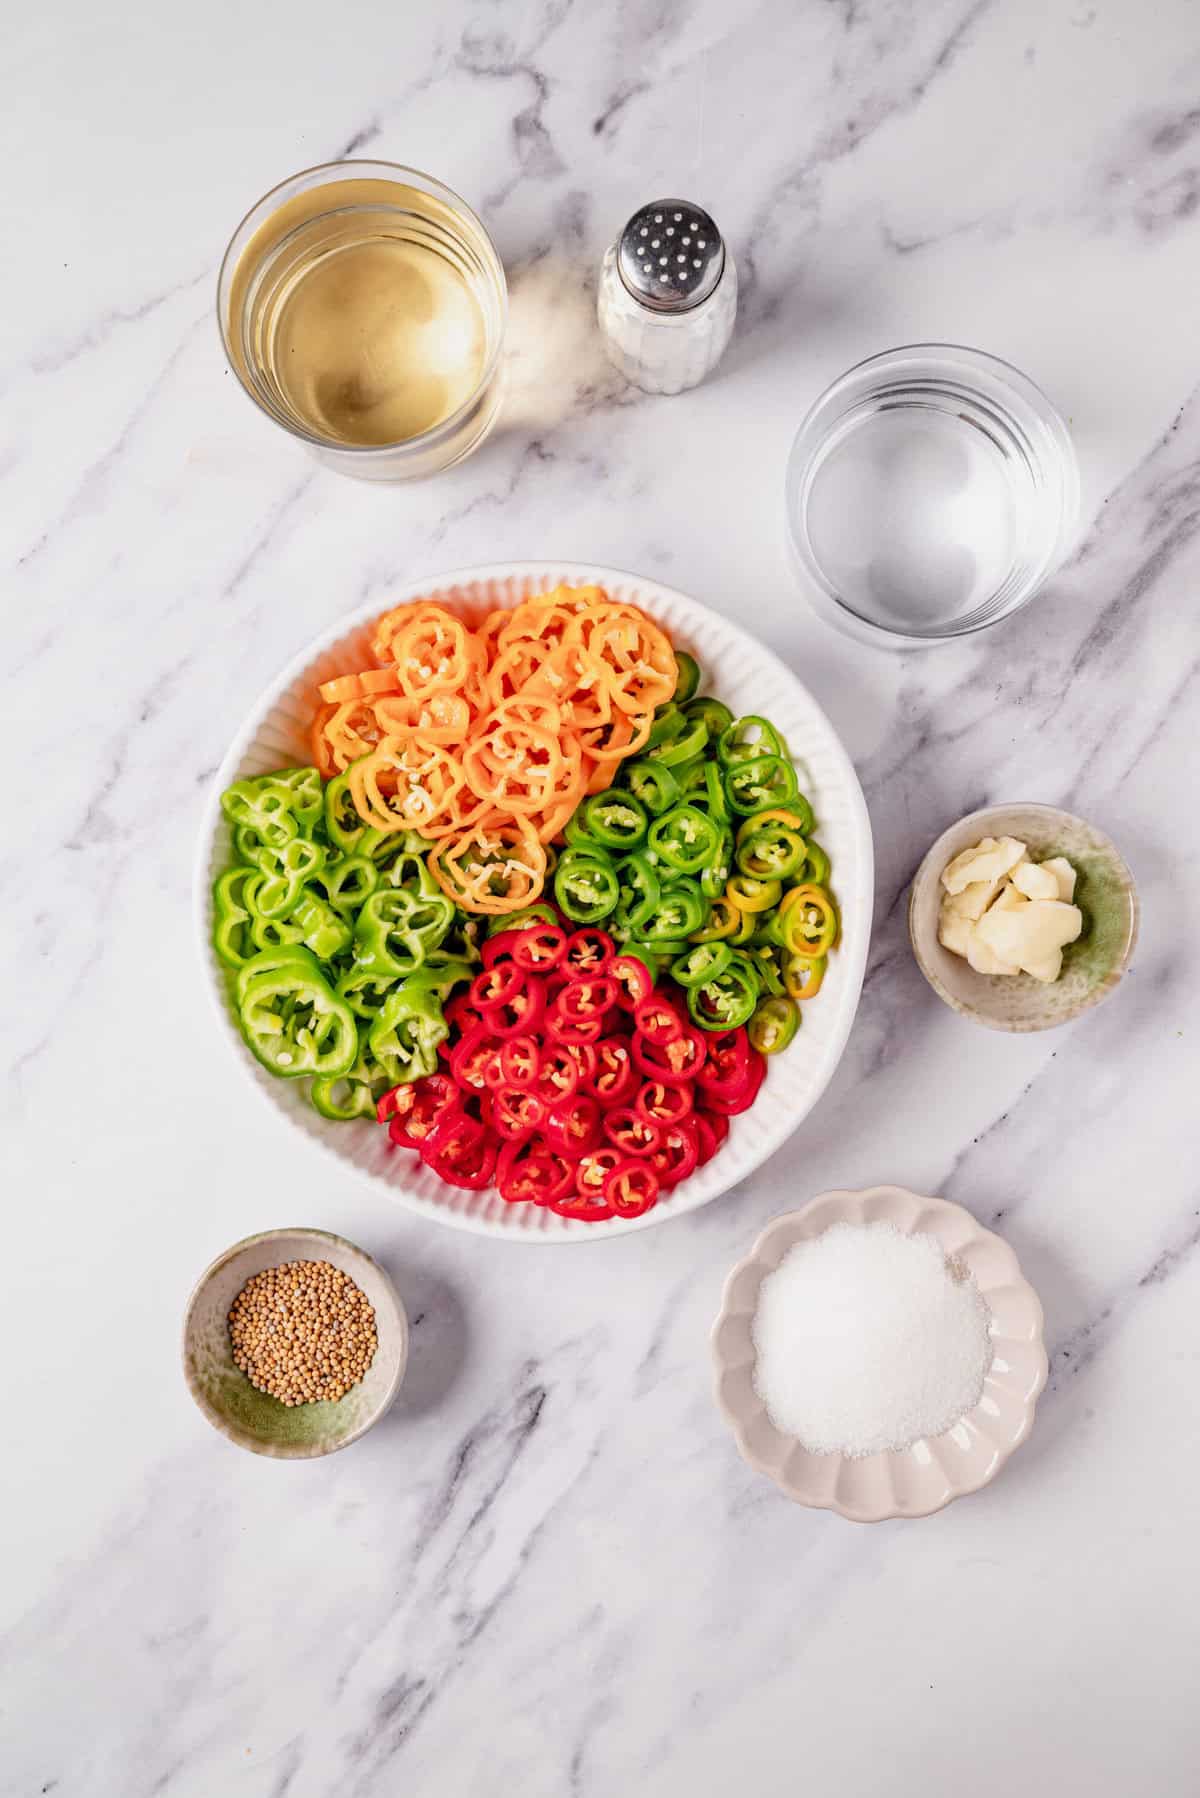
Ingredients
- 1 cup white vinegar
- 1 cup water
- 2 tablespoons sugar
- 1 tablespoon kosher salt
- 2 cloves garlic smashed
- 1 teaspoon mustard seeds
- 2 cups mixed peppers sliced
Instructions
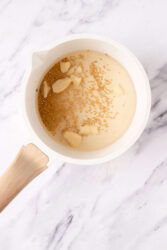
- Combine vinegar, water, sugar, salt, garlic, and mustard seeds in a saucepan. Bring to a boil, stirring until the sugar and salt dissolve.
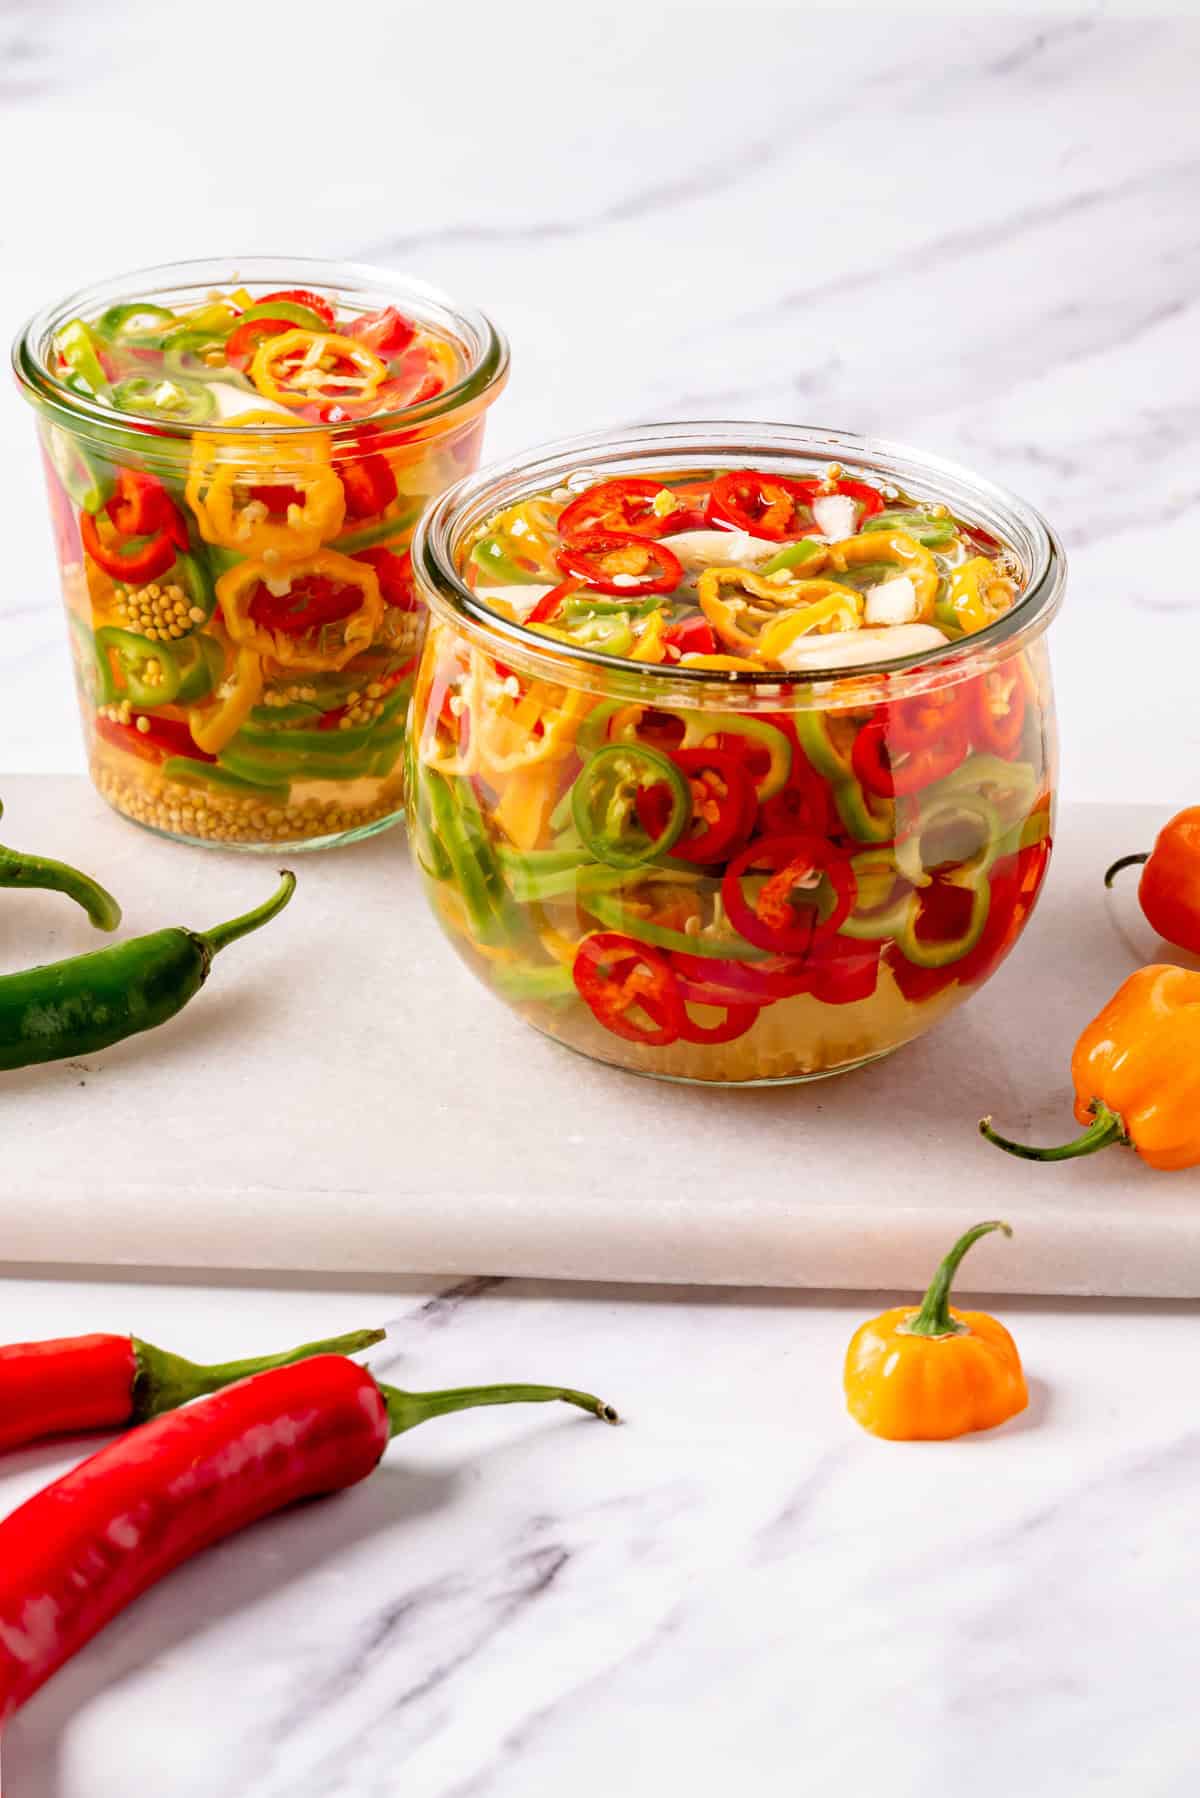
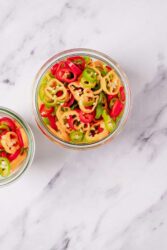
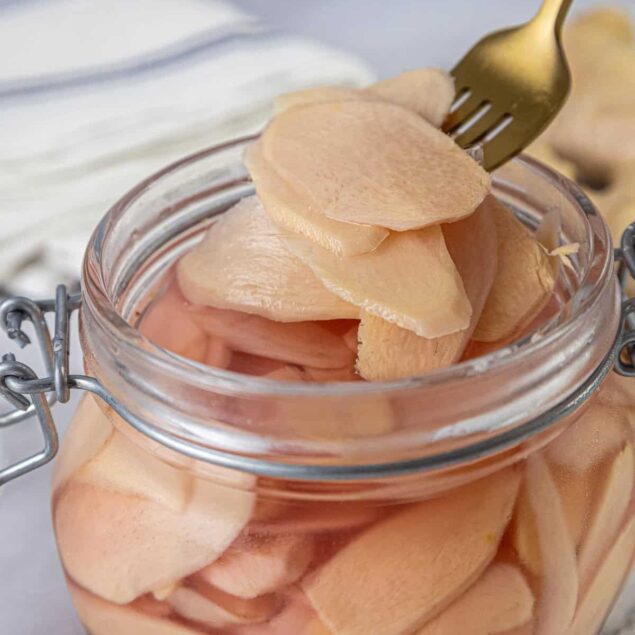
- Place the sliced peppers in a clean, heatproof jar.
- Pour the hot vinegar mixture over the peppers, ensuring they are completely submerged.
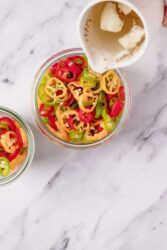
- Seal the jar and let it cool to room temperature before refrigerating overnight.
Nutrition Info:
Nutrition information are estimates only and may vary based on the specific brands, ingredients, and portion sizes you use. This data is provided for informational purposes only.
Leave a Comment