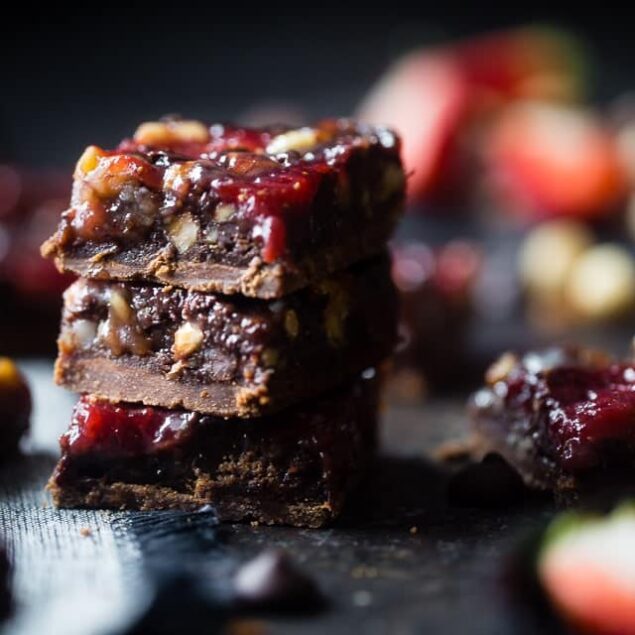
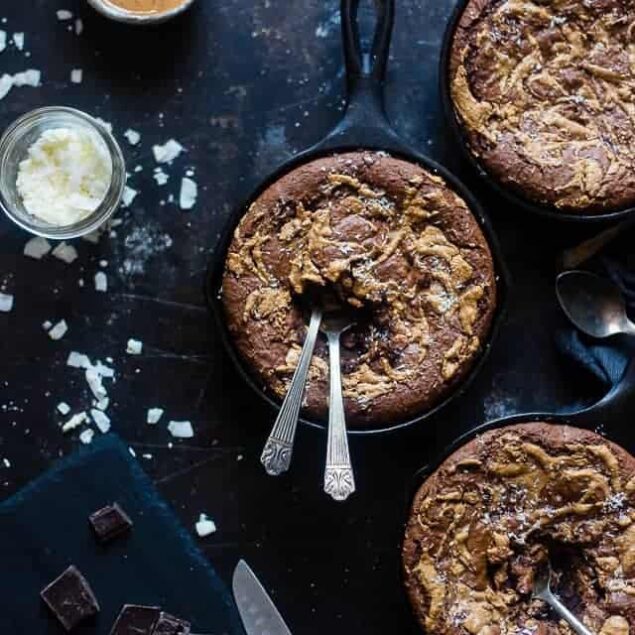
This sugar-free Peanut Butter Chocolate Lava Cake Recipe makes a perfectly rich, protein-packed, decadent dessert for two.
The first impressive dessert I ever had at a restaurant was a chocolate lava cake. Imagine my 11-year-old brain lighting up when I cut the first bite out of my free birthday dessert at the chain restaurant my parents took me to. “The chocolate is flowing!” I shrieked with excitement. I’m not sure why that moment stuck so well in my memory, but I guess cakes are formative experiences for people like me.
Even though they might look like high-level scientific baking magic, lava cakes aren’t difficult to make at home. They’re just assembled a little differently compared to normal cakes, and they don’t take as long to bake in the oven. Considering the differences, I think they’re even slightly easier to make than a regular cake! I wouldn’t call them any healthier, though.
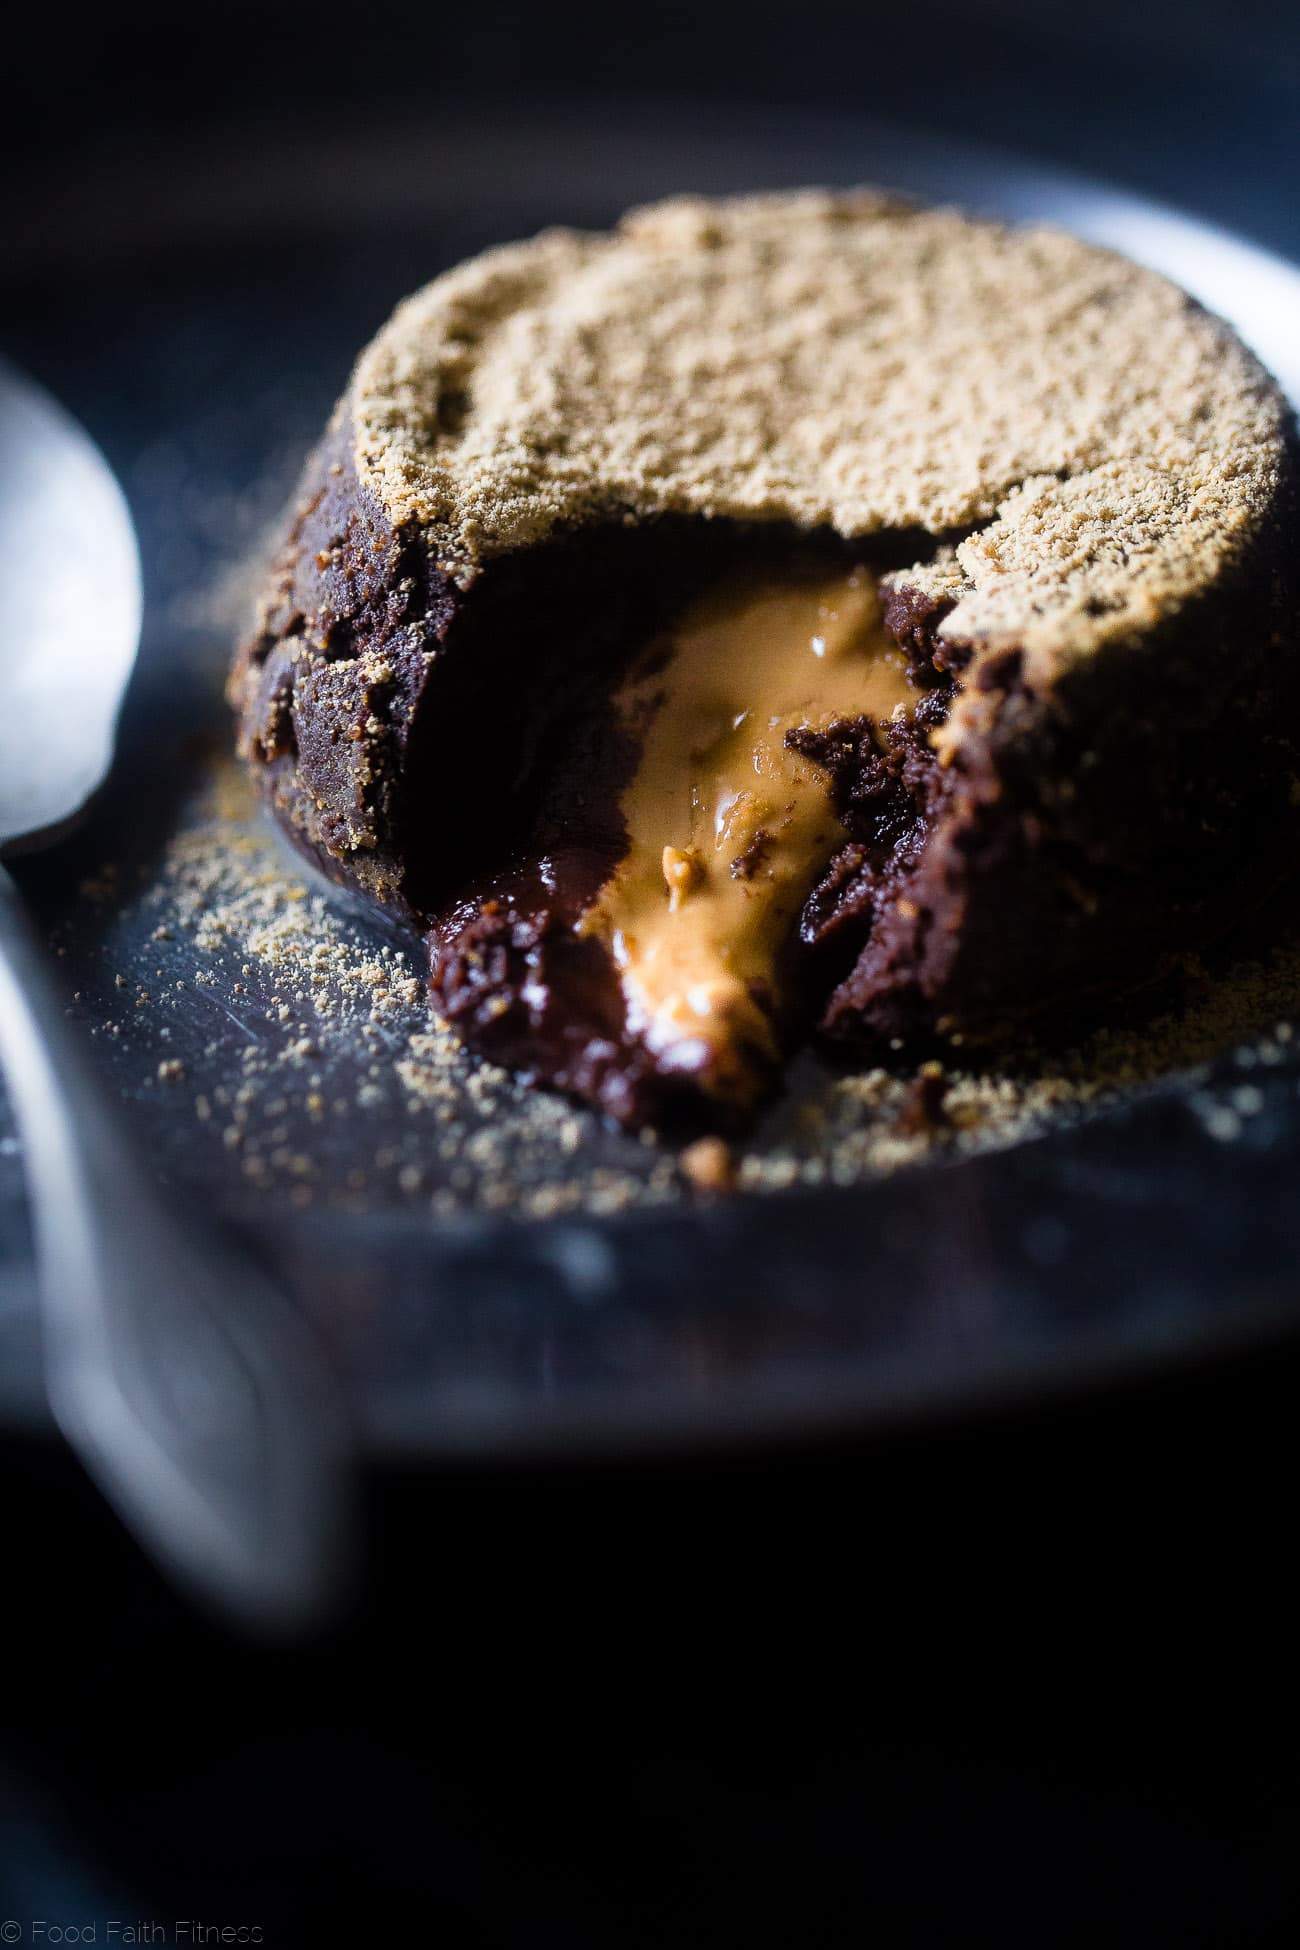
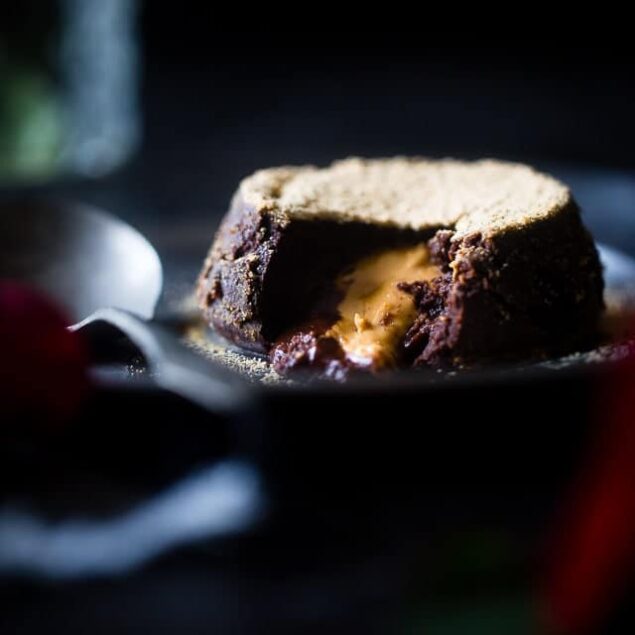
But this peanut butter chocolate lava cake recipe aims to be a little healthier than the average slice of cake. The recipe uses monk fruit and stevia-sweetened dark chocolate instead of regular sugar, which removes a ton of added sugars that would otherwise be in a lava cake. There’s also no flour. Instead, there’s lots of protein, peanut butter “lava,” and dark chocolate lusciousness that is every bit as rich as any lava cake you’d get at a restaurant—but far more satisfying.
Is This Peanut Butter Chocolate Lava Cake Healthy?
Compared to most tiny cakes that look like this, yes. This peanut butter chocolate lava cake is actually healthier, believe it or not! The stevia-sweetened dark chocolate contains all the beneficial nutrients in regular dark chocolate, including antioxidants, fiber, protein, iron, and small amounts of trace minerals like copper and magnesium. Natural peanut butter should only contain peanuts and salt; peanuts contribute lots of protein, and most of the fat content is the healthy kind. Nonfat Greek yogurt gives a dose of probiotics along with protein.
Overall, this dish is low-sugar, vegetarian-friendly, and gluten-free. You can make it dairy-free by substituting a plant-based yogurt for the Greek yogurt and making sure the dark chocolate you use is dairy-free.
What Makes A Lava Cake Flow?
This question had me stumped for years as a kid. As it turns out, the “lava” in a typical lava cake is just undercooked cake batter—not a separate filling. It remains liquid because the cake is intentionally underbaked! A typical lava cake is made with a rich, high-fat batter that will set quickly on the outside while keeping the inside gooey.
This lava cake recipe is a little different because there’s no flour, and we’re actually using a different filling (pure peanut butter) than most lava cakes. If you were to overbake this lava cake, the peanut butter center would likely still be liquid, but the cake might not taste that great. So, be sure to stick to the cooking times listed below for the perfect lava cake texture.

How Do I Store Leftovers?
Lava cakes are at their best right after they’re removed from the ramekins. If possible, only make as many lava cakes as you’re planning on serving for dessert. If you do end up with a half-eaten serving, you can keep it in an airtight container in the fridge for up to 3 days. The best way to reheat this is in the microwave in short intervals of 10 seconds, until you see the peanut butter get gooey again! I don’t advise freezing these lava cakes, though.
Serving Suggestions
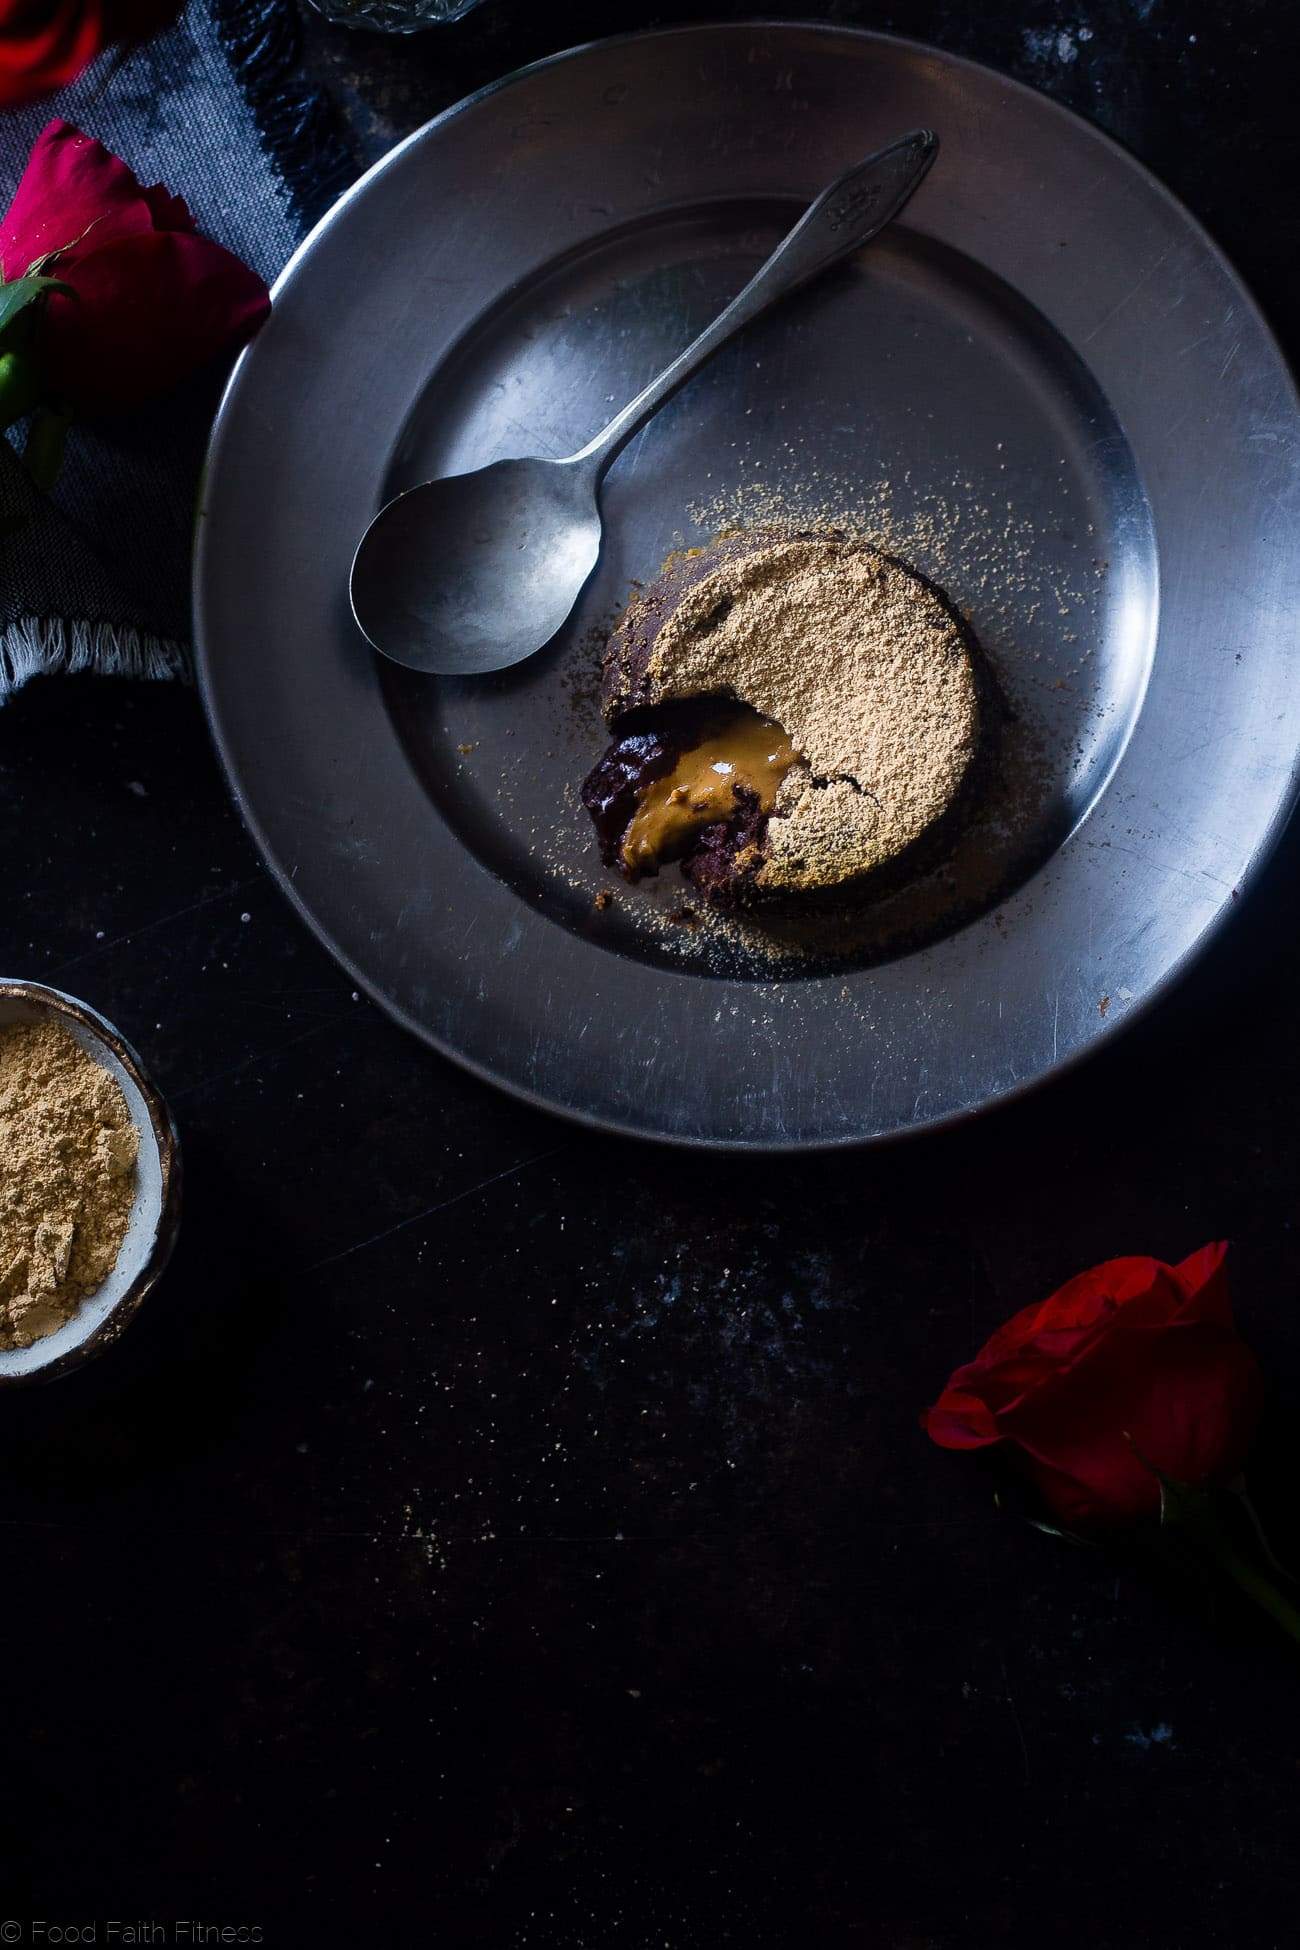
These lava cakes are a perfect dessert after any number of delicious, savory main dishes. I love it after a dinner of Baked Parmesan-Crusted Chicken, Sautéed Green Beans, and Baked Sweet Potatoes.
The dessert itself is incredible with a few additions. Serve it alongside a Perfect Espresso Martini or a shot of espresso, with a little bit of Chocolate Whipped Cream as a garnish on the plate. Your guests will give you bonus points if you add a tiny bit of tart fruit, such as sliced strawberries.
Ingredients
- 1 egg
- 1 egg yolk
- 1/4 cup + 2 tablespoons monk fruit sweetener
- 1/4 cup plain nonfat Greek yogurt
- 1/4 teaspoon vanilla extract
- Pinch salt
- 3 ounces stevia-sweetened dark chocolate, roughly chopped such as Lily's
- 1 teaspoon coconut oil plus additional for the ramekins
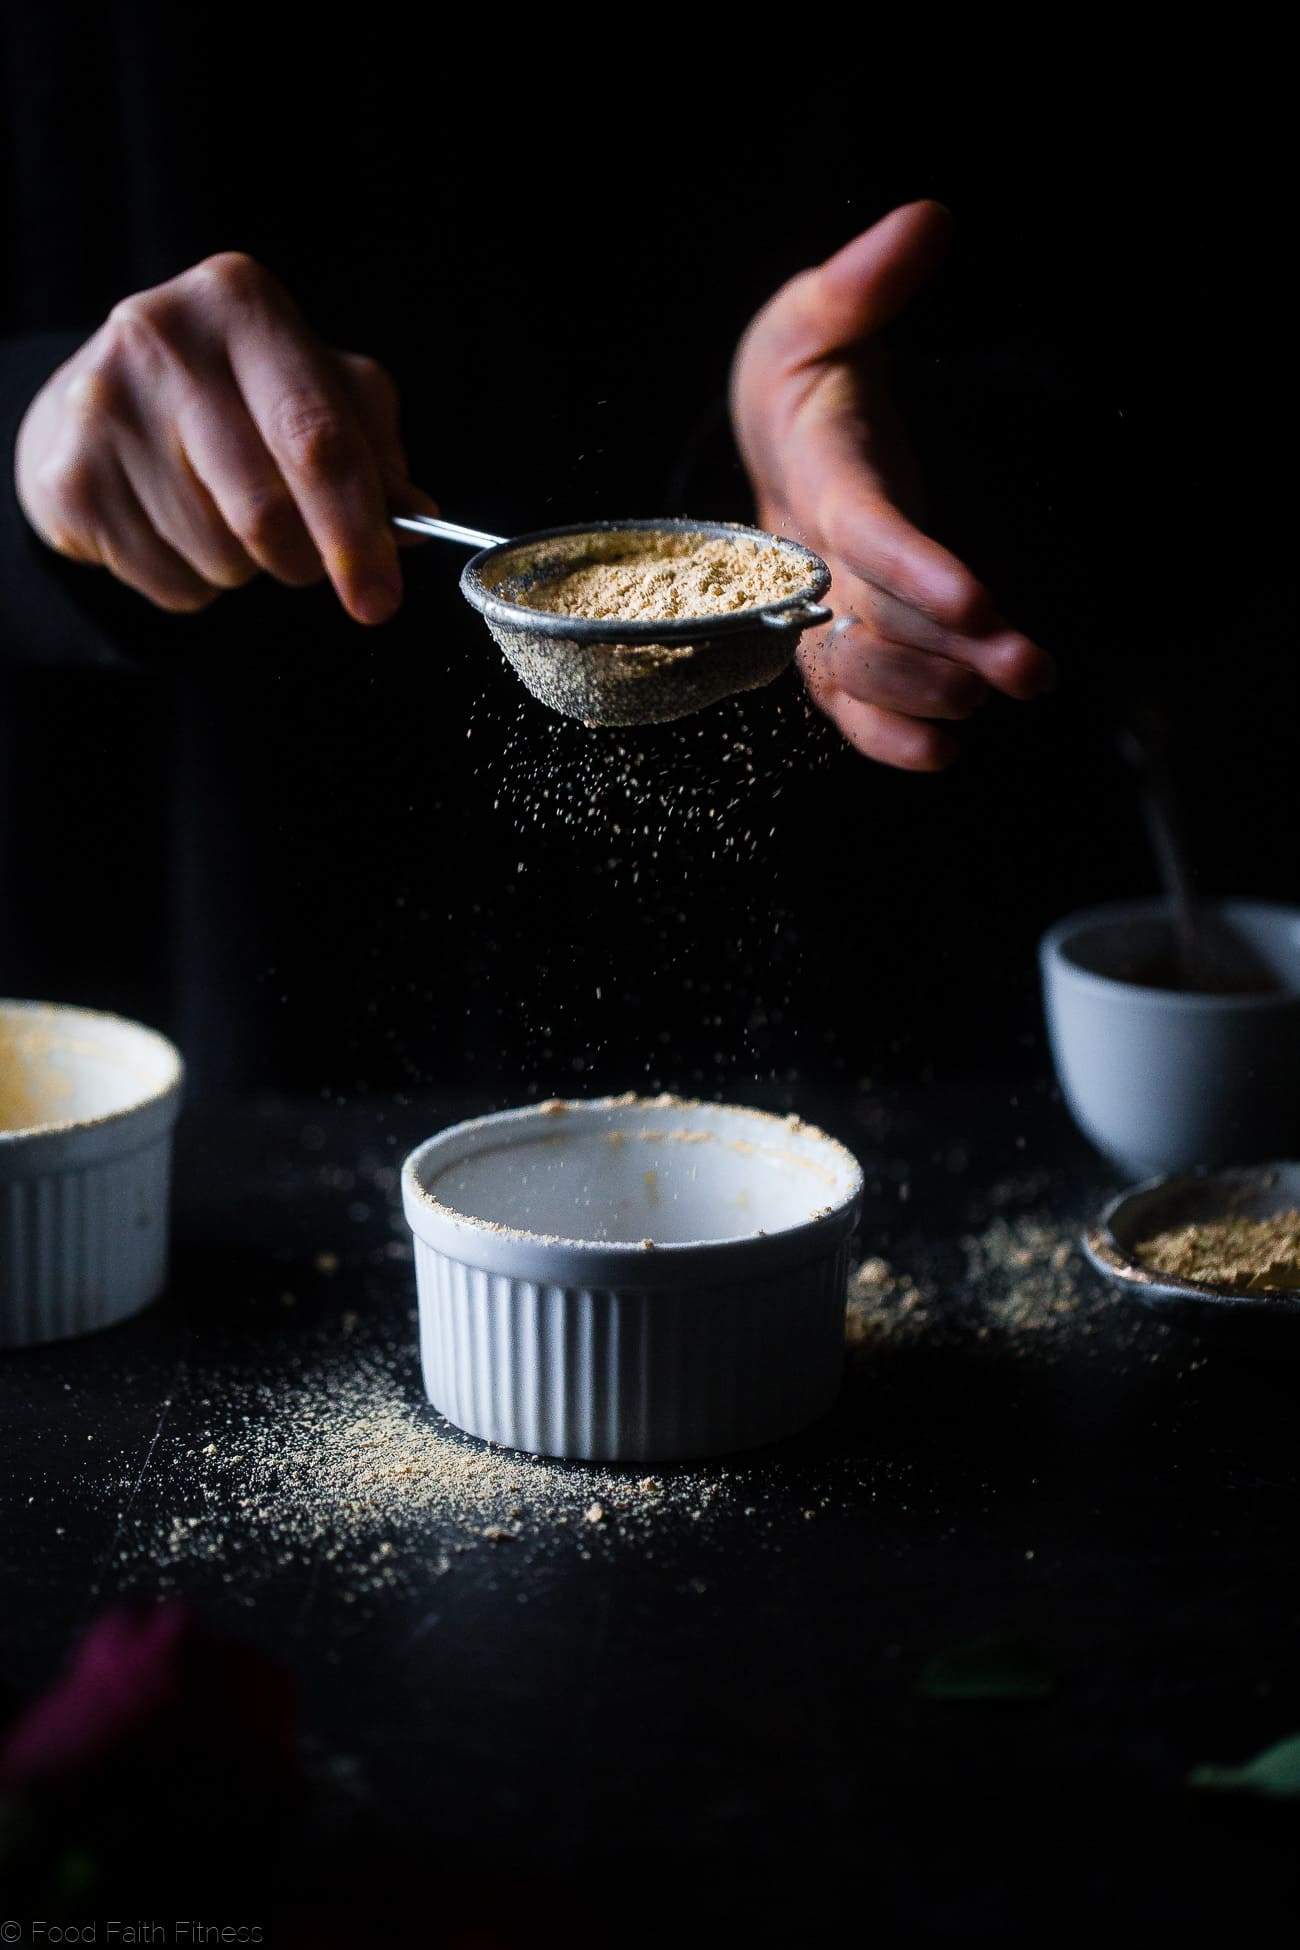
- 2 tablespoons powdered peanut butter plus additional for the ramekins
- 1 tablespoon natural peanut butter no sugar added
Instructions
- Preheat your oven to 400℉ and generously rub 2 oven-safe, 5-ounce ramekins with coconut oil. Sprinkle the inside of each ramekin with a light coat of powdered peanut butter.
- In a medium bowl, using an electric hand mixer, beat together the egg, egg yolk, monk fruit, Greek yogurt, vanilla extract, and salt until well combined.
- Place the chocolate and 1 teaspoon coconut oil into a large, microwave-safe bowl and microwave in 30-second intervals at 50% power, stirring between each interval, until smooth and melted.
- Slowly pour the egg mixture into the melted chocolate, whisking constantly, until smooth and mixed. Finally, whisk in the 2 tablespoons of powdered peanut butter until smooth.
- Fill each ramekin halfway-full with the batter. Then, place a ½ tablespoon of peanut butter into the center of each ramekin, lightly pressing it into the batter. Divide the remaining batter between the ramekins, filling to ¾ of the way full.
- Bake until the edges feel set and the inside is still a little soft, about 10 minutes.
- Once out of the oven, let the ramekins stand for 1 minute. Then, gently run a knife along the outside of each ramekin and place an upside-down plate on top. Gently flip the plate and ramekin over, so that the cake slides right out.
- Sprinkle with additional powdered peanut butter and serve immediately.
Nutrition Info:
Nutrition information are estimates only and may vary based on the specific brands, ingredients, and portion sizes you use. This data is provided for informational purposes only.
Leave a Comment