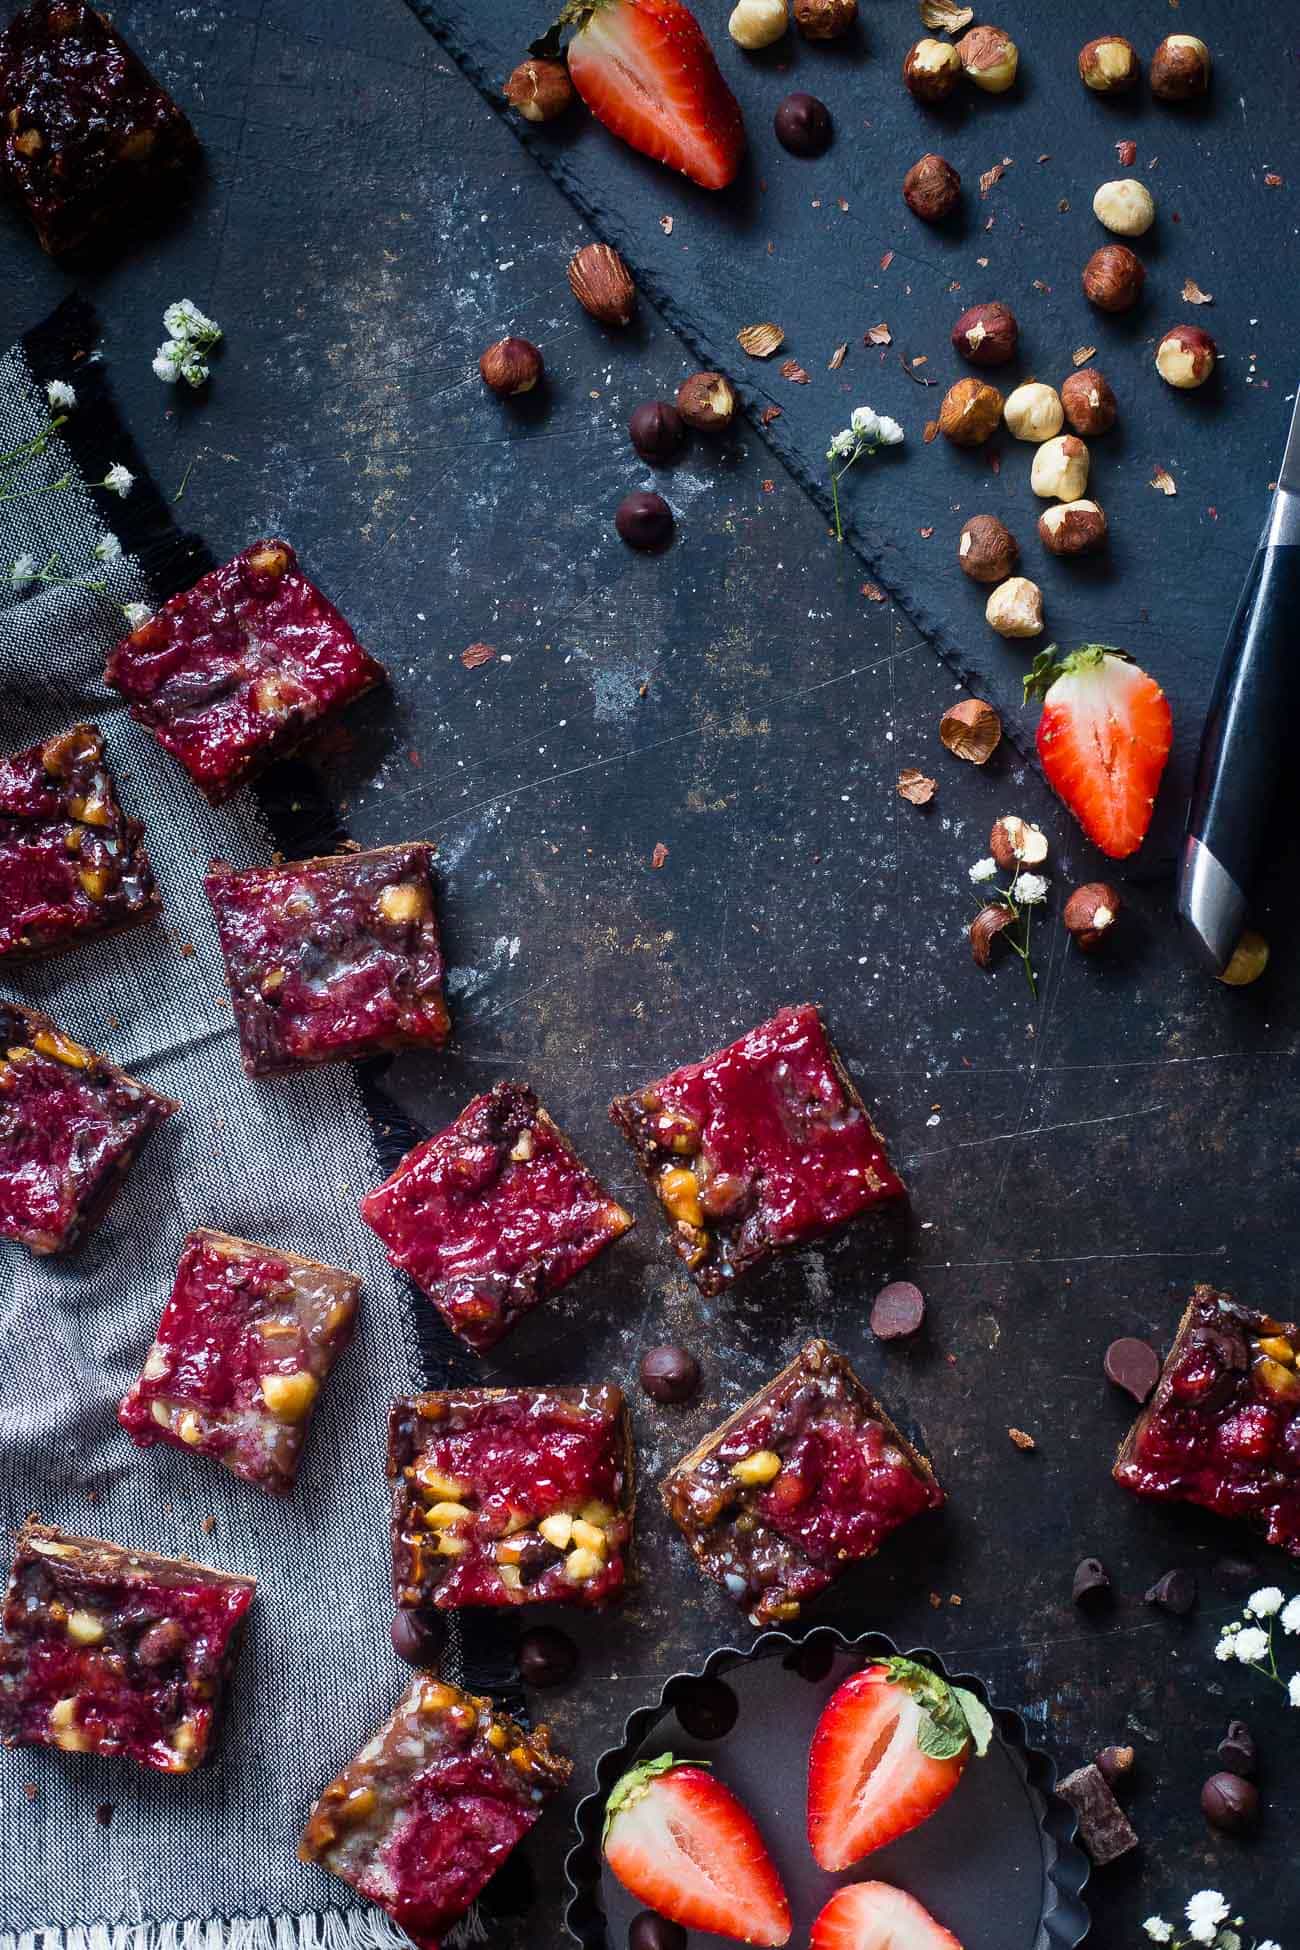
These Paleo bars feature swirls of sweet strawberry and rich, creamy chocolate for a cookie bar that feels far more indulgent than it is.
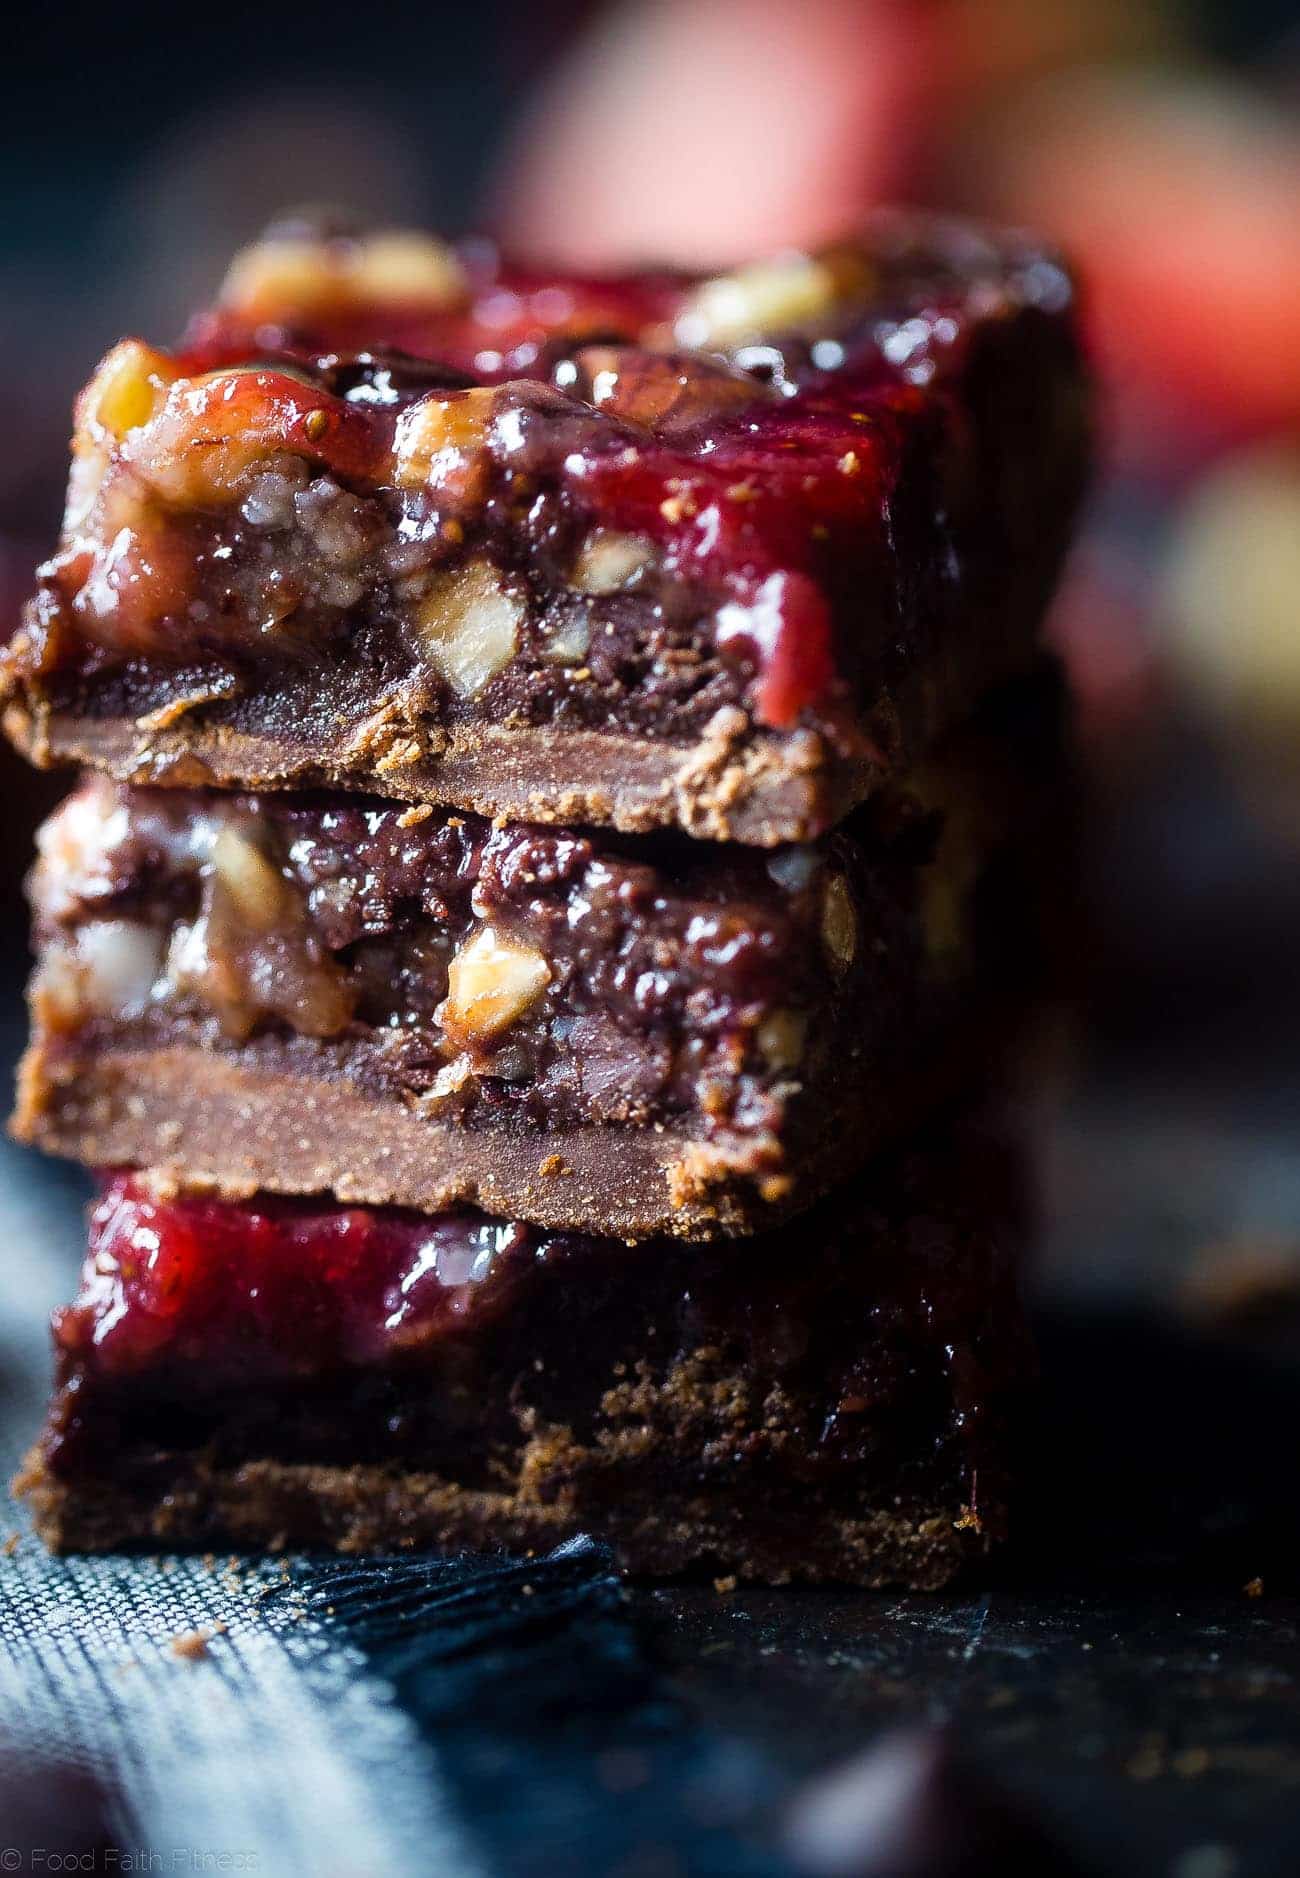
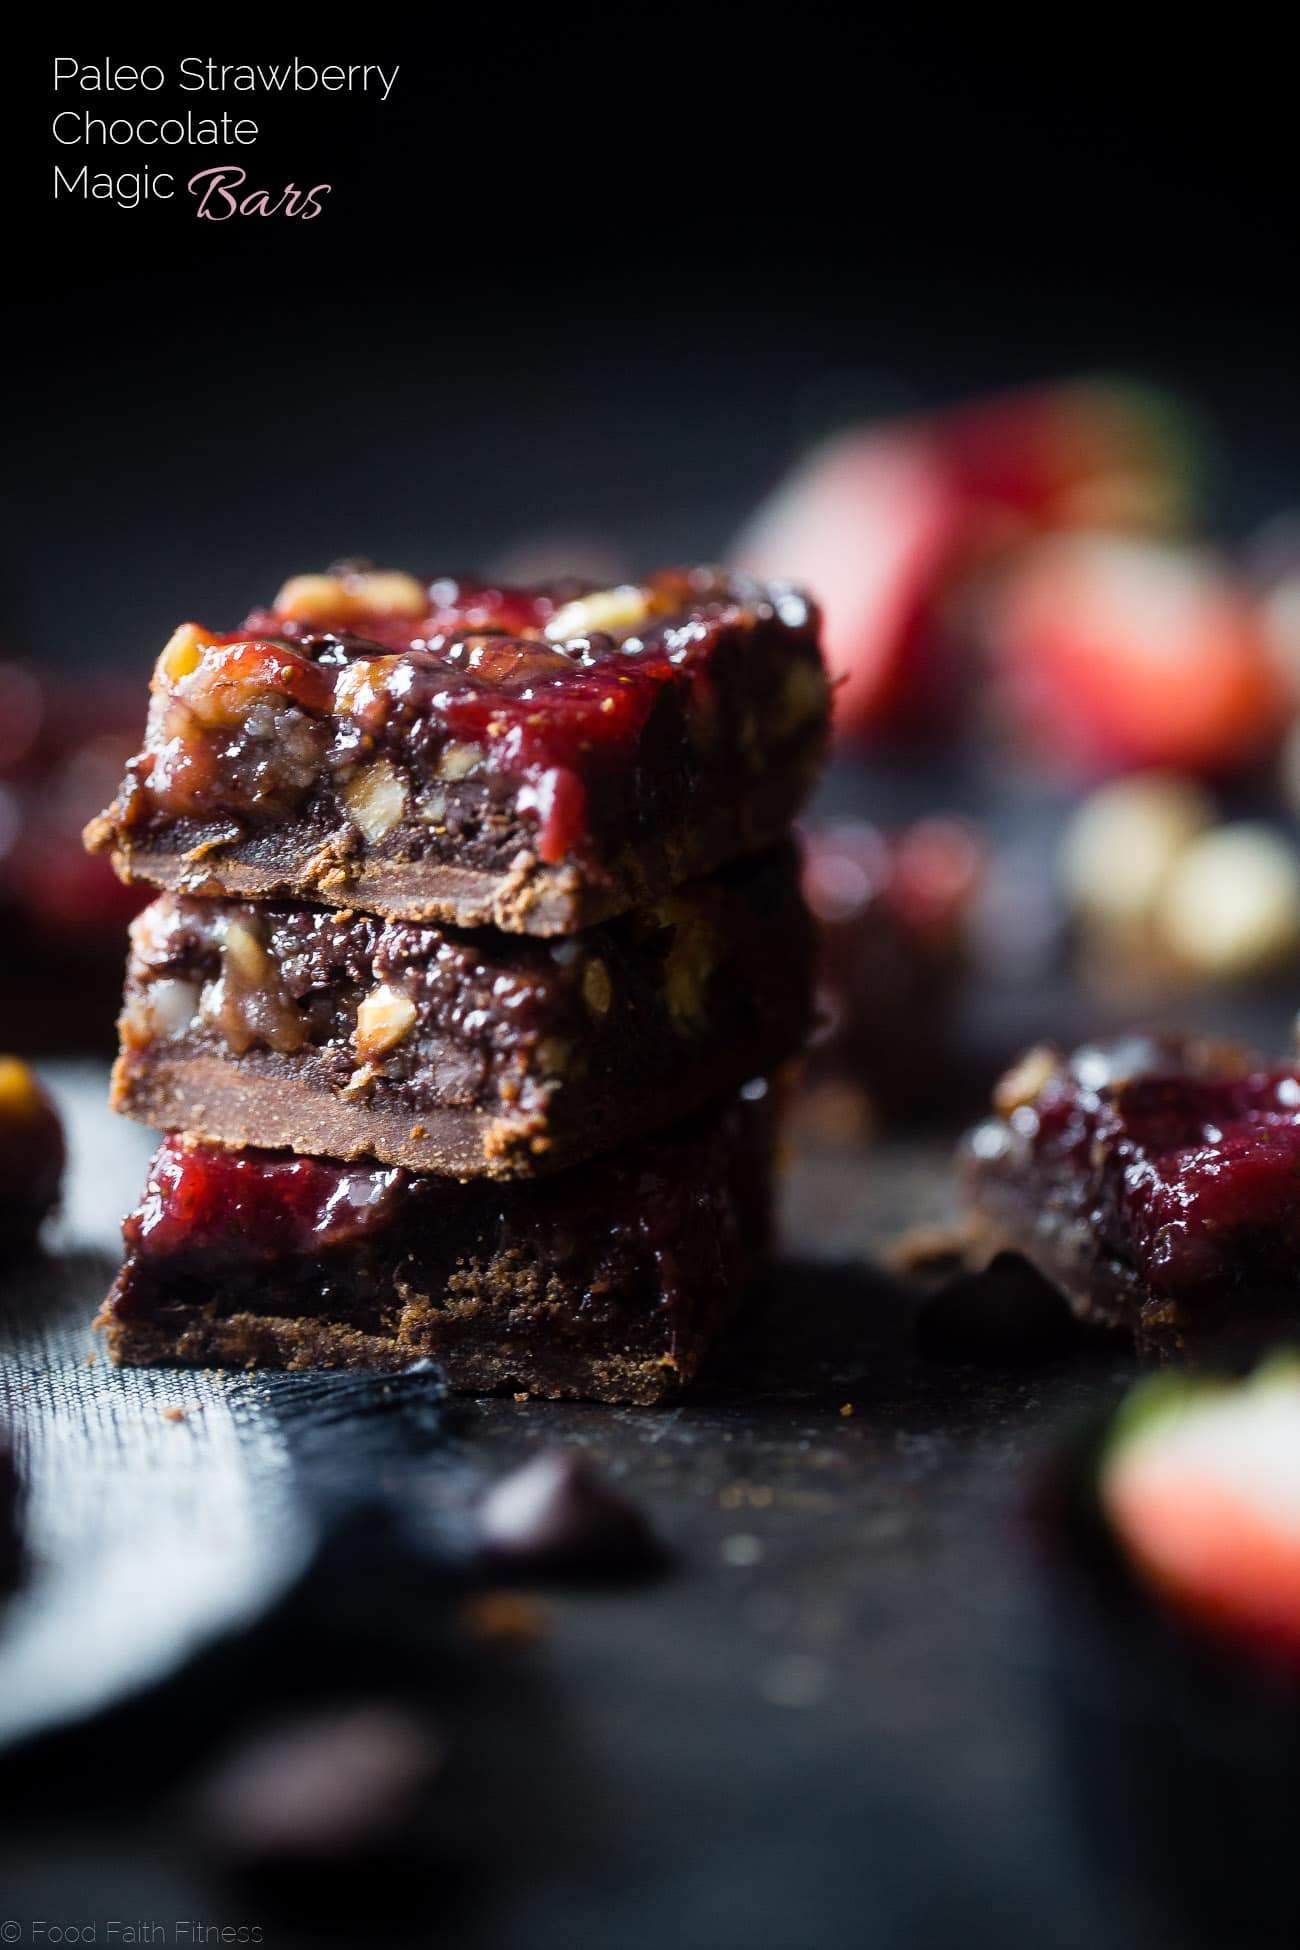
Move over brownies; we’ve got something even better: melt-in-your-mouth, creamy, dreamy chocolate Paleo magic cookie bars. Featuring hazelnuts, dark chocolate, and sweet, juicy strawberries, these cookie bars are sure to hit the spot. Made with wholesome, gluten-free ingredients, these bars are the perfect sweet snack or dessert when you’re craving something indulgent but want to keep it a little healthier than the typical brownie. With each bite, you’ll enjoy the ideal balance of indulgence and nutrition, all while savoring the vibrant burst of strawberries.
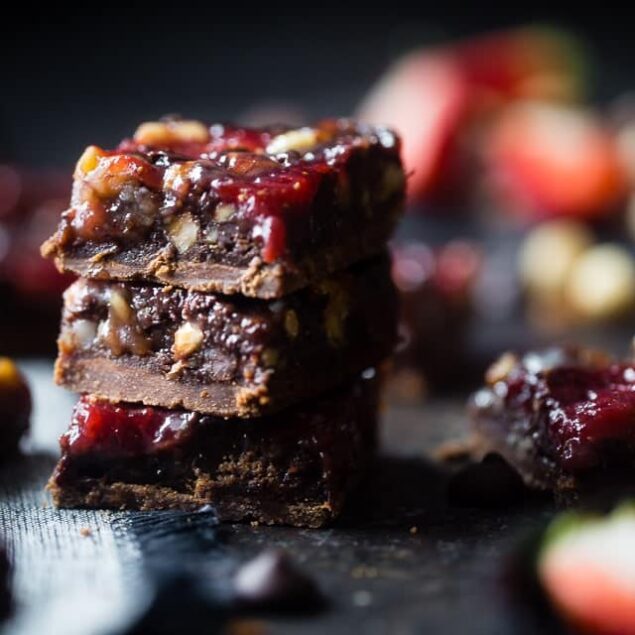
True story: It took me a long time to like chocolate. Even now, I prefer fresh berries, a pie, or a smoothie for dessert over chocolate. But sometimes, when the mood strikes, the only thing that’ll satisfy is a bite of rich, dense chocolate. So when I came across this recipe, I knew I had to give it a try. It’s part cookie, part brownie, and 100% flavor.
I love to make these when it’s my turn to make a treat for my book club. They do take a bit longer to make (in addition to prep time and cook time, you’ll need to chill these bars overnight), but the effort is worth it. I always make extra, hoping to bring some back home, but so far I’ve never actually been successful in this. They’re such a hit that only crumbs are left.
Are These Chocolate Paleo Magic Cookie Bars With Strawberry Healthy?
If you’re watching your calorie and fat intake, these cookie bars are high in both. However, they are gluten-free, and they do contain antioxidants from the dark chocolate and strawberries. Additionally, hazelnuts are considered a healthy nut, thanks to the healthy fats, protein, and vitamin E they provide. I like to enjoy these bars in moderation rather than sub out any of the ingredients. The creaminess provided from the full-fat coconut milk is essential to the texture of these bars, as is the crunch from the hazelnuts.
Why You Will Love This Recipe
Even with the added chill time required for this recipe, these cookie bars are always worth the effort. The richness of the chocolate combined with the crunch of hazelnuts and the tangy sweetness of fresh strawberries just hits in a way other chocolate cookie bars don’t.
If you’re a chocoholic, you’re in for a treat: these are made with cocoa powder and dark chocolate morsels. The effect is a stunningly rich chocolate flavor. However, if you’re like me and like chocolate only on occasion, the balance of the buttery hazelnuts and sweet, bright strawberries will tone down the richness of the chocolate in a way that makes for one satisfying, tasty cookie bar.
How Do I Store Leftovers?
To store any leftover cookie bars, wrap them tightly in plastic wrap or foil and place them in an airtight container. You can store them at room temperature for 3 to 5 days, or in the refrigerator for up to 1 week. The bars can also be wrapped in plastic and stored in a Ziploc bag in the freezer for up to 3 months.

Serving Suggestions
When I want to make these a little fancier, I love to serve them with a dollop of homemade Strawberry Whipped Cream and slices of fresh strawberries on top. An additional sprinkle of chopped hazelnuts provides a delicious crunch, too. For extra sweetness, a drizzle of my favorite Dairy-Free Vegan Caramel Sauce will take these cookie bars to a whole new level. For an added dose of chocolate, serve these cookie bars with a cup of Vegan Hot Chocolate.
Ingredients
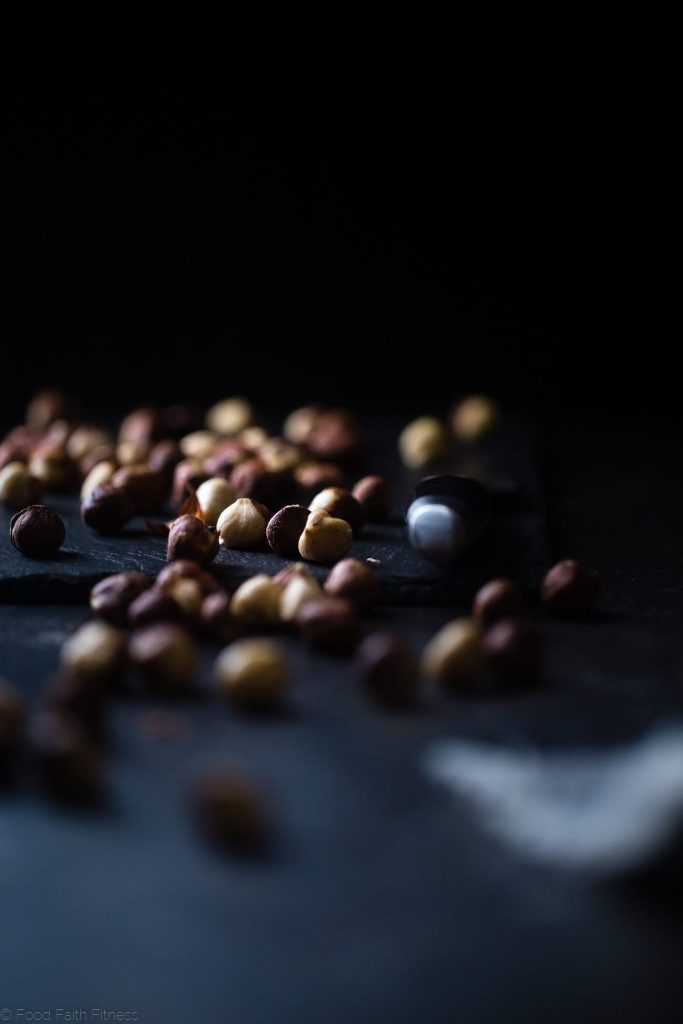
- 2/3 cup hazelnuts
- 1 can full-fat coconut milk do not use low-fat (14 ounces)
- 3/4 cup honey divided (agave for vegan version)
- 2 cups strawberries roughly chopped (260 grams)
- 2 tablespoons water
- Coconut oil spray for baking pan
- 1/3 cup coconut oil at room temperature should be the consistency of softened butter
- 3/4 cup coconut flour sifted (66 grams)
- 2 tablespoons cocoa powder
- Pinch of salt
- 2/3 cup dark chocolate morsels
Instructions
- Preheat your oven to 350℉. Spread the hazelnuts over a small pan and bake until browned and toasty smelling, about 8-11 minutes, finely chop them, and set aside.
- In a large, high-sided pot (the coconut milk rises a lot when heated) set over high heat, whisk together the can of coconut milk and 1/2 cup of honey (or agave), reserving the remaining honey for later. Bring the mixture to a boil and boil for 1 minute, stirring constantly. Then, turn the heat down to medium and and simmer for 16-20 minutes, stirring frequently, until the sauce is reduced by about half, and you end up with 1 cup of super thick liquid. I recommend checking it after 16 minutes, and if you have more than 1 cup, cook it a few more minutes until you have that amount.
- Once you've turned the sauce down to medium heat, place the strawberries, 1 tablespoon of the honey, and the water in a medium pot set over medium heat. Cook, stirring occasionally, until all the water evaporates and you can mash the strawberries. You want the sauce to be really thick. This takes 10-20 minutes, depending on the size of your pot. Set aside.
- While the sauce reduces, it's time to make the crust. Line an 8×8-inch pan with parchment paper, leaving a little bit of an overhang up the sides of the pan to use as a handle later. Spray the sides generously with coconut oil spray (this also helps stick the parchment to the sides and bottom of the pan).
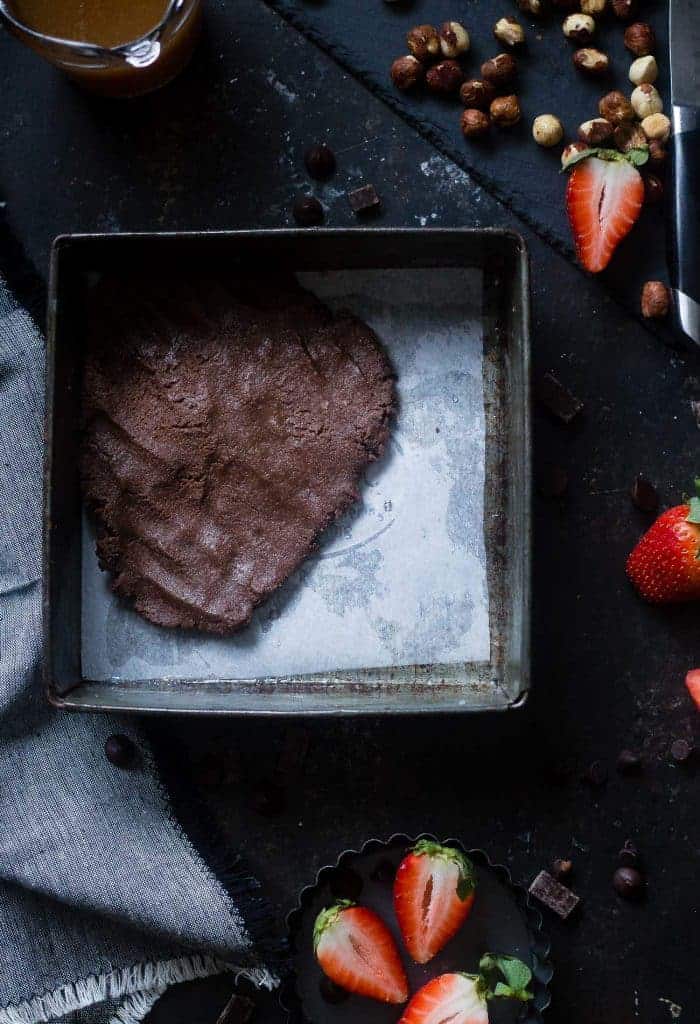
- In a large bowl, using an electric hand mixer, beat the remaining 3 tablespoons of honey with the 3/4 cup of coconut oil until smooth and creamy. Stir in the flour, cocoa powder, and pinch of salt until a wet dough forms.
- Press the dough evenly into the bottom of the pan. This will be a little hard, but just be patient with it. I found it easiest to use the moistened palms of my hands. Do not bake the crust until the sauce is done reducing, as you want to time it so the sauce can thicken a little more while the crust bakes.
- Once the sauce has done reducing, and you have 1 cup of liquid, set aside to cool. Then, bake the crust just until the sides darken slightly, about 8 minutes. When your crust comes out of the oven, it will have risen a little bit. Use a small spoon to pack it down, making sure to not leave cracks in the crust.
- As soon as the crust comes out of the often, sprinkle the chopped nuts on top, and lightly press them into the crust. Then, sprinkle the chocolate morsels on evenly.
- Pour the coconut sauce evenly over the top of the surface, making sure to really get it into the edges (but not between the parchment paper and sides of the pan!). Then, gently shake the pan around until the coconut milk mixture begins to sink between the layers.
- Spoon the strawberry sauce over top and use a sharp knife to swirl around, being careful not to cut into the crust.
- Place into the oven and bake until the sides are lightly golden brown, about 27-28 minutes.
- Remove from the oven and cool to room temperature. Then, cover with tinfoil and refrigerate overnight. It's important to let these sit overnight to make sure the coconut milk has a chance to chill and thicken.
- The next day, lift the bars out of the pan and run a very sharp knife around the edge of the pan, slice into bars, and DEVOUR!
Nutrition Info:
Nutrition information are estimates only and may vary based on the specific brands, ingredients, and portion sizes you use. This data is provided for informational purposes only.

Leave a Comment