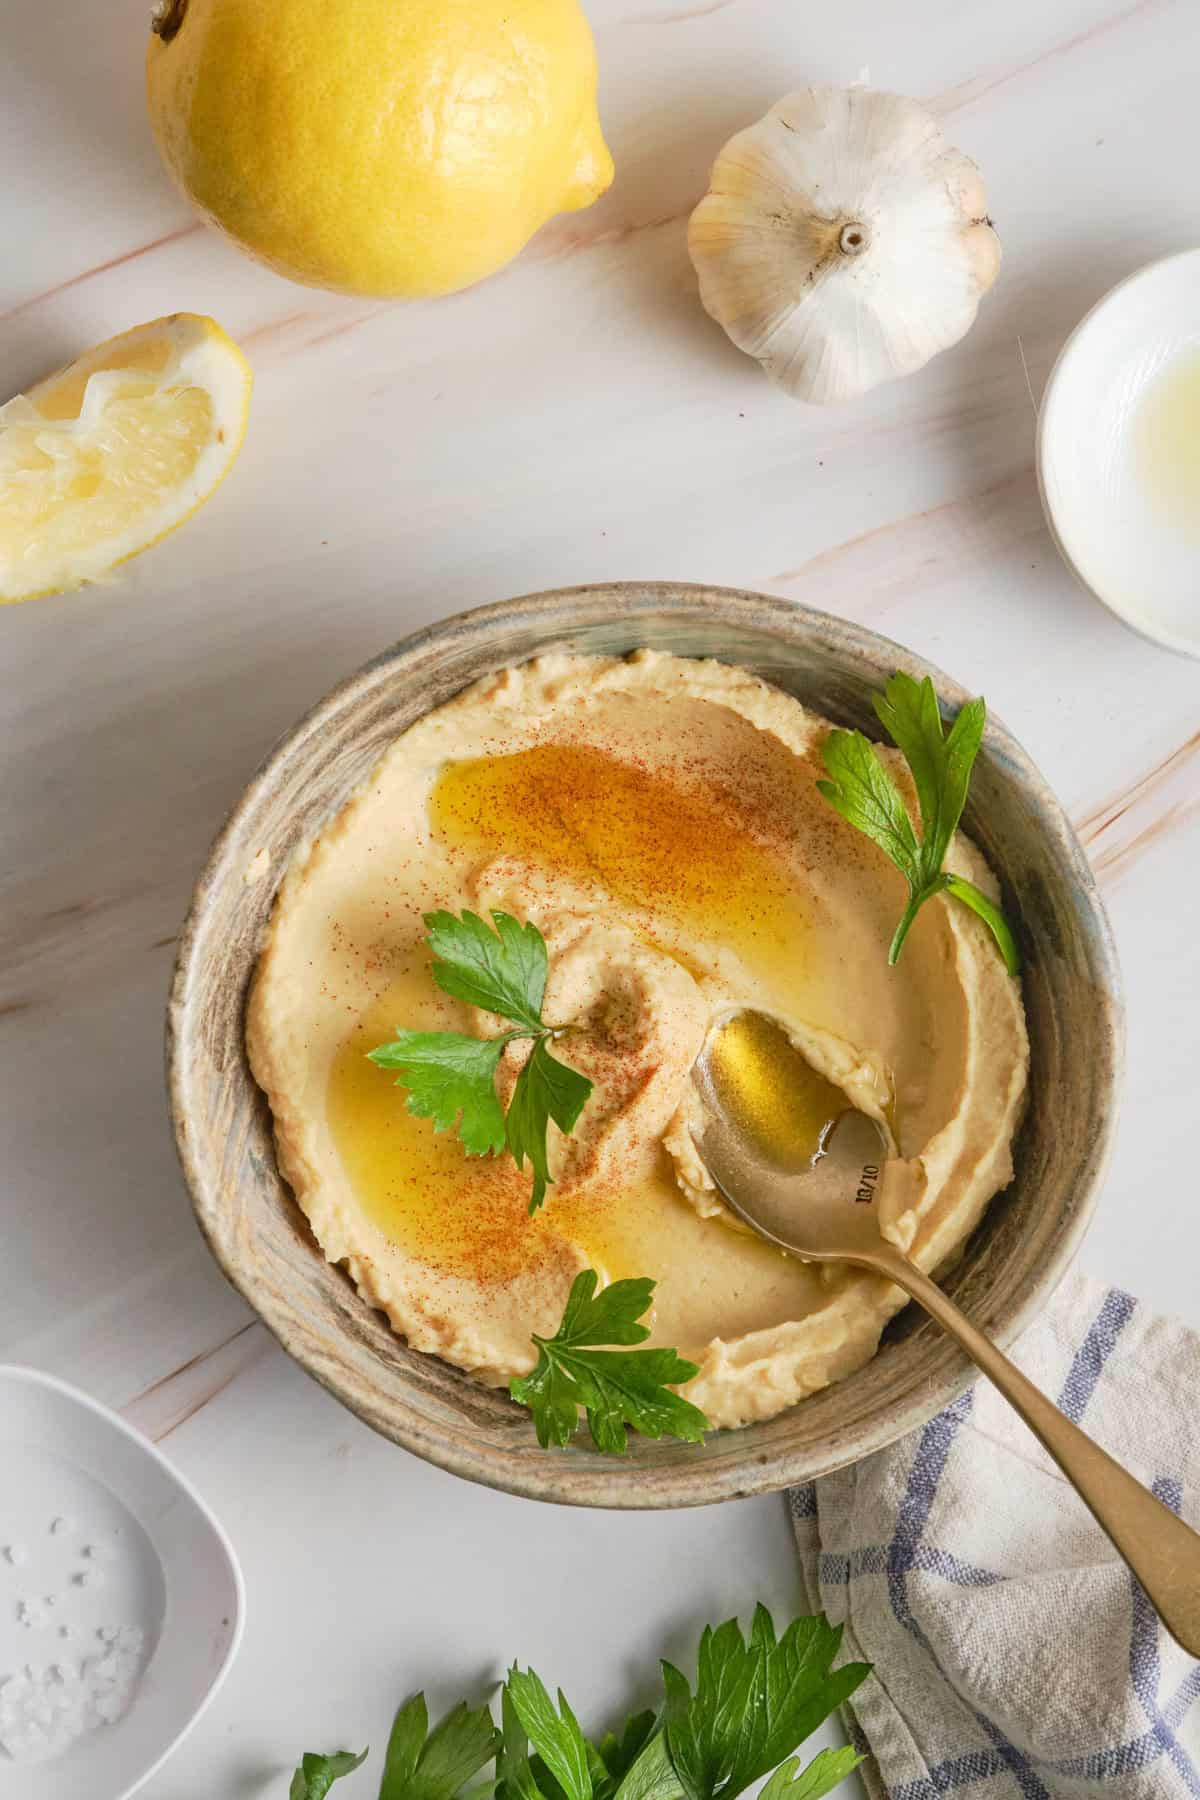
This silky, garlicky, and lemony Hummus Recipe is easier to make than you think!
I didn’t grow up eating hummus. In fact, I don’t think I even heard the word “hummus” until I was a full-blown adult, and even then, I couldn’t tell you what it was. Back when I lived in Minneapolis, a college buddy of mine, who’s pretty much responsible for my culinary tastes, took me to his favorite Persian restaurant. He ordered some hummus sprinkled with saffron and sumac. I dipped my pita into the hummus and bam—I was sold.
Now, let’s fast-forward to me trying to make it at home a few years later. Chickpeas and I were not friends at first. My hummus turned out grainy, bland, and straight-up wrong. I used dried chickpeas and neglected to soak them long enough. Ugh. And look, I know there are all sorts of ways to make hummus, and yes, the most authentic way to make it is with dried chickpeas. Well, I’m sorry, ya’ll, but I don’t always have 12 to 24 hours to spare. Yeah, you read that right. You need to soak the chickpeas for up to a full day before you can even start making your hummus. That’s why I like this recipe. It keeps things simple by streamlining the process with canned chickpeas. Boil these bad boys with some water and a little baking soda, and the next thing you know, your hummus is ready.
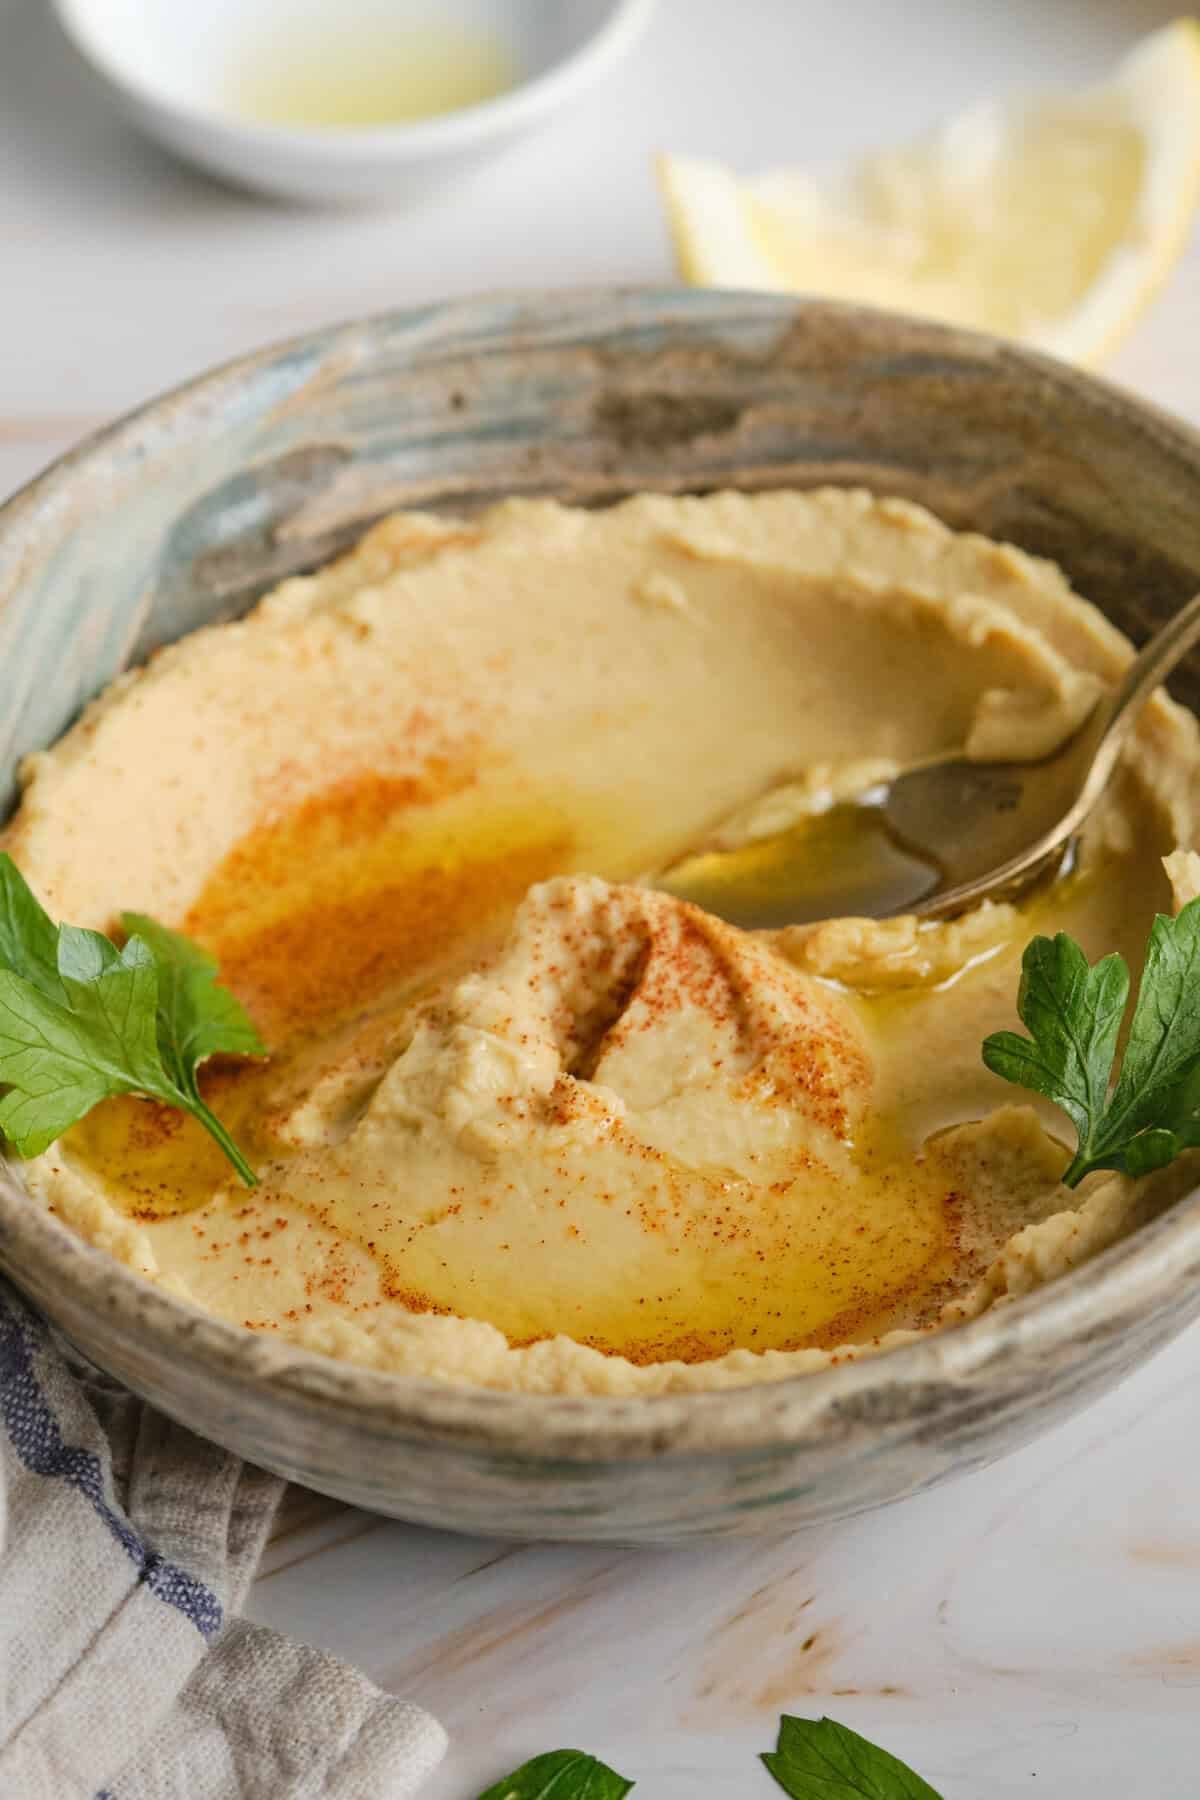
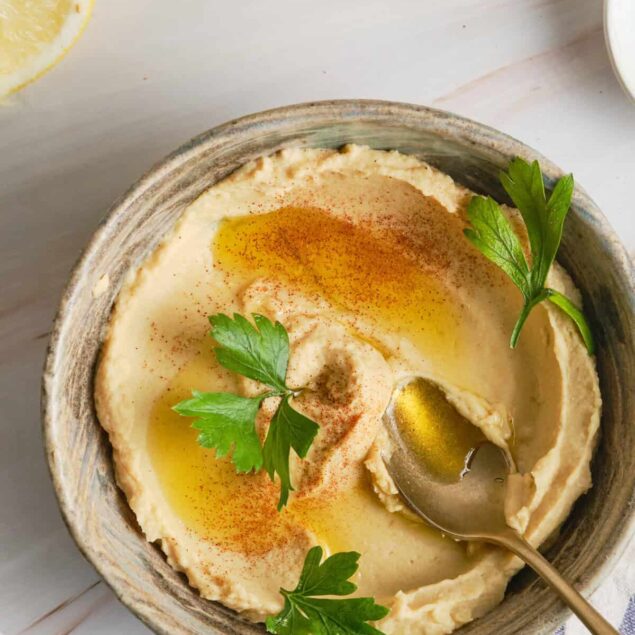
Okay, there’s more to it than that, but it really is pretty simple. Most importantly, it tastes remarkably close to the more traditional versions of this recipe. And don’t worry, hummus fans. You’ll still enjoy a velvety smooth texture with just the right amount of lemon, garlic, and tahini. Slather it on a sandwich, scoop it up with a warm pita, or honestly, do what I do—eat it straight with a spoon.
Is Hummus Healthy?
That’s almost like asking if broccoli is healthy. Hummus checks a lot of dietary boxes. It’s vegan, gluten-free, and dairy-free. Even better, chickpeas, hummus’ main ingredient, bring loads of protein and fiber. And the supporting ingredient, tahini, adds healthy monounsaturated fats. Add the olive oil and lemon juice, and you’ve practically got yourself a nutritionist-approved snack that also tastes good. In my not-so-humble opinion, I’d say no subs are needed.
Why Add Baking Soda?
I’ve made this hummus with and without baking soda. If you’re okay with a more mealy texture, by all means, skip it. You’ll still enjoy a dippable bowl of hummus. However, in my opinion, that small amount of baking soda is what makes this hummus mimic the ultra-smooth texture of more traditional recipes that start off with dried chickpeas. When you simmer chickpeas with baking soda, it raises the pH of the water, which helps break down the skins and softens the beans from the inside out. You get a creamier hummus with way less effort. Could you skip the baking soda? Sure, but why would you want to?

How Do I Store Leftovers?
Refrigerate the hummus in an airtight container. It should stay good for up to 7 days. However, homemade hummus tends to firm up over time. I recommend adding a splash of olive oil or even water to loosen it up. Just give it a good stir!
Serving Suggestions
Hummus is the perfect add-on to your Middle Eastern or Mediterranean feast. I love serving mine with all the standard sides, like homemade Pita Bread, fried Falafel, and Baba Ghanoush—the best way to eat eggplant. And since I’m half-Greek, I’m practically obligated to add a batch of Spanakopita Triangles to the appetizer tray.
As for your mains, consider making some Chicken Shawarma or Lamb Kabobs and serving them on a bed of Saffron Rice. You can even add the hummus to your dinner, such as in this Gluten-Free Grilled-Cheese Hummus Sandwich or these Grilled Herb Hummus Chicken Kebabs.
Ingredients
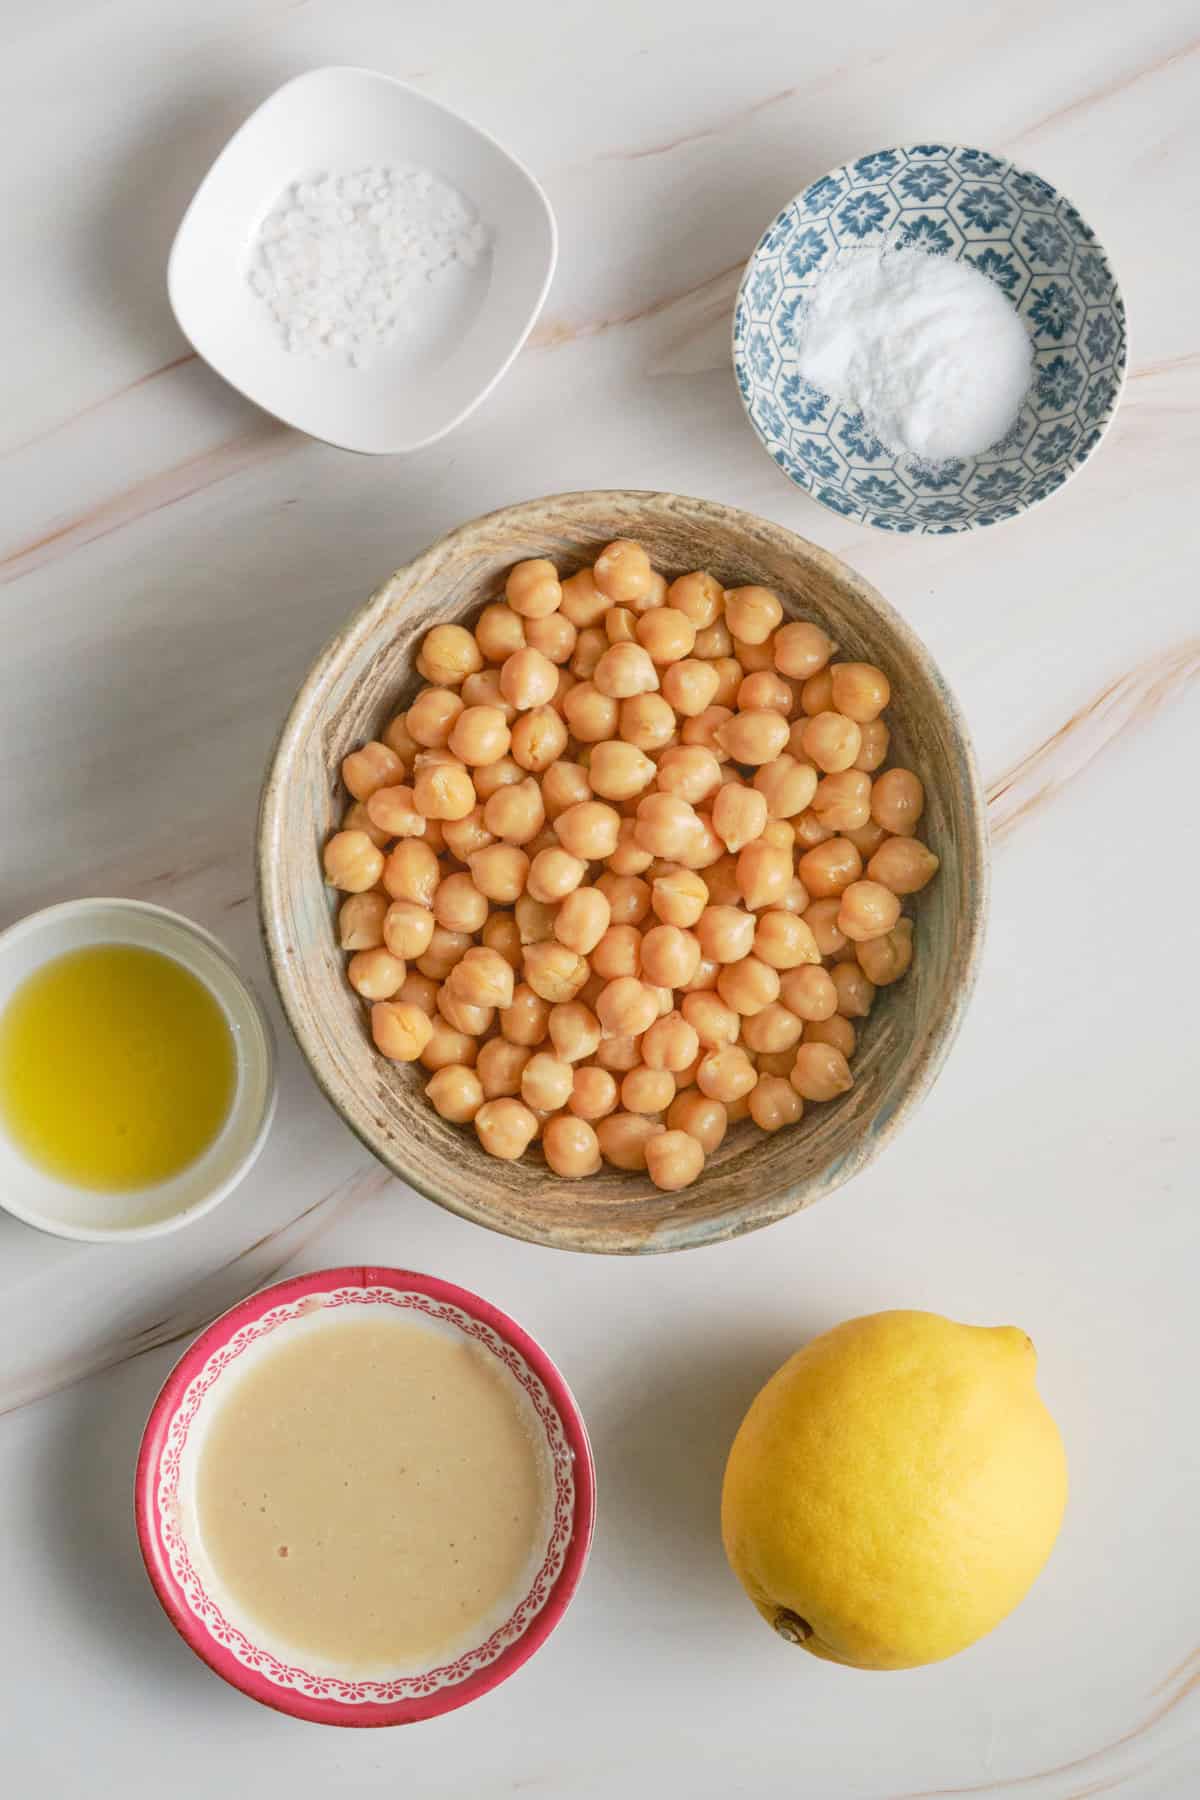
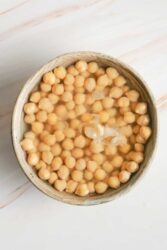
- 1 can chickpeas 15 ounces
- 1 teaspoon baking soda
- 3 tablespoons lemon juice
- 1 clove garlic minced
- 1/2 teaspoon salt
- 3 tablespoons hulled tahini
- 2 tablespoons extra virgin olive oil
Instructions
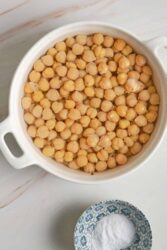
- Drain the chickpeas in a mesh strainer and remove all the peels that you can easily take off the chickpeas. Rinse the chickpeas under cold running water and continue to remove any peels that may have been released from the chickpeas.
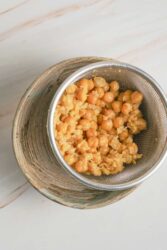
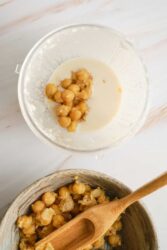
- Place the chickpeas in a pot with the baking soda and cover with water. Bring the mixture to a boil and simmer for about 20 minutes, until the chickpeas start to bloat and get soft.
- Once cooked, drain the chickpeas in a mesh strainer and run cool water over them for at least 1 minute, then set aside.
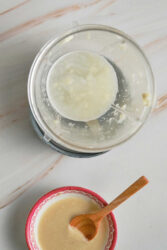
- In a food processor, combine the lemon juice, garlic clove, and salt. Blend on high speed until the garlic is finely chopped and combined with the lemon juice.
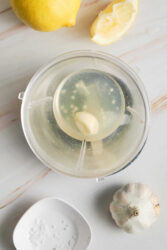
- Now add the tahini to the lemon juice mixture and blend on high until thick and creamy. While running the food processor, add 2 tablespoons of ice water and blend until very smooth.
- Add the cooked chickpeas to the food processor and blend on high.
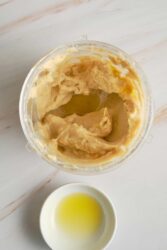
- While the food processor is running, add the olive oil and blend until the chickpea mixture is super smooth. Always scrape down the sides of the food processor and add more ice water if necessary.
Tips & Notes:
- Tahini is a paste made from ground sesame seeds and is a key ingredient in hummus. It is responsible for that unique nutty flavor and creamy texture. You CAN replace it by using a mix of 2 tablespoons of sesame oil and 1 tablespoon of smooth peanut or almond butter but the taste will definitely change.
- If using dried chickpeas, soak them overnight in water before cooking. Keep in mind that you’ll need about 1¼ cups of cooked chickpeas for this recipe, which equates to about ⅔ cups of dried chickpeas. After soaking, cook the chickpeas until tender, then follow the rest of the recipe as written.
Nutrition Info:
Nutrition information are estimates only and may vary based on the specific brands, ingredients, and portion sizes you use. This data is provided for informational purposes only.
I was excited when I saw this recipe because my daughter is allergic to garlic. No garlic is listed in ingredients, but I did see it in the instructions. I’m thinking I’ll make it anyway w/o garlic. Thanks for all your recipes. She’s also allergic to coconut, but I’m going to see if I can convert some of your recipes for her. I looked at the chickpea cookie dough ice cream cake because I was hoping for some actual cookies. lol Ever tried to make real cookies with chickpeas?
You’re very creative.
Hi Felicia, the garlic was missing from the ingredient list, thanks for pointing out. You can skip the garlic, maybe add a touch of lemon juice to round out the taste. Also you can sprinkle some spices on it, I personally like it with Za’atar. I have a chickpea chocolate chip cookies recipe, you should try it. I think you will love them ❤️