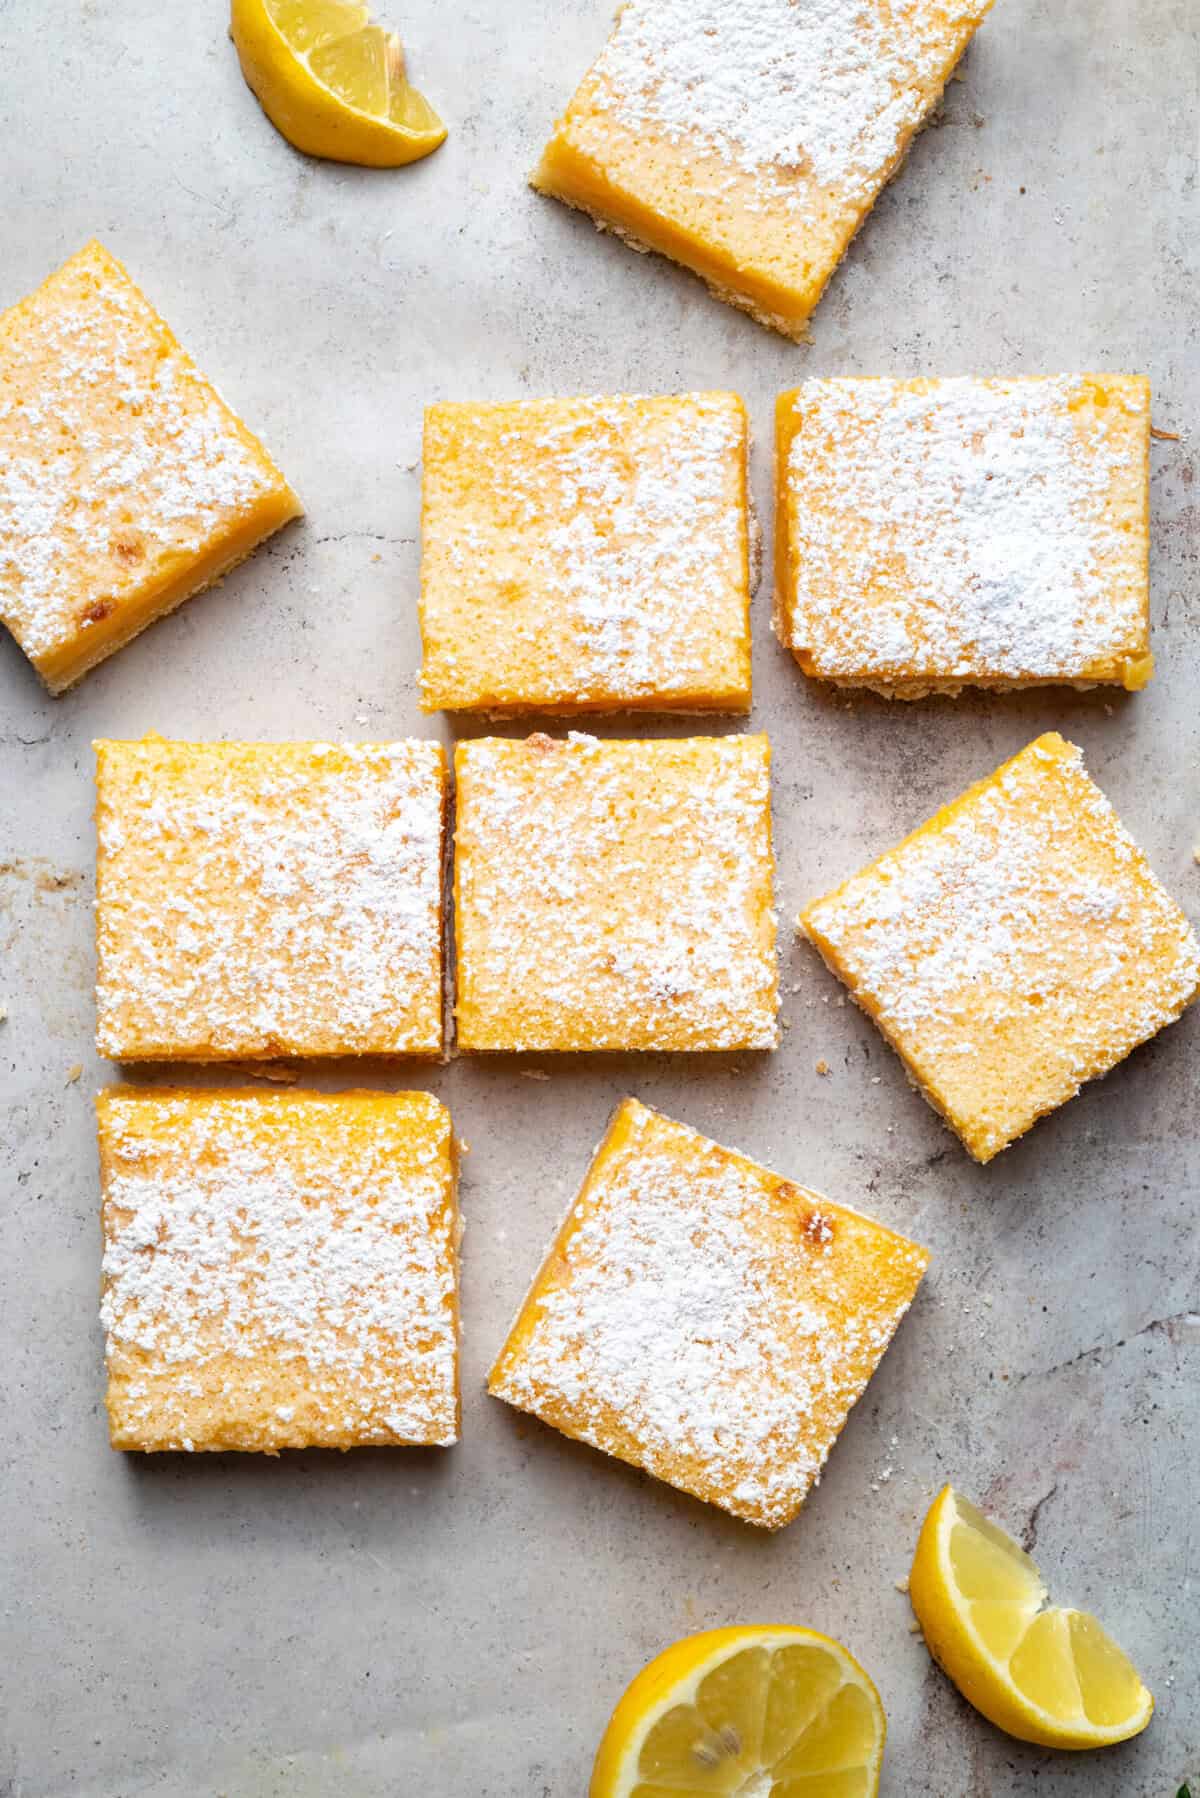
No gluten? No problem! These tangy, sweet treats are just as tasty as the original.
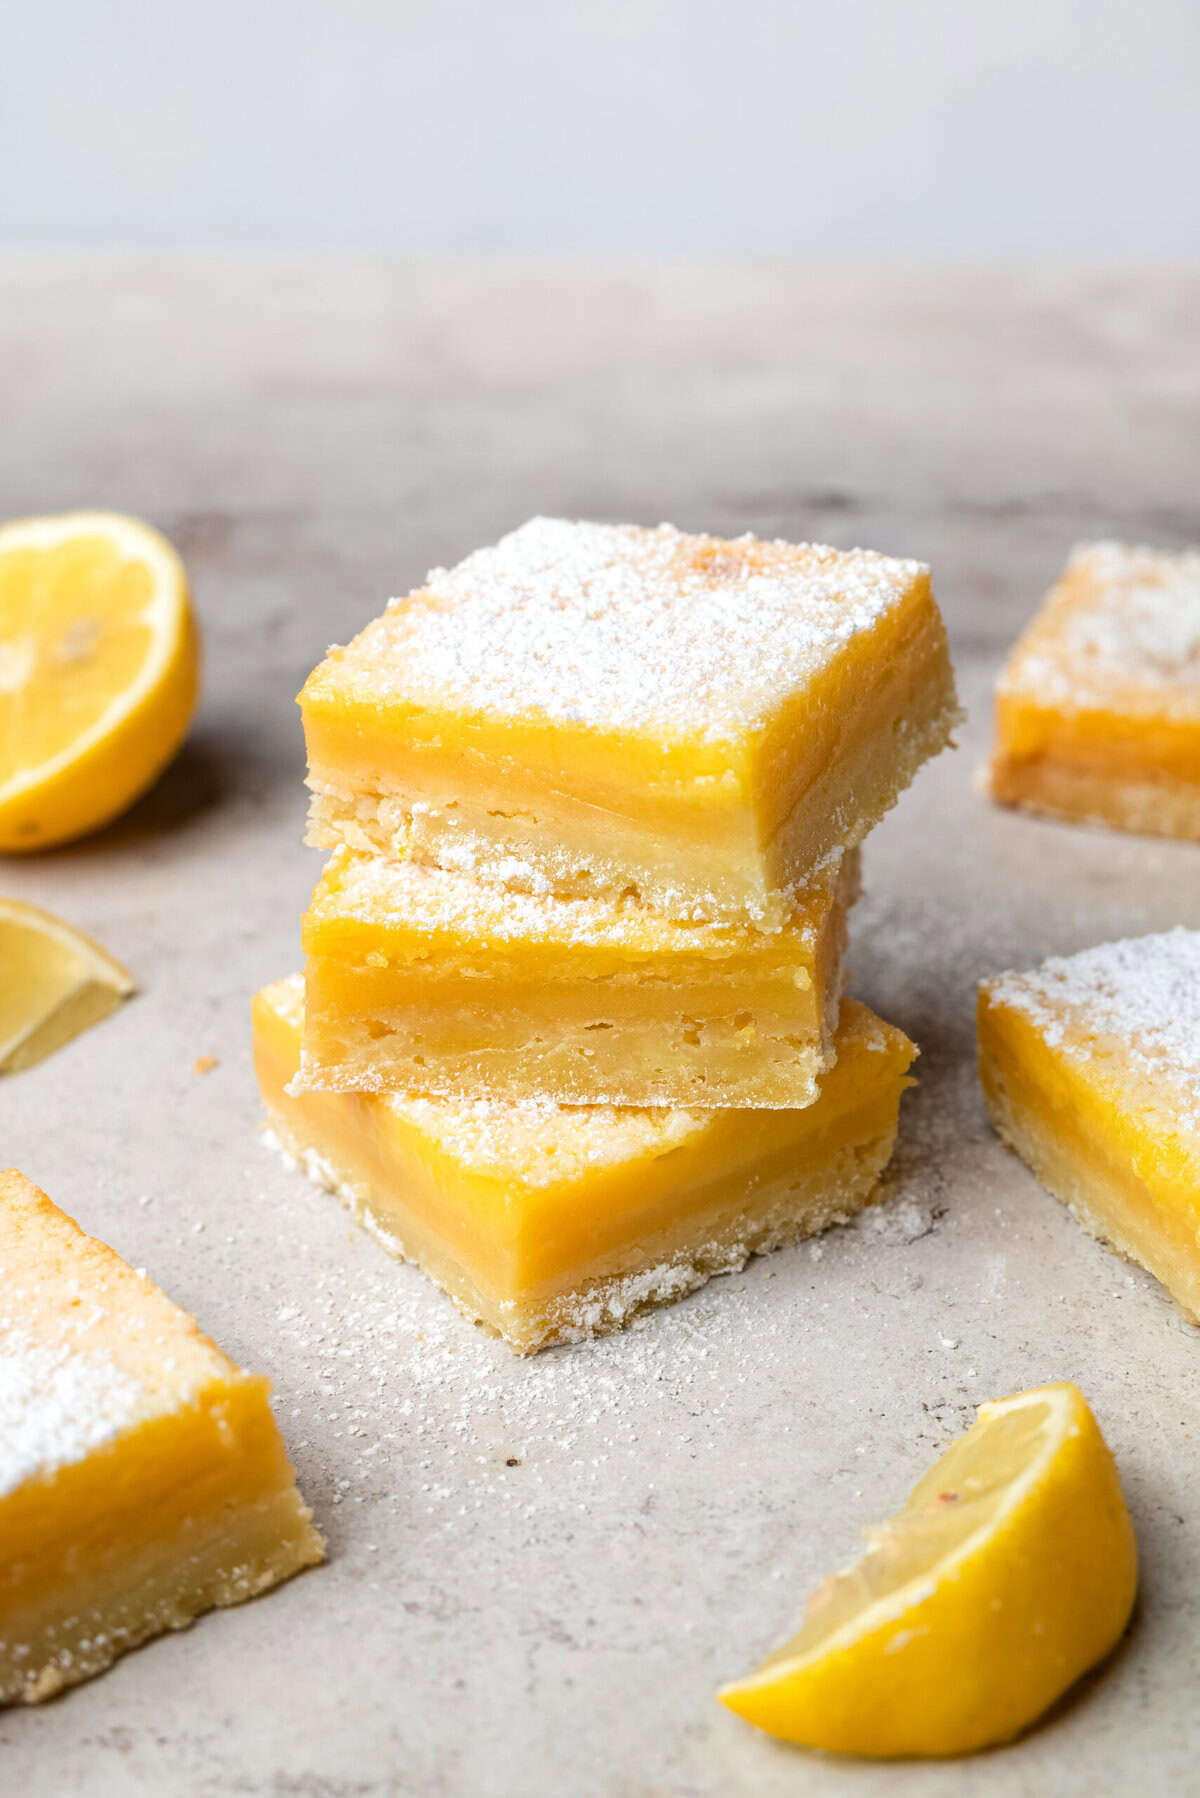
There are few summertime snacks that satisfy my sweet tooth the way lemon bars do. But after choosing to abide by a gluten-free diet, the classic zesty recipe I used was a no-go. So you can imagine my excitement when I discovered how easy it was to craft gluten-free lemon bars.
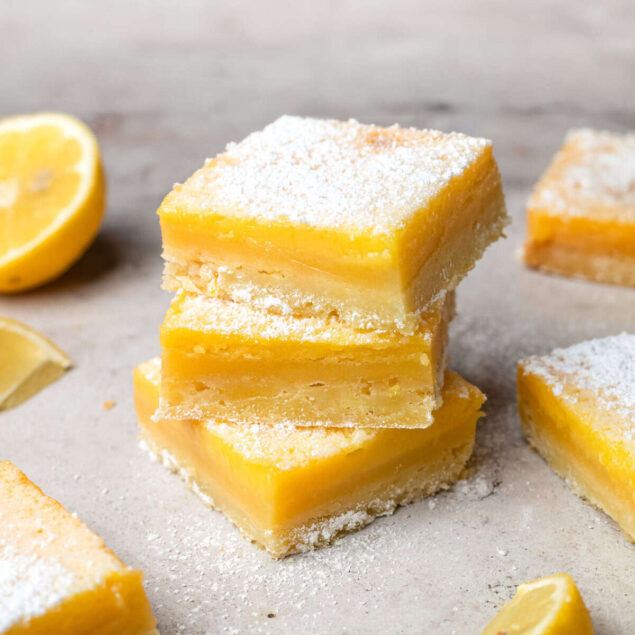
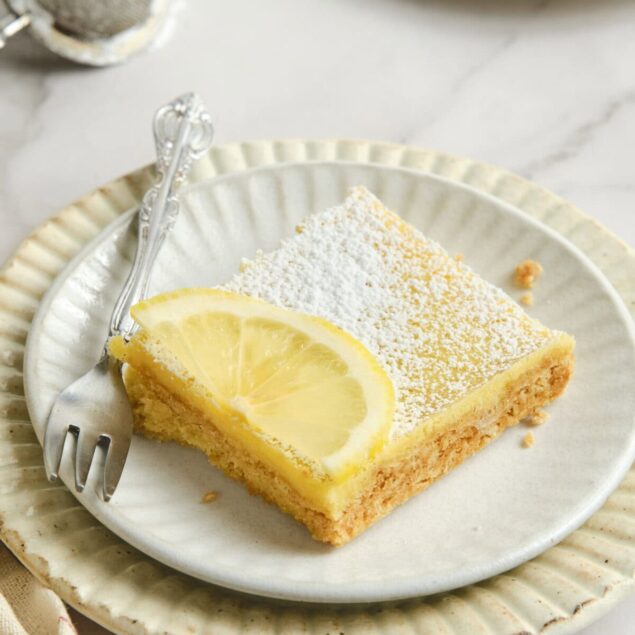
These bright yellow babies shine like the sun and taste like a tiny piece of paradise. Despite being gluten-free, these lemon bars have a soft, buttery crust with the same tart and sweet lemon filling. What’s not to love?
Since there are others in my family who avoid gluten, I’ll keep this recipe handy, especially during the summer. A picnic with loved ones isn’t complete without gluten-free lemon bars. They’re refreshingly easy to both make and enjoy.
But if you don’t believe me, try it for yourself. You might even be able to trick your family into thinking you used the traditional recipe—that’s how good these gluten-free lemon bars taste. Each bite melts in your mouth, leaving you drooling for more!
Why are gluten-free recipes necessary?
For people with celiac disease, eating gluten triggers an immune response that damages the small intestine and interferes with nutrient absorption. Others may have a wheat allergy, which is a true allergic reaction to wheat proteins. But some people, like myself, experience non-celiac gluten sensitivity, which can cause digestive discomfort and other symptoms without the immune damage seen in celiac disease. Some people also find that a gluten-free diet simply feels better for their bodies, even without a diagnosed condition. Ultimately, whether for medical reasons or personal preference, gluten-free recipes help ensure everyone can enjoy delicious treats like these lemon bars.
How do I store leftovers?
Store leftover gluten-free lemon bars in an airtight container in the fridge for up to 1 week. For longer storage, pre-slice the bars and layer them with parchment or wax paper in a freezer-safe container, then freeze them for up to 3 months. When you’re ready to enjoy, thaw the bars in the fridge overnight or at room temp for about an hour. There’s no need to reheat—these treats are delicious served cold or at room temperature. For food safety, avoid leaving lemon bars at room temp for more than a few hours.
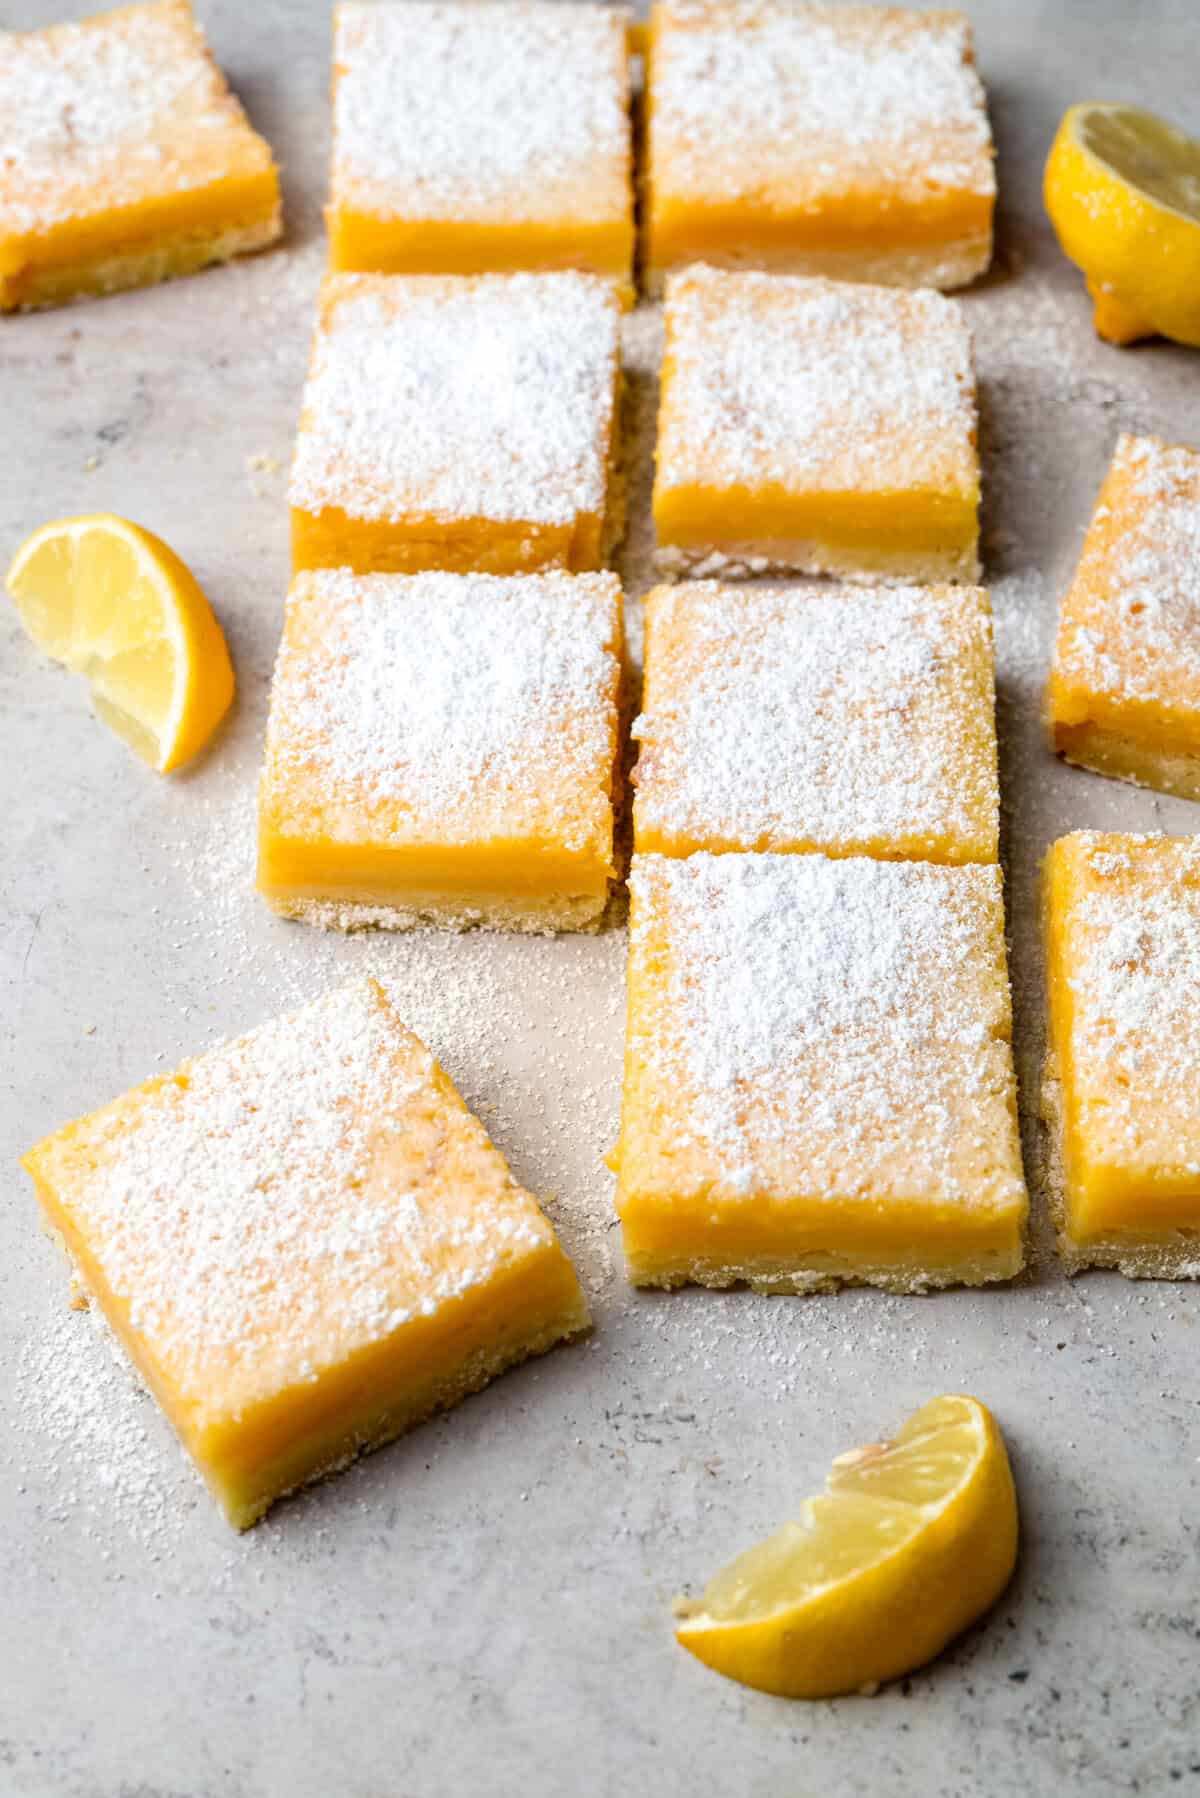
Serving suggestions
Alongside a dusting of powdered sugar, top your gluten-free lemon bars with this Strawberry Whipped Cream Recipe, these Candied Lemon Slices, or Roasted Strawberries. If you’d like to spruce up your spread even more, serve them alongside other summery desserts like Lemon Icebox Pie, Mini Key Lime Pies, Sugar-Free Frozen Yogurt, or Coconut Milk Ice Cream With Rum And “Eggnog”. Personally, I like a gluten-free lemon bar with a cold glass of Strawberry Lemonade.
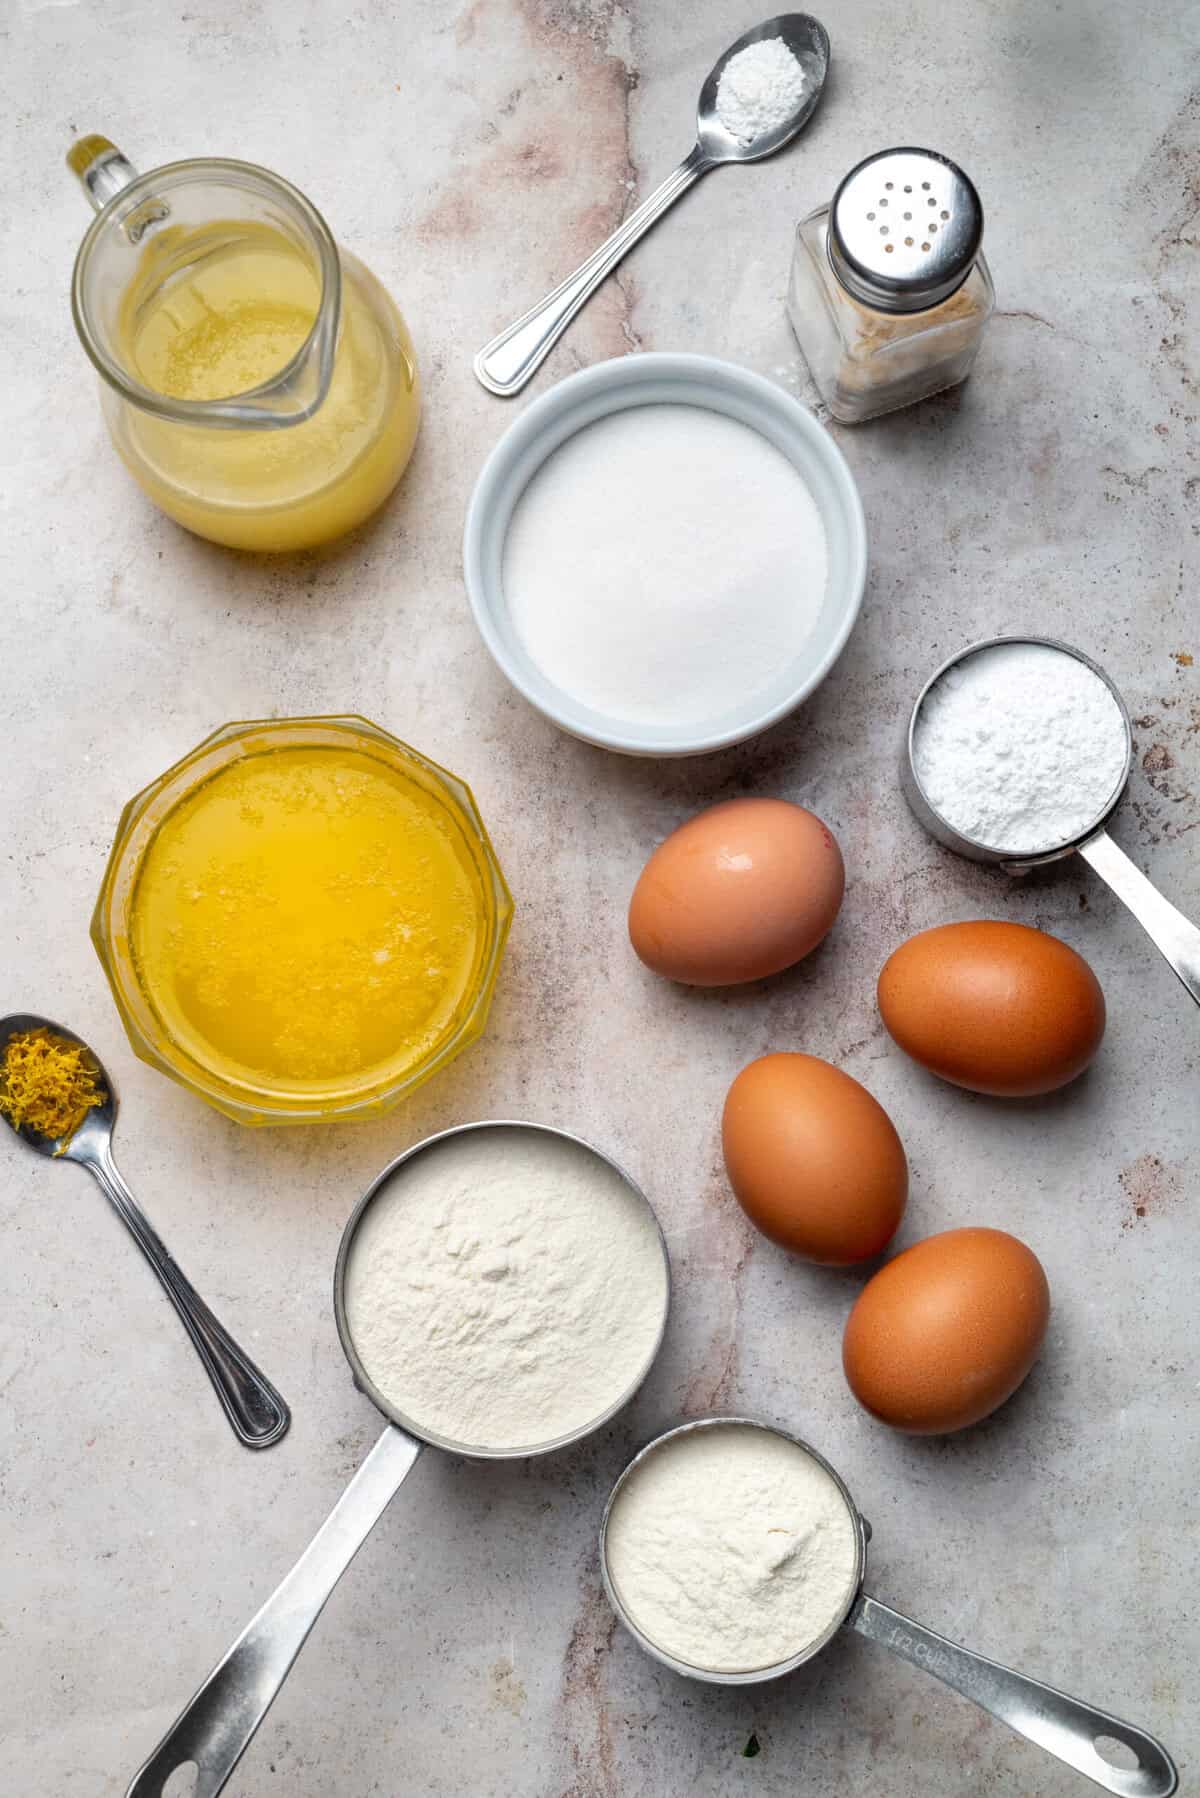
Ingredients
For the Crust:
- 1 cup gluten-free all-purpose flour blend gum-free
- 1/3 cup confectioners’ sugar plus extra for dusting
- 1/4 teaspoon salt
- 2 teaspoons lemon zest
- 1/2 cup unsalted butter melted and cooled
For the Filling:
- 4 large eggs at room temperature
- 1 cup granulated sugar
- 1 teaspoon baking powder
- 2/3 cup lemon juice freshly squeezed, juice of about 4 lemons
- 1/2 cup gluten-free all-purpose flour blend
Instructions
- Preheat oven to 325°F. Grease an 8-inch square pan and line with parchment, leaving an overhang.
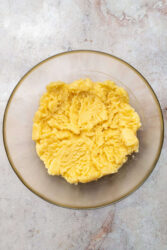
- Whisk together the gluten-free flour, confectioners’ sugar, salt, and lemon zest in a bowl. Stir in the melted butter. If it's too dry, add more butter until it can be pressed into the pan evenly. Pack the mixture into the pan.
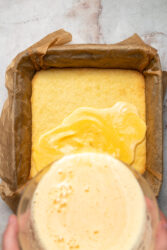
- Put the pan in the oven and bake the crust until it firms up and just begins to set, about 15-20 minutes. Take the pan out of the oven and let it cool for a short while.

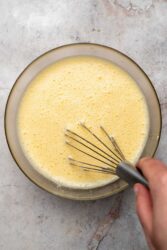
- In another bowl, whisk together the eggs, granulated sugar, baking powder, lemon juice, and the gluten-free flour until smooth and well combined.
- Pour the lemon filling evenly onto the warm crust.
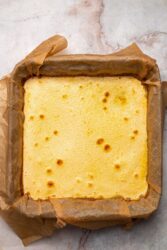
- Place the pan back in the oven and bake until the filling is just set and has a slight jiggle in the center when you gently move the pan, around 22 to 27 minutes.
- Remove the pan from the oven and allow the bars to cool in the pan for about 20 minutes. Then, transfer the pan to the refrigerator and chill for at least 2 hours to firm up the bars.
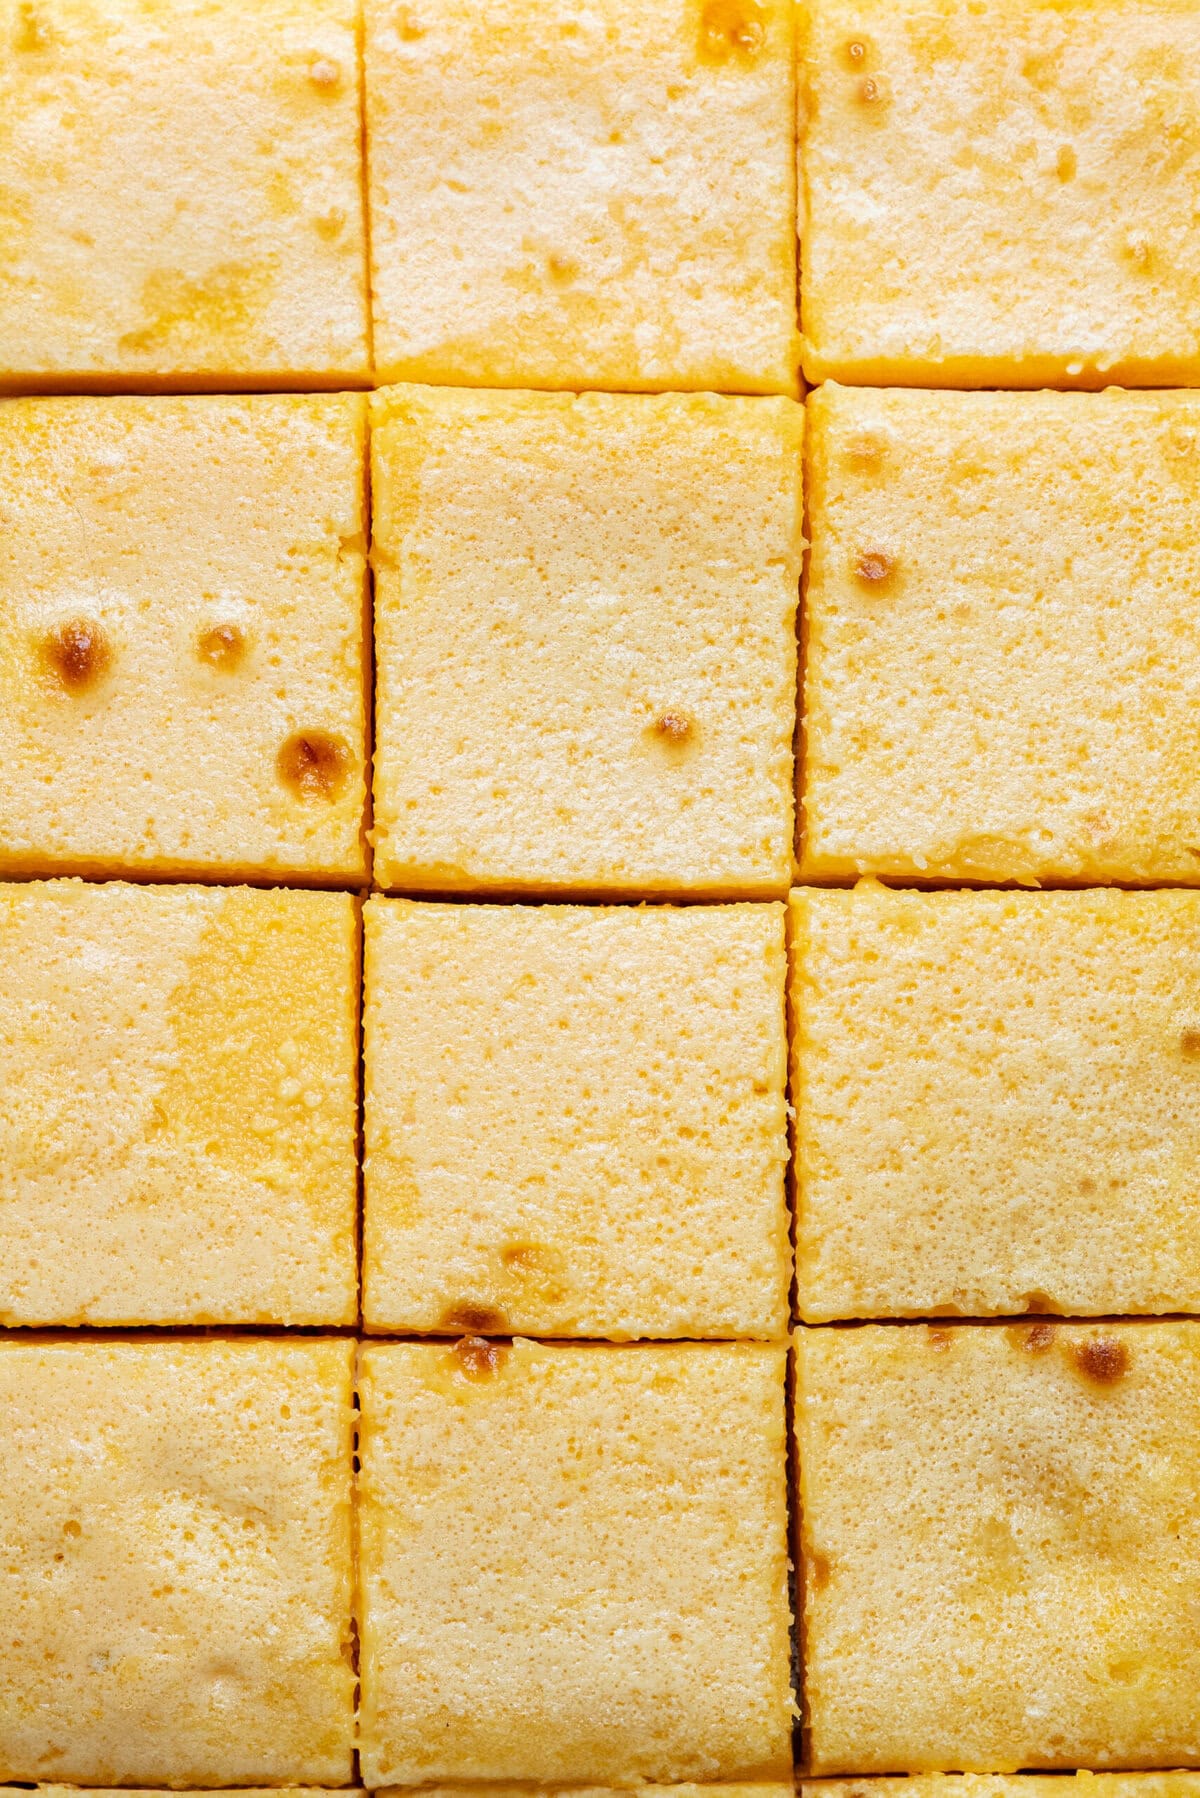
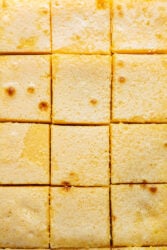
- Once chilled, run a knife along the edges of the parchment paper to release the bars. Lift them out using the overhang and dust lightly with extra confectioners’ sugar. Cut into 12 squares. Serve cold.
Nutrition Info:
Nutrition information are estimates only and may vary based on the specific brands, ingredients, and portion sizes you use. This data is provided for informational purposes only.
Leave a Comment