If you’re tired of dry, flavorless poultry, don’t miss this primer on How To Brine Chicken Breasts. You’ll get salty, juicy meat every time!
Everyone always yaps about chicken breast. It’s one of the most popular meats in America, not only for its convenience and versatility but also because a boneless, skinless chicken breast is considered a healthy choice. It’s low in fat and full of protein, sure. But have you ever noticed how often they turn out drier than the Sahara Desert? That’s why I wasn’t the biggest fan of chicken breast for a long, long time—until I learned how to brine them.
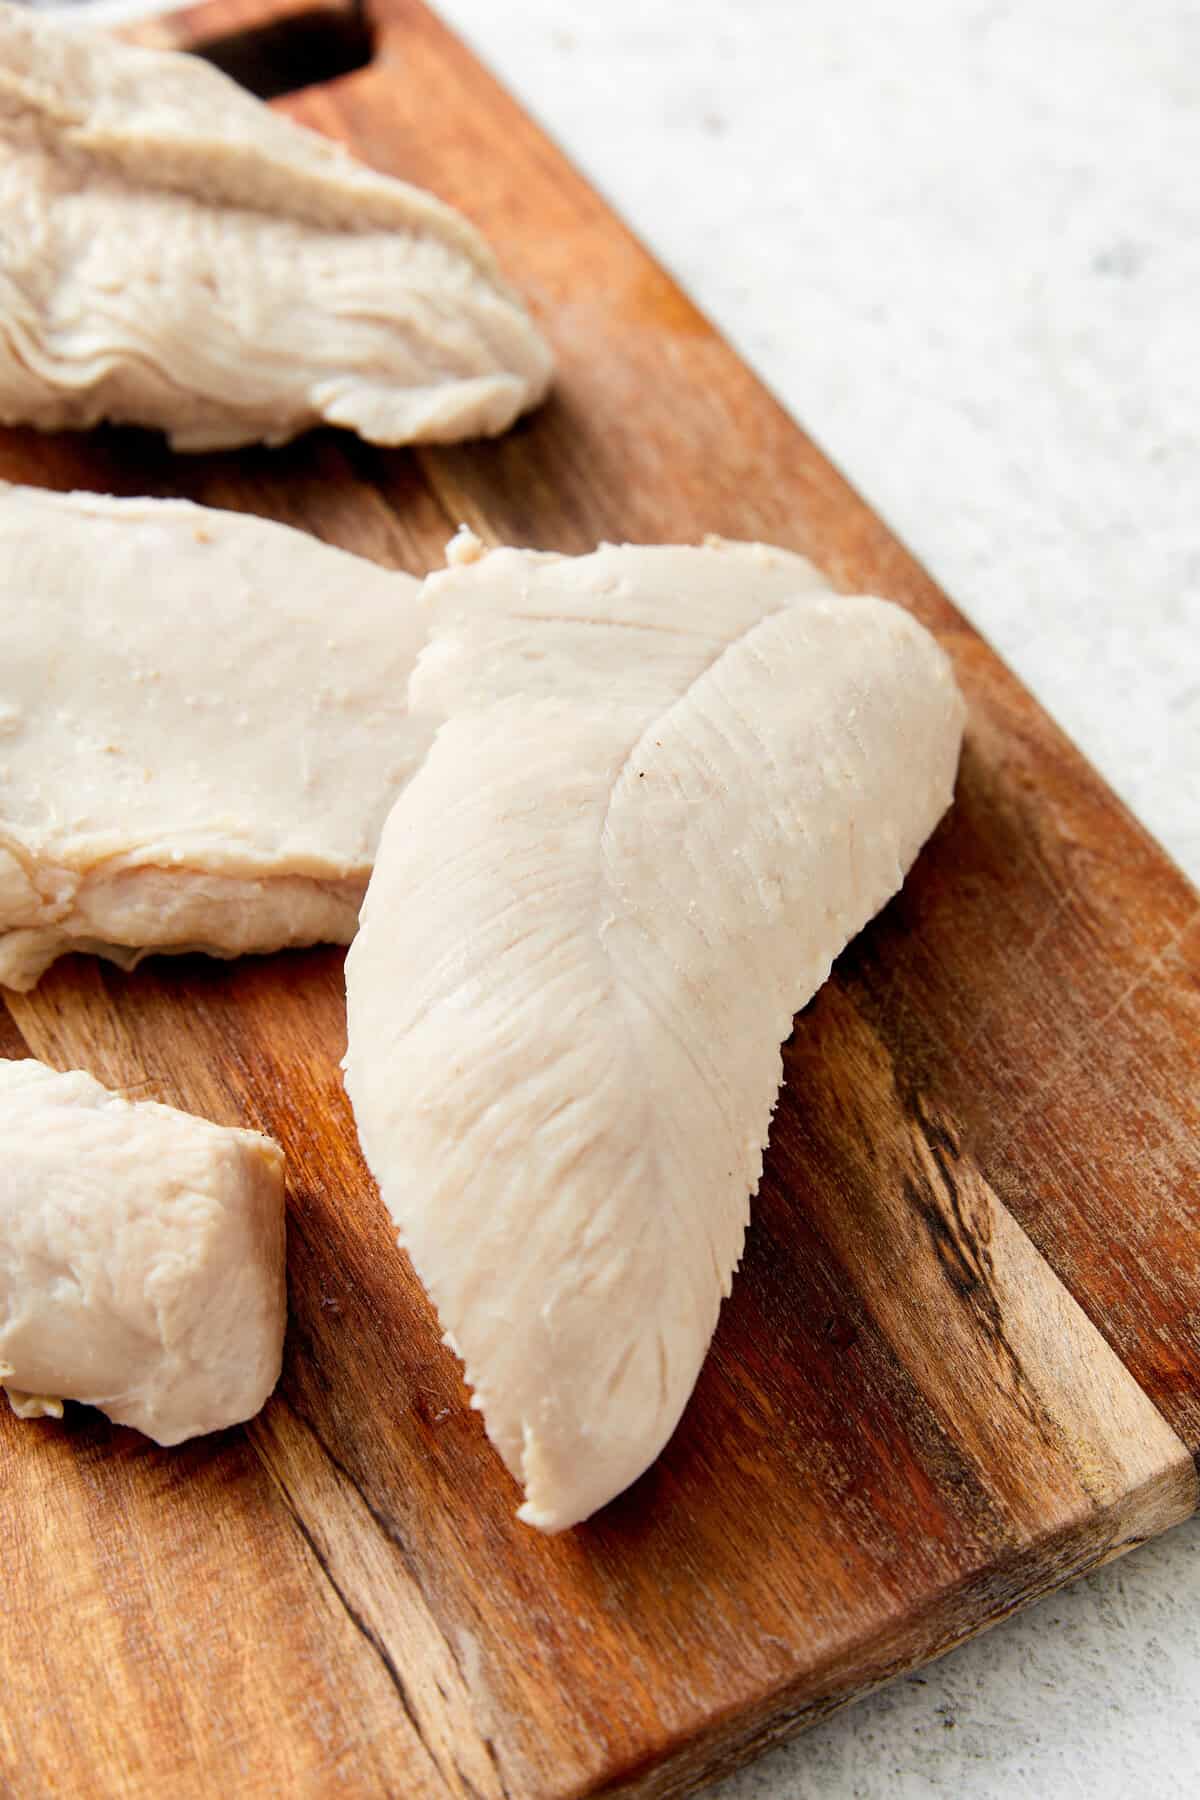
I’m not kidding when I say that brining chicken breast changed my life. For one, I actually started craving it! Second, I willingly bought packs of chicken breast at full price from the grocery store, when previously I only bought them when they went on clearance (because who can resist cheap protein?). Once you try brined chicken breast, you will think about every unbrined, drier-than-the-desert chicken breast you’ve ever eaten, knowing how much better it could have tasted. Seriously.
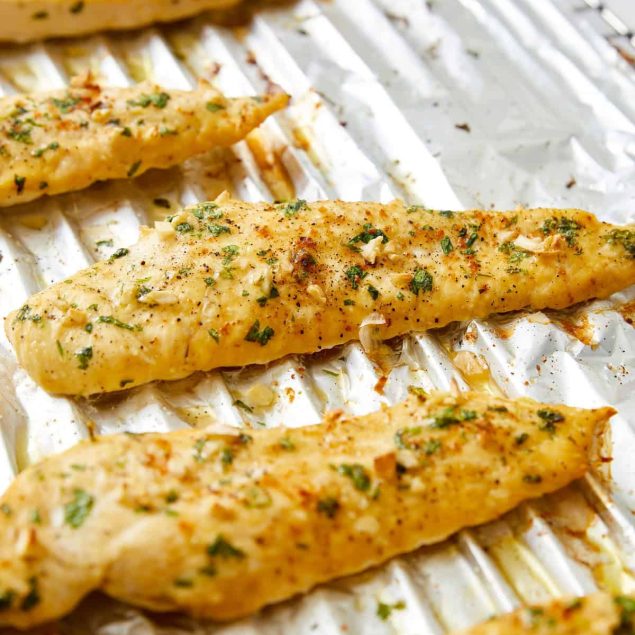
If you’re unfamiliar with brining, the method involves infusing meat by soaking it in water, salt, and other spices, if desired. It sounds pretty simple, but brining is actually quite a scientific process. The proteins in the chicken breast actually change during brining, making the meat more tender and juicy, and adding a nice level of saltiness throughout the breast. The added benefit of brining is that the spices you add to the water soak into the meat, making it more delicious.
The secret to an excellent brine
The secret to brining isn’t really a secret, but I’ll tell you anyway. It’s all about the amount of salt dissolved in the water and the amount of time you allow the chicken breasts to soak.
Pay attention when you make your brine, and make sure to stir until the salt is completely dissolved. Chunks of salt crystals in the water will make the brine much less effective.
This is a moderately salty brine, so you can soak your chicken in it for up to two hours. The closer to two hours it soaks, the saltier and juicier it’ll be! But be aware that you can also over-brine chicken. Over-brined chicken gets mushy, and the cooked texture will be kind of strange, plus your chicken will be really salty. If you realize you won’t be able to pull the chicken out of the brine at or before the two-hour mark, you might want to wait to brine your chicken until you’ll be around.
If you only have 15 minutes to brine your chicken breasts, trust me—15 minutes will make a difference. I make this even when I’m short on time.
How do I store leftovers?
You can make a brine and store it in the refrigerator in a container until you are ready to use it. You can also brine your chicken breasts, remove them from the brine after two hours, and then store them in an airtight container or zip-top storage bag in the refrigerator for up to 2 days. Then, take them out and cook them when you’re ready.

Serving suggestions
Wow, the serving possibilities with a brined chicken breast! Let’s start with sandwiches since I love a good sandwich. These tender chicken breasts grill up beautifully, and they make an incredible Chicken Pesto Sandwich, or chop them up to make a Superfood Greek Yogurt Chicken Salad Sandwich With Honey Mustard. (It’s a mouthful of a recipe, but you will love your mouth full of it!) For dinnertime, I like to use these chicken breasts to make Baked Parmesan-Crusted Chicken or Lemon Pepper Chicken.
Chicken breast goes great with so many sides, too, so serve it up with rice, some lovely roasted veggies, or a beautiful baked potato to make a full meal!
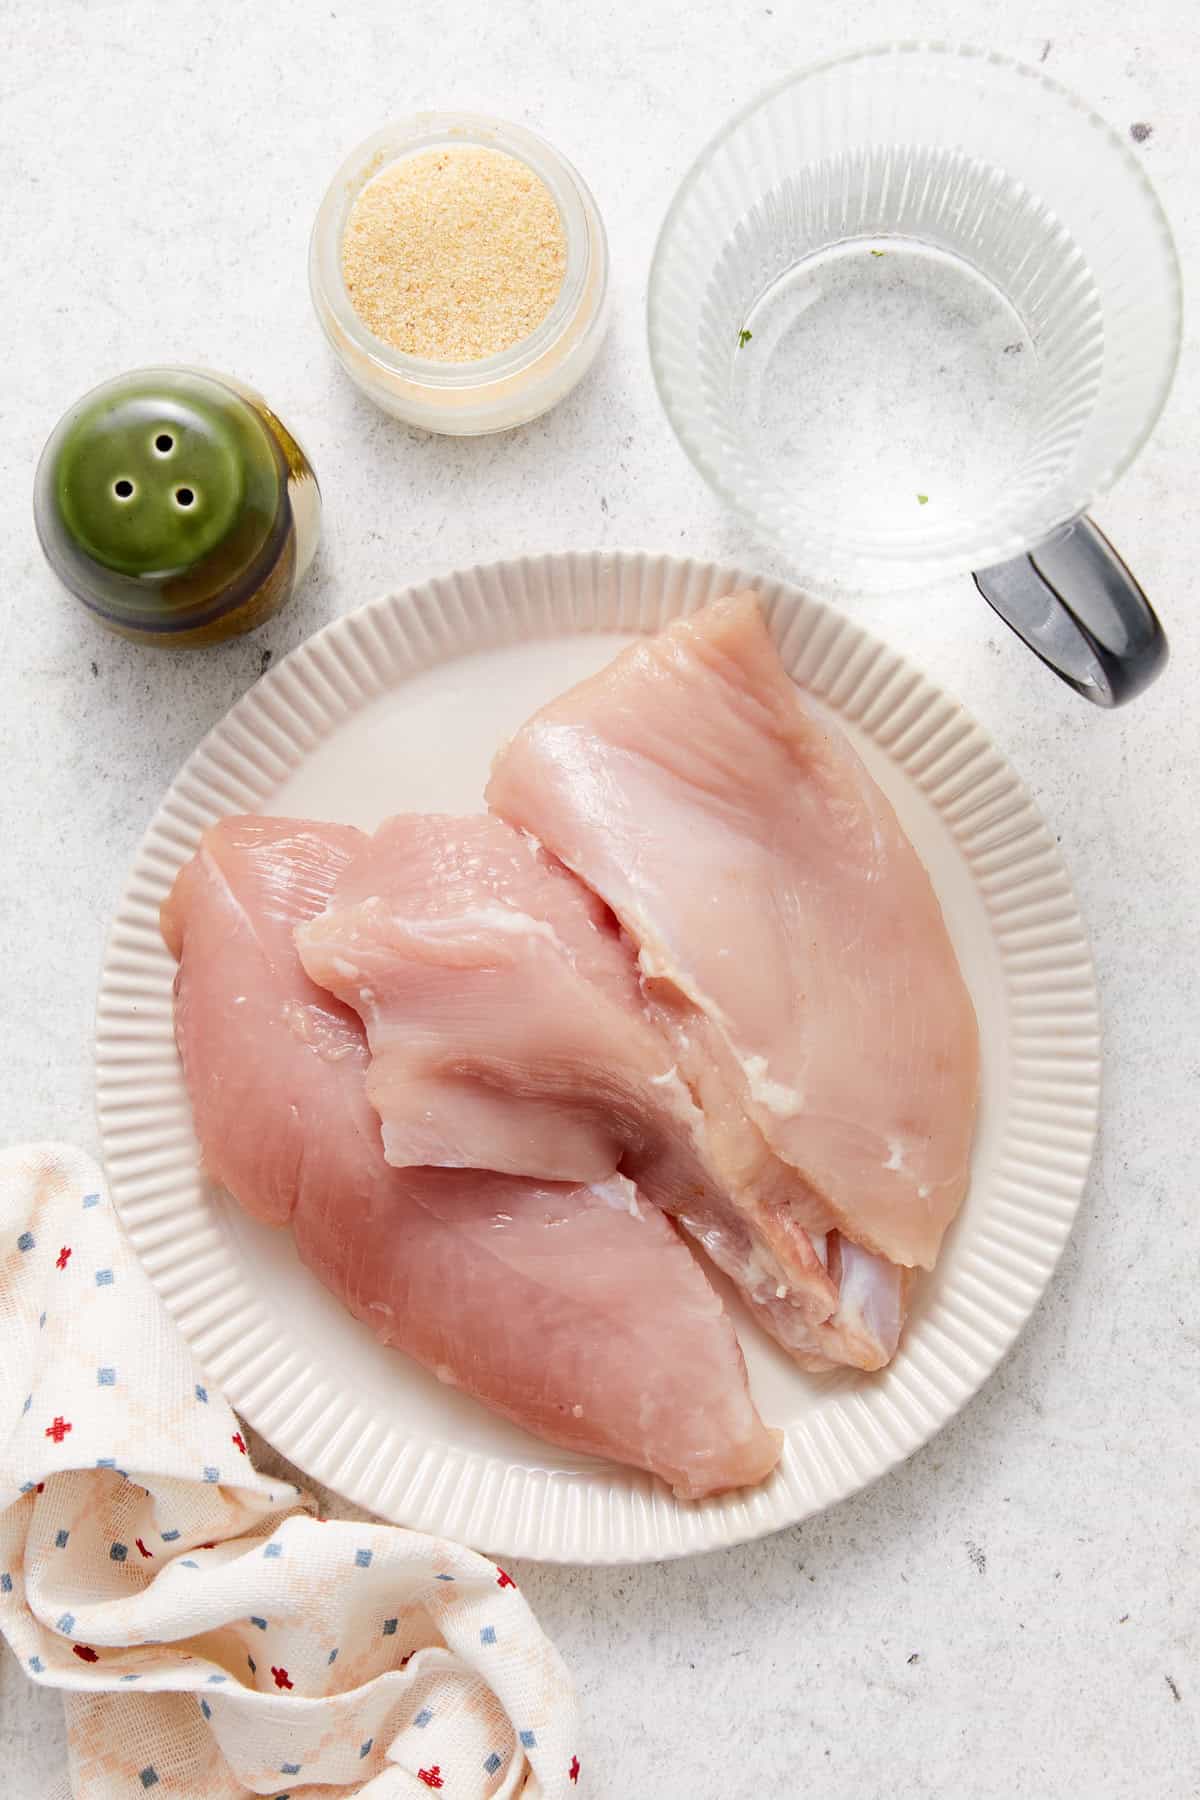
Ingredients
- 4 tablespoons kosher salt
- 4 cups cold water
- 1 tablespoon garlic powder optional
- 4 boneless, skinless chicken breasts (6 ounces each)
Instructions
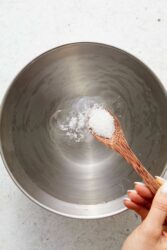
- In a large mixing bowl, dissolve the kosher salt in the cold water by stirring thoroughly.
- Optional: If brining for longer than 45 minutes, consider mixing in the garlic powder for additional flavor.
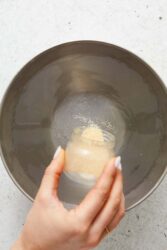
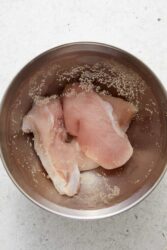
- Submerge the chicken breasts in the brine solution. If the breasts are not fully covered, use a smaller bowl or a resealable plastic bag so they are fully submerged. Let the chicken brine for 15 minutes to 2 hours, depending on your preference and available time. For brining times over 30 minutes, place the chicken in the refrigerator. If brining for less than 30 minutes, you can leave it on the countertop.
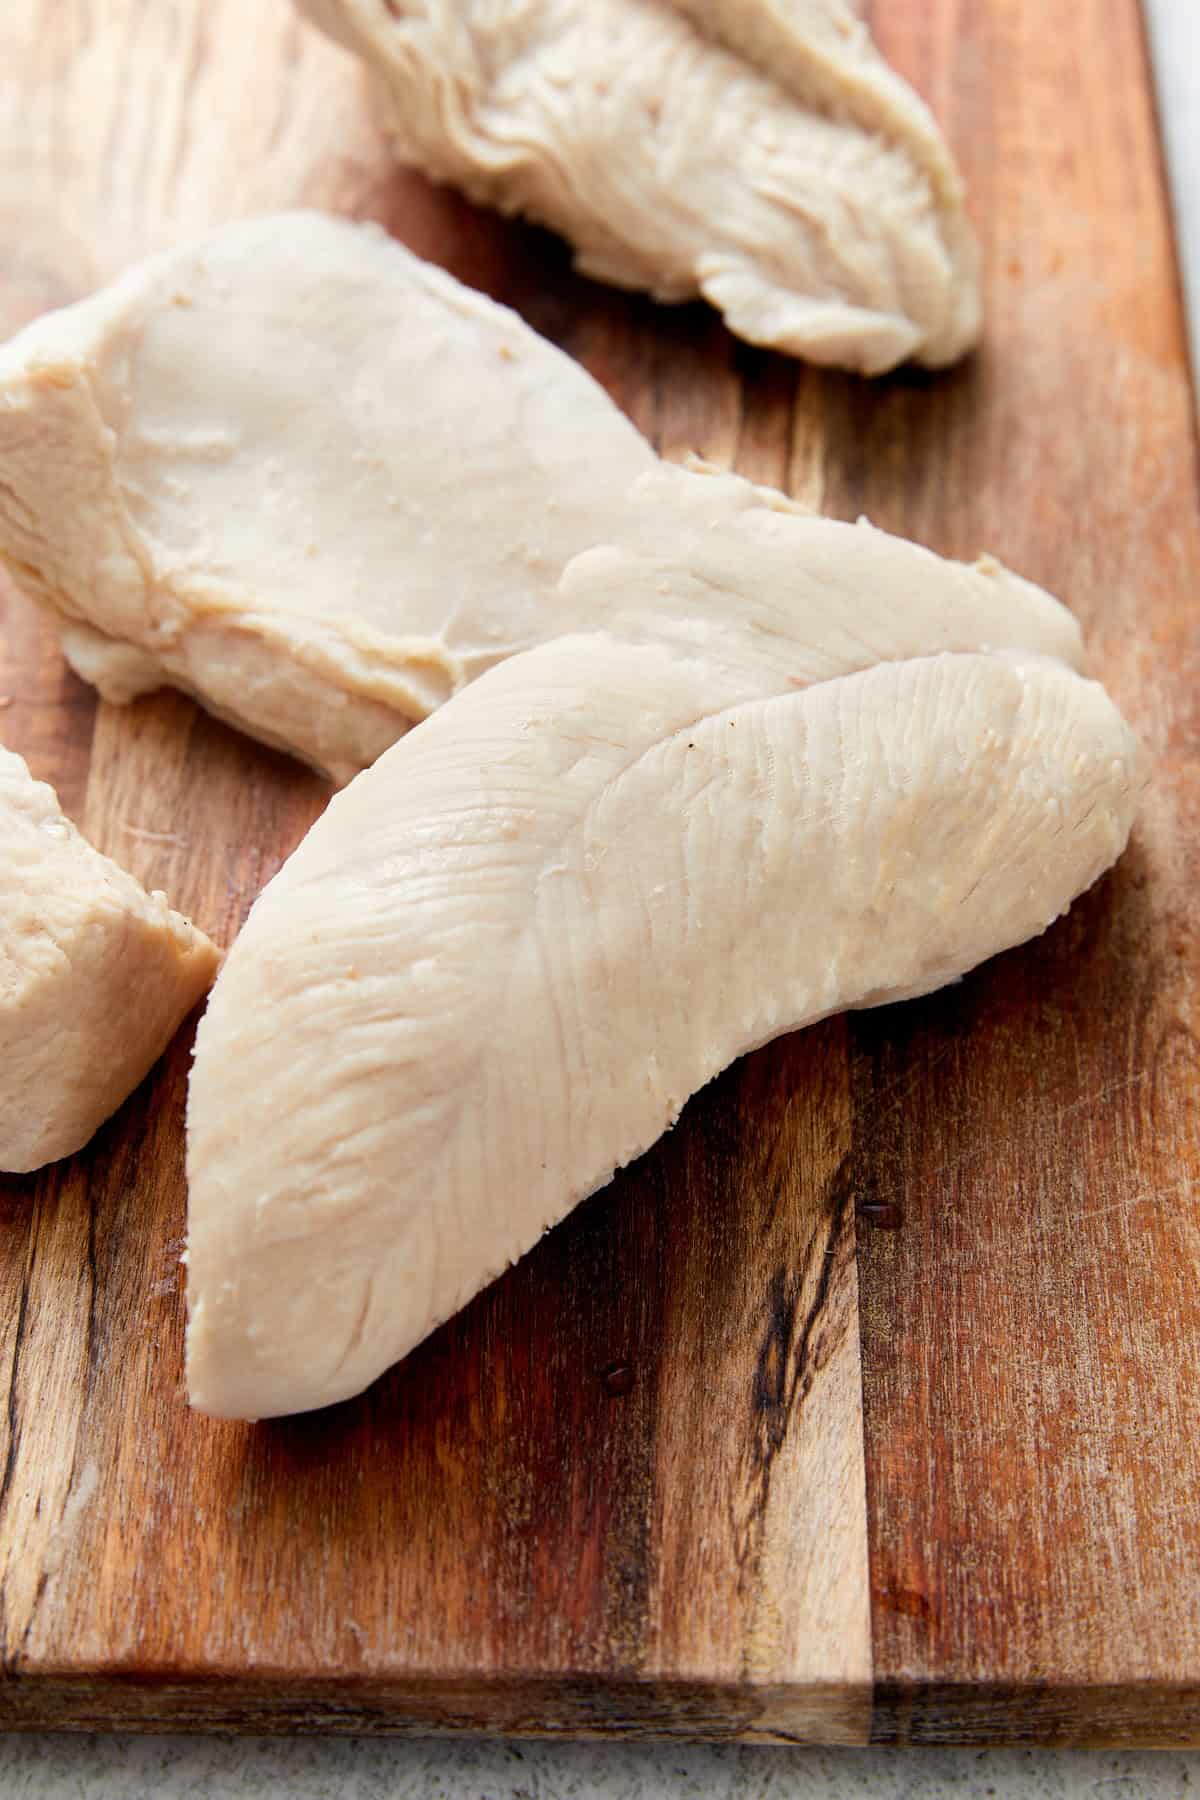
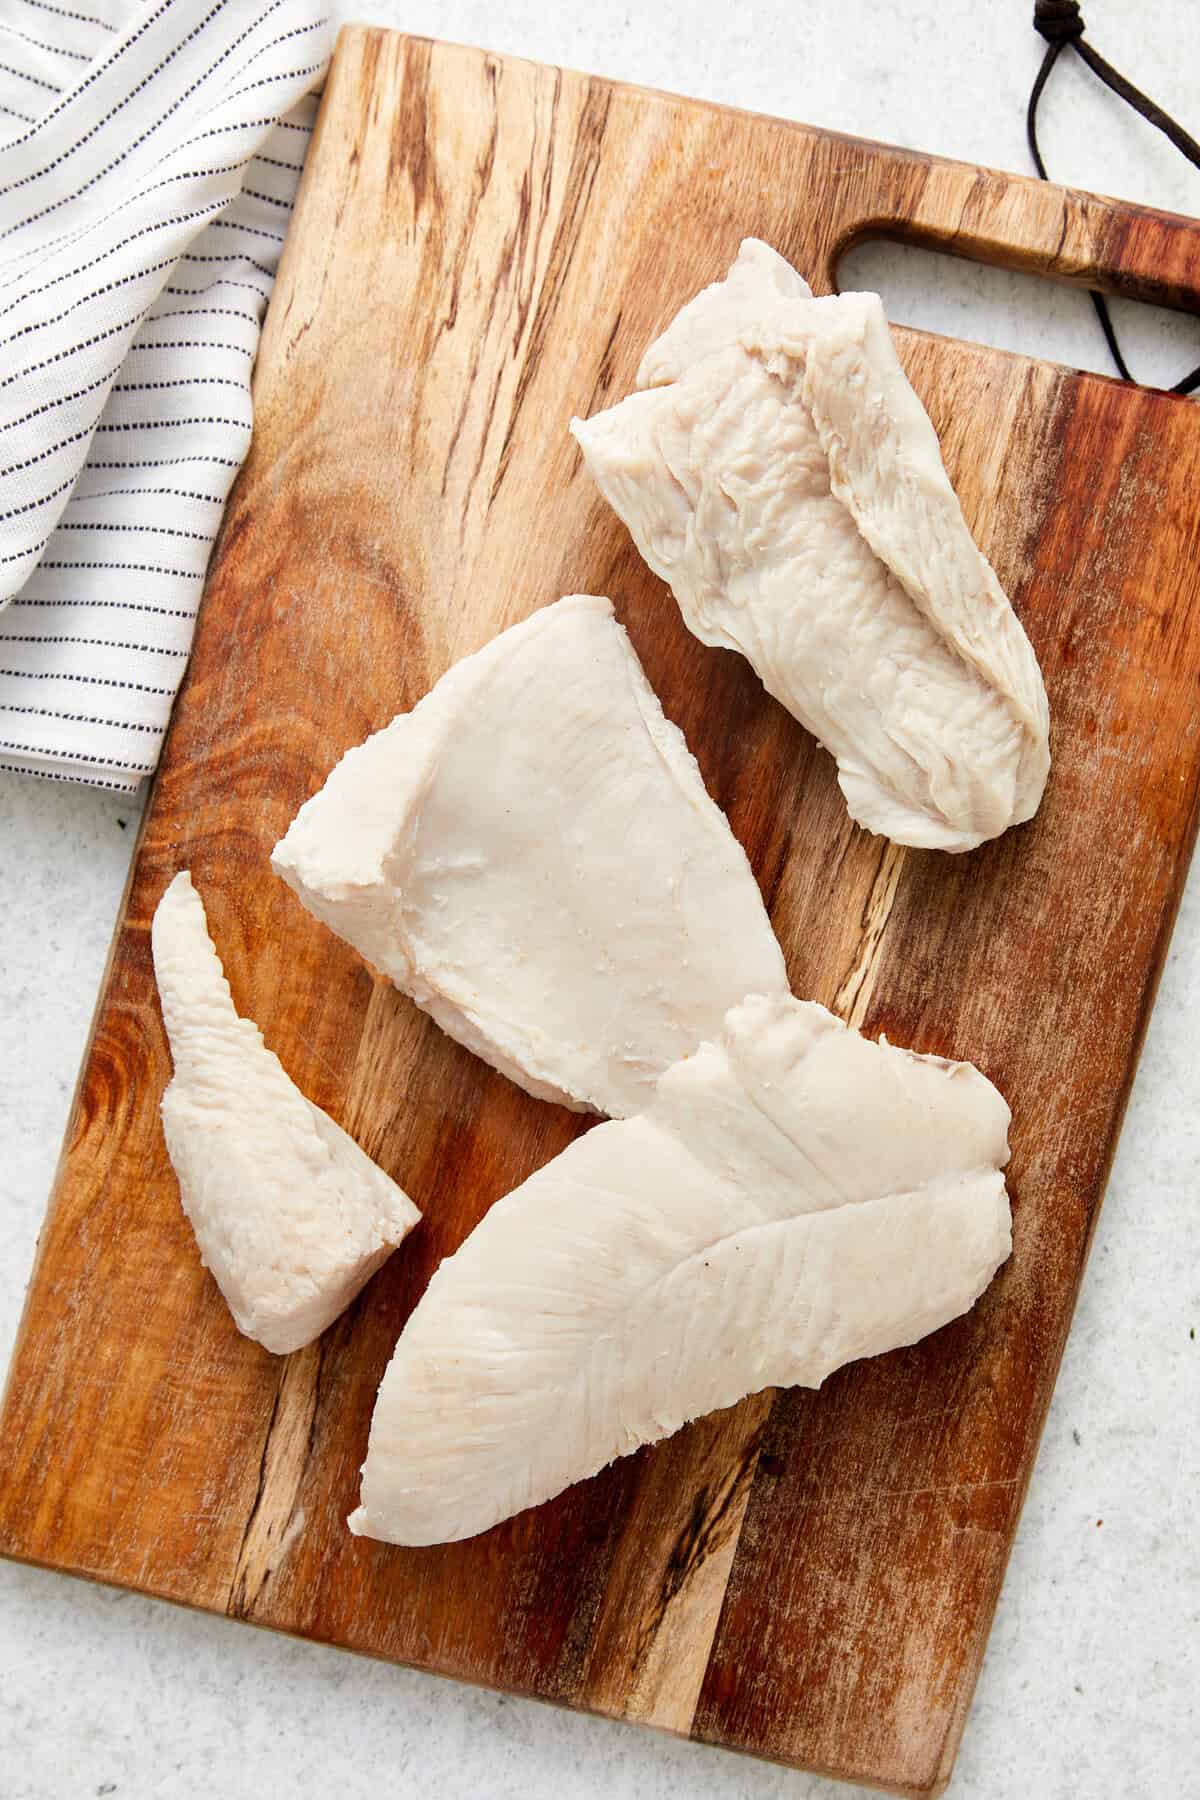
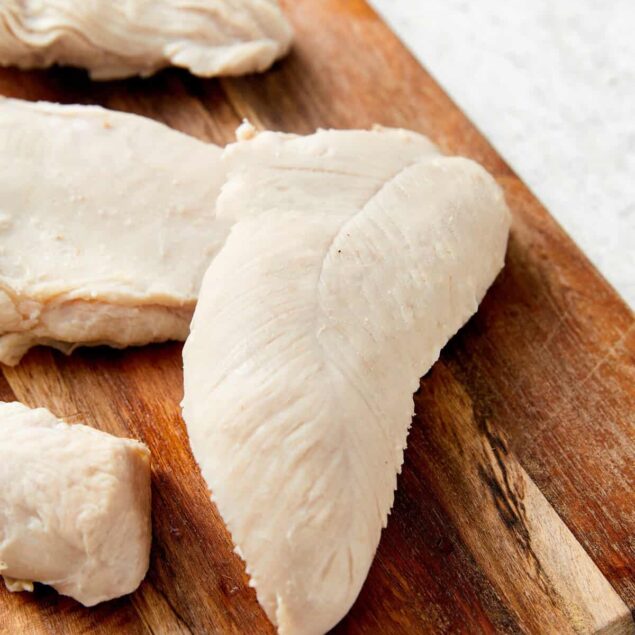
- After brining, remove the chicken from the solution, discard the brine, and pat the chicken dry with paper towels. The chicken is now ready to be cooked as desired.
Nutrition Info:
Nutrition information are estimates only and may vary based on the specific brands, ingredients, and portion sizes you use. This data is provided for informational purposes only.

After brining, can you rinse the chicken off to remove the extra salt; or will that inhibit the process?
Thank you for the help!
Hi Patrick, you can but I recommend not to as you risk removing too much salt. If you do rinse it, don’t forget to pat dry it. Enjoy!