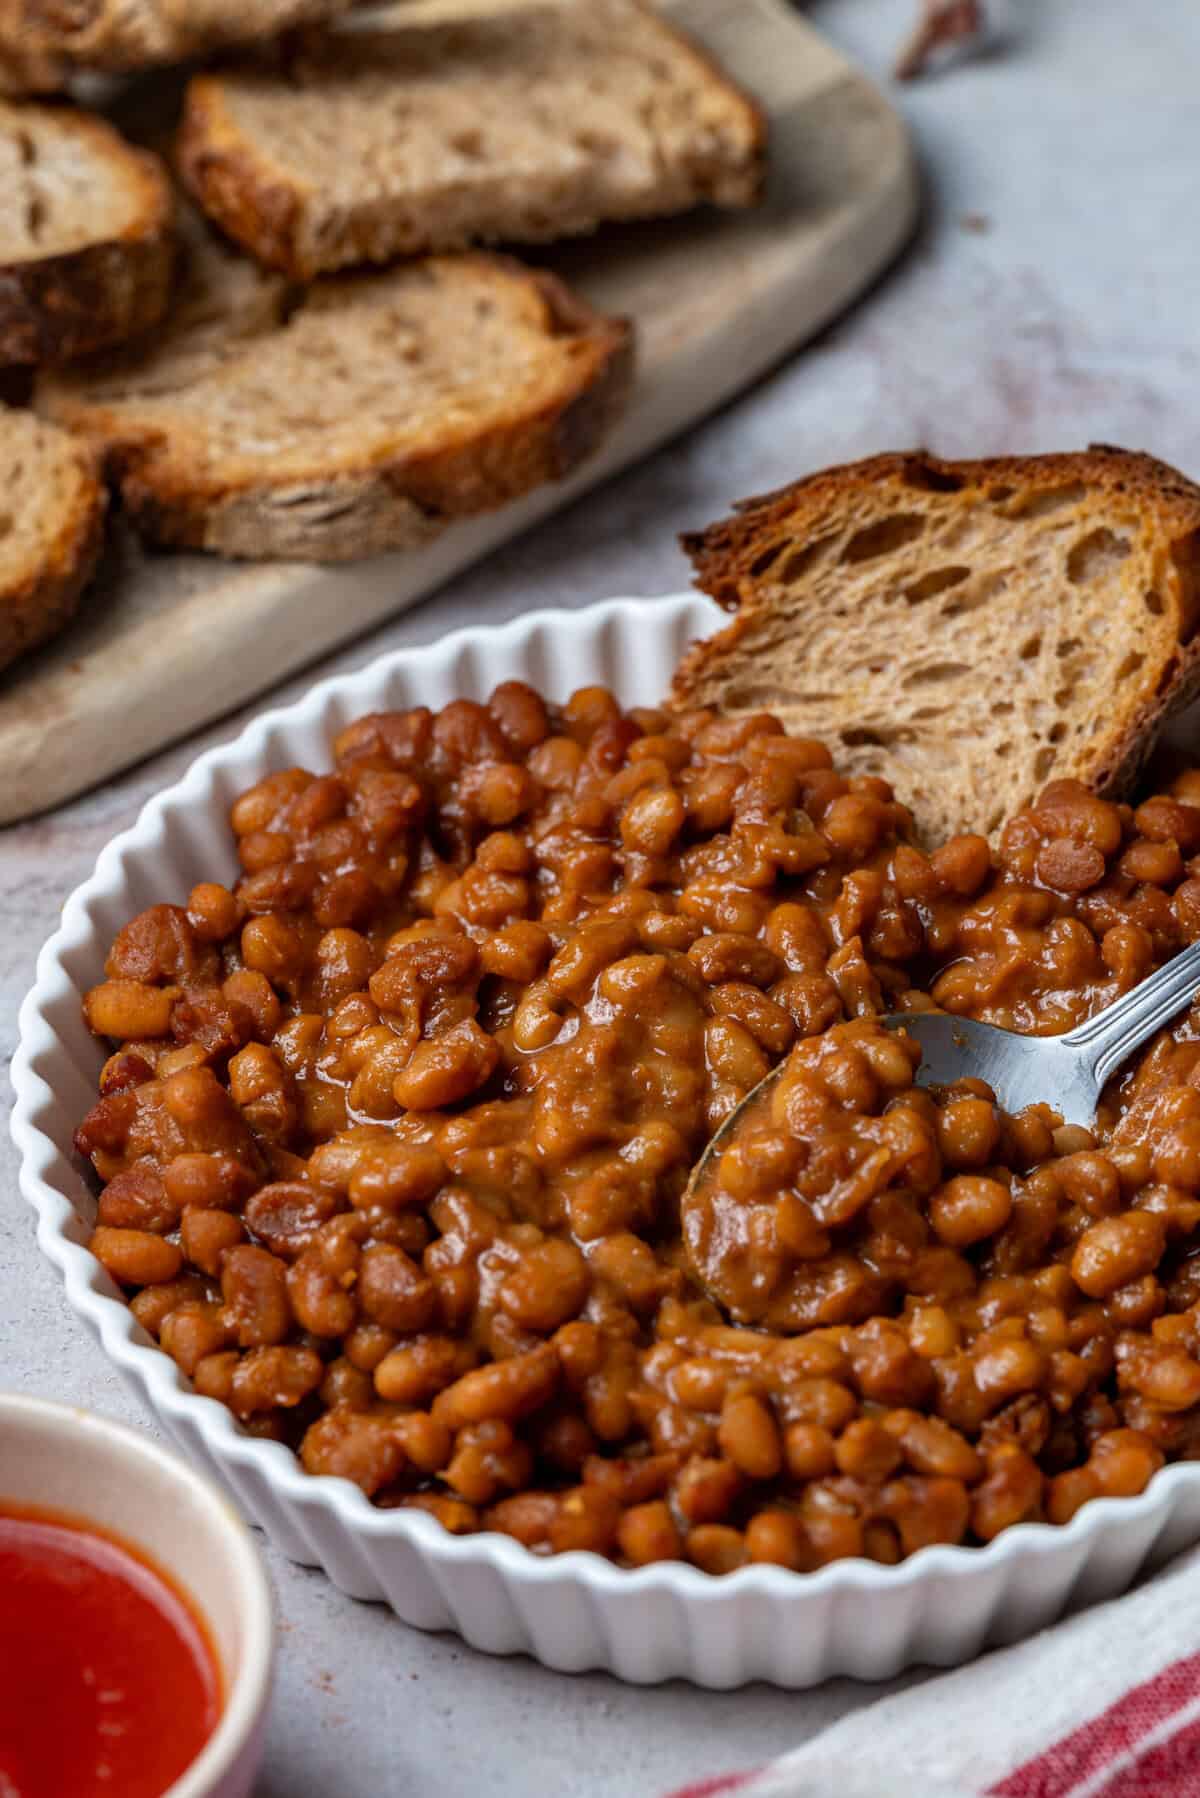
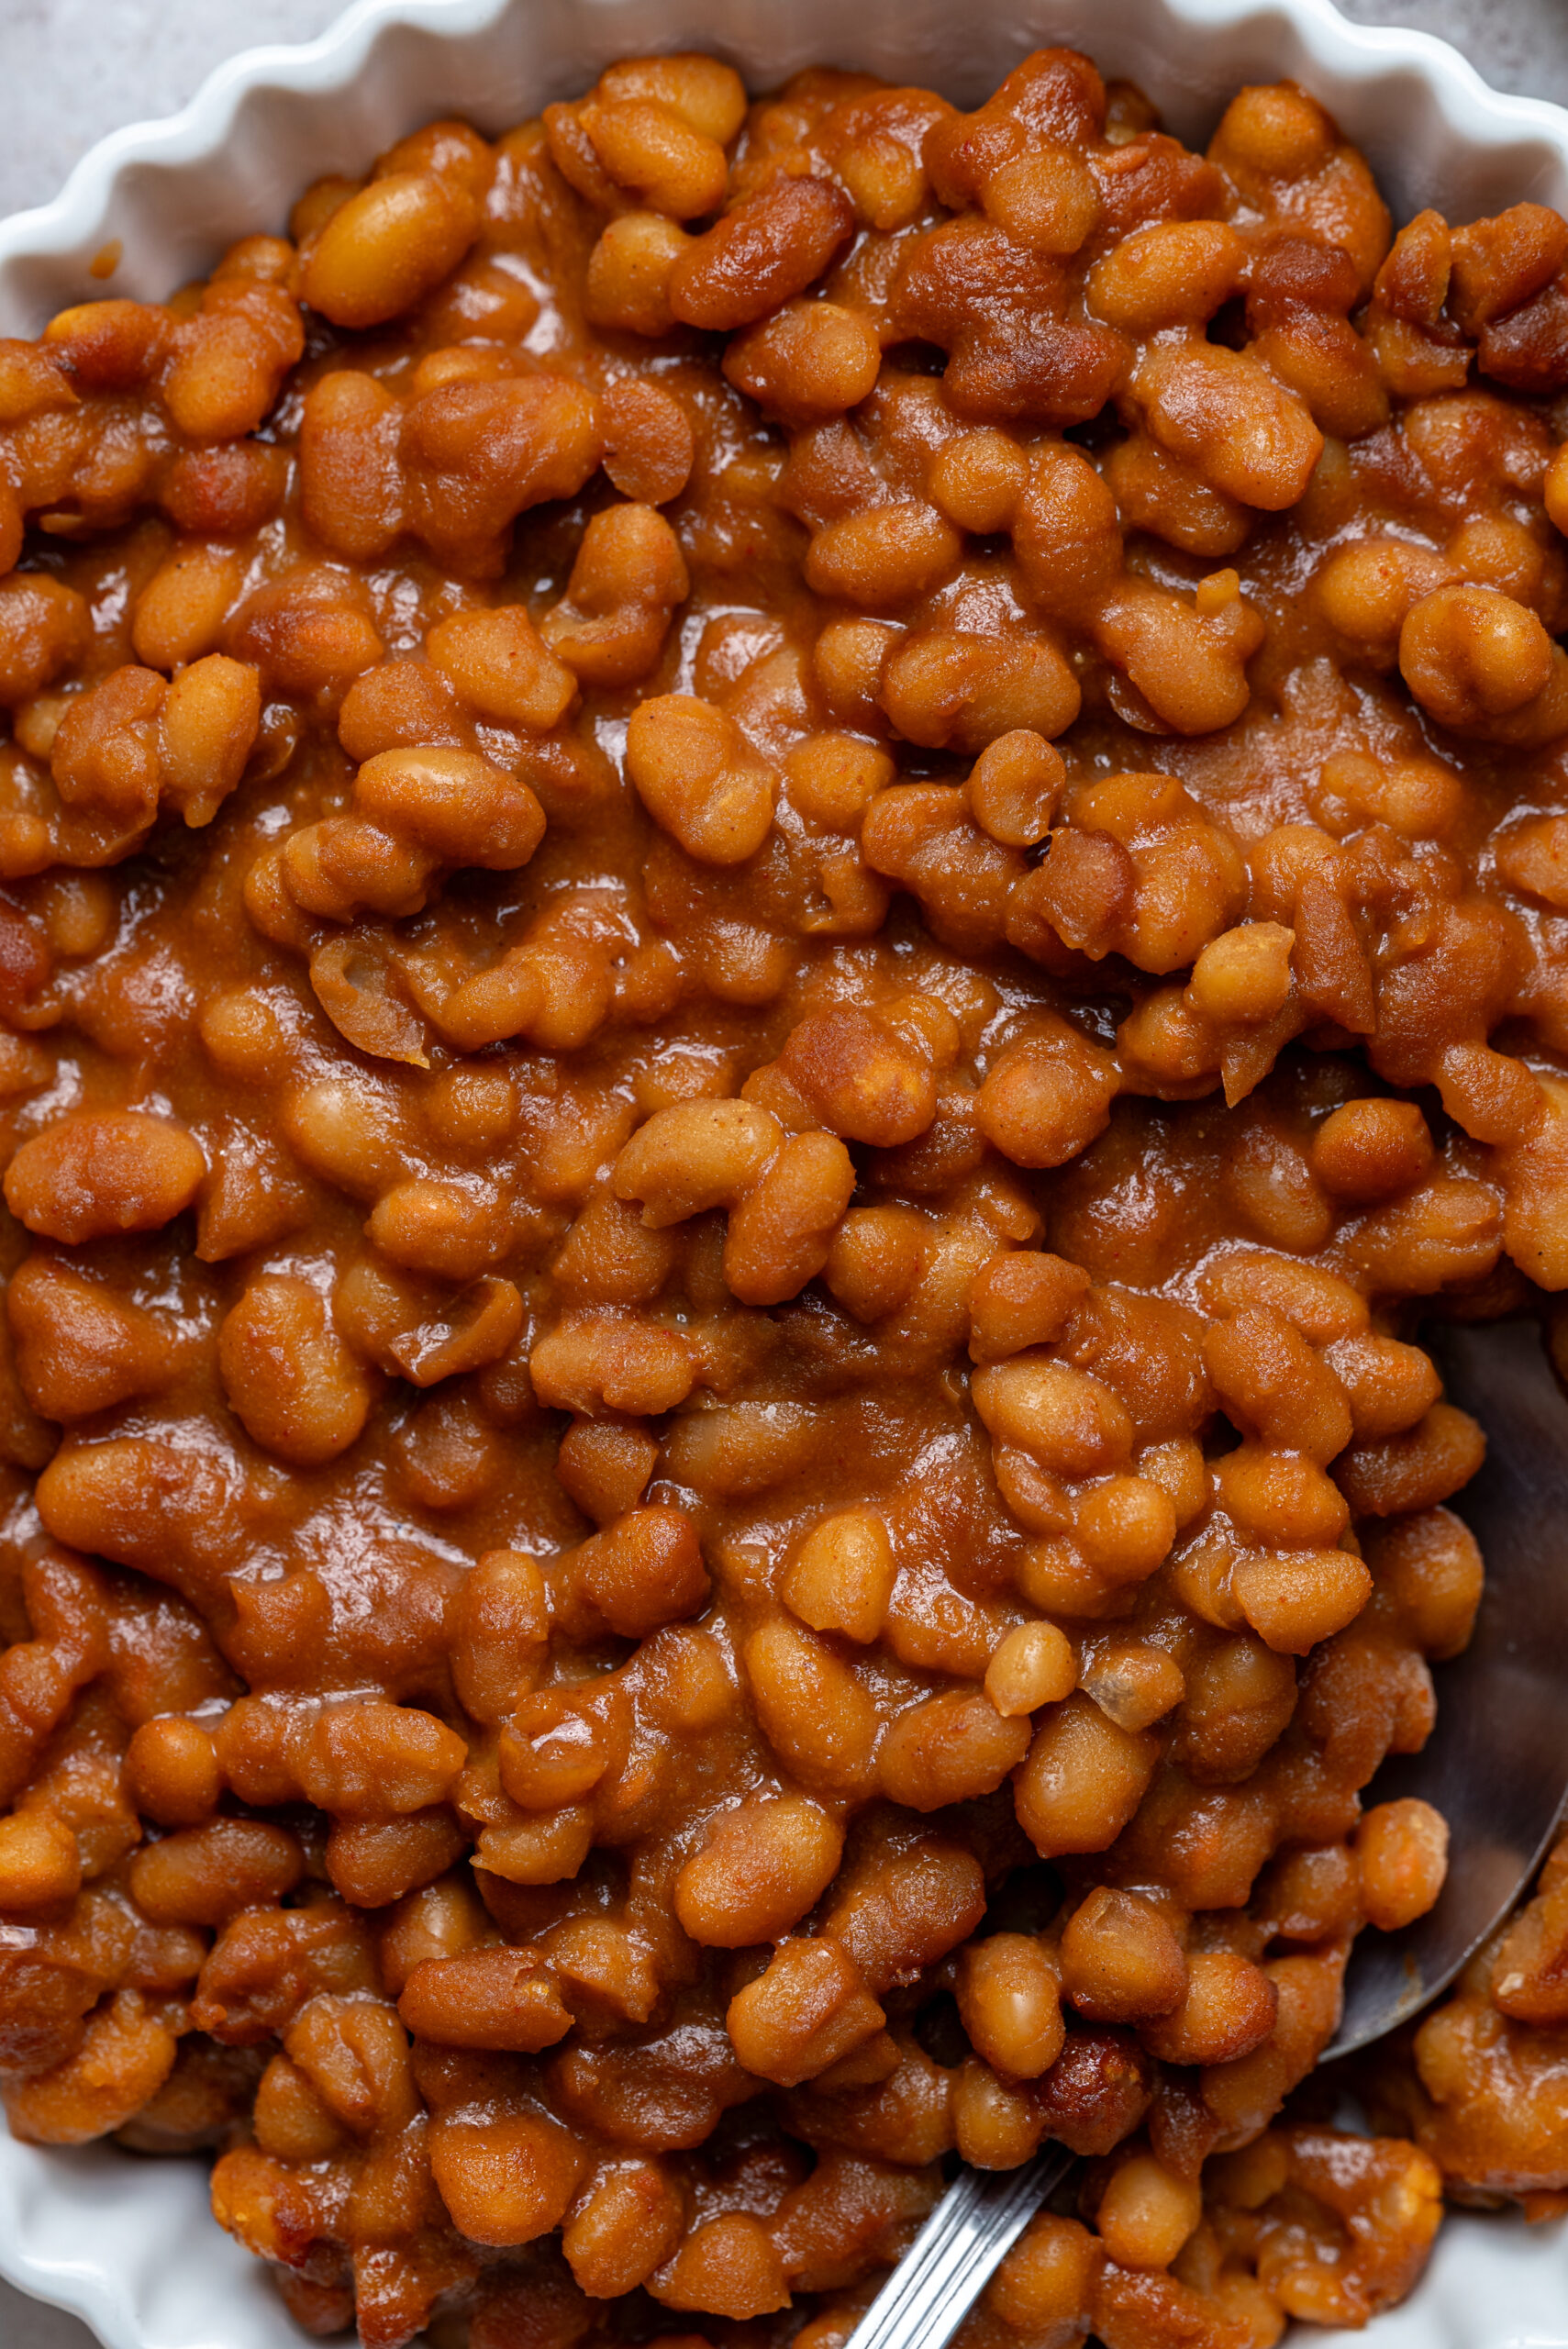
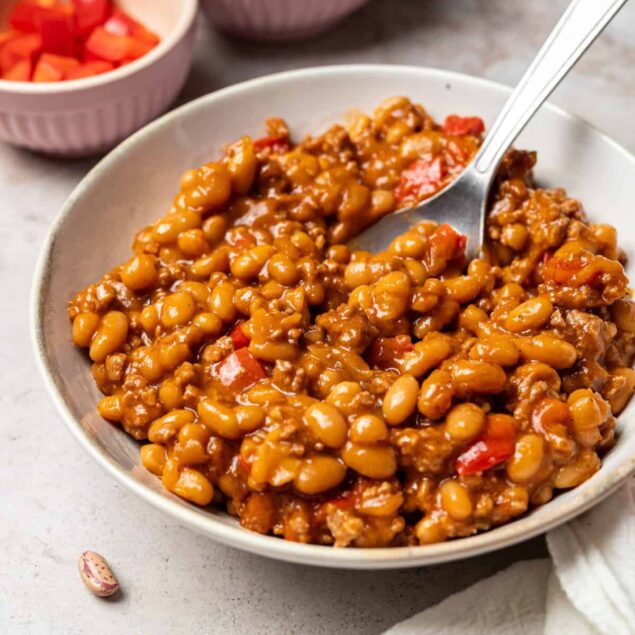
No barbecue is complete without baked beans, and this vegetarian version will astonish everyone with its smoky, sweet flavor.

I’ve been making vegetarian baked beans for decades. But I never considered cooking them any other way than on the stovetop—until I discovered this recipe. It’s a game changer! Gone are the layers of burned beans at the bottom of a pan that I forgot was on the burner. I can’t tell you how many times that has happened to me. Who knew that cooking baked beans in the oven was so easy? This is one of those shake-your-head moments when you wonder why you never thought of it before.
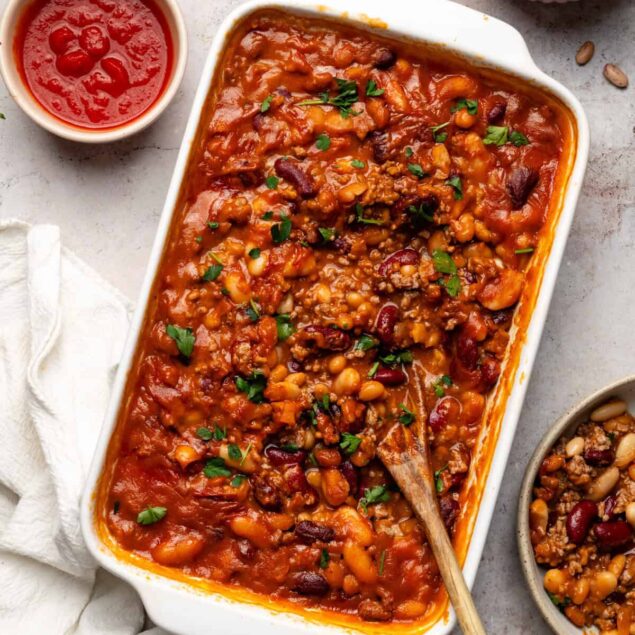
With only five minutes of prep time and just over half an hour for cooking, this dish’s simplicity will boggle the mind. And the flavor profile is equally surprising! I swear the combo of smoked paprika, onion powder, and molasses makes these beans taste like there’s bacon in them. The brown sugar adds just the right touch of sweetness, too. Altogether, this recipe delivers truly classic baked beans that fit right in at any barbecue or picnic.
I love making these for family get-togethers. It’s so much fresher and more flavorful than store-bought vegetarian baked beans—which can be difficult to find and often contain things like modified cornstarch and dextrose that I try to avoid. If you simply must have meat in your baked beans, you could add bacon or ham to this recipe. But honestly, these beans are just perfect sans meat!
Why is baking soda in this recipe for baked beans?
The baking soda in this recipe can seem confusing. It’s added to improve the texture of the beans, helping them cook faster and become softer by raising the pH of the cooking liquid and breaking down the skins of the beans. Some people also find that baking soda makes beans easier to digest by reducing certain compounds that cause gas—though the effect is moderate and not a guarantee against social faux pas. I caution you not to exceed the amount of baking soda specified in the recipe! Too much can make the beans overly soft and give them an unpleasant, soapy flavor. If you prefer, you can leave out the baking soda. Your beans may be a bit firmer, but the recipe will still work well.
How do I store leftovers?
After the vegetarian baked beans cool to room temp, refrigerate them in an airtight container for up to 4 days. These beans freeze well for up to 6 months, though you’ll get the best flavor and texture within 3 months. Once completely chilled, transfer the beans to a freezer-safe container or bag, remove as much air as possible, and seal tightly. I like to use silicone freezer bags that lie flat in the freezer. Thaw overnight in the fridge. Reheat on the stovetop over medium-low heat (avoid boiling), in the microwave in 30-second intervals, or in a 300°F oven, covered, for 10-15 minutes.
Serving suggestions
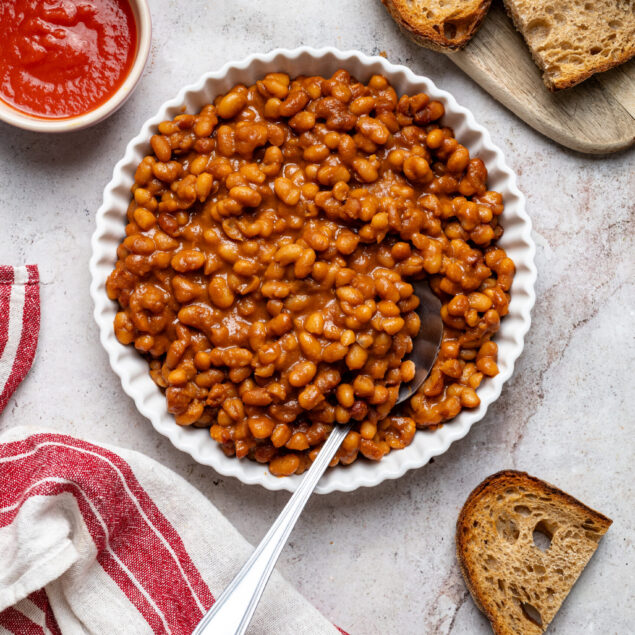
You don’t need a barbecue to whip up a batch of vegetarian baked beans, but by all means, do so when you do fire up that grill. If you want to stick with a vegetarian meal, I recommend pairing them with Grilled Squash, Grilled Brussels Sprouts, and for dessert, this Grilled Peaches Recipe. Of course, just because the beans are vegetarian does not mean the whole meal needs to be. They’re a good complement for Pigs In A Blanket or Air-Fryer Hamburgers. Whatever you choose to serve them with, these tasty beans will surely disappear quickly.

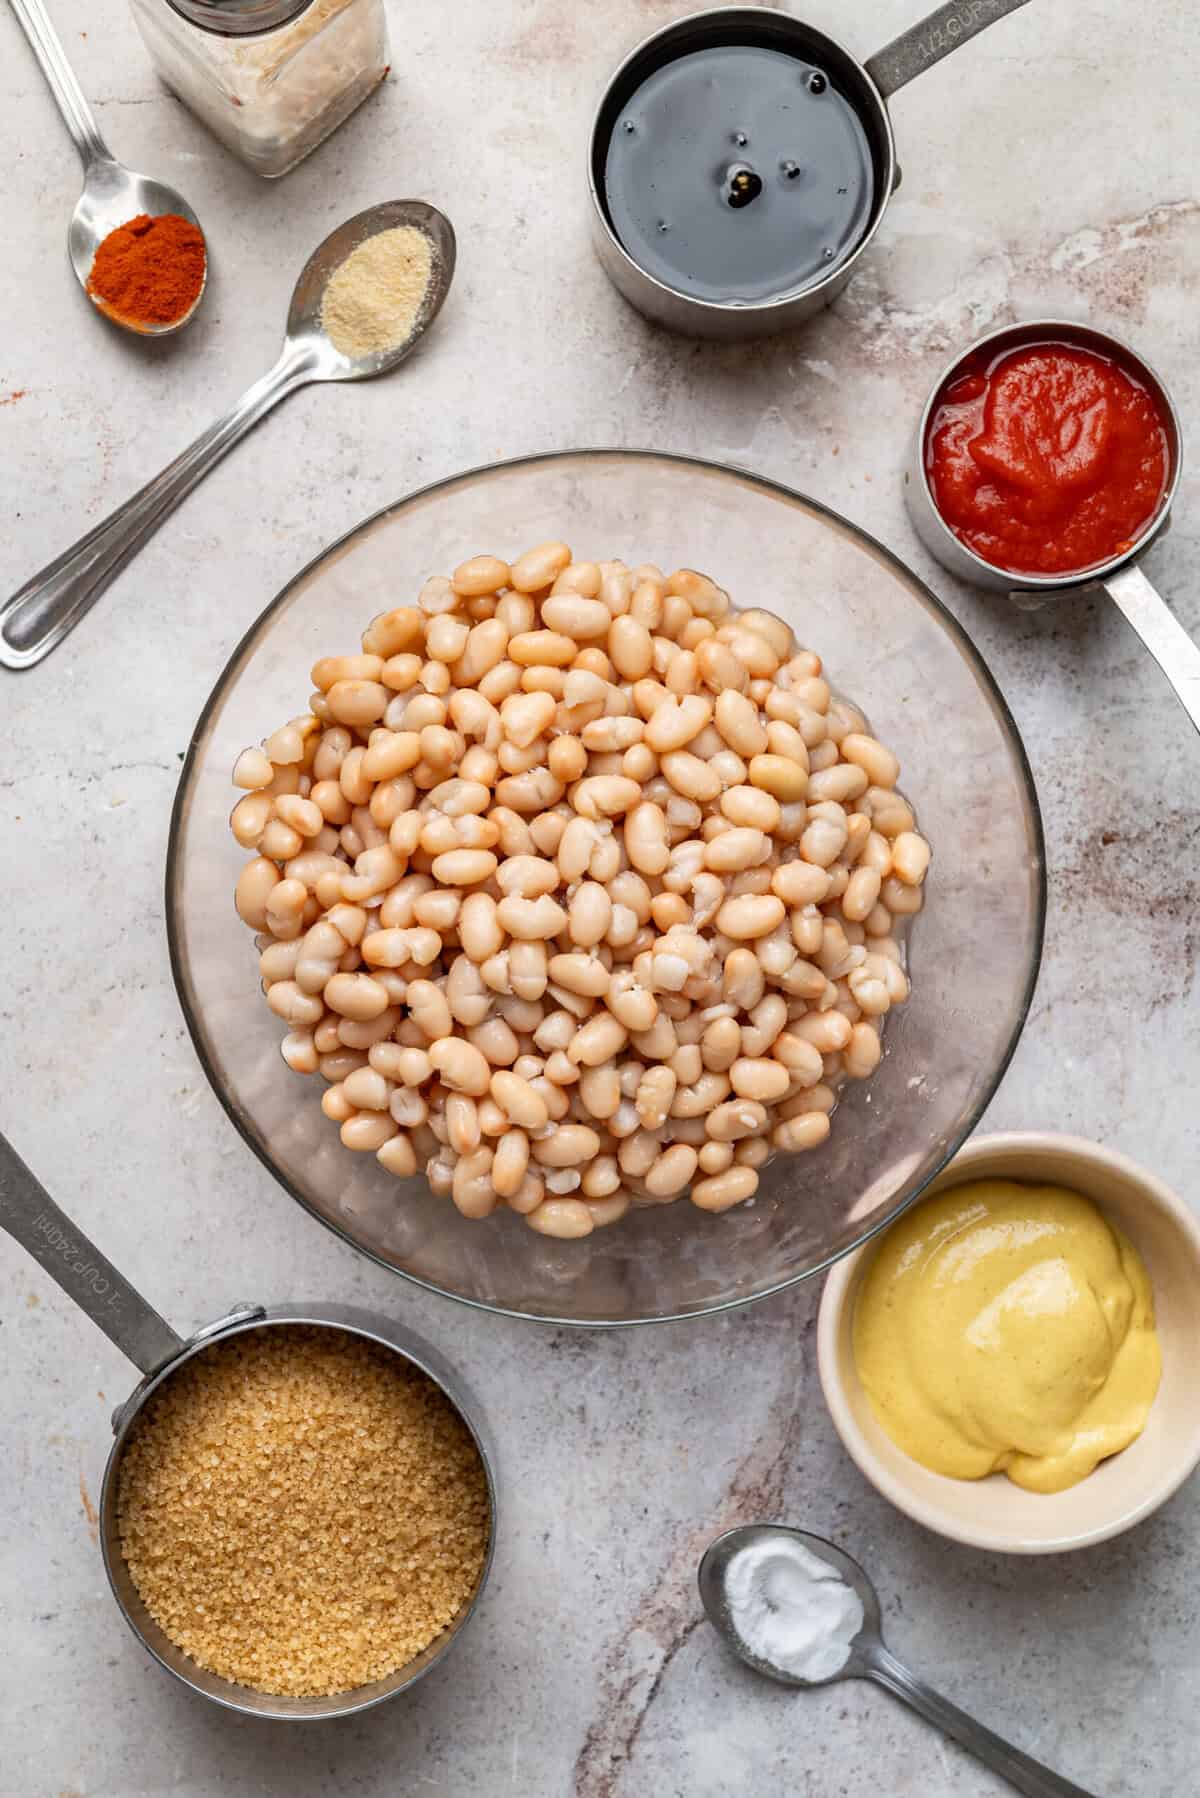
Ingredients
- 1/2 cup unsulphured molasses
- 1/2 cup brown sugar
- 4 tablespoons ketchup
- 3 tablespoons yellow mustard
- 3/4 teaspoon onion powder
- 1/2 teaspoon baking soda
- 1/2 teaspoon smoked paprika
- 1/2 teaspoon kosher salt plus more, to taste
- 2 can navy beans (15.5 ounces) drained and rinsed
Instructions
- Preheat your oven to 400°F. This ensures the beans cook evenly.
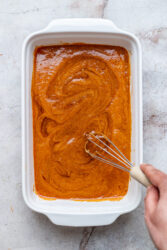
- In an oven-safe dish, whisk together the molasses, brown sugar, ketchup, yellow mustard, onion powder, baking soda, smoked paprika, and kosher salt until smooth.
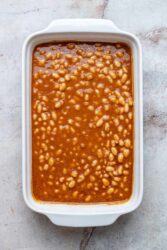
- Stir in the drained and rinsed navy beans until evenly coated with the sauce.
- Bake in the preheated oven for 20-25 minutes. Stir halfway through to help the sauce thicken and the flavors meld.
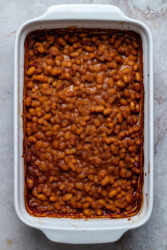
- Remove from the oven. Let sit for 5 minutes before serving. Adjust salt if needed.
Nutrition Info:
Nutrition information are estimates only and may vary based on the specific brands, ingredients, and portion sizes you use. This data is provided for informational purposes only.
Leave a Comment