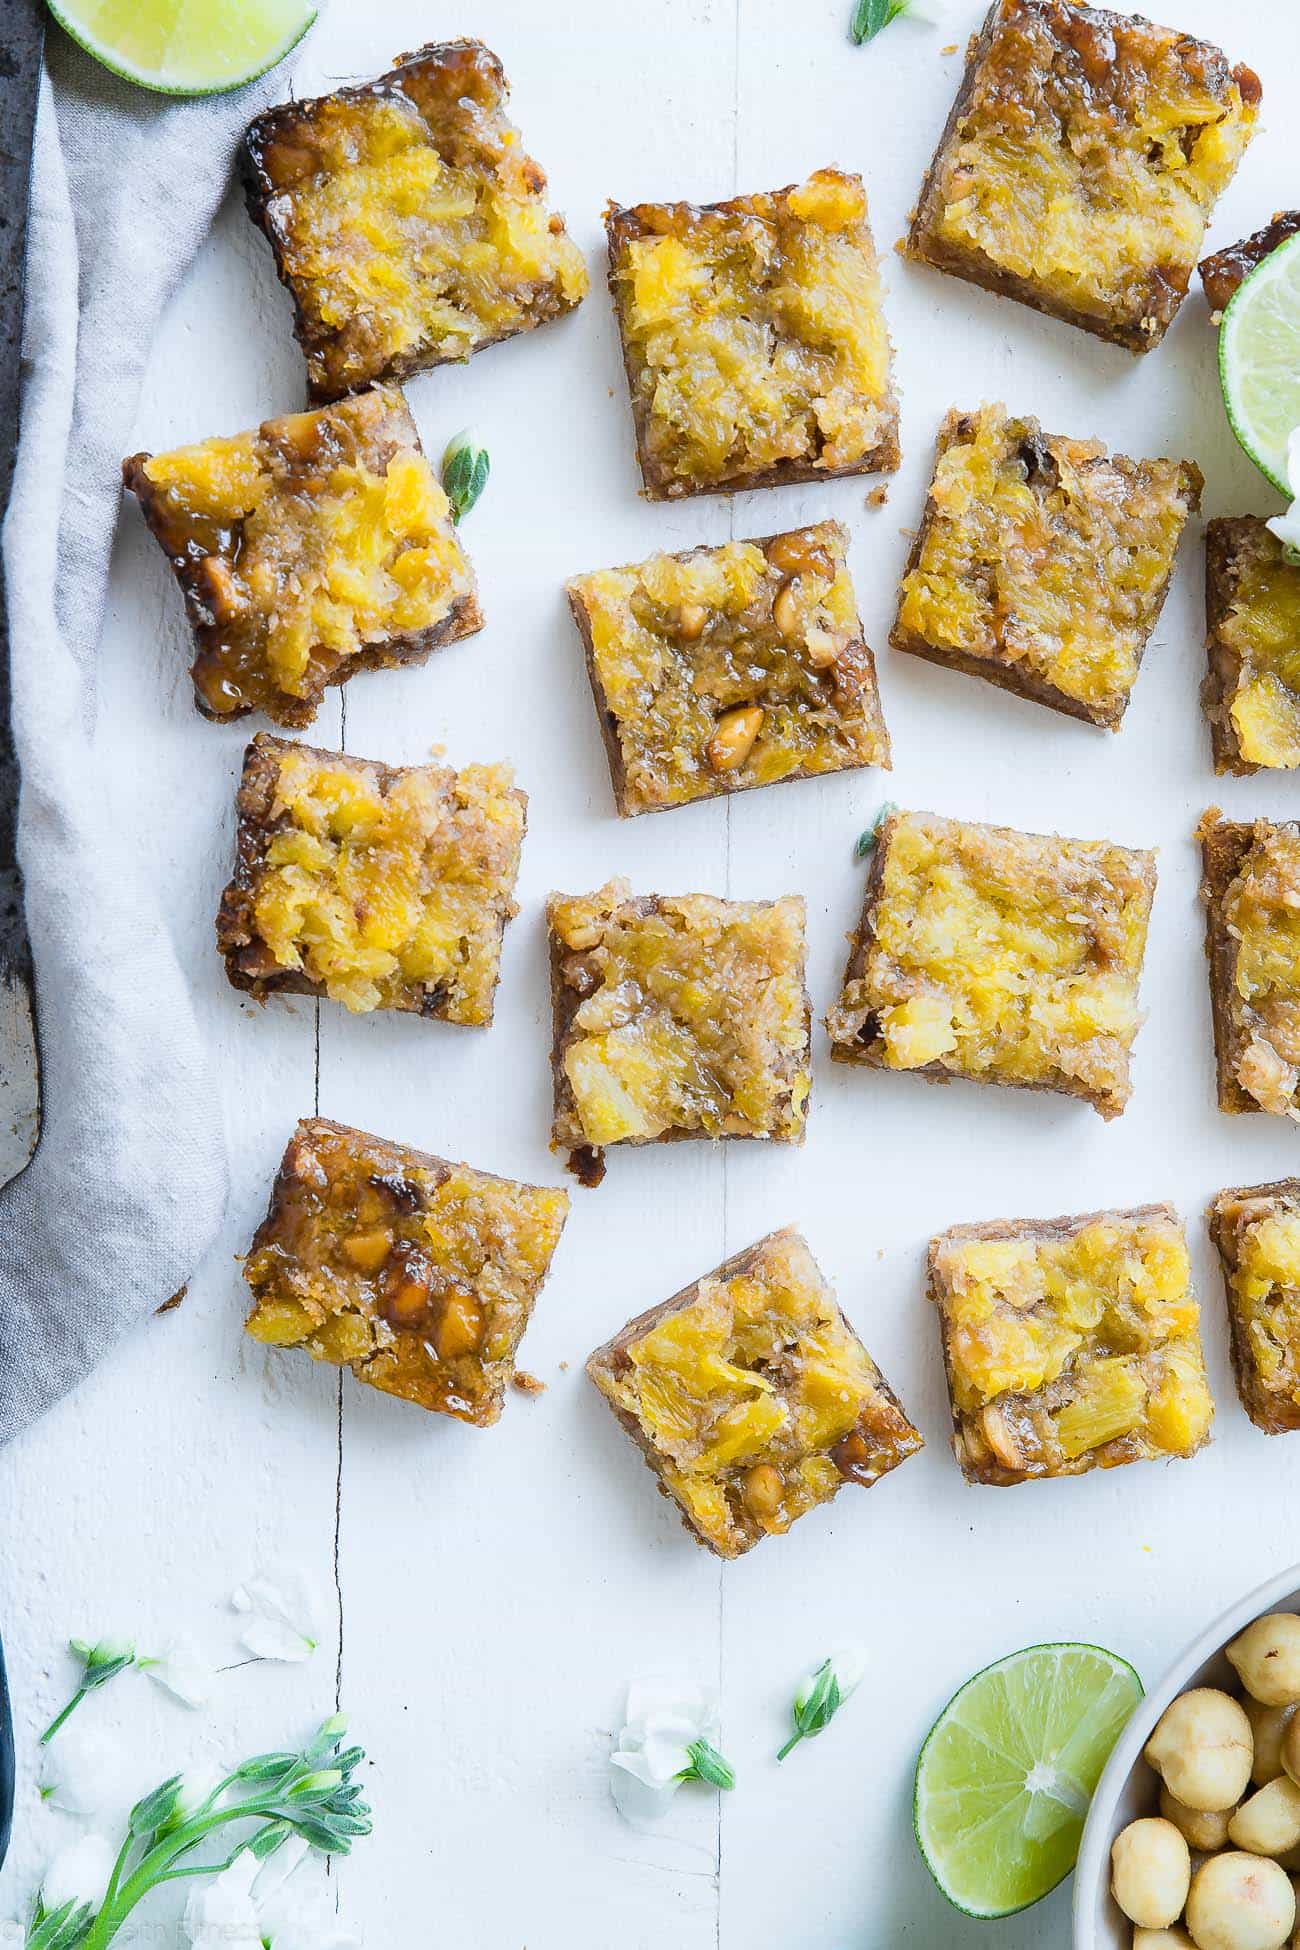
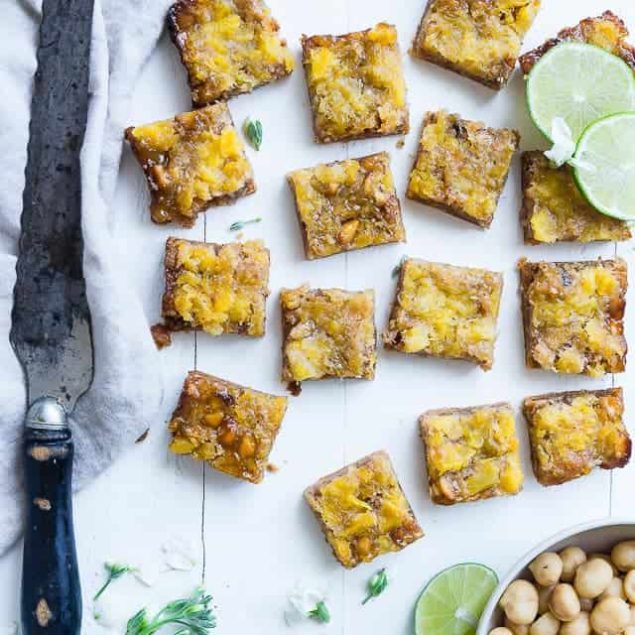
These Tropical Paleo Magic Cookie Bars are the perfect gluten-free summer treat!
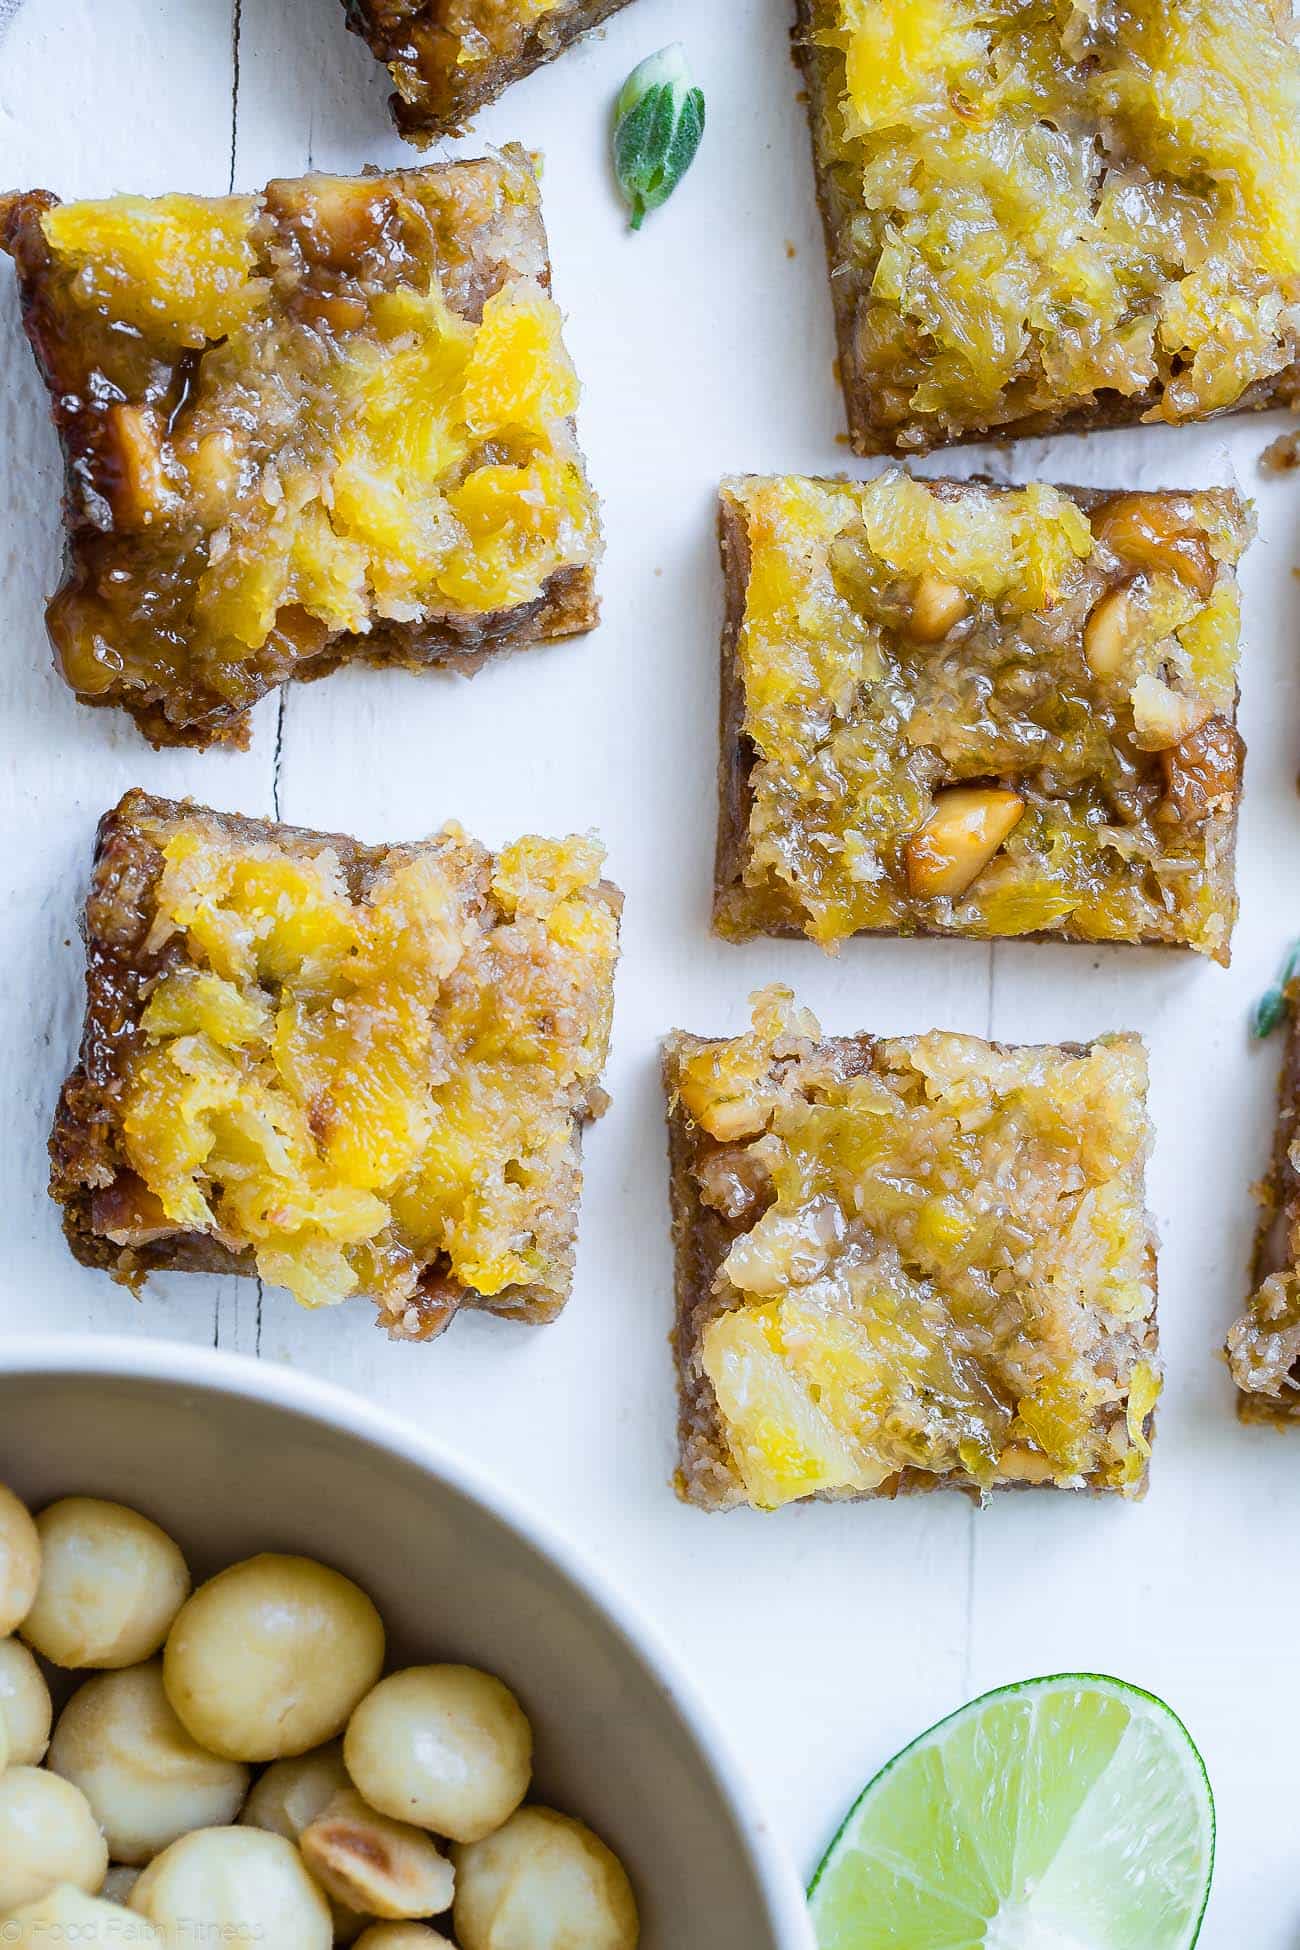
If you could capture the essence of a tropical vacation and bake it into a dessert, this would be the result. These unique magic cookie bars have a toasty coconut crust layered with the tropical trio of macadamia nuts, honey, and pineapple… plus just a kiss of lime. And honestly, I don’t even know if it’s fair to call these magic cookie bars anymore. They’re more like “magic in your mouth” bars, because the second you take a bite, your taste buds are transported straight to some sun-soaked beach where dessert is required and shoes are optional. It’s no wonder these bars are always such a hit at all my summer outdoor get-togethers!
If you’ve been around here long enough, you already know my magic cookie bar obsession runs deep. We’ve gone classic, pumpkin spice, chocolate strawberry, carrot cake—basically, if there’s a way to magic-cookie-bar-ify a flavor, I’m doing it. But this one might just be the summer MVP. The honey gives it a decadent, natural sweetness that perfectly complements the rich coconut and macadamia nuts; it’s dangerously good. Like, make-a-batch-and-suddenly-they’re-gone good. So consider this your warning: These bars have some serious disappearing act energy.
Are These Tropical Paleo Magic Cookie Bars Healthy?
If you’re comparing these tropical cookie bars to most other baked goods, they certainly have much more wholesome ingredients than you’d find otherwise. With coconut flour, raw honey as a sweetener, and no artificial ingredients, these are the perfect treat for those on a more limited diet, including gluten-free, dairy-free, and paleo.
That said, they are still cookie bars. They’ve got plenty of fats and natural sugars to fully classify them as a dessert. So, enjoy in moderation!
Macadamia Nuts Are A Tropical Must-Have
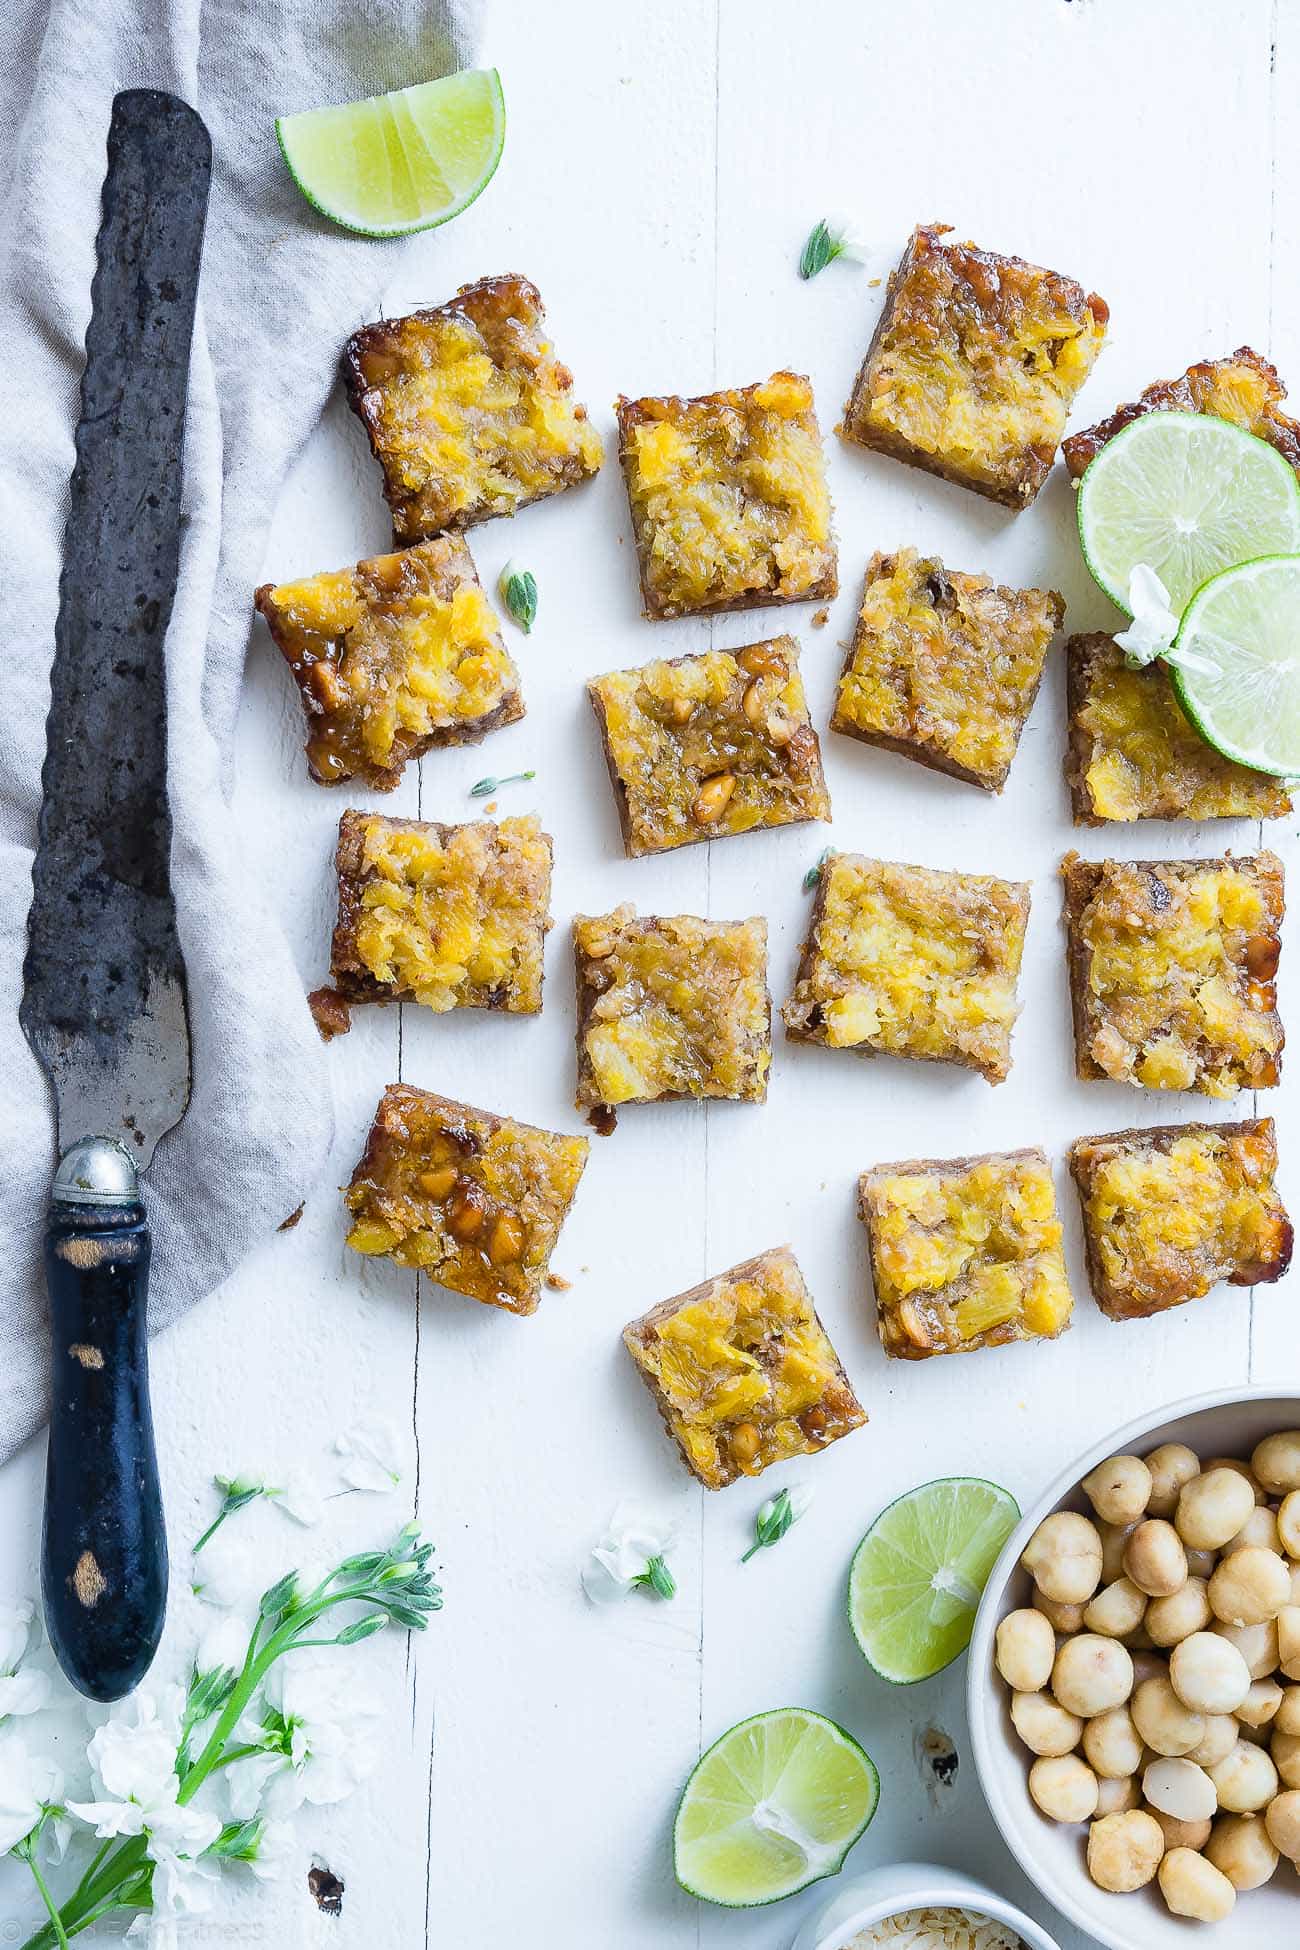
Ever wonder why macadamia nuts are so often a star ingredient in anything deemed “tropical?” Well, there’s a reason. Macadamia nuts are actually native to Australia, specifically the rainforests of New South Wales and Queensland. But, these nuts now thrive in other parts of the world—most famously, Hawaii. Today, Hawaii is the biggest commercial producer of macadamia nuts, making them a popular ingredient in all manner of Hawaiian-themed fare.
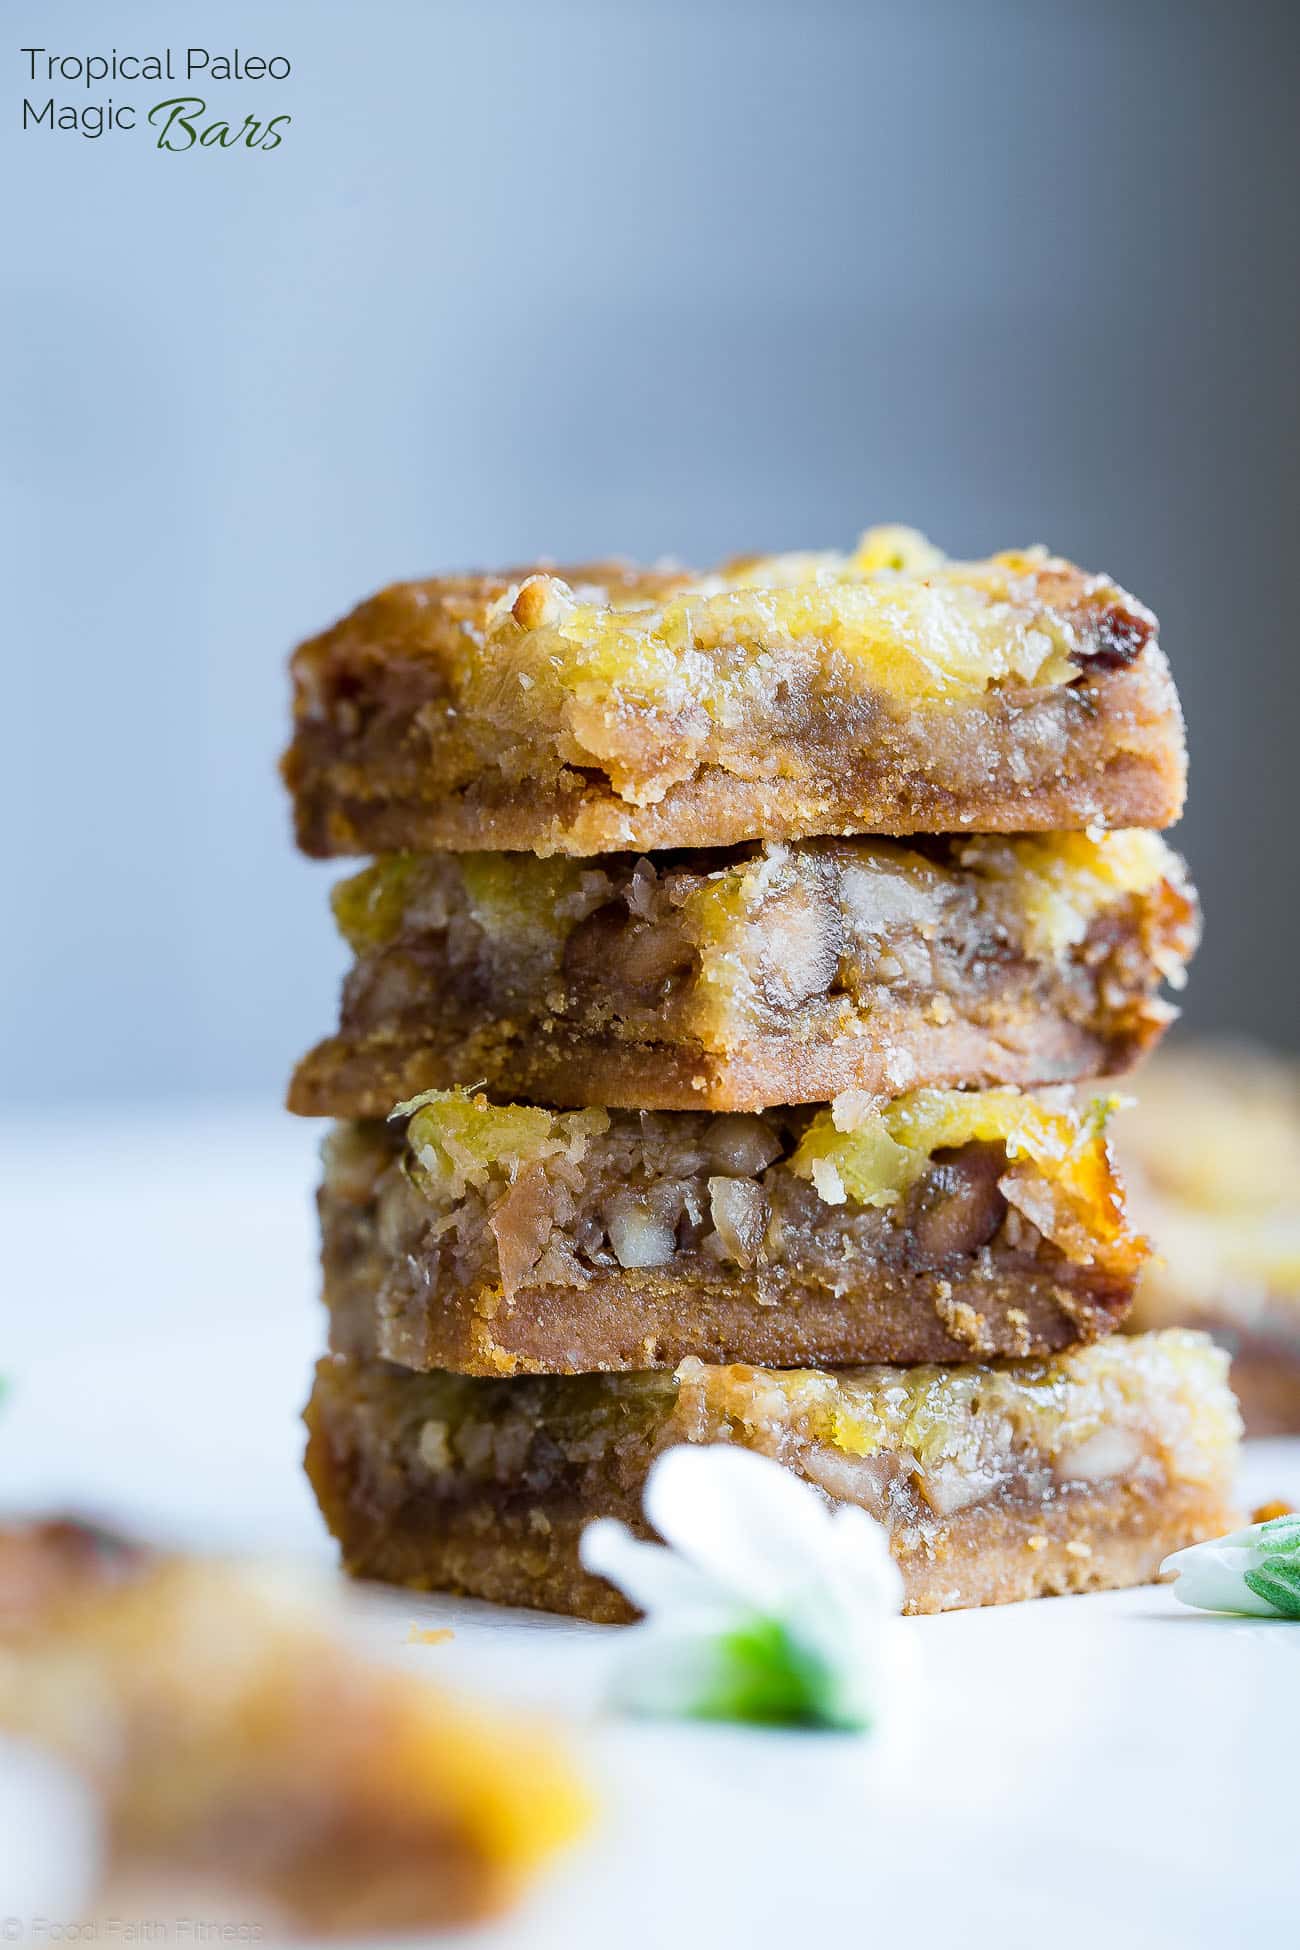
Macadamia nuts have a rich, buttery flavor that pairs beautifully with just about anything sweet, including coconut and pineapple. In these magic cookie bars, the nuts provide just the right amount of crunch to contrast all the other ooey-gooey goodness. Every bite tastes like beachside bakery heaven.
How Do I Store Leftovers?
Most magic cookie bars can be stored at room temperature for a few days in an airtight container, but these are best kept and served cold. To keep them firm and chewy, store them in the fridge for up to 1 week. They can also be frozen for up to 3 months.
Serving Suggestions
If I’m whipping up a batch of treats for a party or get-together, I like to make variations on the same format, so everyone can find something they like. Magic cookie bars are the perfect template to do just that. These Carrot Cake Magic Cookie Bars, Gingersnap Chocolate Magic Cookie Bars, and classic Magic Cookie Bars would all look beautiful on a dessert tray.
Ingredients
For The Bars:
- 2/3 cup macadamia nuts
- 1/2 cup unsweetened coconut flakes
- 1 13.5-ounce can full-fat coconut milk
- 1/2 cup raw honey
- 3 tablespoons fresh lime juice
- 1 teaspoon lime zest
- 3/4 cup crushed pineapple squeeze out as much juice as possible
For The Crust:
- 1/3 cup coconut oil at room temperature
- 3 tablespoons raw honey
- 3/4 cup coconut flour sifted (66 grams)
- pinch salt
Instructions
- Preheat your oven to 350 degrees Fahrenheit and line an 8×8-inch pan with parchment paper, leaving a little overhang to use as a handle once the bars are baked. I like to rub the pan with coconut oil to help the parchment stick.
- Place the macadamia nuts on a small baking sheet and the coconut flakes on a separate baking sheet. Place into the oven and bake until golden brown and toasted, about 10-12 minutes for the macadamia nuts and 2-4 minutes for the coconut. Coconut burns quickly, so keep an eye on it!
- In a large pot, whisk together the coconut milk, honey, lime juice, and lime zest and bring to a boil over high heat. Once boiling, boil for 1 minute, stirring constantly.
- Reduce the heat to medium and simmer, stirring frequently, until the sauce reduces to a total of 1 cup, about 18-19 minutes. I recommend checking it at about 16 minutes (you'll need to pour it into a measuring cup). If you still have over 1 cup, add it back to the pot and cook a few more minutes. It's important to reduce to 1 cup.
- While the sauce reduces, place the crushed pineapple into a kitchen towel and wring out the excess moisture. This is important, or your bars will not set as the water will be released when cooking. Set aside.
- While the sauce is still reducing, in a large bowl, using an electric hand mixer, beat the coconut oil with the 3 tablespoons of honey until smooth and creamy. Stir in the flour and pinch of salt until a wet dough forms.
- Press the dough evenly into the bottom of the pan. This will be a little tough, but just be patient with it. I found it easiest to use the palms of my hands and rinse them off every so often until the dough was pressed in. Do not bake the crust until the sauce finishes reducing, as this allows the sauce to thicken and cool while the crust bakes.
- While you wait for the sauce to finish reducing, chop the toasted macadamia nuts and set aside.
- Once the sauce has reduced to 1 cup, set aside to cool while you bake the crust. Place the crust into the oven and cook for 8 minutes.
- When the crust comes out of the oven, it may have risen in some spots. Take a small spoon and gently press it back down, being sure not to leave cracks in the crust.
- Sprinkle the chopped nuts on top, and lightly press them into the crust. Then, sprinkle on the coconut flakes, followed by the crushed pineapple. Be sure to spread everything out evenly.
- Finally, pour the coconut milk sauce evenly over top of everything, making sure you get it down the sides of the bars (but not between the parchment and the pan!). Use a knife to swirl around the layers in a few spots where the sauce pools to make sure it seeps down into all the layers (don't puncture the crust!). Then, gently shake the pan to ensure the sauce really sinks in everywhere.
- Place back into the oven and cook until golden brown and bubbly, about 28-30 minutes. Let cool on the counter to room temperature.
- Once the bars are at room temperature, cover and chill the bars overnight to let everything set.
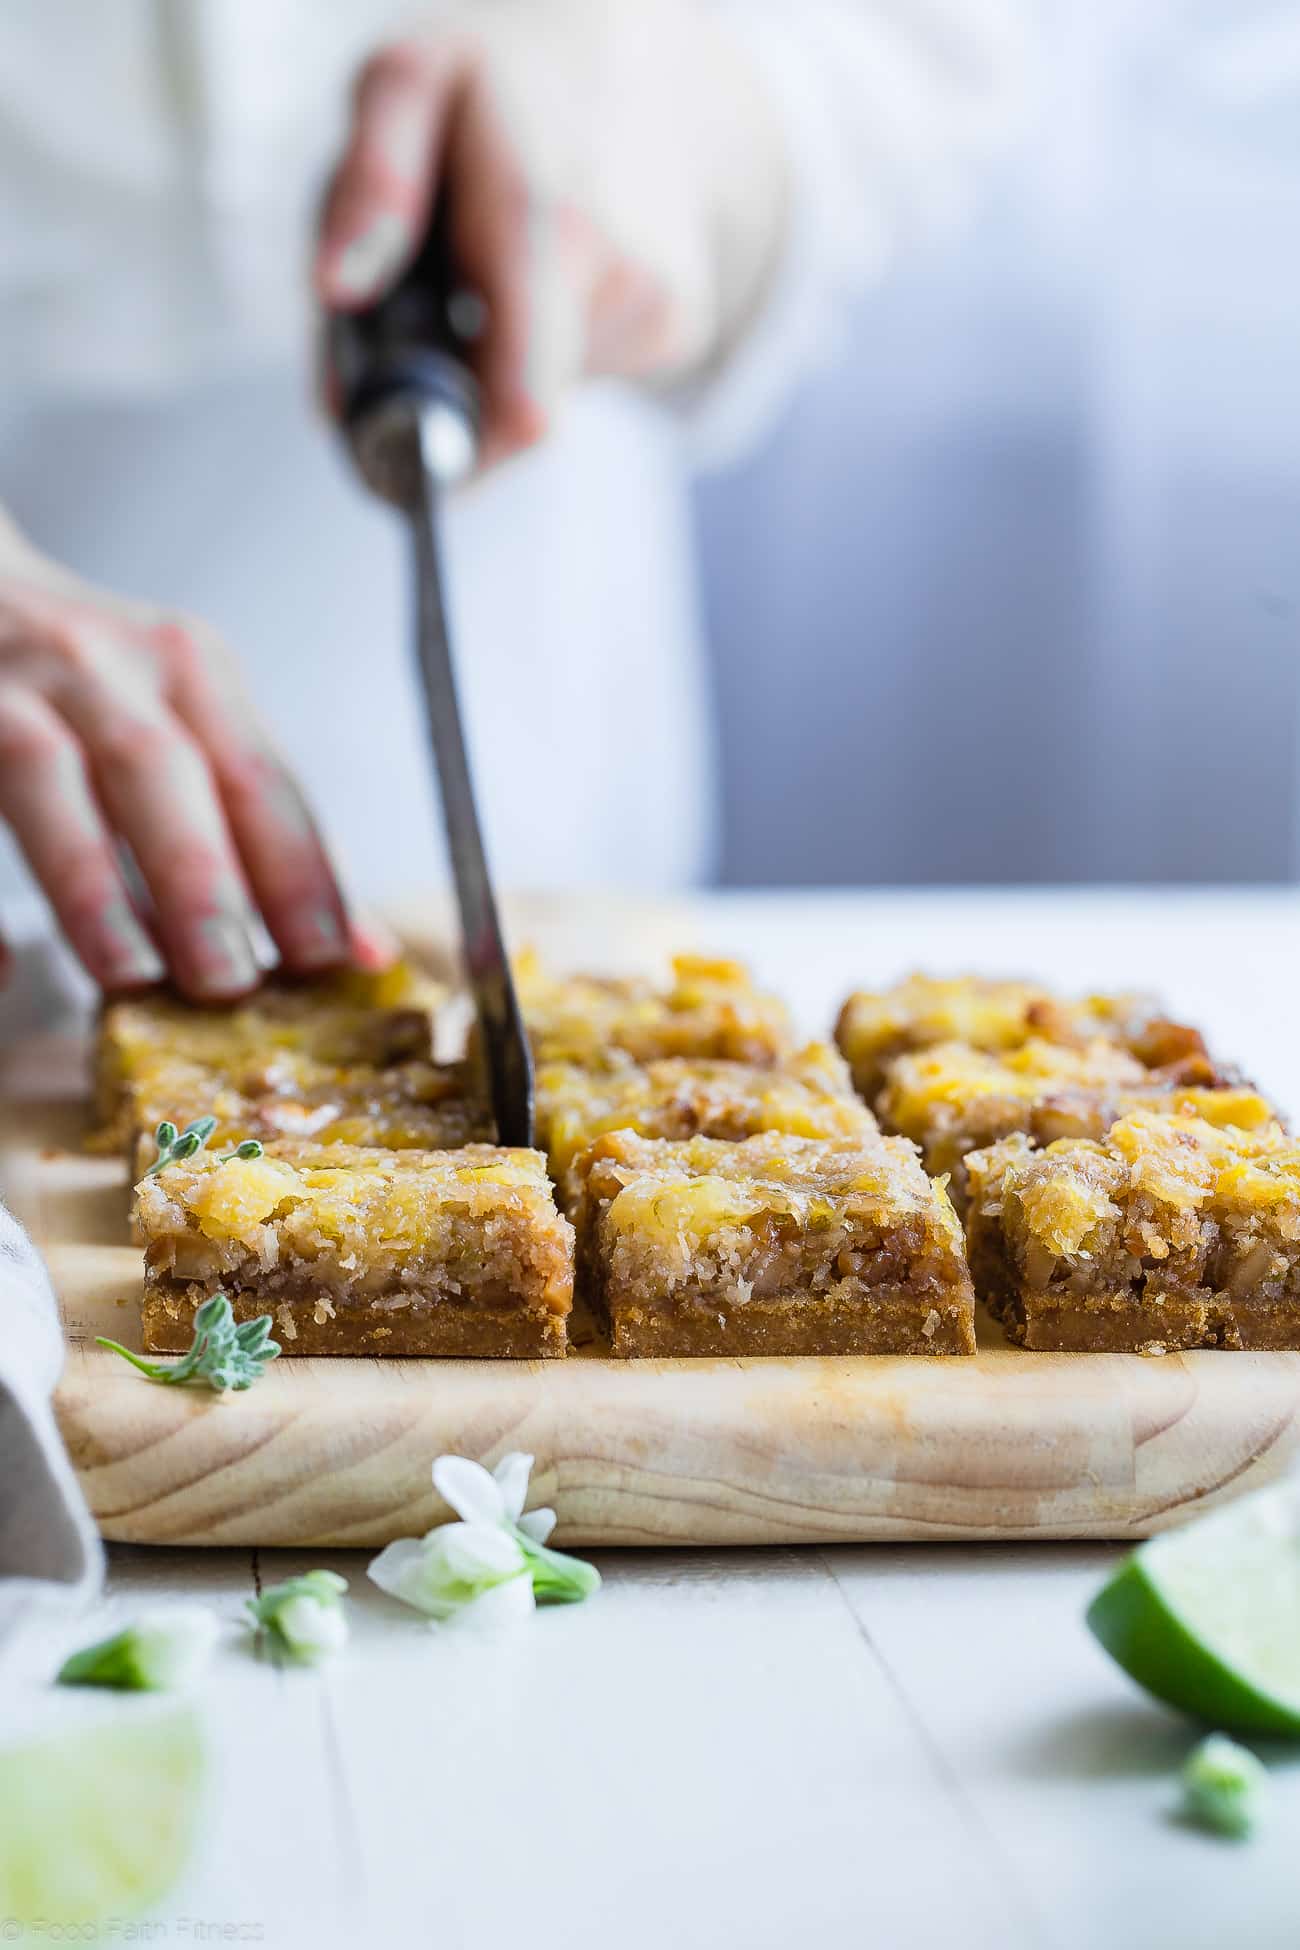
- The next day, lift the bars out of the pan, slice, and serve cold.
Tips & Notes:
Nutrition Info:
Nutrition information are estimates only and may vary based on the specific brands, ingredients, and portion sizes you use. This data is provided for informational purposes only.

Leave a Comment