Sink your teeth into this chewy and totally irresistible Sugar-Free Paleo Vegan Pumpkin Fudge. It’s an autumnal treat that’s both delicious and wholesome.
My grandmother was a classy lady who had an insatiable appetite for the finer things in life. And that, of course, included food. Though she wasn’t much of a cook, she always had good cake in the fridge, tins of delicate Italian cookies, and a fancy glass bonbonnière filled with an assortment of candies that looked almost too pretty to eat. As a little girl, I was enthralled with that beautiful glass dish. The jewel-toned hard candies, the swirly red-and-white peppermints, the soft caramel fudge—what a sight to behold!
As much as I loved them all, it was the fudge that I coveted most. My grandmother was generous, but when it came to the treasures in her beloved bonbonnière, we were only allowed to choose one. I still remember the joy of biting into those chewy squares of teeth-sticking goodness. Fudge, to me, was perfection wrapped in cellophane.
To this day, I still love fudge (in all its different forms), but my sensible self knows indulging should either be sporadic or smart. Yes, I will treat myself to a box of six perfect pieces of fudge from the swanky chocolate shop in town every now and then, but I also love to make my own batch of fudge that’s not only delicious but also wholesome. Because, yes—it is possible!
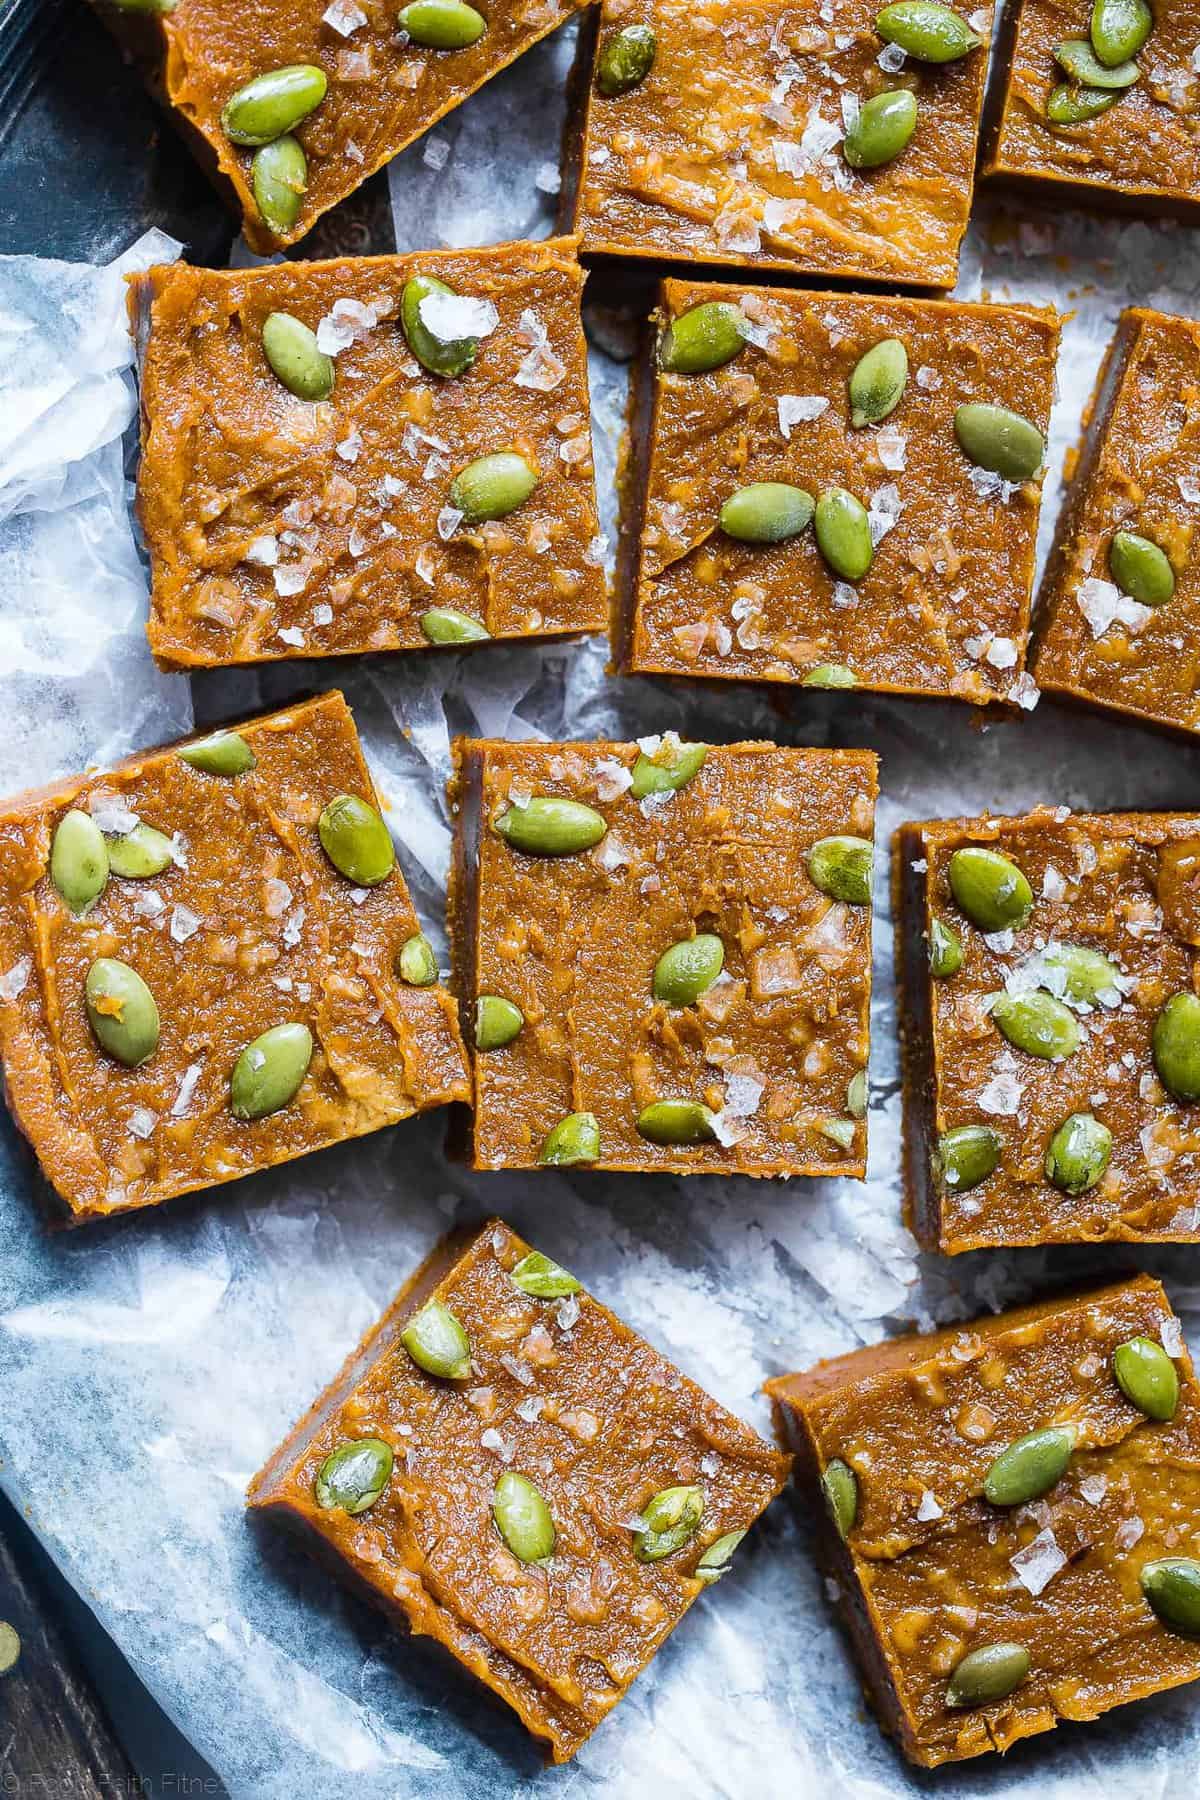
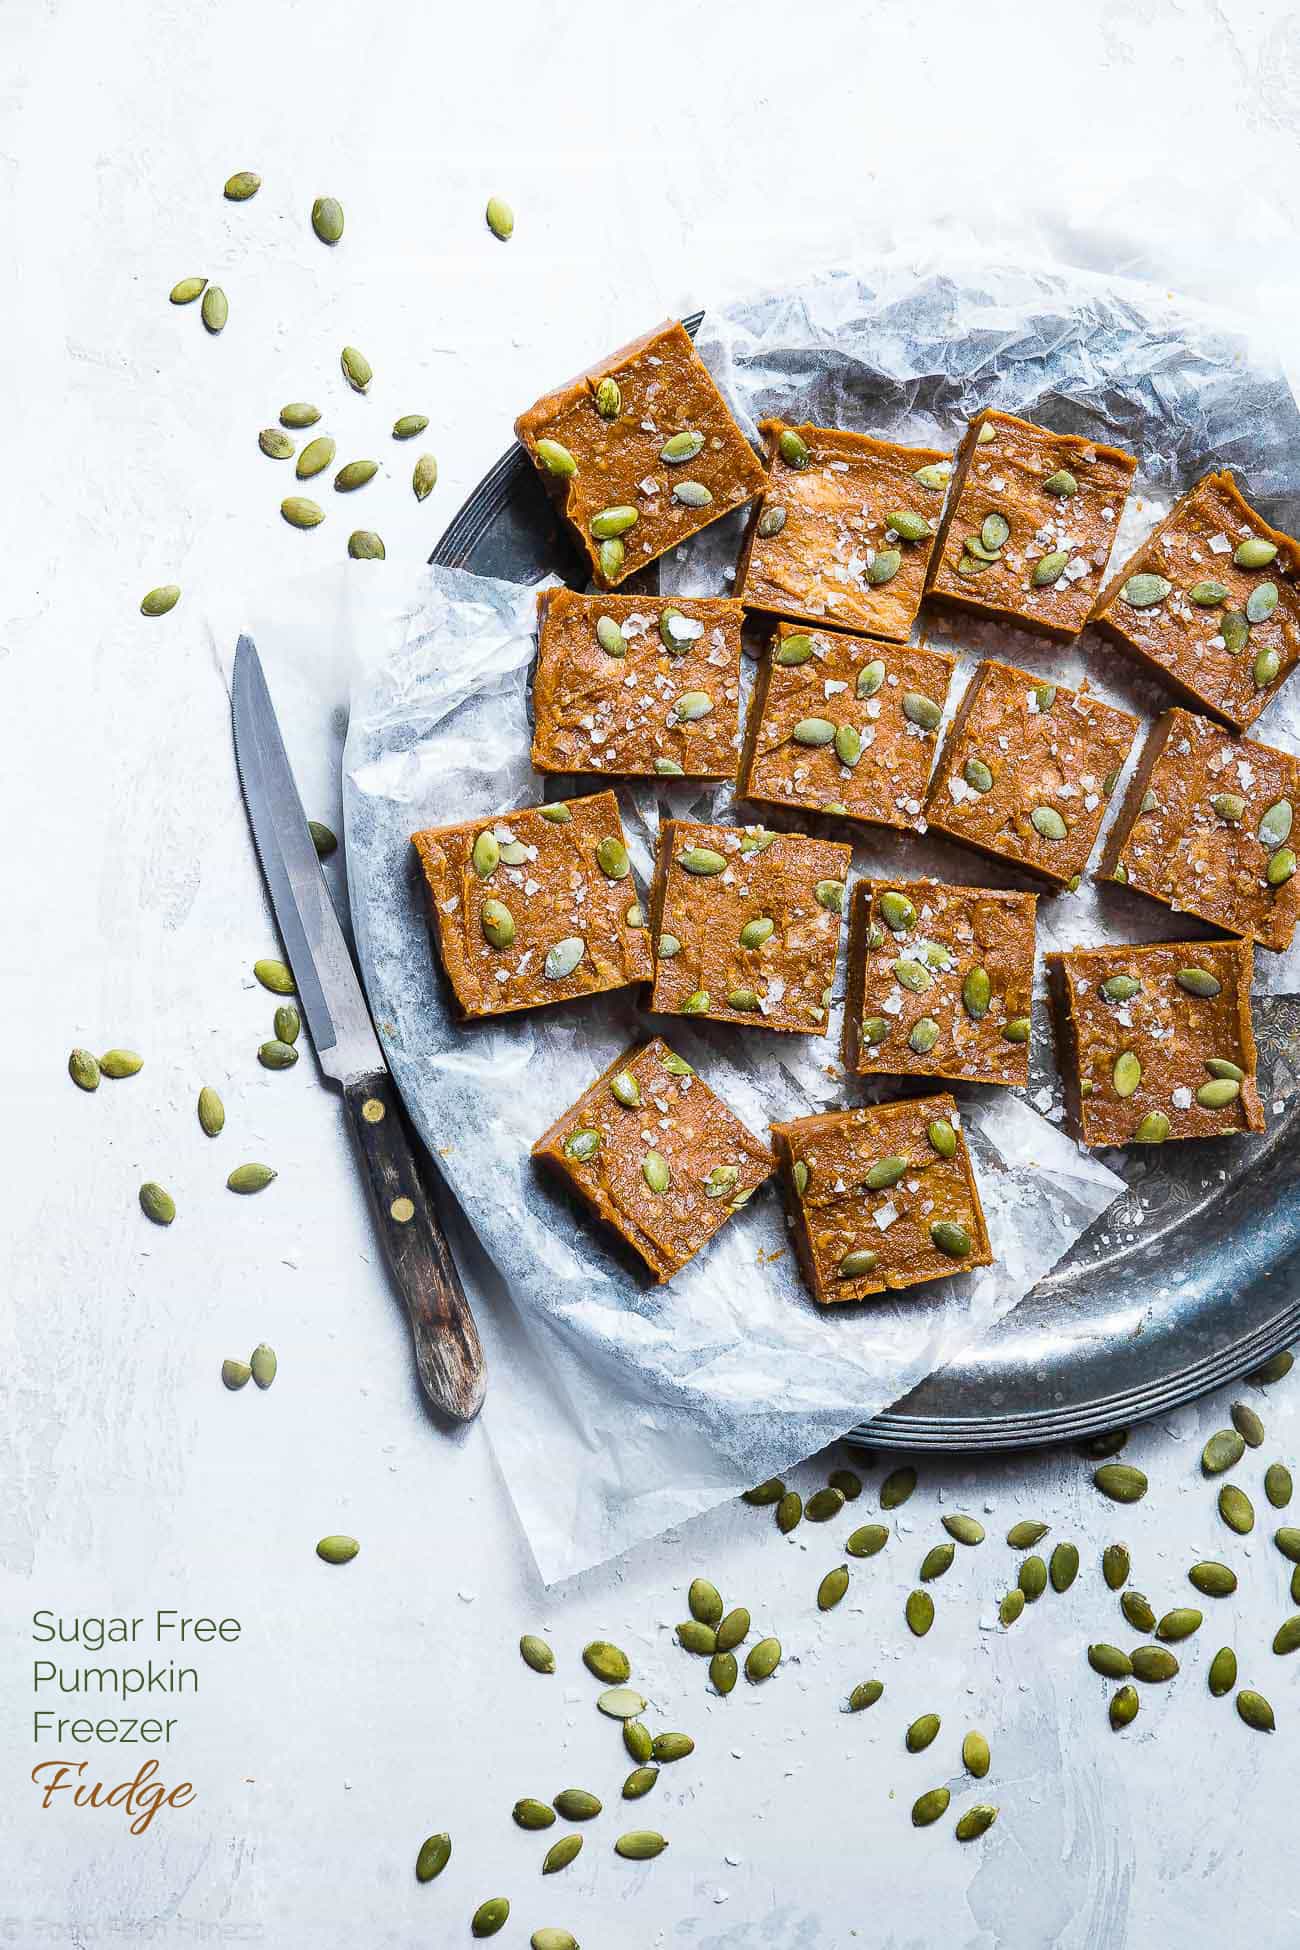
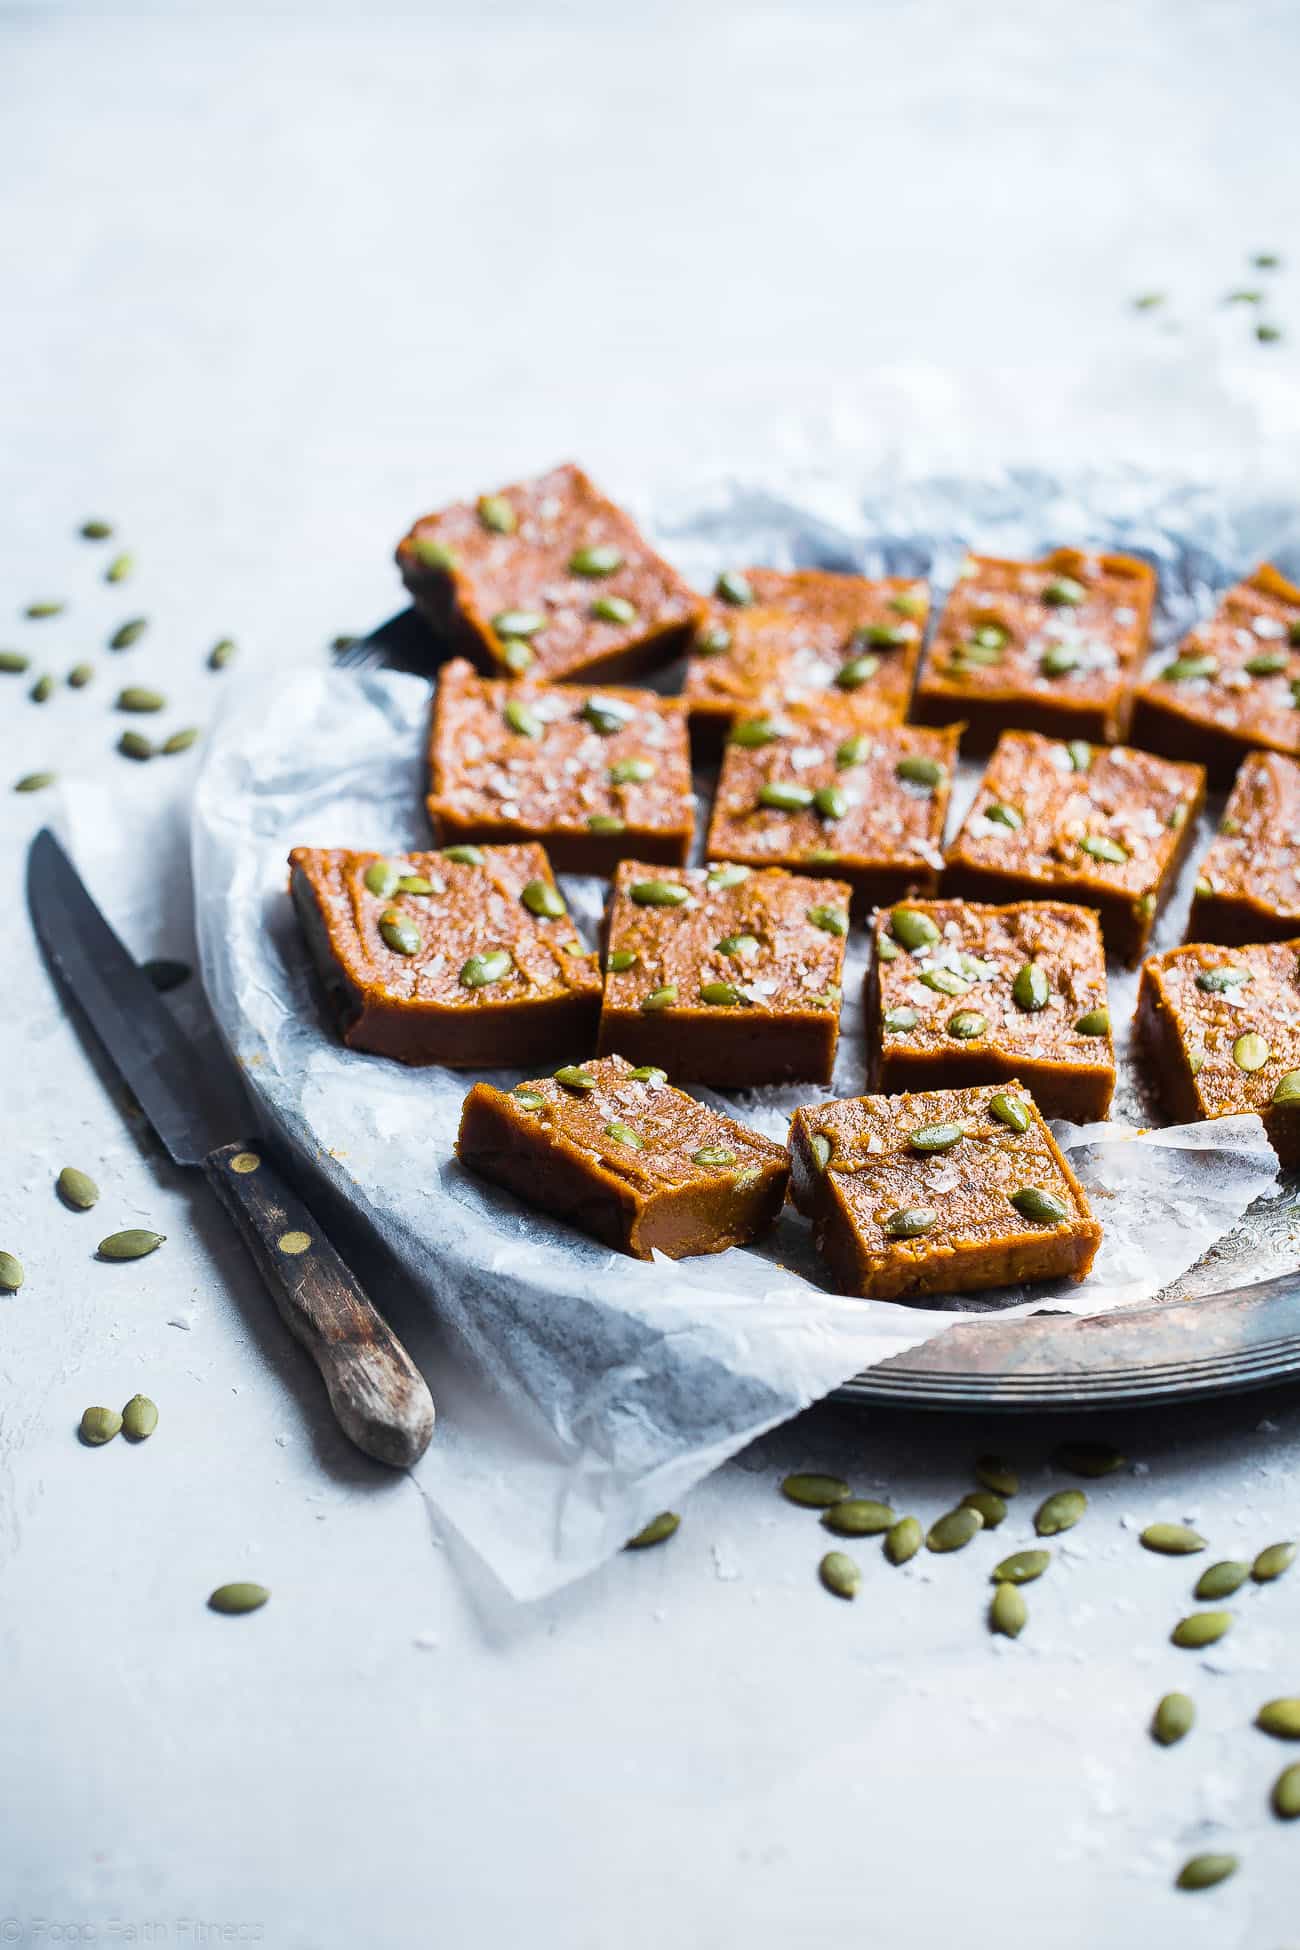
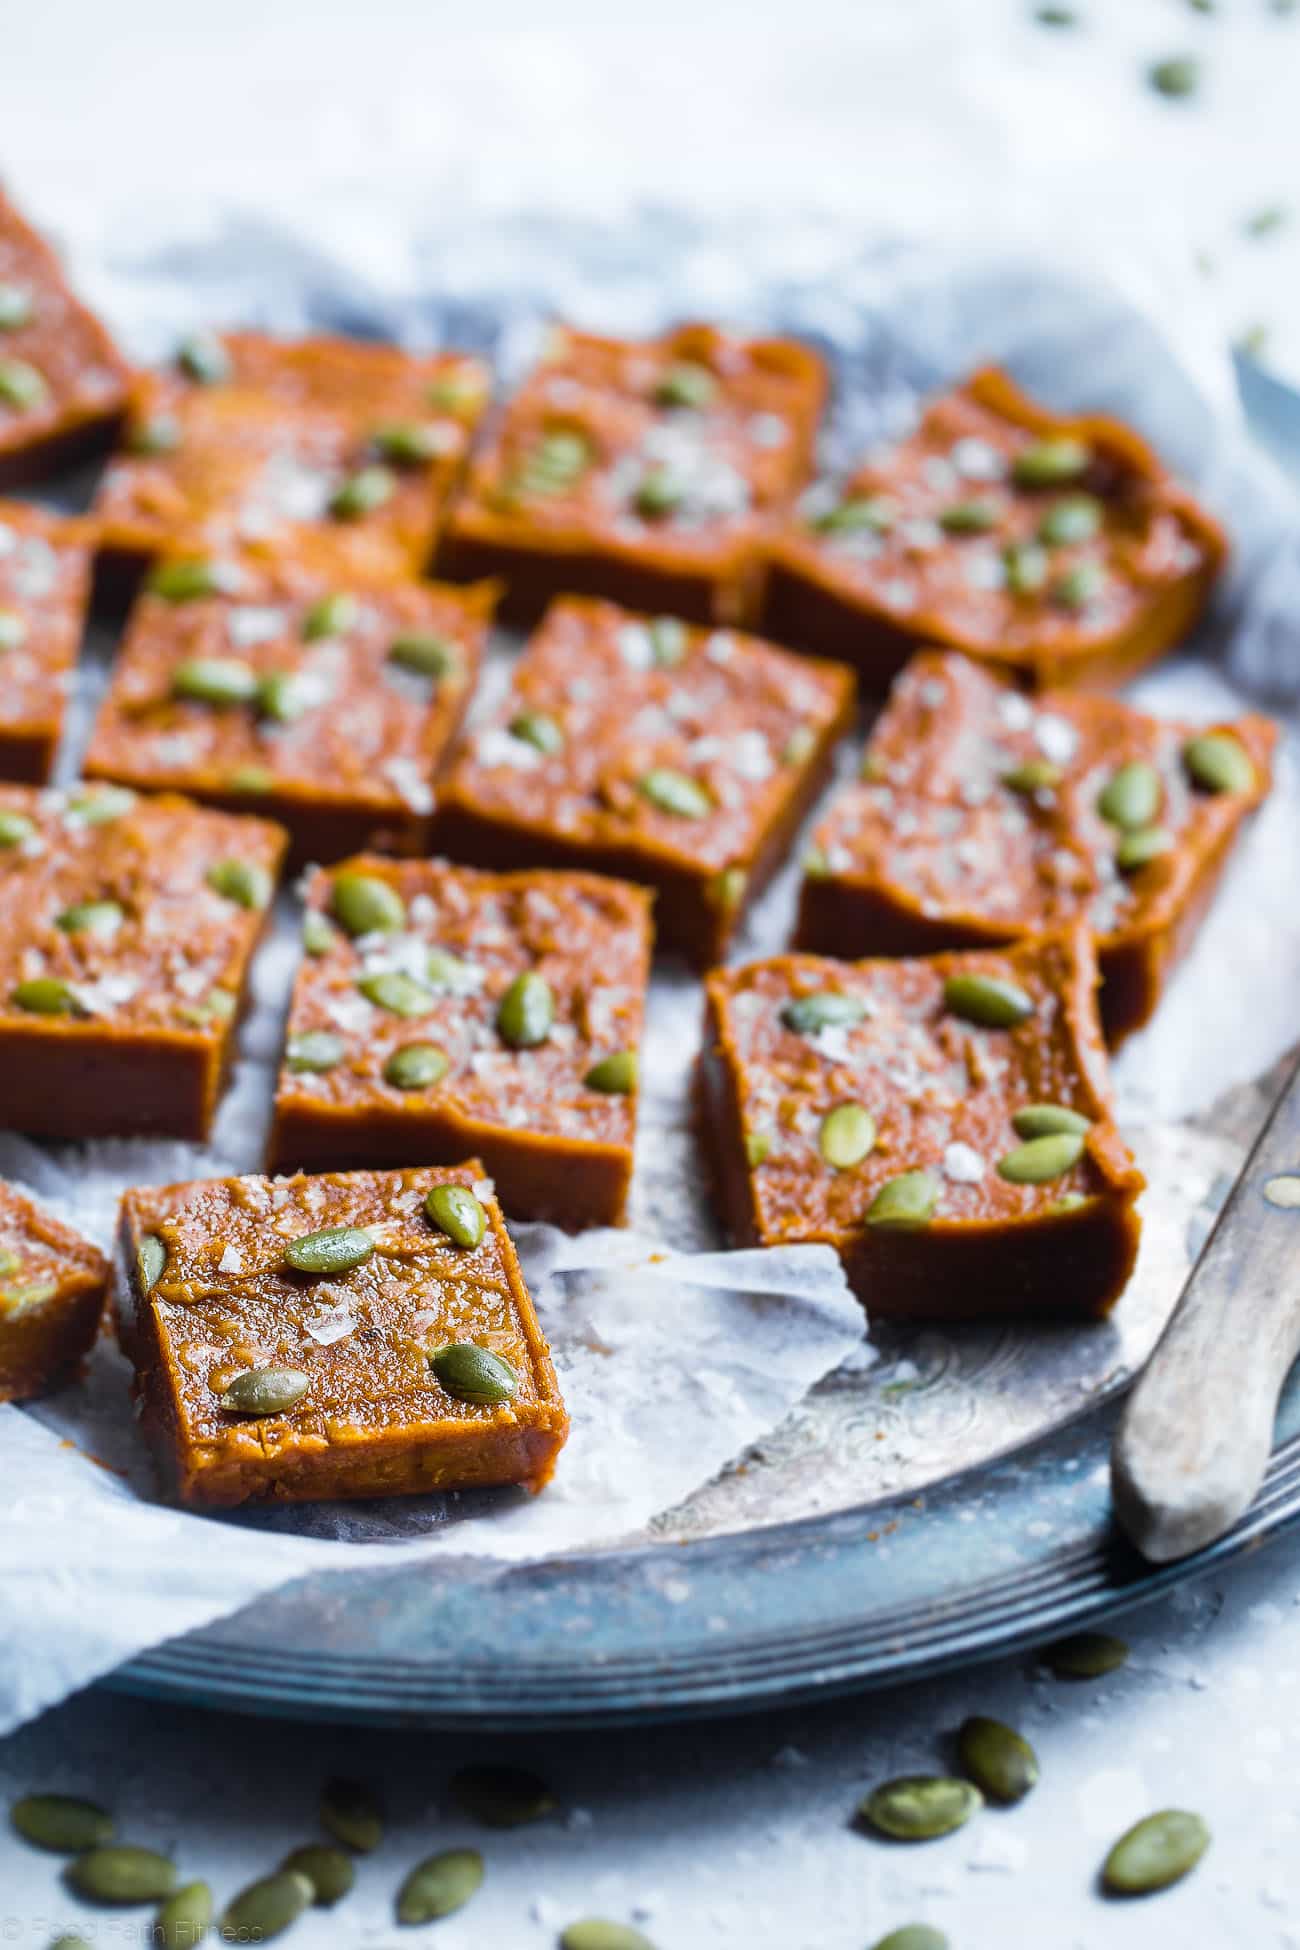
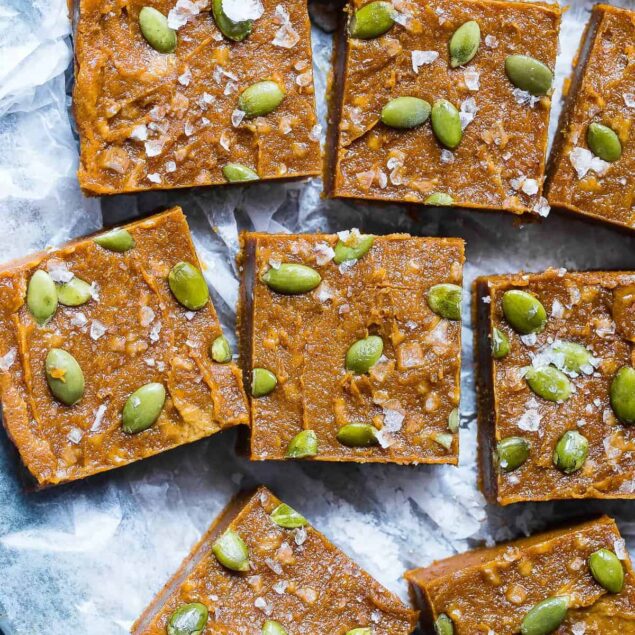
Made with almond butter and pumpkin purée, these delectable squares of dense, chewy fudge are naturally sweetened with dates and enhanced with a dash of aromatic pumpkin spice. The finishing touch is a scattering of pepitas and crisp, delicate sea salt flakes that melt in the mouth and enhance the fudge’s warm, subtly sweet flavors.
They may not be the treats I so fondly remember from my granny’s bonbonnière, but they’re just as delightful and fun to eat!
A customizable recipe
One of the best things about this recipe is that you can easily tweak it to suit your tastes or dietary requirements. I’ve made it with both cashew and walnut butter, but if you happen to have a nut allergy, you can try pumpkin seed butter instead. Don’t like pepitas? Try topping it with chopped pistachios or hazelnuts. I also love adding tart dried fruits such as cherries or cranberries. And if you’re a fan of chocolate (who isn’t?), go ahead and stir in a handful of unsweetened chocolate chips or crunchy cacao nibs. You can even drizzle the fudge with melted chocolate!
How do I store leftovers?
Make a batch on Sunday, and you’ll have a tasty treat to enjoy during the rest of the week. The fudge will keep well in an airtight container in the fridge for up to 7 days. You can also wrap the pieces in plastic wrap, transfer them to a Ziploc bag, and freeze them for up to 3 months. Thaw in the fridge or at room temperature.
Serving suggestions
Pair this cozy autumnal treat with a classic Pumpkin Spice Latte or warm and fragrant Chai Latte. Sometimes, I’ll take these to potlucks, served on a huge platter with other seasonal treats such as these fruity Cranberry Paleo Gluten-Free Almond Butter Cookies or these decadent and totally irresistible Paleo Chocolate Pecan Pie Bars With Date Caramel.
Ingredients
- 1 cup Deglet Noor dates pitted
- 1 cup natural almond butter
- 1 cup canned pumpkin purée
- 2 teaspoons pumpkin pie spice
- Pinch of salt
- 2 tablespoons raw pepitas
- Flaked sea salt optional
Instructions
- Line the bottom of an 8×8-inch baking pan with parchment paper, leaving some hanging over the edges to use to lift out the fudge later.
- Combine the dates, almond butter, pumpkin purée, pumpkin pie spice, and salt in a medium pan over medium-low heat. Cook, stirring frequently so that the bottom doesn’t burn. Stop once the almond butter is melted and the dates are warm, about 10 minutes. You will have a very thick mixture.
- Transfer the mixture to a food processor and process, scraping down the sides as needed, until smooth and creamy.
- Transfer the mixture to the prepared baking pan and spread it out evenly. Sprinkle with the pepitas and sea salt, if desired.
- Place in the freezer for at least 3 hours to chill.
- Once chilled, lift the fudge out of the pan using the baking paper hanging over the edges and slice into bars.
Nutrition Info:
Nutrition information are estimates only and may vary based on the specific brands, ingredients, and portion sizes you use. This data is provided for informational purposes only.


Leave a Comment