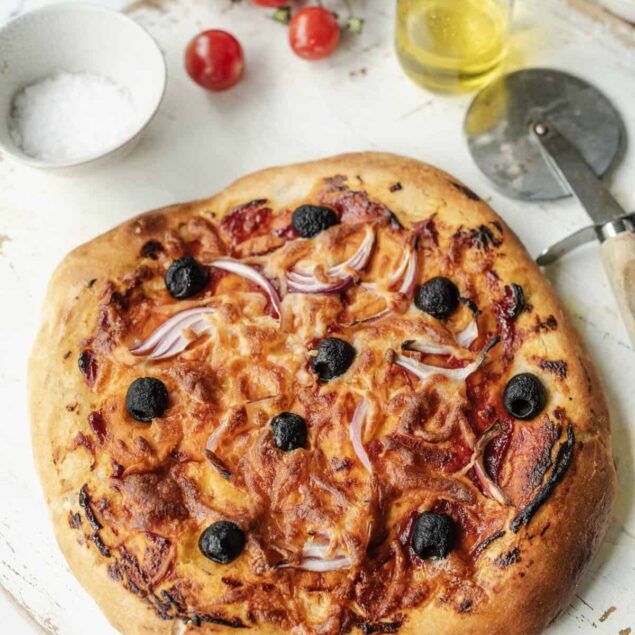
Use your active starter for more than just bread! This tangy and delicious Sourdough Pizza Crust is well worth the effort.
During the first pandemic year, there was a yeast shortage. I—along with everyone else, it seems—made my own sourdough starter. And like everyone else, I quickly realized a sourdough starter is more like a pet than an ingredient. It needed to be fed, and until I got around to feeding it, it would get moody and pout in a “hooch” puddle of its own making. I was quite bored at the time, so it was an excellent pandemic hobby.
After a few trials and many errors, I finally ended up with a starter that could make a decent loaf of bread. Bread is cool and all, but with all the steps involved, it basically took me all weekend to make a single loaf. That’s when I started to wonder what else I could make with my new pet.
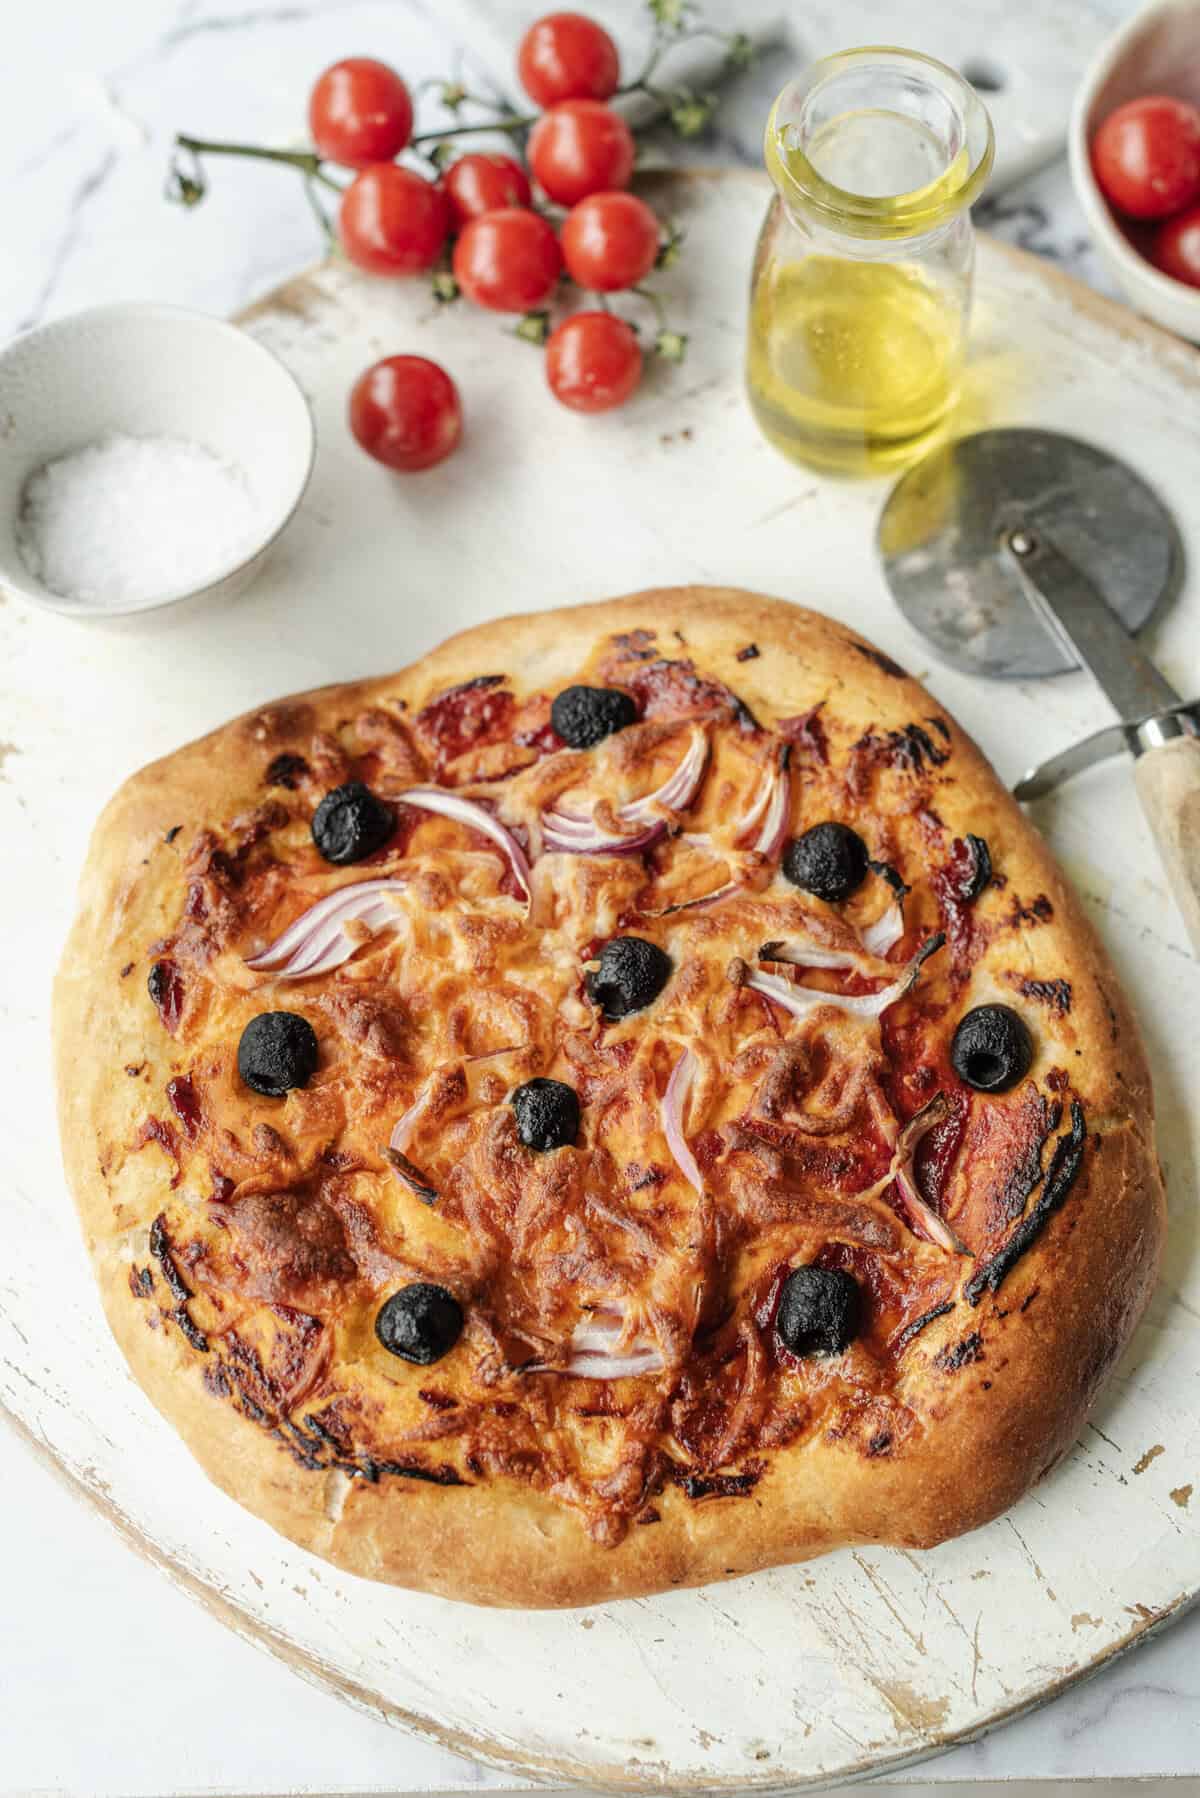
The first pizza crust I made out of sourdough was nothing short of life-changing. It’s delightfully tangy, like a good sourdough, and has just the right level of chewiness to make a brilliant pizza crust. This recipe’s high oven temperature ensures a crispy outside, which gives the right structure to hold all your favorite pizza toppings. Like any sourdough recipe, this pizza crust isn’t difficult to make, but it requires some patience.
Is Sourdough Pizza Crust Healthy?
Sourdough pizza crust is about as healthy as any homemade pizza crust. That’s to say, it’s likely healthier than most store-bought pizza crusts out there, simply due to the fact that it’s free of preservatives, stabilizers, and other additives. But, sourdough or not, it’s still mostly made of white flour, which is not all that healthy. Flour does contain some vitamins and minerals, like niacin, folate, and iron. To boost the nutritional content, you can use whole-wheat flour instead of white flour in this recipe.
If you wanted to make a gluten-free sourdough pizza crust, you’d have to make a gluten-free sourdough starter first (which is possible!), then use gluten-free flour in place of regular flour in this recipe.
How To Prepare Your Starter For Baking
Using a sourdough starter to bake without any help from commercial yeast is a skill in itself. Ideally, you’ll use the starter when it is “ripe.” It’s possible to have a sourdough starter for years without understanding what “ripe” starter is, or how to get your starter to that point. You can bake many a flat, dense loaf of sourdough before you figure out what’s missing. Ask me how I know.
Here’s how to ripen your sourdough starter:
- Take it out of the fridge and prep it for feeding. If it’s been a while since you fed it, it probably has a layer of grayish “hooch” on top. Mix it back into the starter (or pour it off; your choice). Place a clean, one-quart mason jar on a kitchen scale, press the “tare” button, then pour 113 grams (a heaping 1/2 cup) of starter into the jar. Discard the rest. Or, make something cool out of it; there are tons of recipes for sourdough discard out there!
- Feed it! Add 113 grams (a scant 1 cup) of all-purpose flour and 113 grams (about 1/2 a cup) of water to the jar. Mix it up until you can’t see any dry flour. Once it’s mixed up, make a mark on the jar with a sharpie, masking tape, or by placing a rubber band around the jar, to show the level of the starter. Cover the jar loosely with a mason jar lid, and leave the jar at room temperature so it can “eat.”
- Watch it. You’ll see the starter bubble up and expand to double its size, then eventually flatten out to nearly its original level. If you haven’t fed it in a while, this process will take quite some time.
- Repeat the feedings for a few days. Every day for the next 3-4 days, repeat the discard and feeding process once the starter reaches its normal level as marked on the jar. The starter will be quicker to bubble up and expand after a few days, and you’ll start to see a lot more bubbles. When it’s able to reach near the top of the jar within 8 hours, is filled with bubbles, and it’s beginning to droop due to its own weight, you know it’s ripe.
- Start making your pizza dough!
How Do I Store Leftovers?
Leftover sourdough pizza crust will keep for up to 4 days in the refrigerator. Reheat pizza in the oven or air fryer. Microwaving leftovers will likely result in a soggy crust!
Serving Suggestions
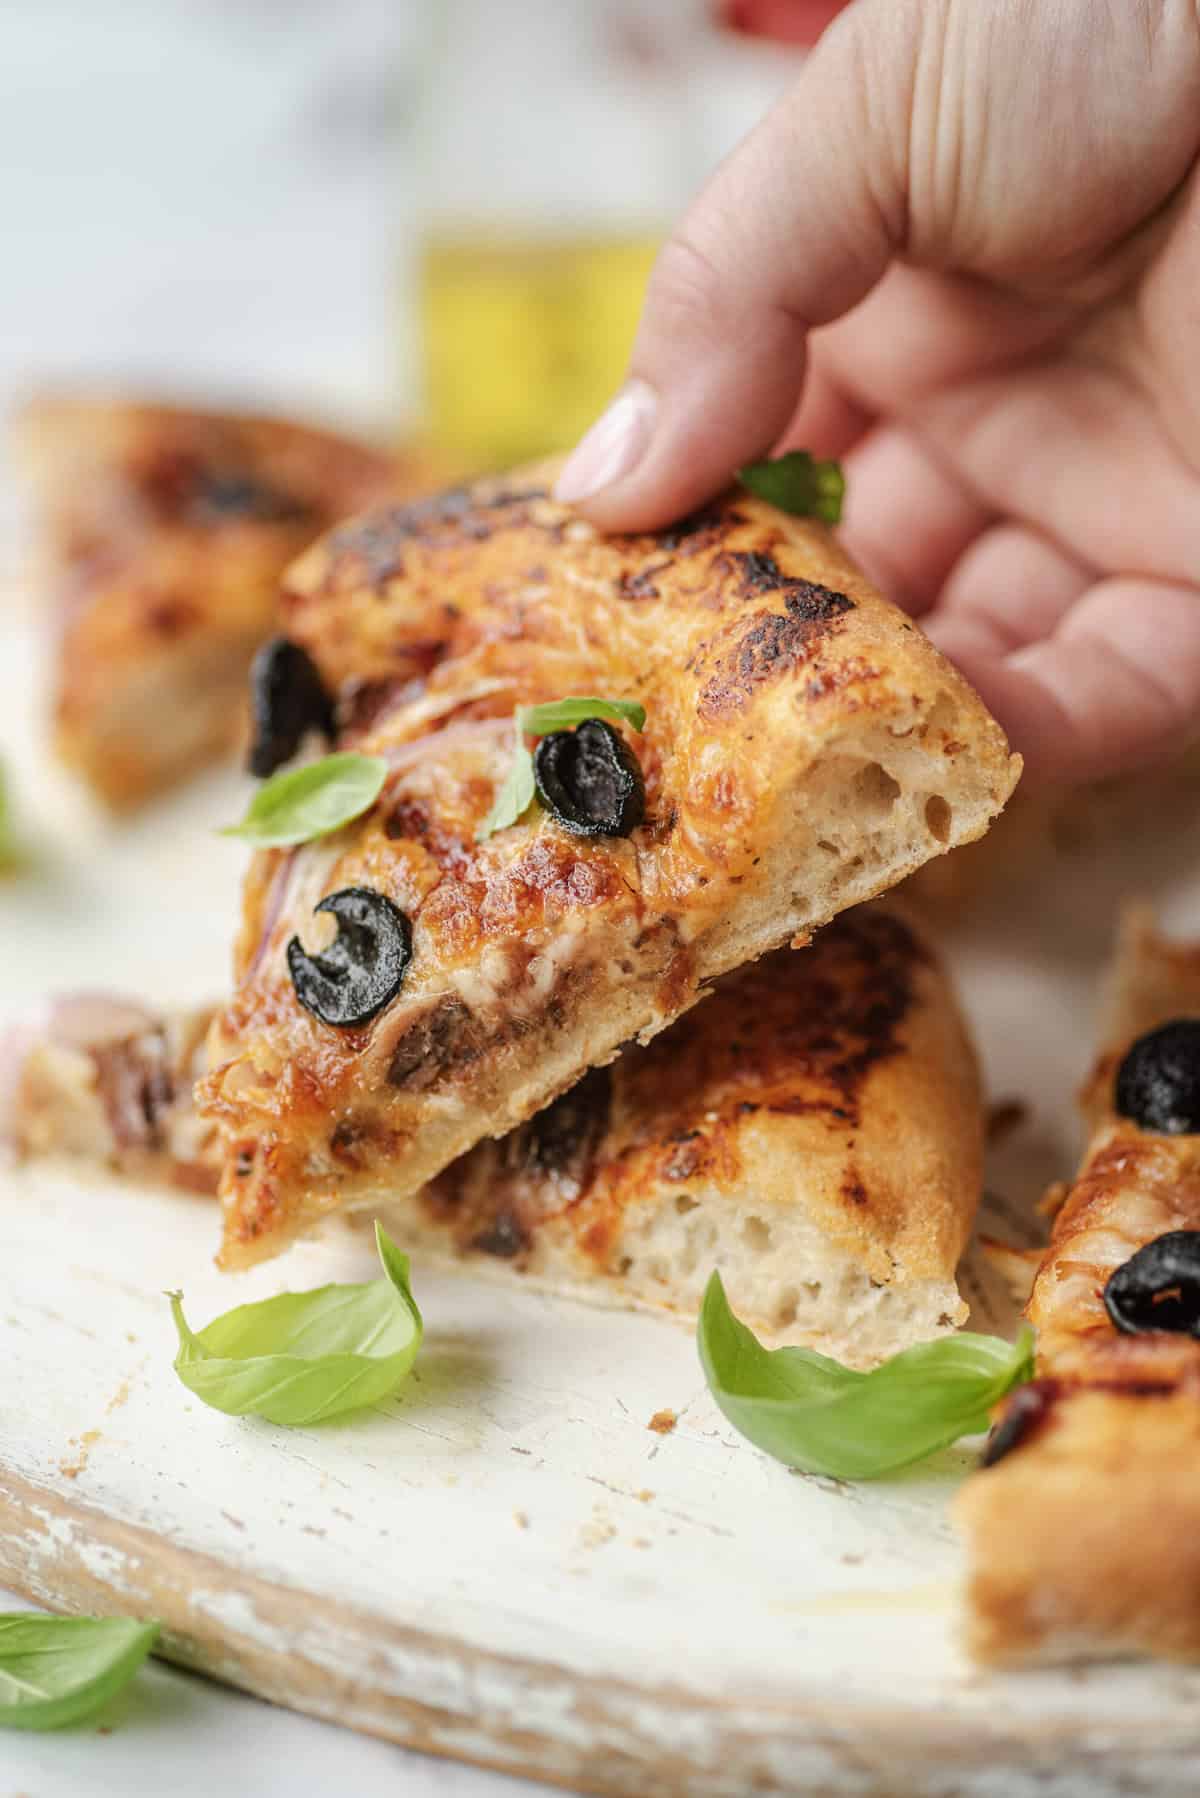
This recipe is great for pizza parties! Make a bunch of little pizzas and have friends bring over their favorite toppings and sauces, and have fun with it! I like serving a big salad as a side on pizza night. Try this Winter Salad or a big Green Salad. Some folks enjoy ranch dressing with their pizza, and FFF has a great Homemade Ranch Dressing recipe!
What else goes well with pizza? A bottle of wine or two. I like a light pinot noir. Or, if it’s too hot outside for red wine, opt for a refreshing Aperol Spritz.
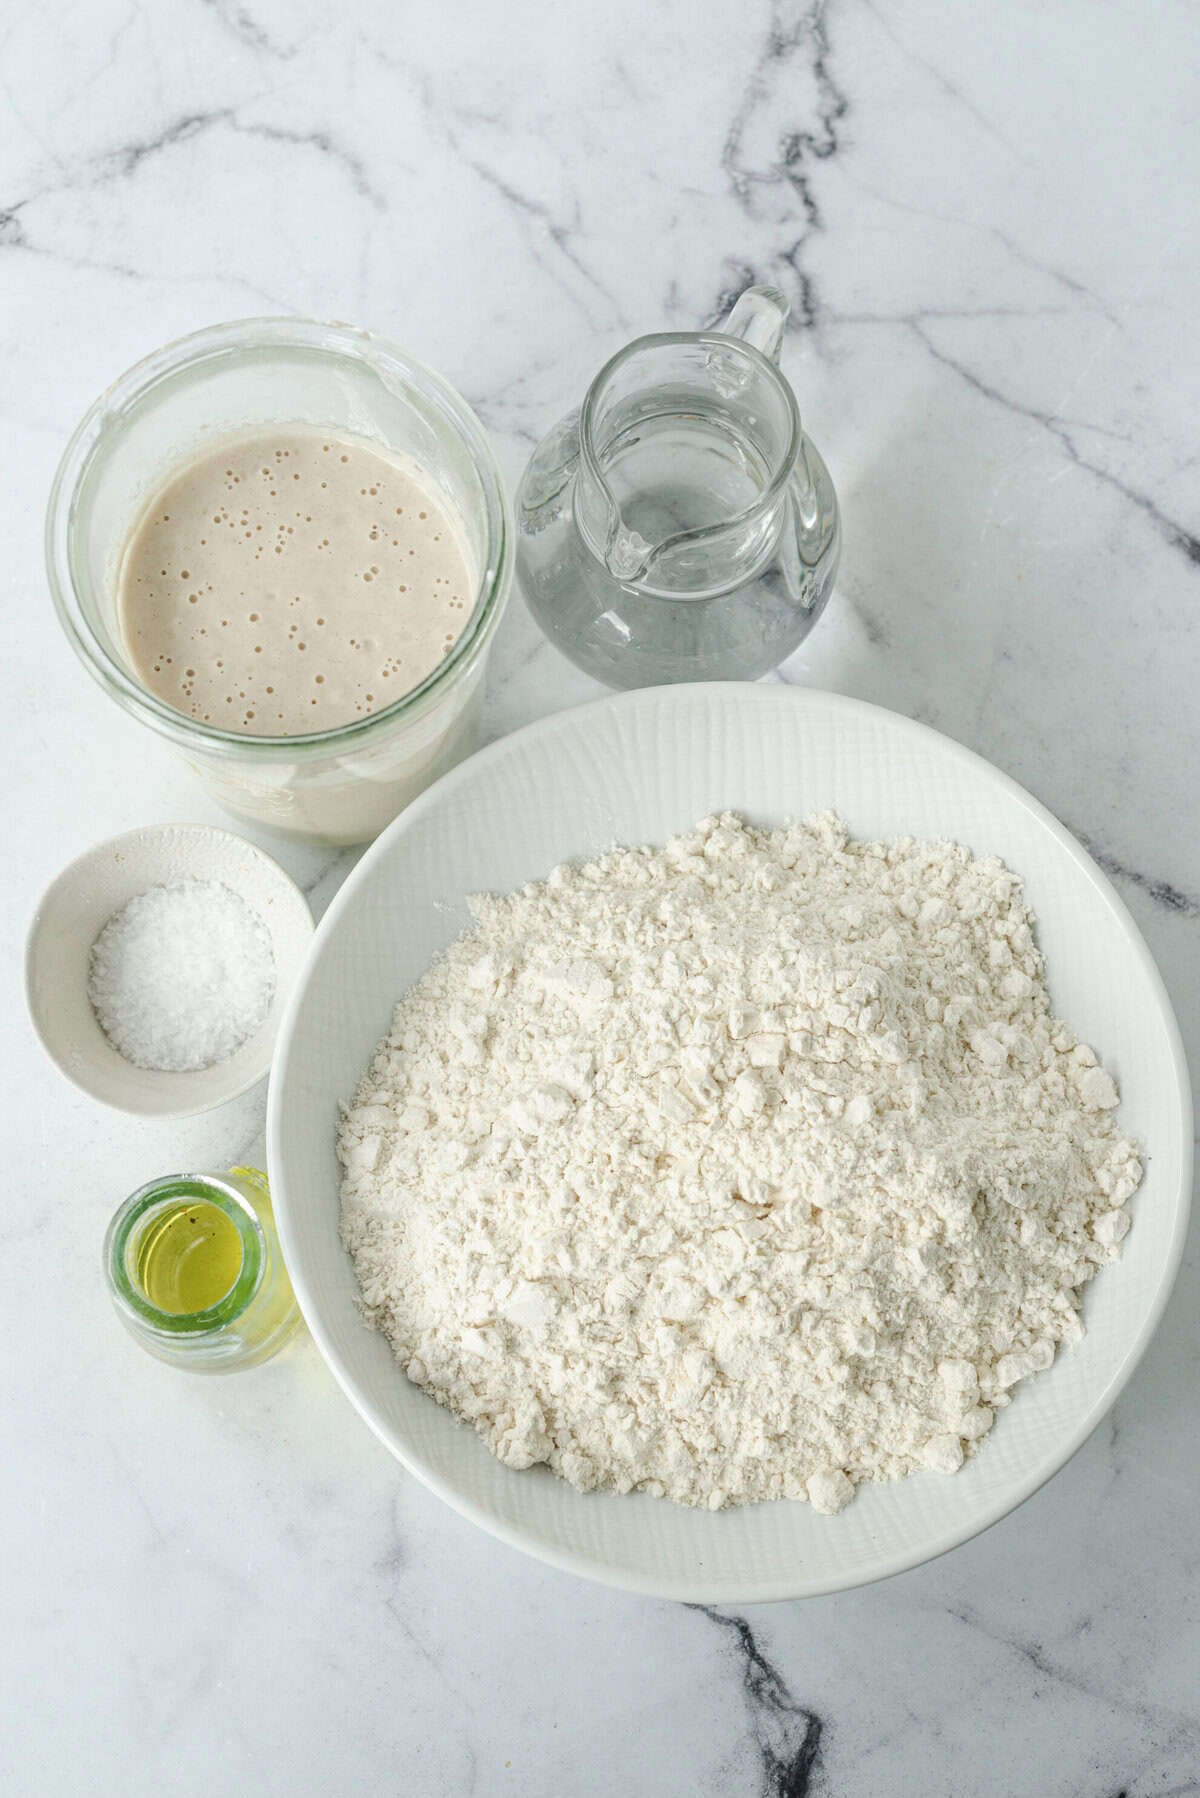
Ingredients
- ½ cup active sourdough starter (ripe)
- 1⅓ cups lukewarm water 75-85°F
- 3¾ cups all-purpose flour
- 2 teaspoons fine sea salt
- Olive oil for brushing
- Pizza toppings as desired
Instructions
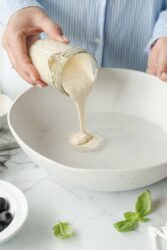
- Combine the sourdough starter and water in a large mixing bowl. Stir until well blended.
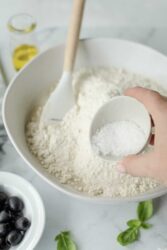
- Add the flour and salt to the mixture. Mix until a shaggy dough forms. Cover the bowl with a damp cloth and let it rest for 30 minutes.
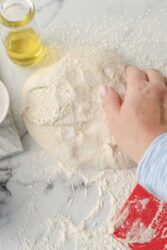
- Knead the dough on a floured surface for about 10 minutes, until smooth and elastic. Place the dough in a lightly oiled bowl, cover, and let it rise at room temperature for about 18 hours, or until doubled in size.
- Preheat your oven to 500°F. Divide the dough into four equal parts. Roll out each part on a floured surface into a thin circle.
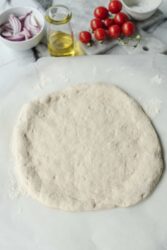
- Transfer the dough circles onto parchment-lined baking sheets. Brush lightly with olive oil. Add your chosen pizza toppings.

- Bake in the preheated oven for about 10 minutes or until the crust is golden and crispy.
Nutrition Info:
Nutrition information are estimates only and may vary based on the specific brands, ingredients, and portion sizes you use. This data is provided for informational purposes only.


Leave a Comment