This easy, protein-packed cheesecake features a decadently creamy texture atop a gluten-free crust for a healthier version of a classic dessert!
I have always loved cheesecake. My mom used to make the classic version with a graham cracker crust and a thin layer of sweetened sour cream on top. Hers has remained my all-time favorite, even as I sampled more gourmet versions at restaurants.
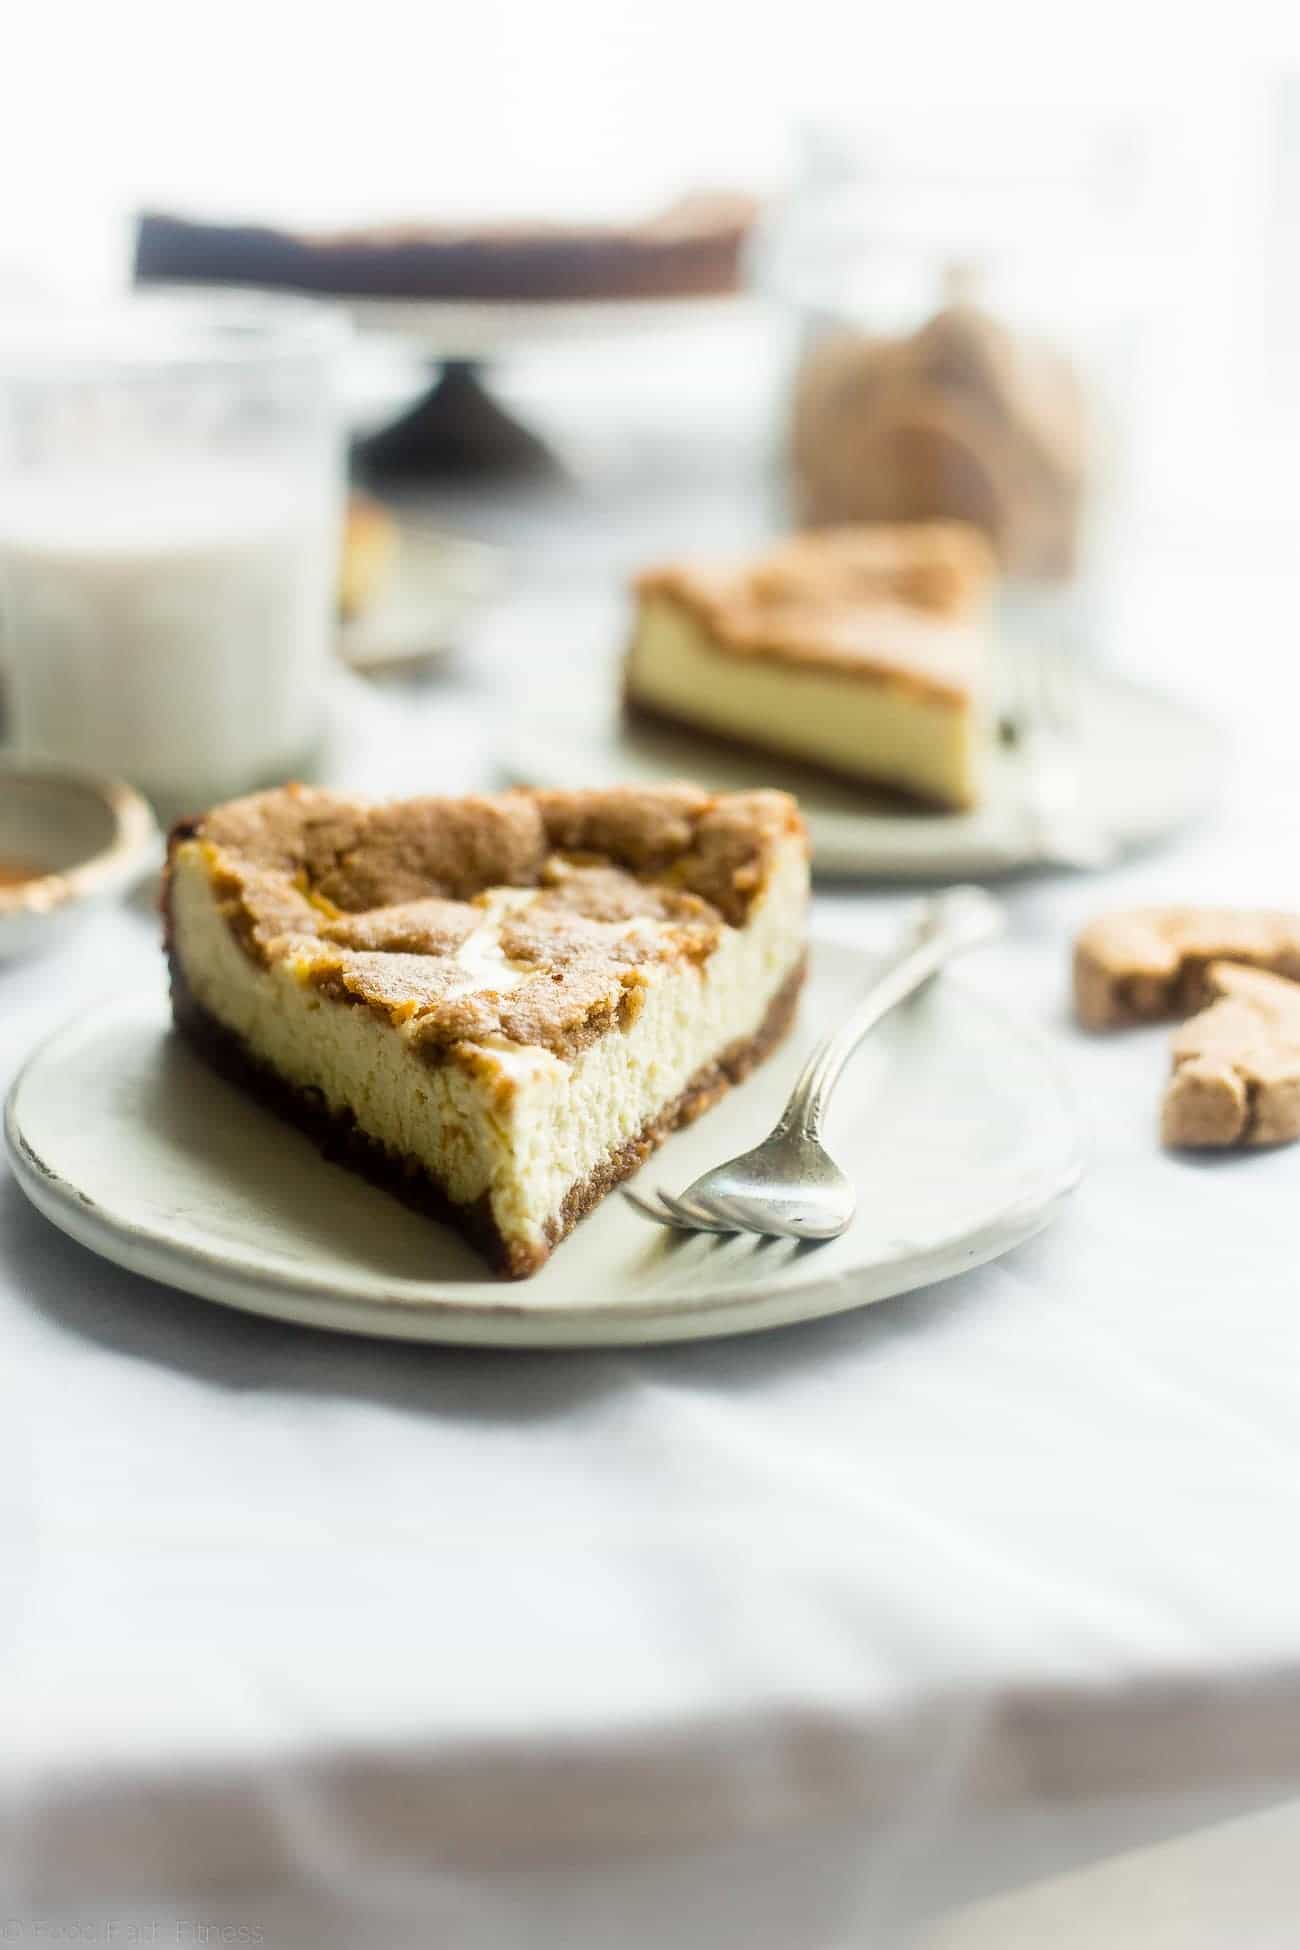
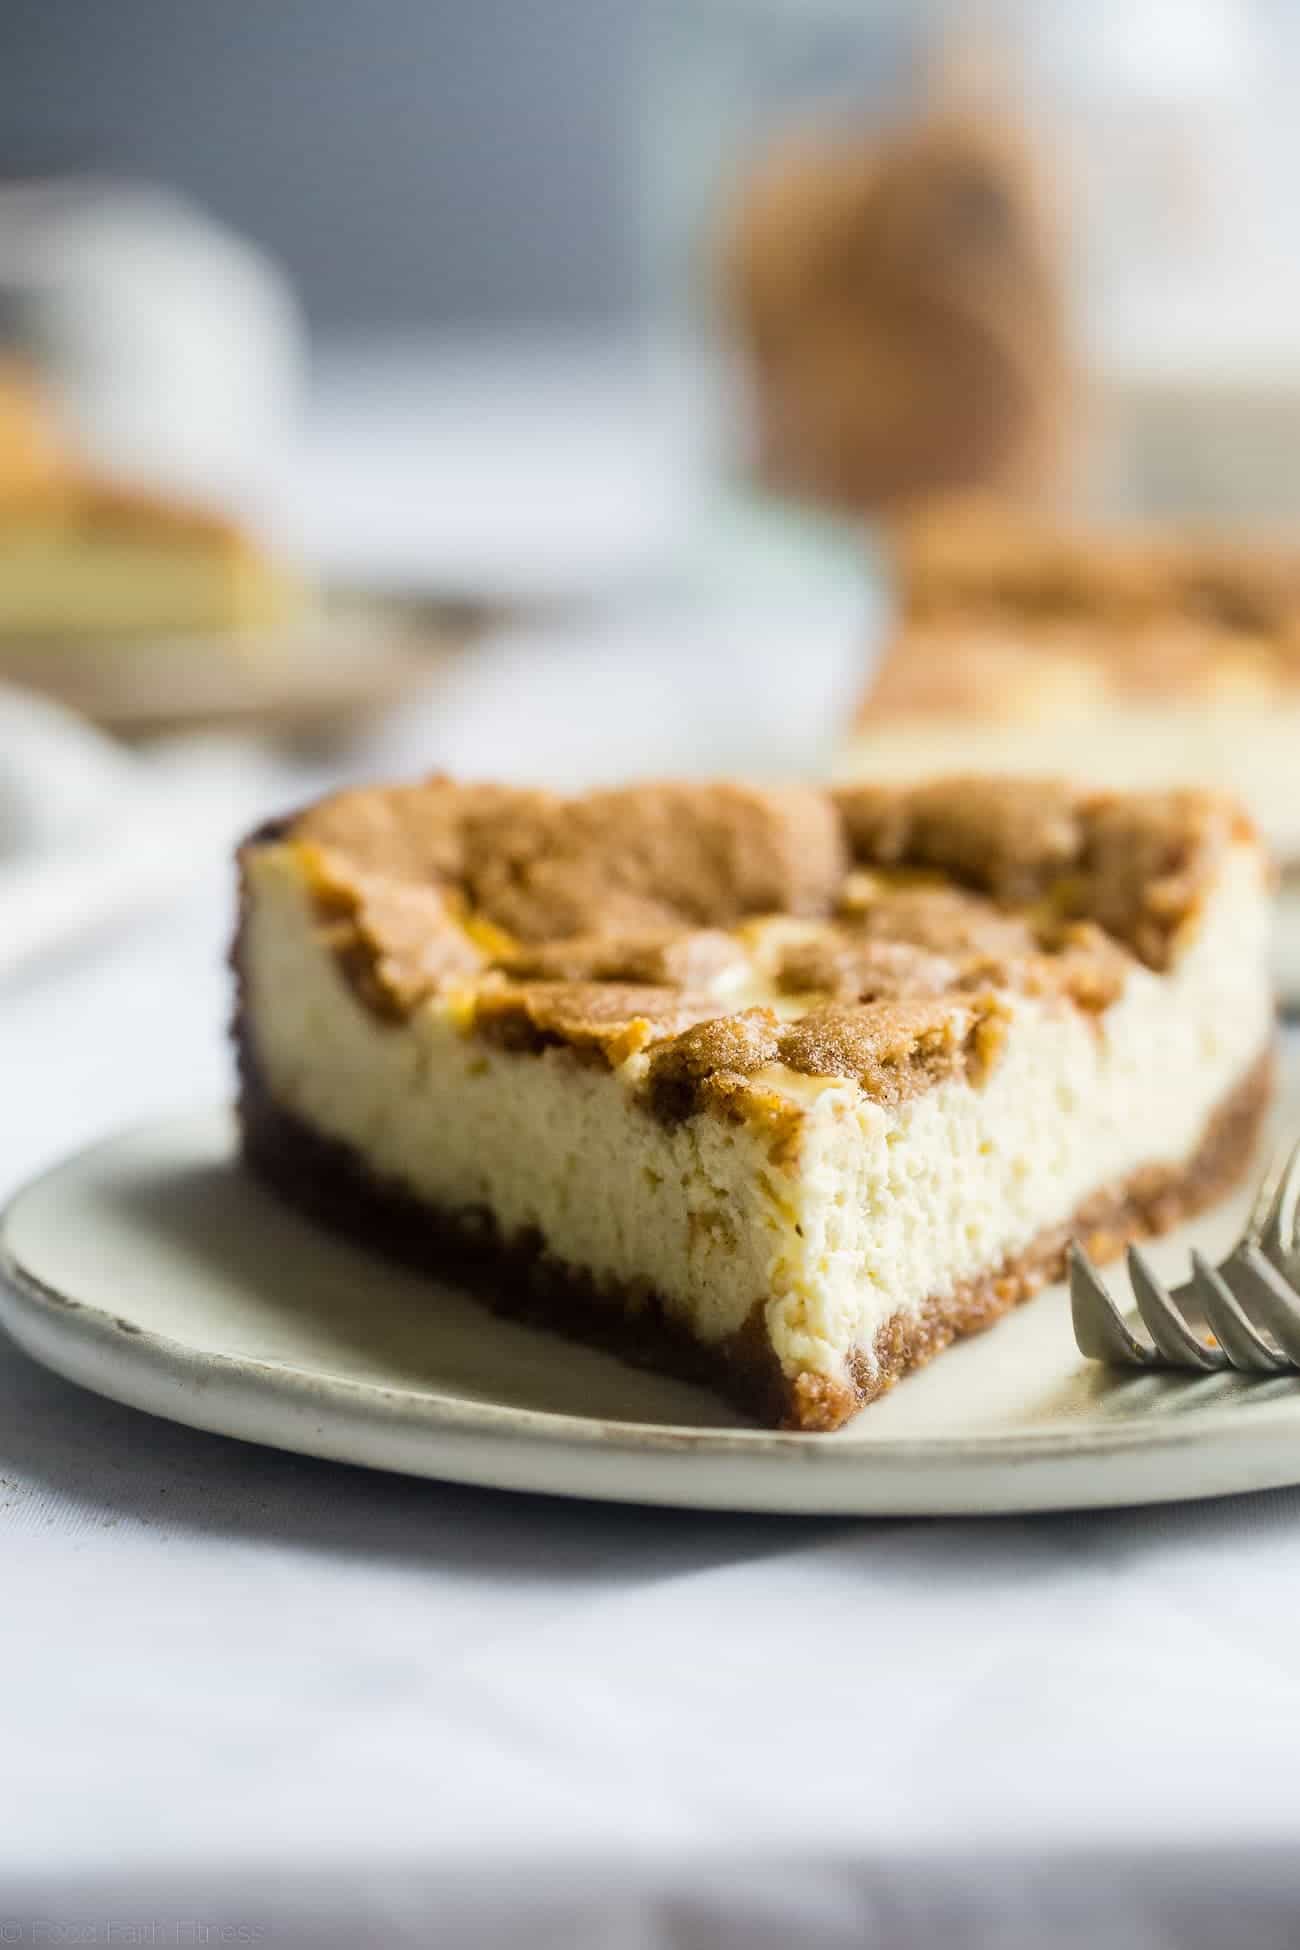
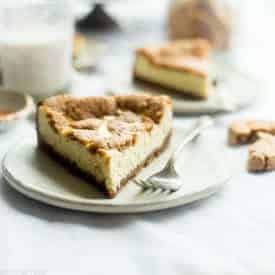
This gluten-free Greek yogurt cheesecake recipe comes very close to being as good as Mom’s. I love that my gluten-free niece can enjoy it—and I actually prefer this crust over that old-fashioned graham cracker crust (but don’t tell my mom). It’s got more of a cookie-like texture, and it tastes like a snickerdoodle. Maybe that’s from the combo of cinnamon and almond flour. The cheesecake itself is so rich and creamy that it’s hard to believe it’s lighter than a traditional recipe. If you served this to me without explanation, I’d never guess it had Greek yogurt in it!
I was a little concerned about all the steps for making the crust and the long chilling time for this recipe. But it was way easier than anticipated—and my niece and I had fun learning how to use a springform pan for the first time! We topped ours with fresh strawberries, but next time I might go for a little chocolate sauce.
Is Gluten-Free Greek Yogurt Cheesecake Healthy?
This Greek yogurt cheesecake offers a lighter twist on traditional cheesecake by incorporating nonfat Greek yogurt, which boosts protein and reduces overall fat compared to recipes that use only cream cheese. Greek yogurt is a good source of calcium and protein, and using almond flour and tapioca starch in the crust makes this recipe naturally gluten-free—safe for those with celiac disease or gluten sensitivity. It’s also vegetarian-friendly.
However, this dessert is still an indulgence and not an everyday healthy food. It contains added sugar and cream cheese, which contribute to its calorie, saturated fat, and sugar content. Overall, this cheesecake is a gluten-free, protein-rich dessert that can fit into a balanced diet when enjoyed in moderation.
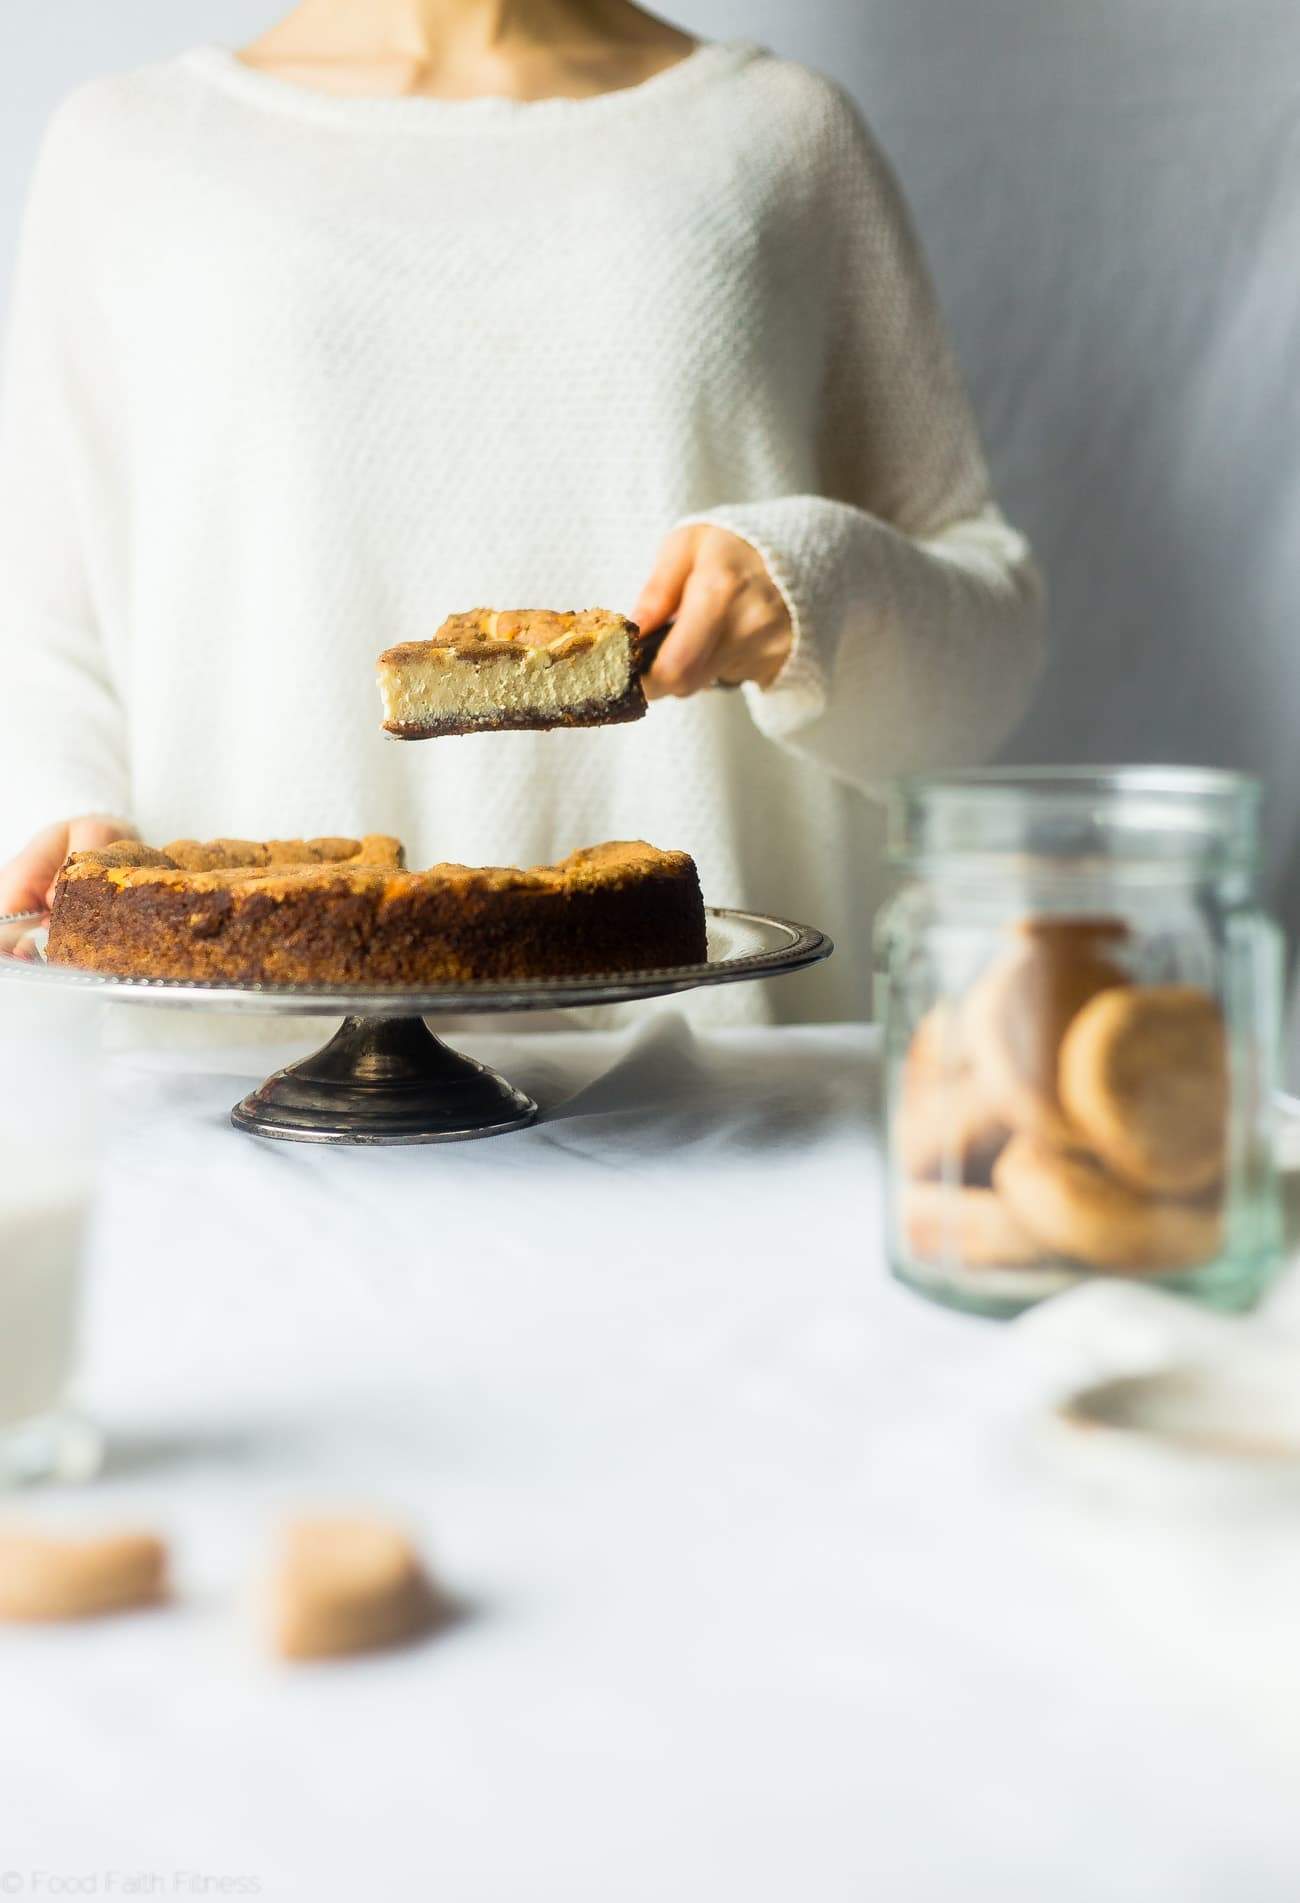
How A Springform Pan Makes Better Cheesecakes
A springform pan is a specialized piece of bakeware designed with two parts: a removable base and a tall, circular ring that forms the sides. The ring is secured by a latch that, when released, allows the sides to expand and separate cleanly from the base. This clever construction means you can easily remove delicate desserts—like this gluten-free cheesecake—without having to invert the pan or risk damaging your creation.
Springform pans originated in Europe, where intricate tortes and layered cakes required a way to release desserts cleanly and elegantly. Over time, they became a staple in kitchens worldwide, especially for recipes where presentation matters.
For cheesecakes, the springform pan is the perfect choice. Its removable sides protect the creamy filling and crumbly crust from breaking or sticking, ensuring smooth edges and a beautiful, professional look. All told, a springform pan helps you achieve bakery-worthy results right at home.
How Do I Store Leftovers?
Store leftover cheesecake in the fridge, tightly covered or in an airtight container, for up to 4 days. If you want to keep it longer, you can freeze individual slices by wrapping them well in plastic wrap and then foil or placing them in a freezer-safe container. Frozen cheesecake will keep for up to 2 months. To serve, thaw slices overnight in the refrigerator for best texture and flavor.
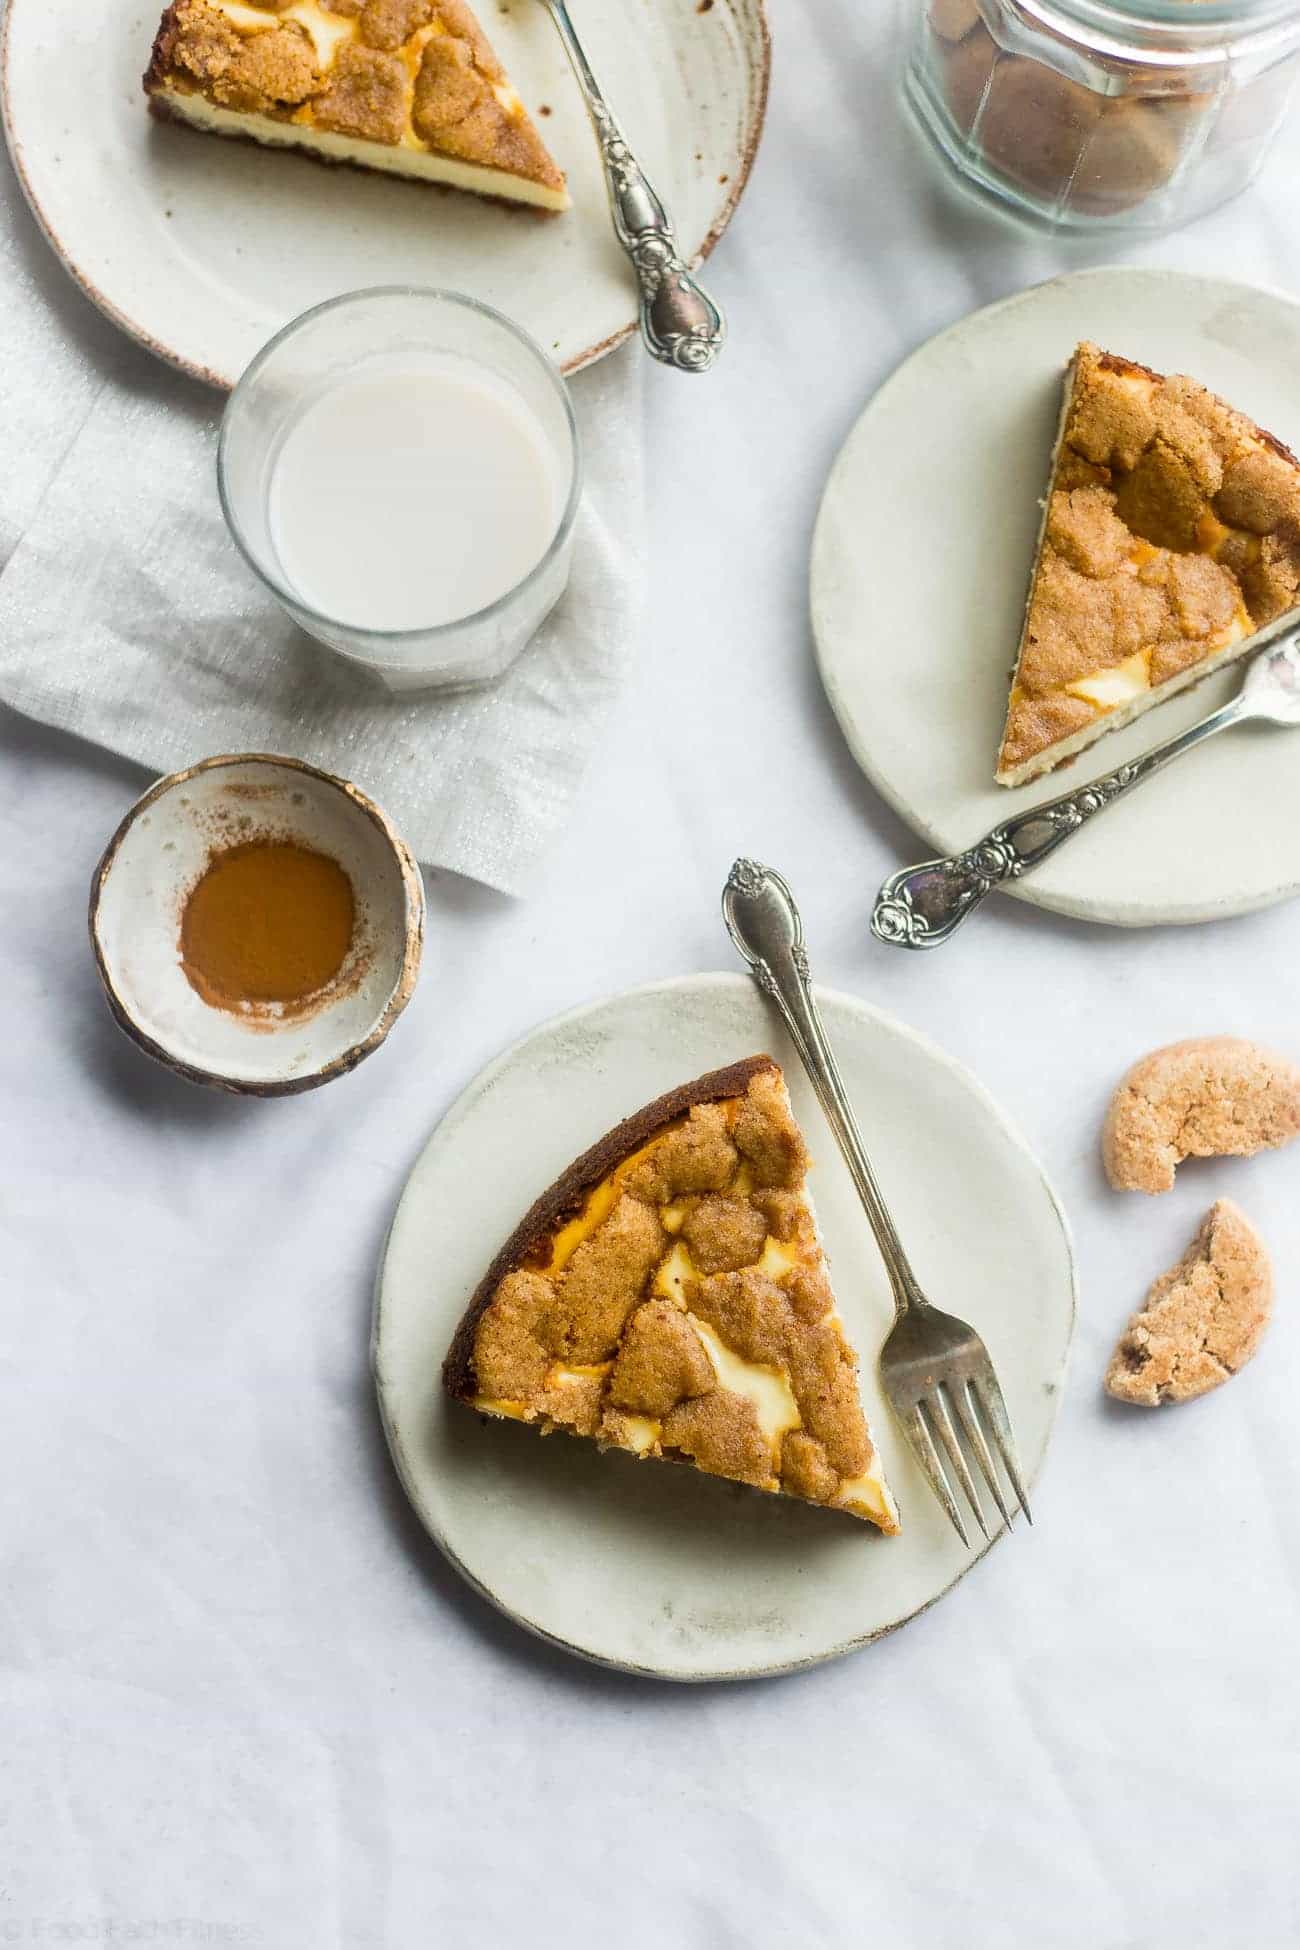
Serving Suggestions
Serve gluten-free Greek yogurt cheesecake with Café De Olla when friends stop by for a visit. It also makes for an indulgent dessert after a dinner of Chicken Kiev, Lyonnaise Potatoes and Cucumber And Tomato Salad (With Onions). Or pair it with gluten-free Slow-Cooker Italian Chicken With Zucchini Noodles and a refreshing Cucumber Agua Fresca.
Ingredients
For The Crust:
- 6 tablespoons unsalted butter softened to room temp
- 3/4 cup raw organic cane sugar
- 1 egg white
- 1 teaspoon vanilla extract
- 1 3/4 cups almond flour 5.9 ounces/167 grams
- 5 tablespoons tapioca starch 1.41 ounces/40 grams
- 1 teaspoon cream of tartar
- 1 teaspoon baking soda
- 1 teaspoon cinnamon
- 1/2 teaspoon salt
For The Cheesecake:
- 2 8-ounce packages cream cheese at room temp
- 1/2 cup raw organic cane sugar
- 3/4 cup nonfat vanilla Greek yogurt
- 2 large eggs at room temp
- 1 teaspoon vanilla extract
Instructions
Make The Crust:
- In a large bowl, beat together the softened butter and sugar with an electric mixer until just combined. This takes only 30 seconds or so at low speed.
- Add the egg white and vanilla. Beat until just combined.
- Add the almond flour, tapioca starch, cream of tartar, baking soda, cinnamon, and salt. Stir until a sticky, wet dough forms.
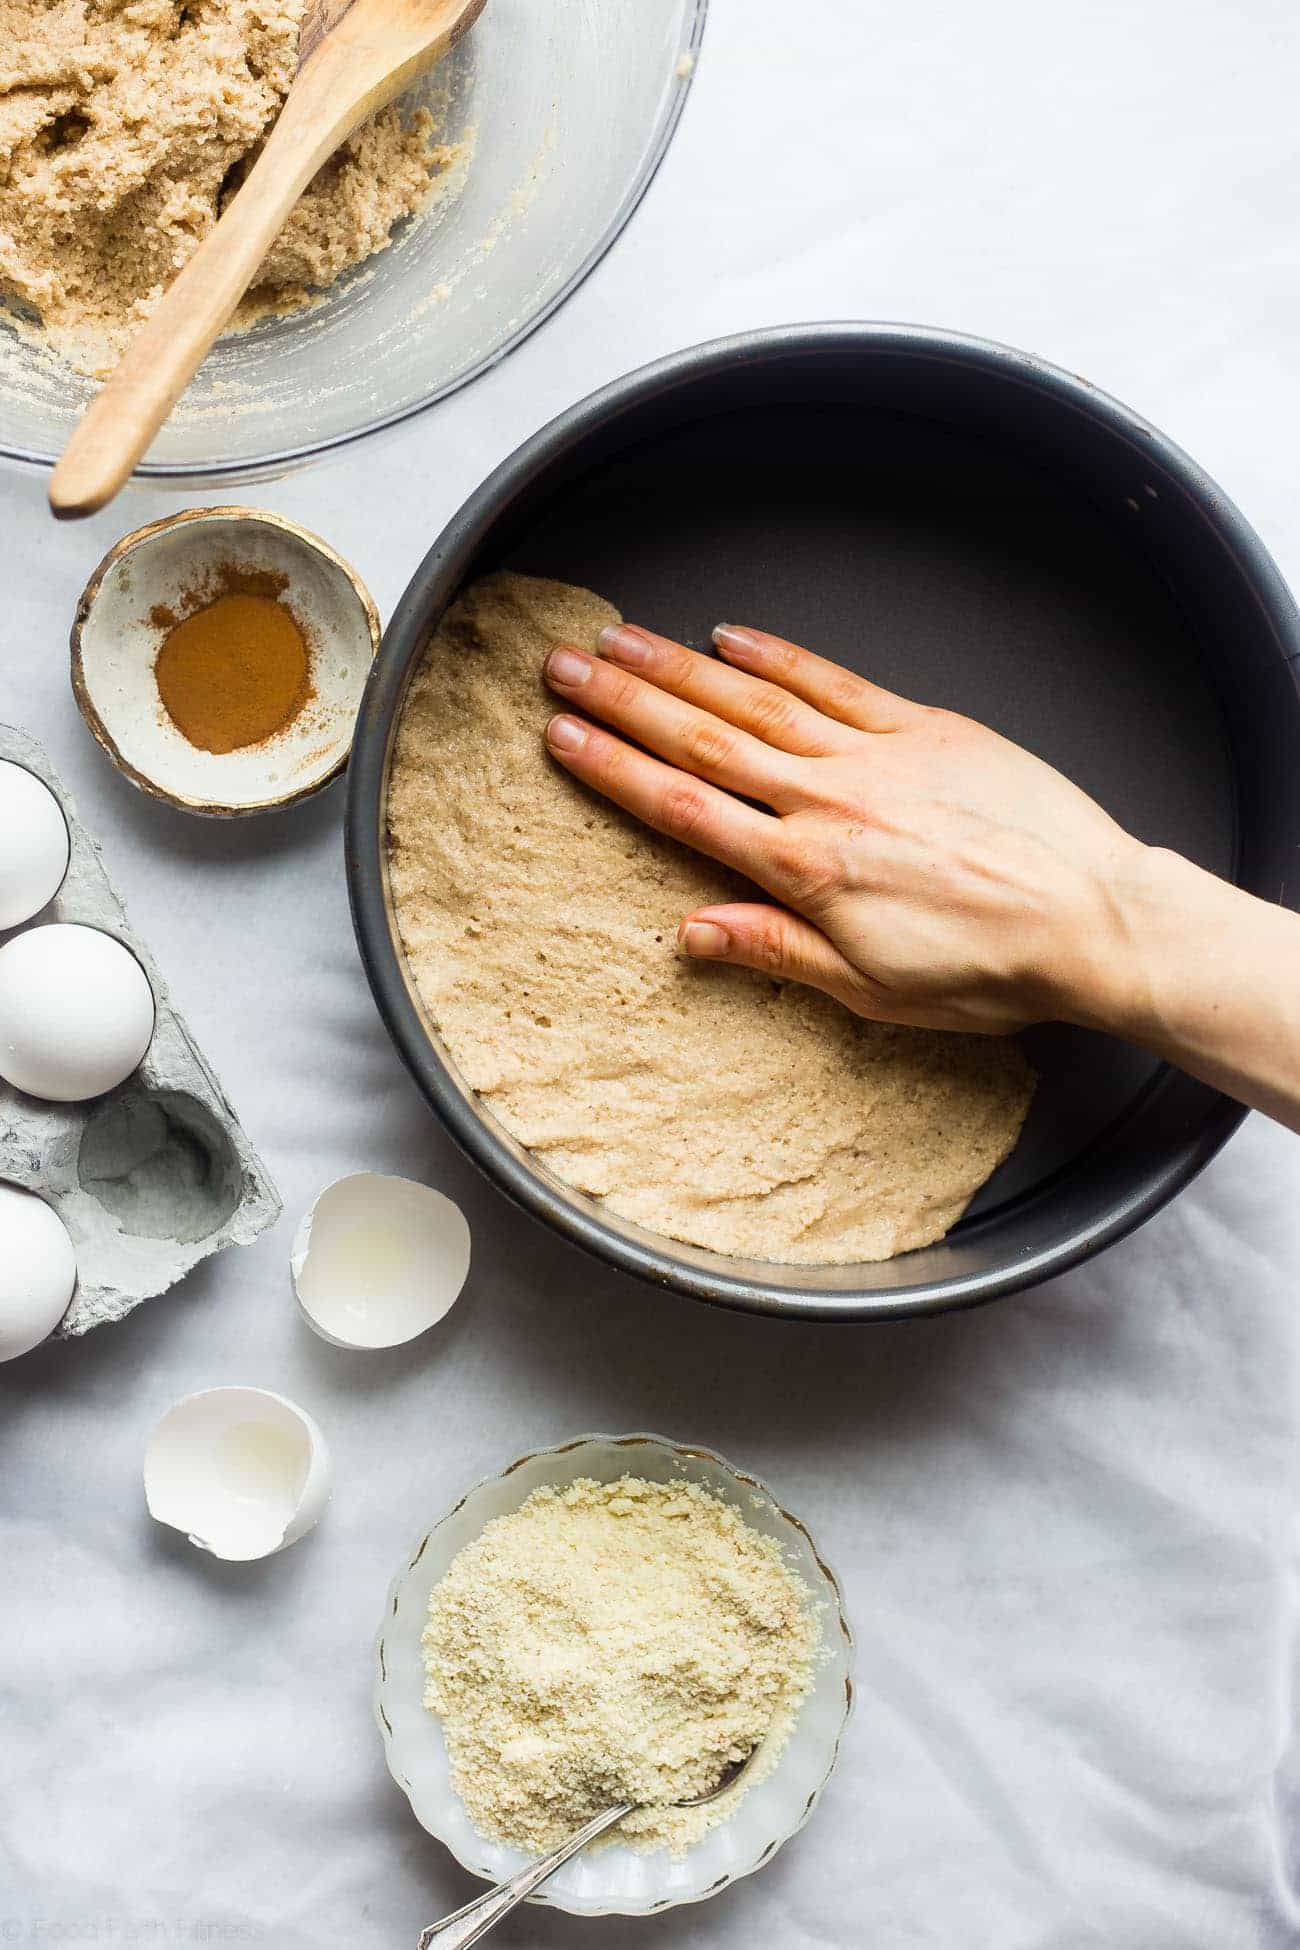
- Line a small plate with parchment paper and press 1/2 cup of the dough onto it, about 1/4 inch thick. It doesn't need to be perfect, as it will be crumbled eventually. If the dough is too sticky and hard to press, lightly dampen your hands. Place the plate in the freezer.
- Press the remaining dough flat into the bottom of an 8-inch springform pan. Place in the freezer for 20 minutes.
- Preheat oven to 325°F.
- After it has been in the freezer for 20 minutes, remove the springform pan, leaving the plate with the rest of the dough in the freezer. Bake the springform pan for about 33-35 minutes, until the top of the crust is golden brown and set, the sides have risen up, and the middle of the dough is sunken. Remove from oven.
- Let crust cool at room temp for 5 minutes, then immediately place in the refrigerator to set for 10 minutes. You want the crust to feel a little too crunchy once cool, as it will soften quite a bit when the cheesecake sits on it.
Make The Cheesecake:
- While the crust sets in the fridge, beat together the softened cream cheese and sugar until just combined.
- Add the Greek yogurt, eggs, and vanilla. Beat until just combined and the cream cheese is smooth.
- Once the crust has cooled in the fridge for 10 minutes, pour the cheesecake mixture into it and gently smooth out. It should just cover where the crust has risen up the sides of the pan.
- Remove the reserved 1/2 cup of crust dough from the freezer. Crumble it into small pieces all over the top of the cheesecake, covering the majority of it.
- Bake for 1 hour to 1 hour and 5 minutes, until the cheesecake rises slightly, the outsides are set, and just a small circle in the center of the cheesecake is still jiggly. Do not remove cake from oven.
- Turn off the oven, crack open the oven door, and leave the cheesecake in there for 15 minutes.
- Remove the cheesecake from the oven. Gently run a very sharp knife around the sides of the pan, being careful not to insert your knife into the cookie crust.
- Let the cake rest on the countertop until it reaches room temp. Then cover and refrigerate for at least 6 hours to overnight.
- Serve cheesecake cold from the fridge.
Nutrition Info:
Nutrition information are estimates only and may vary based on the specific brands, ingredients, and portion sizes you use. This data is provided for informational purposes only.

Leave a Comment