

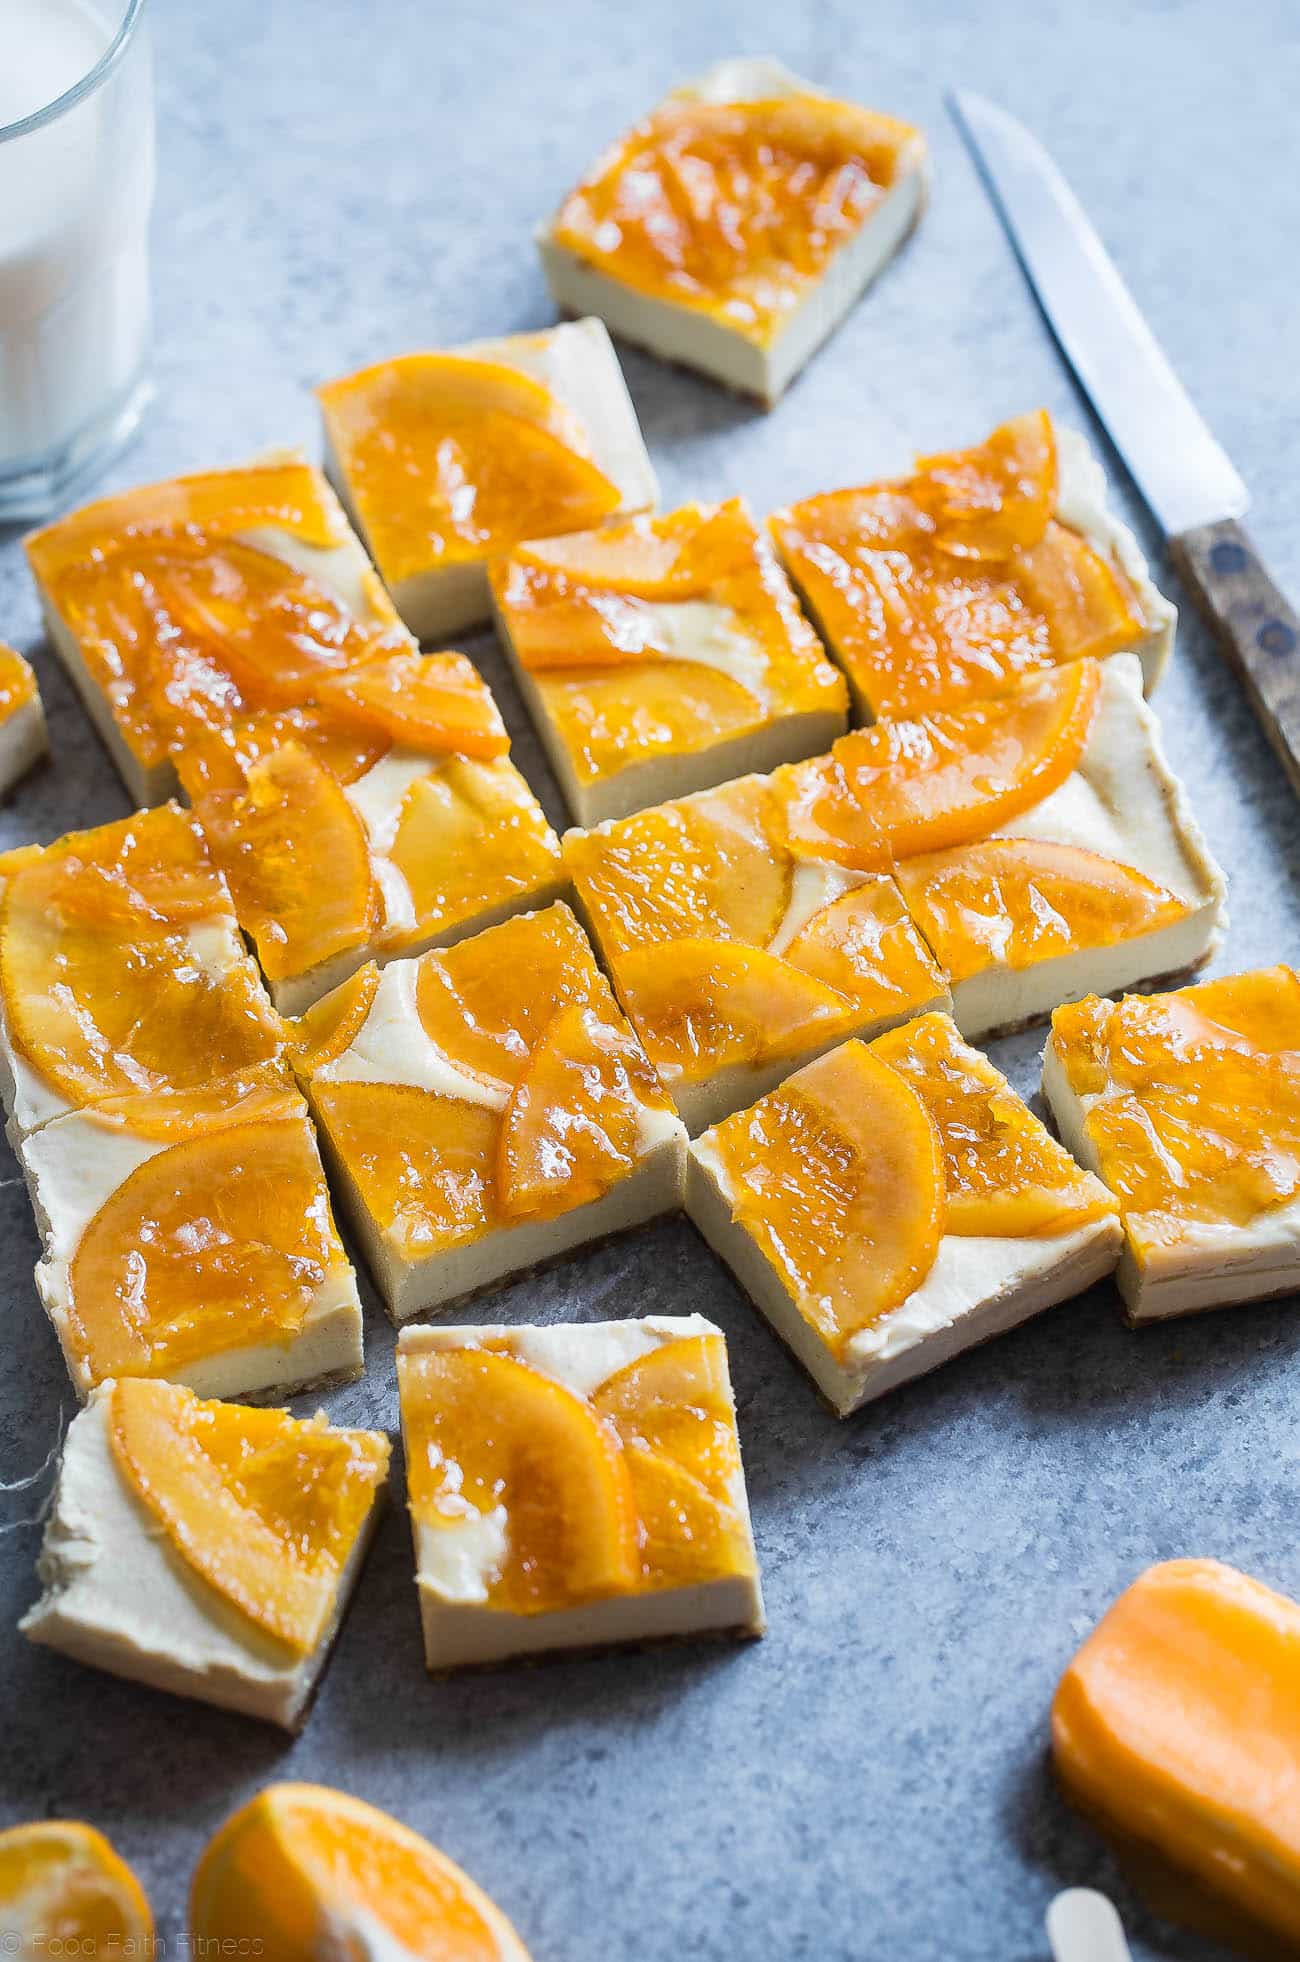
These out-of-this-world Creamsicle Vegan Cheesecake Bars have a creamy vanilla base with a vibrant orange topping, and they truly taste just like a Creamsicle.
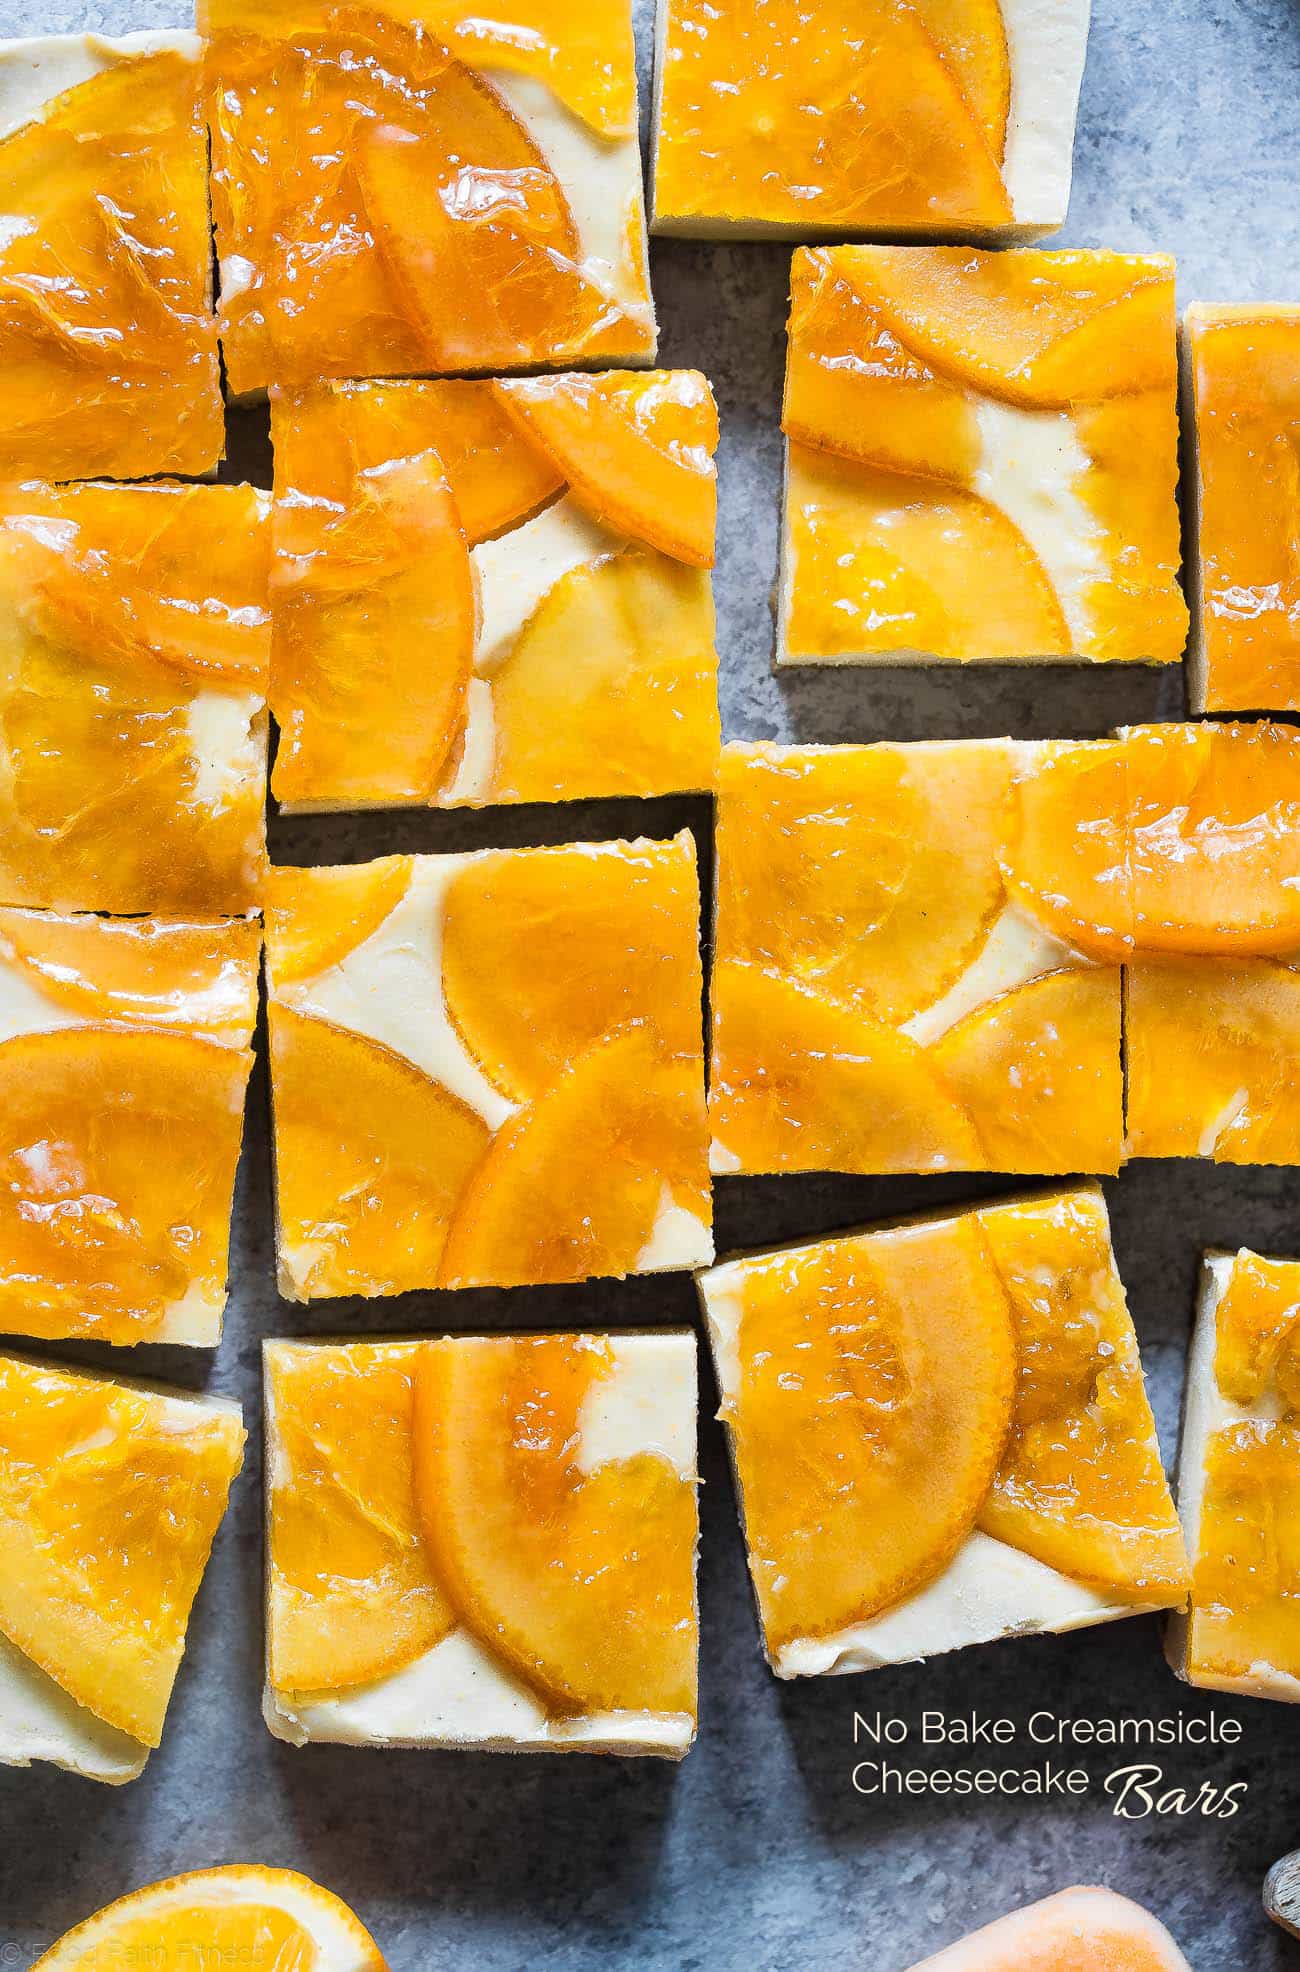
Do Creamsicles make everybody this nostalgic? They certainly do for me. With a smooth vanilla ice cream center encased in orange sherbet, these frozen treats were my absolute favorite growing up. I love them so much I decided to make these raw Creamsicle-like vegan cheesecake bars, and they are still everything you could want in a warm weather treat. Except these are dairy-free and completely vegan. This dessert has a creamy vanilla base layered with a bright, sweet orange topping. And best of all, you don’t even have to bake it. It’s perfect for those sticky, hot summer days when you just want something cool and satisfying.
The Creamsicle was invented back in the early 1900s as a clever twist on ice cream bars, and its variety flavors have made it a summer favorite ever since. My version of this classic replaces dairy with a cashew cream base, resulting in a smooth, velvety dessert that’s just as satisfying and packed with all the comforting flavors you remember.
The creamy texture combined with the citrus gives me a perfect bite every time. Plus, they are so easy to make, you’ll be whipping them up all summer long.
If you really love this recipe, you can hop on the no-bake bandwagon and also try this Neapolitan No-Bake Chocolate Tart, the No-Bake White Chocolate Macadamia Nut Cookies and of course, these Crispy No-Bake Almond Joy Bars.
Are Creamsicle Vegan Cheesecake Bars Healthy?
These cheesecake bars might be a treat, but they’re made with fresh ingredients and contain far less sugar than the original. In fact these don’t have any refined sugar at all. The base is a cashew-based vegan cream cheese. You’ll use real oranges for the sweet topping. It’s entirely plant-based, making it a good fit for keto (with some modifications), vegan, Whole30, and low-carb diets. Whether you’re cutting back on dairy or just love a dessert made with simple, real ingredients, these Creamsicle vegan cheesecake bars are a delicious, healthy way to enjoy a summer classic.
Cheesecake without the Cream Cheese
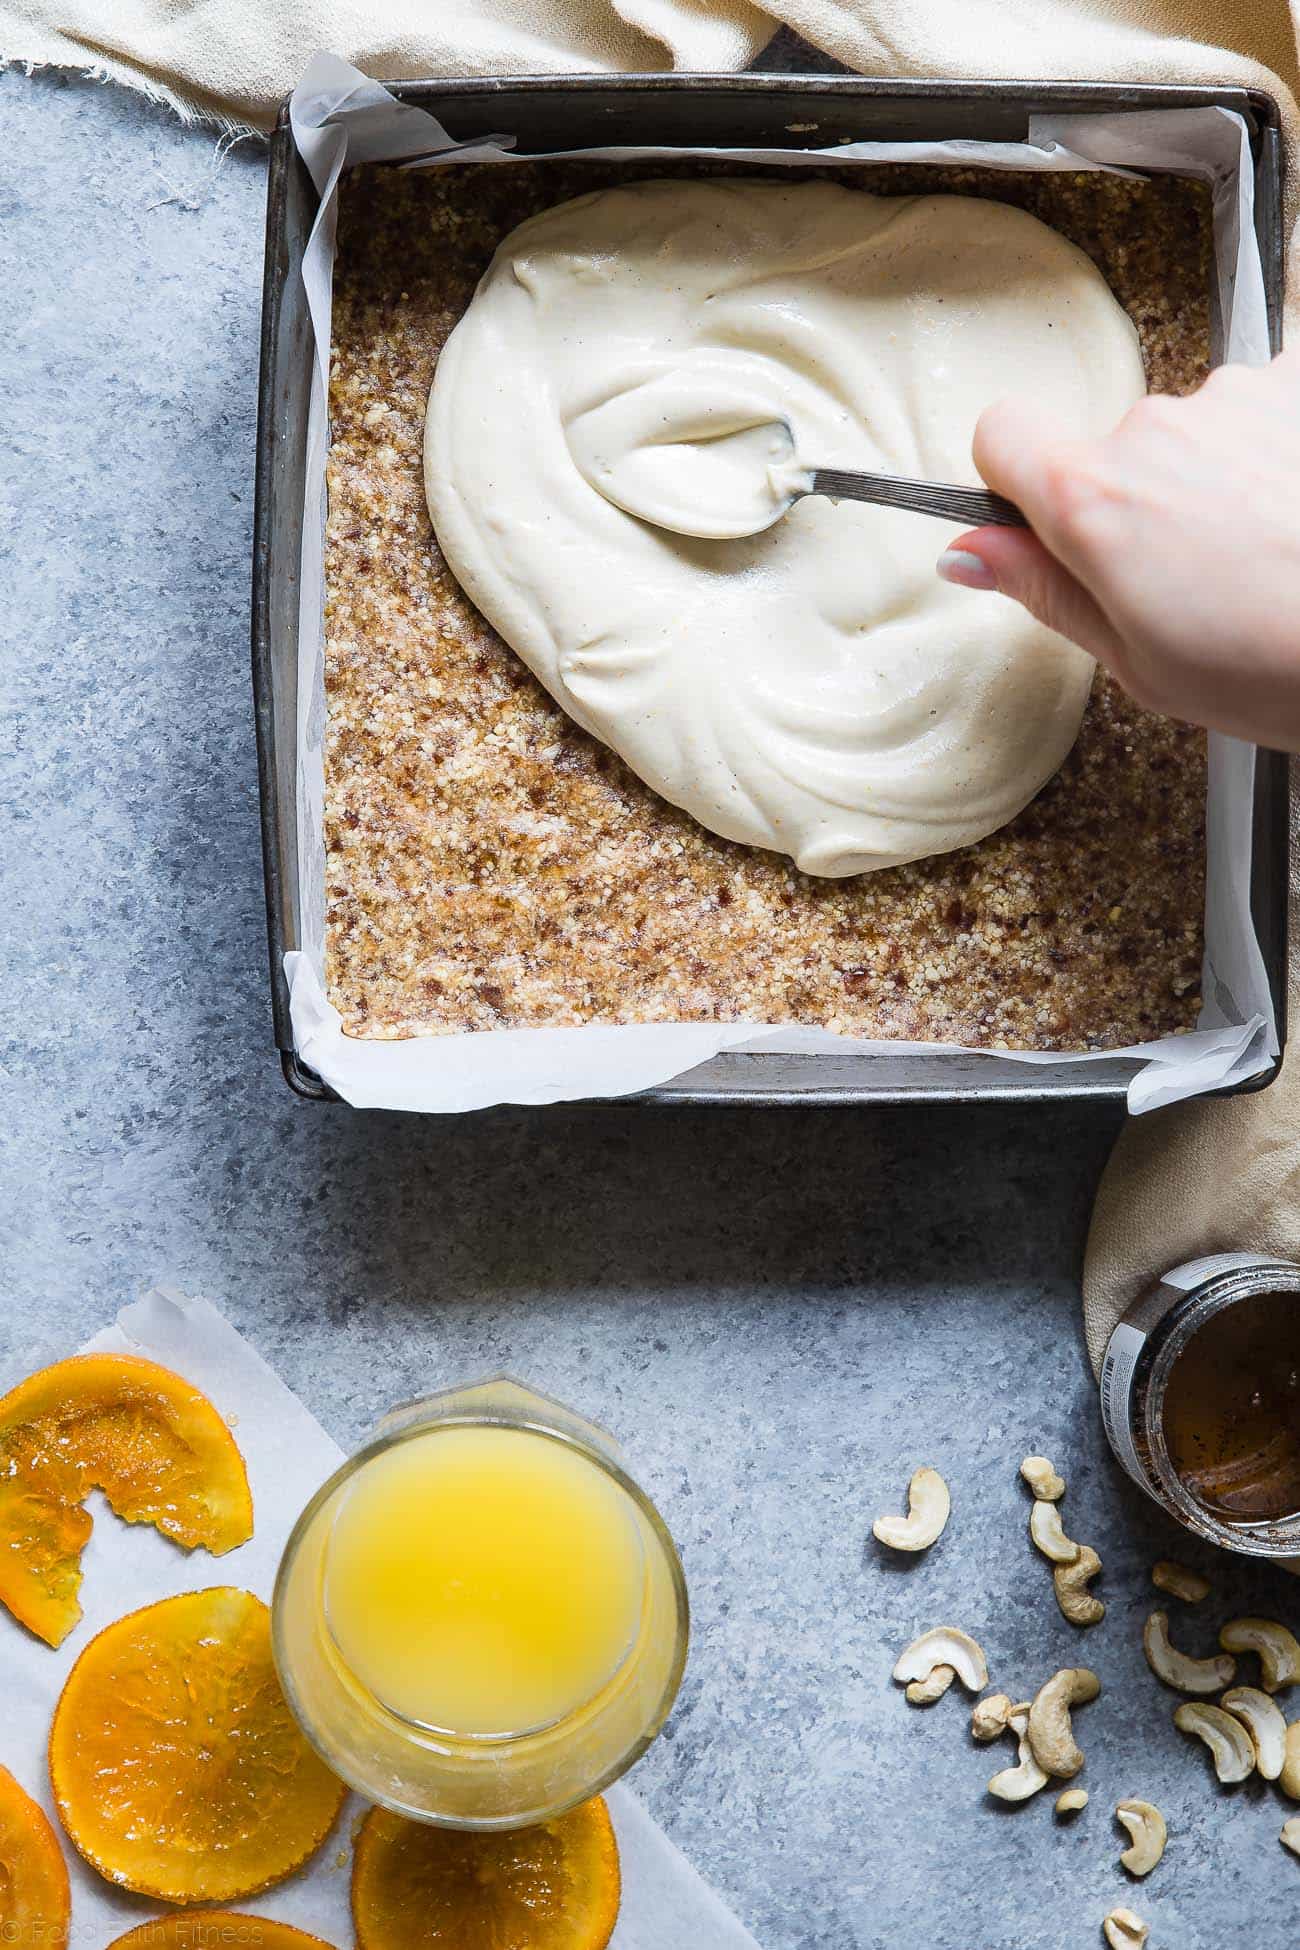
One of the key features of these cheesecake bars is the cashew cream, which replaces traditional dairy-based cream cheese. If you’ve never made cashew cream before, let me tell you, it’s a total game-changer for dairy-free desserts. By soaking raw cashews and blending them until smooth, you create a texture that’s surprisingly rich and creamy, and it’s perfect for cheesecake. And it’s super easy to make. The subtle sweetness from the cashews blends beautifully with the natural vanilla flavor to create a filling that’s just as delicious as any dairy-based version.
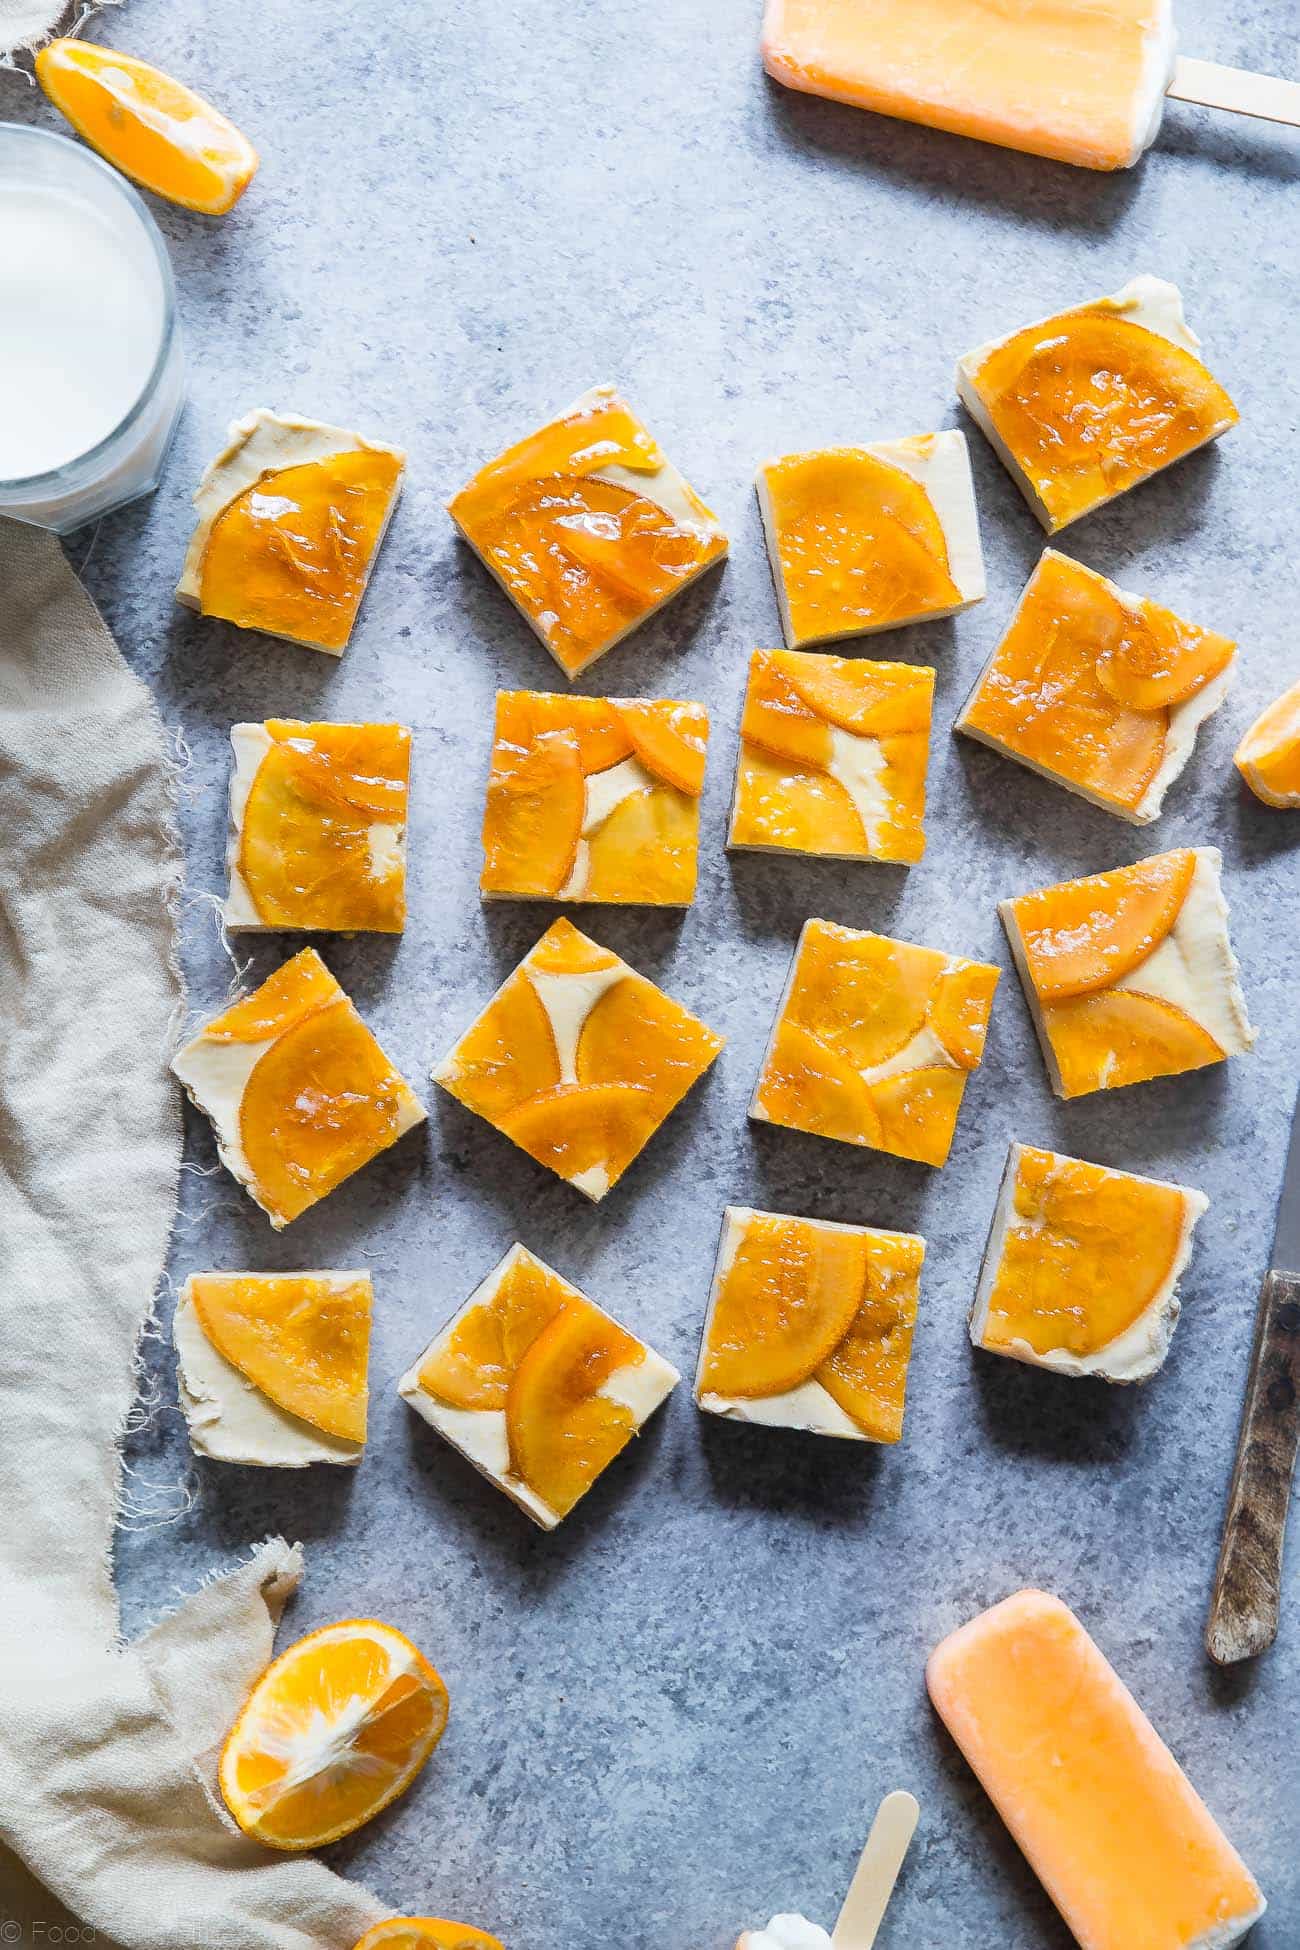
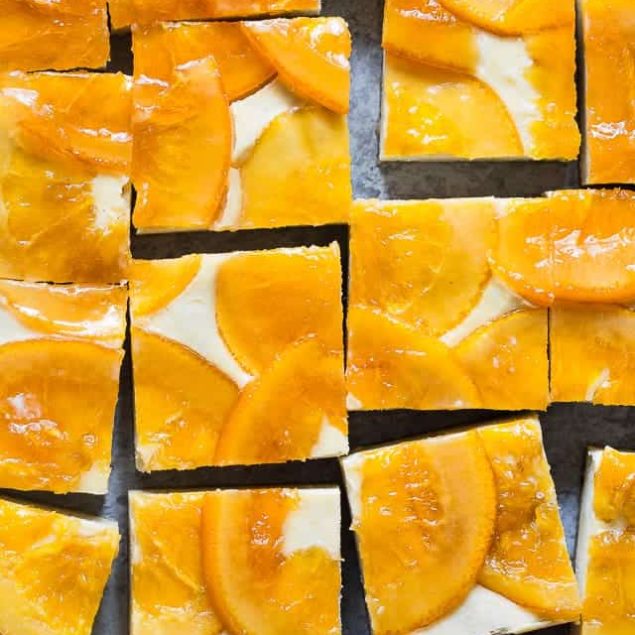
As for the orange topping, the orange slices are simmered in a mixture of agave and water, which softens the peel and caramelizes the natural sugars. Thinly sliced oranges will give you tender candied orange slices that are bursting with flavor, without the bitterness! The orange topping not only adds a pop of color, it also brings an extra layer of texture that pairs perfectly with the cashew cream cheese filling. This is the kind of dessert surprises you with every bite – there’s always something new to enjoy.
How to Make Ahead and Store
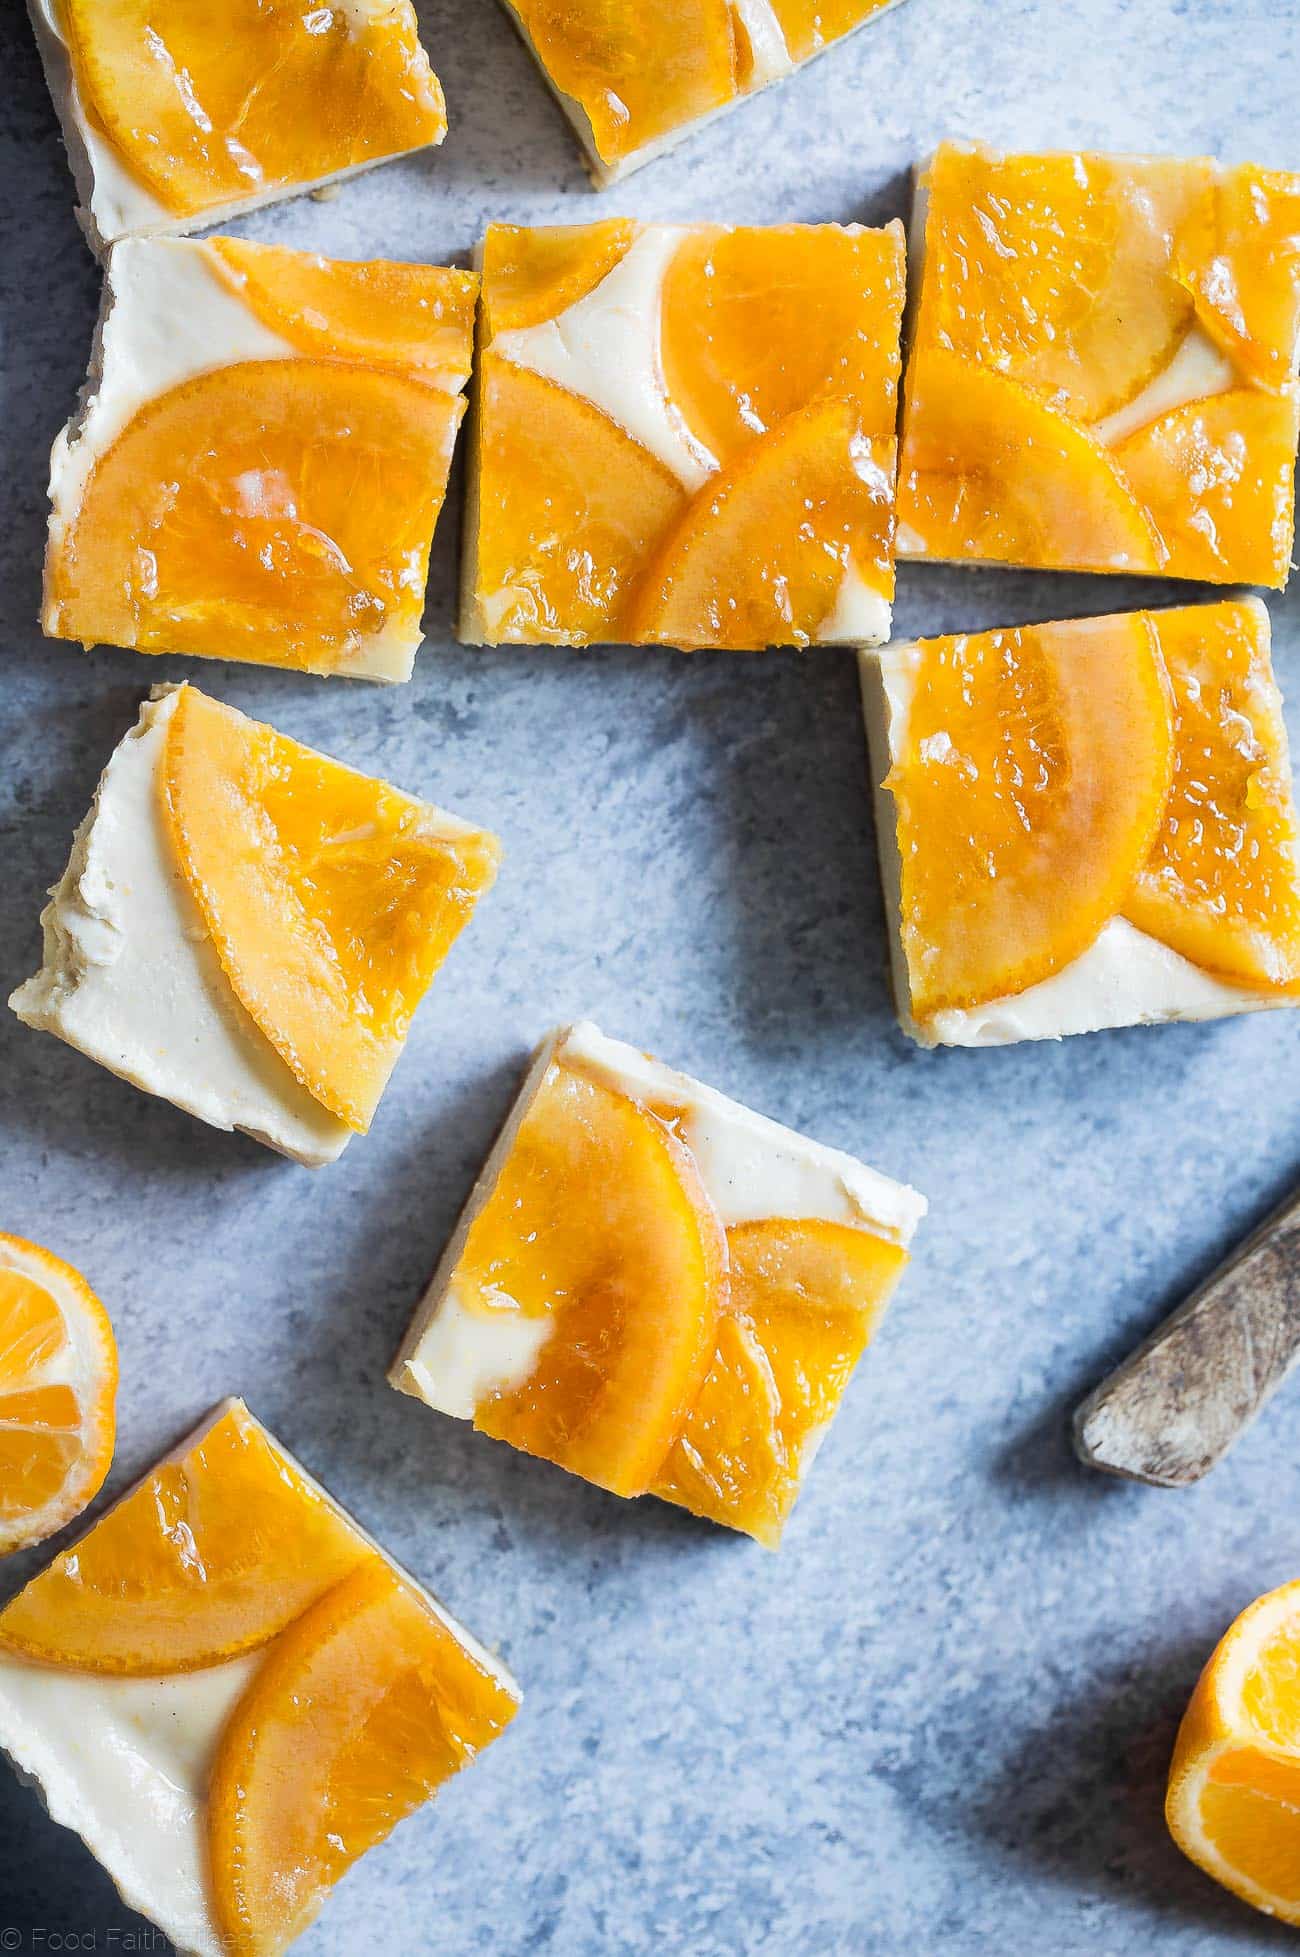
These cheesecake bars can be stored in the fridge for up to 5 days. They also freeze well for up to 1 month – just let them thaw in the fridge before serving. If you’re planning for a party or a gathering, making these ahead of time can take some of the pressure off, and they taste just as delicious after being stored.
Serving Suggestions
These Creamsicle vegan cheesecake bars are wonderful on their own, but they also pair well with other light flavors. If you’re serving them as part of a brunch buffet, consider adding some bright salads to your spread, like this Southwest Quinoa Salad. Adding a simple Tofu Scramble is great, too. You can also round out your spread with some unique drinks, like this Vegan Banana Matcha Smoothie or a simple Green Smoothie.
Ingredients
For The Oranges:
- 1 large orange
- 1/2 cup agave
- 1/2 cup water
For The Crust:
- 2/3 cup raw cashews (93g)
- 1/2 cup loosely packed dates (70g)
- 1/2 teaspoon water
For The Filling:
- 2 cups raw cashews soaked in water overnight (280g)
- 1/4 cup unsweetened vanilla almond milk
- 1/4 cup orange juice (not from concentrate)
- 3 tablespoons agave
- 1 tablespoon Amoretti natural vanilla bean artisan flavoring (19g)
- Pinch of salt
Instructions
Make The Orange Sauce:
- Zest the orange and set it aside for later (you should have about 2 teaspoons, packed). Slice about 1 inch off the end of each orange, and then VERY THINLY slice the remaining piece width-wise. Make sure it stays together, but slice it as thin as possible
- Combine the agave and water in a large pot on high heat and bring to a boil. Once boiling, stir in the oranges, making sure they are covered in the liquid. Reduce the heat to medium low and simmer, stirring occasionally, until the oranges are translucent but still hold their shape, about 35-40 minutes.
Make The Crust:
- Line the bottom of an 8-inch pan with parchment paper, leaving an overhang to use as a handle later.
- In a large food processor, process the cashews until crumbly. Add in the dates and continue to process until crumbly and mixed. With the food processor running, stream in the water and process until the mixture starts to come together.
- Transfer the crust into the prepared pan and press out firmly and evenly. I find it helps to hold a piece of parchment paper to press out, if the crust sticks to your fingers. Place into the freezer while you make the filling.
Make The Filling:
- Add all the filling ingredients, along with the orange zest, into a high-powered blender and blend until smooth and creamy, scraping down the sides as necessary. Pour into the chilled crust and smooth out evenly.
- By this point, your oranges should be done. Using a slotted spoon, VERY carefully remove them one at a time from the pot. Place them on top of the cashew cream. Try not to overlap too much (a little overlap is OK).
- Drizzle 1 tablespoon of the cooking liquid over top of the orange slices (try not to get too much of it onto the actual exposed cream) and discard the rest.
- Place into the freezer until hard, at least 5 hours and up to overnight.
- To serve, let stand at room temperature for 5-10 minutes before slicing.
Nutrition Info:
Nutrition information are estimates only and may vary based on the specific brands, ingredients, and portion sizes you use. This data is provided for informational purposes only.


Leave a Comment