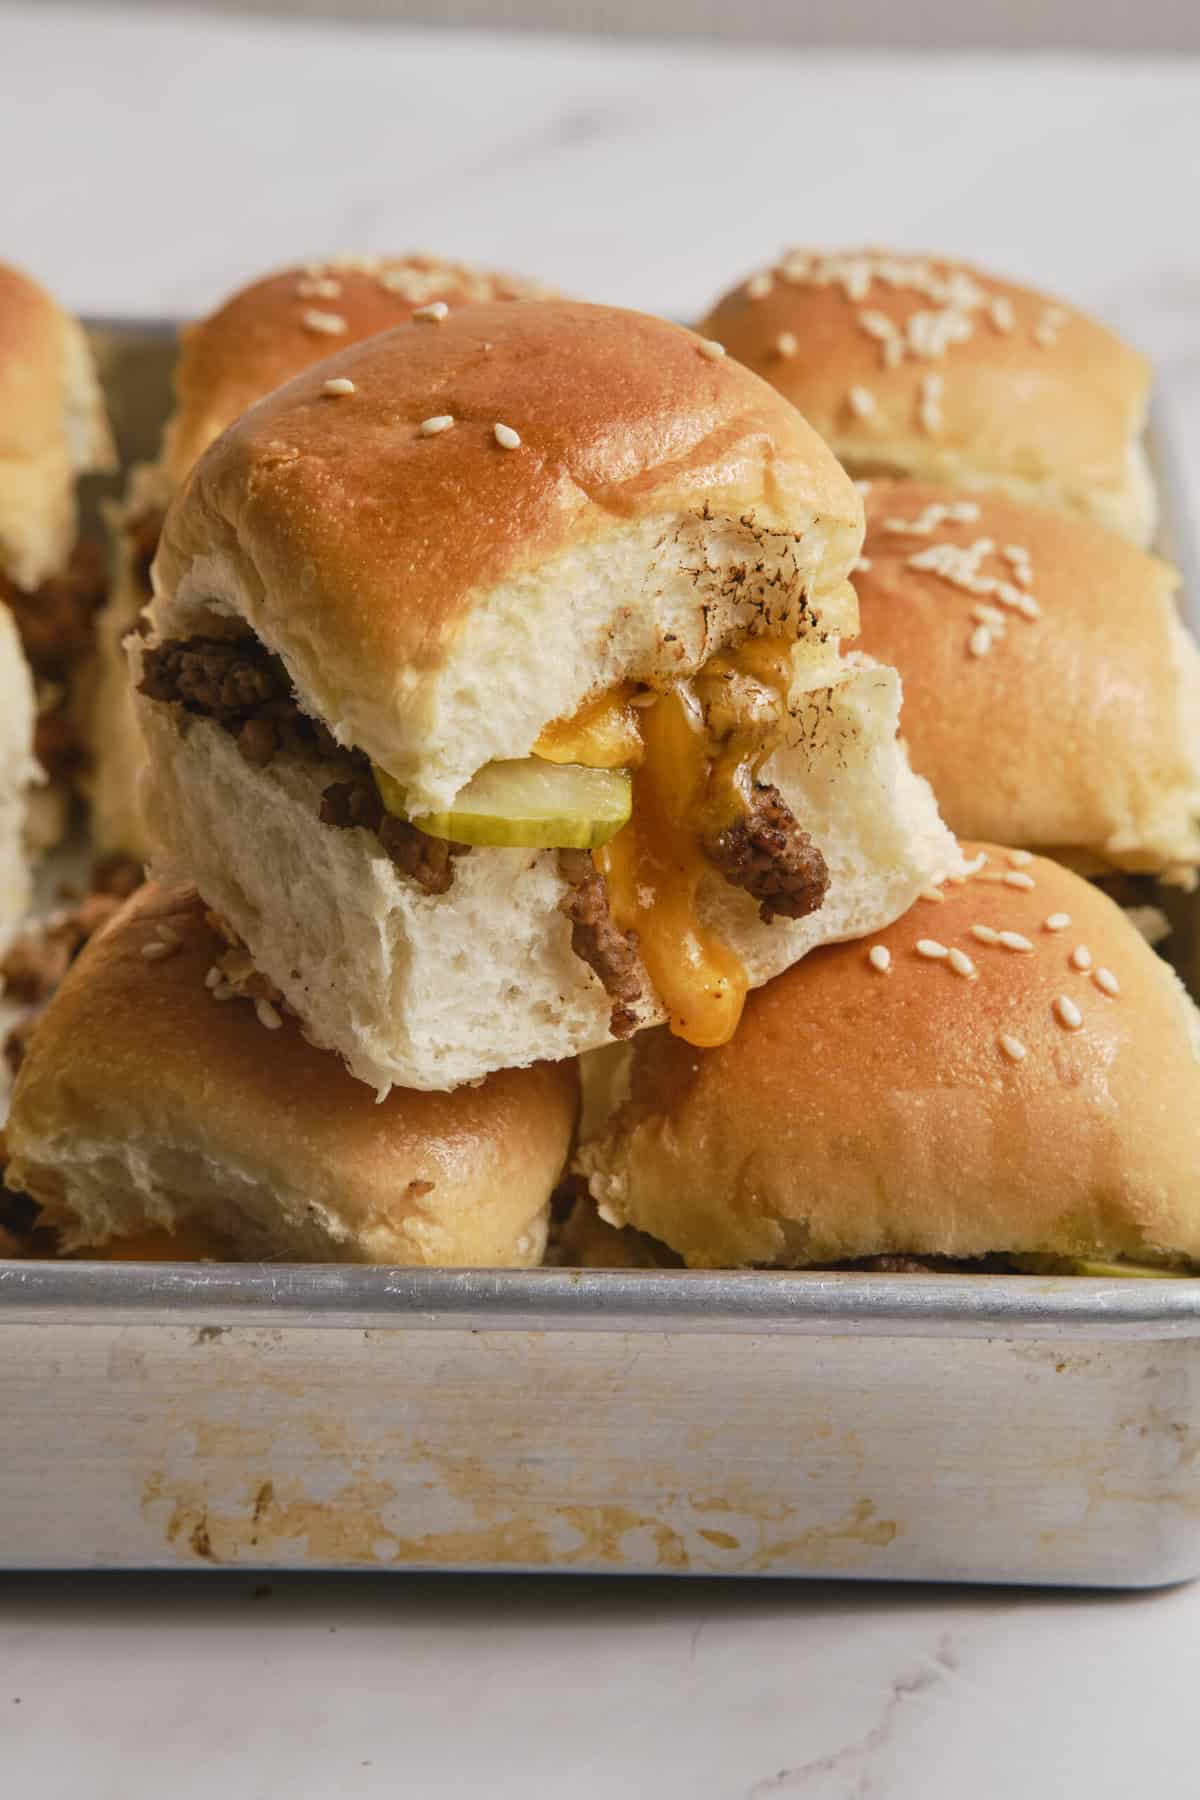
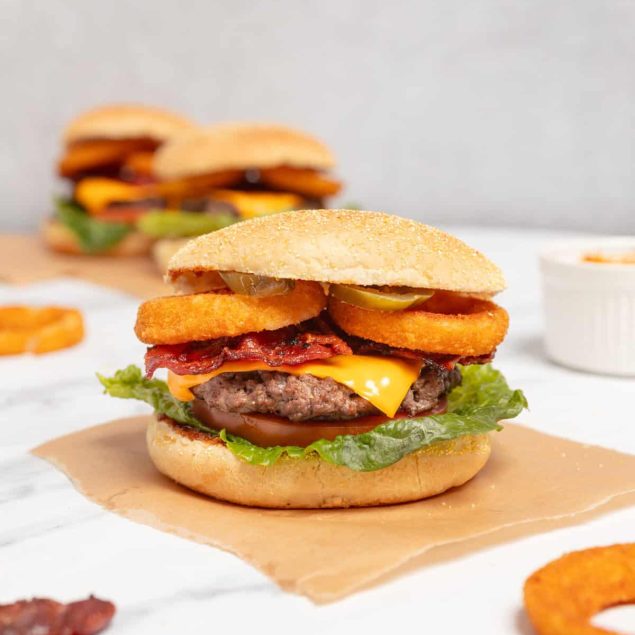
The classic cheeseburger has turned mini, so even those with little hands can easily enjoy this hearty slider!

Since my family is full of summertime birthdays, I’ve been playing around with different picnic dish ideas. When I stumbled upon cheeseburger sliders, I exclaimed, “Aha! This is perfect for my burger-loving brothers!” And they’re not just for my little bros—these fun-sized handhelds are also ideal for kids and adults of all ages, whether it’s for a birthday party or barbecue.
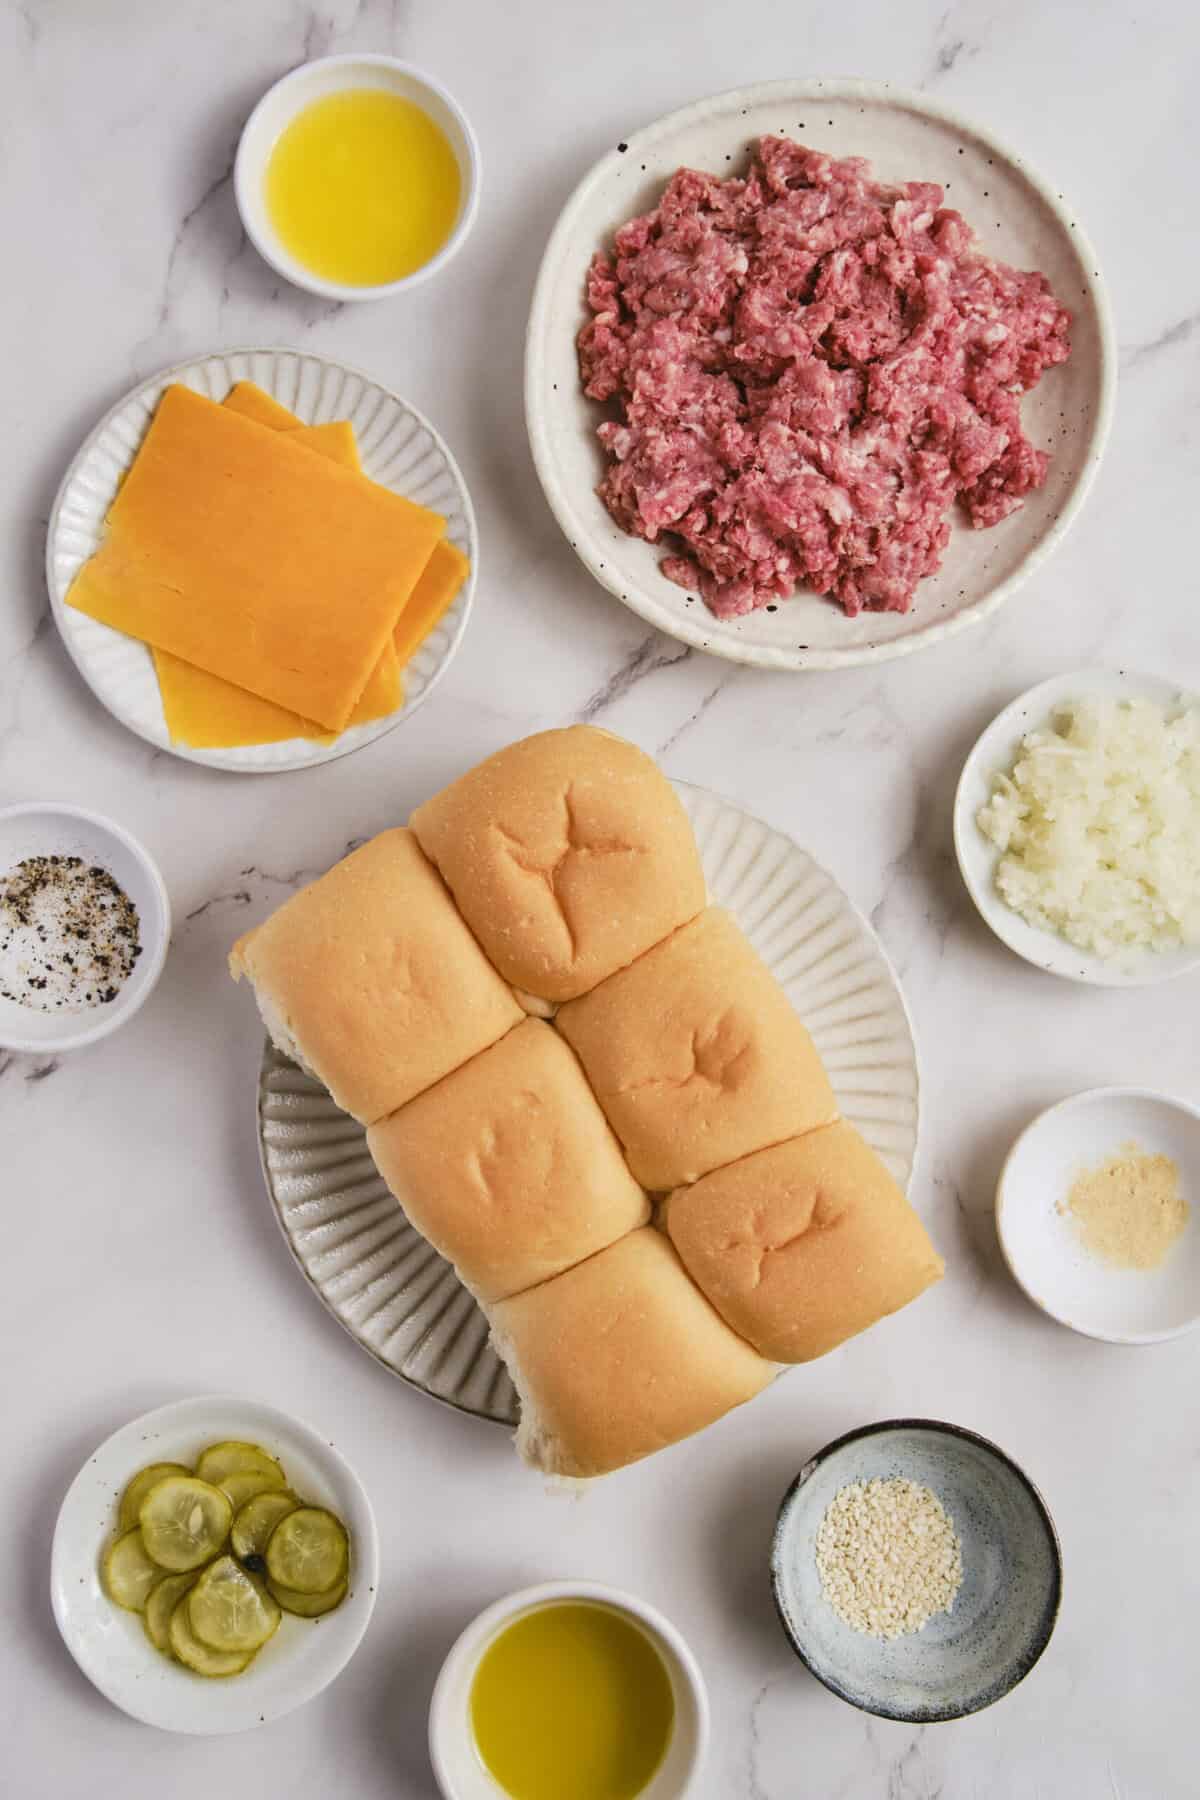
Surprisingly, cheeseburger sliders are quite easy to make. All you need are onions, ground beef, seasonings, buns or bread rolls, pickles, and cheese, plus a smidge of sesame seeds for garnish, to give it that classic burger look. In under an hour, these mini cheeseburgers come out tender, juicy, and dripping with cheese. Talk about satisfying! Size isn’t what matters here—it’s all about the high-quality flavor and rich textures.
With these babies served up, your family and friends will gather round the table to enjoy easy eating and good conversation. Bring cheeseburger sliders to your next potluck, and they’ll brighten up the day with their enticing presentation and excellent taste.
Are Cheeseburger Sliders Healthy?
Cheeseburger sliders are not particularly healthy because they’re high in fat and carbs. However, they do have a decent amount of protein from the ground beef. Cheddar cheese is a good source of calcium, too. For more fiber, chop up some lettuce and tomato to serve between the buns. If you’re serving gluten-free folk, use rolls made from non-wheat flour. For dairy-free folk, use plant-based butter and cheese.
Seeking The Perfect Slider Bun
These days, it’s not hard to find buns that are “fun-sized,” which means they’re half the size of a regular bun. However, there’s an even more flavorful way to serve sliders, and that’s on Hawaiian dinner rolls.
Hawaiian rolls are small, sweet, and supple—the perfect fluffy complement to rich and salty beef ‘n’ cheese. Each bite is like a cloud brimming with burger fixings, something out of a meat-lover’s dream. These are a huge hit at many of my family gatherings, and I plan to use them for my brothers’ birthdays in June and July.
That being said, there are plenty of other options to choose from if you want the flavor profile to be less sweet and more savory. For example, check out these homemade and chewy Potato Rolls.
FAQs & Tips
How Do I Store Leftovers?
Once cooled to room temperature, leftover sliders can be covered in plastic wrap on a plate and refrigerated for 3–4 days. Reheat the sliders in the oven at 350 degrees Fahrenheit for 10–15 minutes, until they’re warm all the way through. I don’t recommend freezing them once they’ve been made.
Can I Prep These Ahead?
Absolutely! To do so, cook the ground beef according to the instructions, let it cool, then store in an airtight container. Refrigerate for 2–3 days to use within that time. Keep the other ingredients prepped in separate containers, waiting for final assembly to toast the buns and bake everything together.
Which Kind Of Cheese Is Best?
While this recipe calls for cheddar cheese—a sharp and classic option—you may also experiment with slices of Monterey Jack, Swiss, smoked Gouda, or mozzarella (my dad’s personal favorite). While mozzarella is milder and creamier, Monterey Jack and Swiss are spicy and sharp. Explore the possibilities to find your favorite.
Serving Suggestions
You’ll be surprised by the wide range of sides that can go with these burgers! After you’ve decorated your cheeseburger sliders with sesame seeds and baked them to perfection, serve them alongside diner-inspired classics like Air-Fryer French Fries, French Onion Soup, or Baked Sweet Potatoes.
For handheld pairings perfect for picnics, try Ranch Pretzels, Butternut Squash Fries, Chicken Pineapple Kabobs, Grilled Jalapeño Poppers, or Fruit Kabobs.

Ingredients
- 1 tablespoon olive oil
- 1 small onion finely diced
- 1 pound lean ground beef
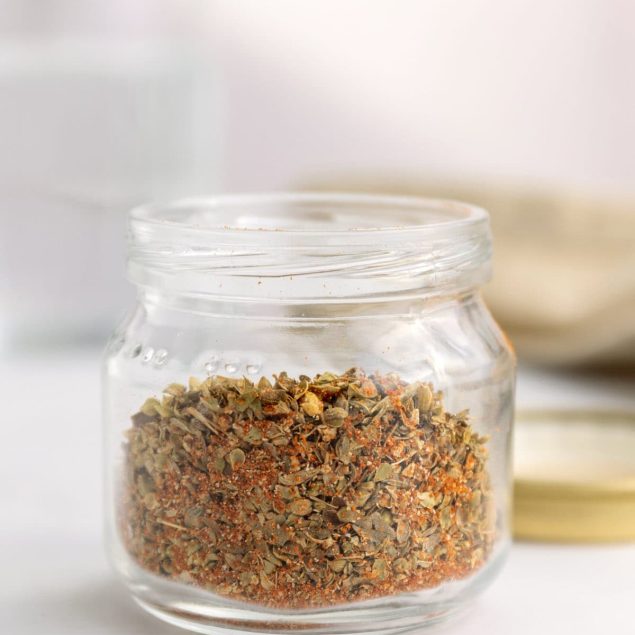
- 3/4 teaspoon garlic powder
- 3/4 teaspoon salt
- 1/2 teaspoon black pepper
- 12 slider buns or dinner rolls
- 12 slices dill pickle
- 6 slices cheddar cheese
- 1 1/2 tablespoons unsalted butter melted
- 1 tablespoon sesame seeds
Instructions
- Preheat oven to 350°F (175°C).
- Heat olive oil in a skillet over medium heat. Add diced onion and cook until softened, about 3 minutes.
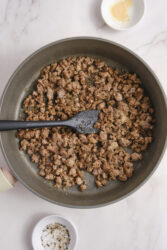
- Cook ground beef in skillet until browned, about 7 minutes, breaking it up with a spatula.
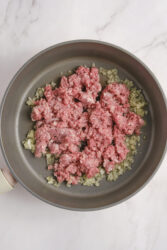
- Stir in garlic powder, salt, and black pepper. Cook for another minute, then remove from heat and drain any excess fat.
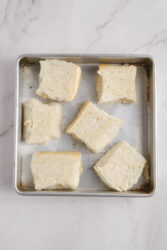
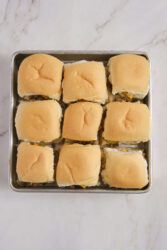
- Slice slider buns in half horizontally. Place bottom halves on a baking sheet.
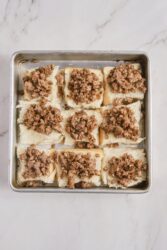
- Evenly distribute the cooked ground beef mixture on the bottom buns. Layer dill pickle slices on top of the beef and add slices of cheddar cheese.
- Place the top halves of the buns over the cheese.
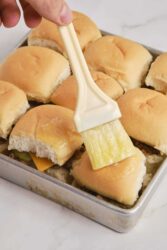
- Brush melted butter over the tops of the buns.
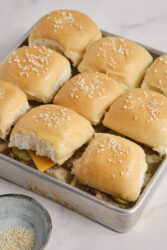
- Sprinkle sesame seeds over the buns.
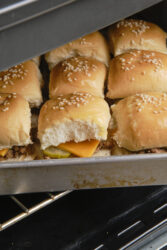
- Bake in the preheated oven for 10-15 minutes, until cheese is melted and buns are golden brown.
- Remove from oven, let cool slightly, and serve warm.
Nutrition Info:
Nutrition information are estimates only and may vary based on the specific brands, ingredients, and portion sizes you use. This data is provided for informational purposes only.
Leave a Comment