This Air-Fryer Butternut Squash is perfect to serve up when you’re on the hunt for something quick, easy, and healthy for the whole family!

Squash recipes in the fall are my jam! If the bright colors, perfectly tender texture, or delicious taste don’t get you going, the health benefits of squash most definitely will! One of my favorite squashes to cook with is the butternut squash. Why? Because it lends itself to so many delicious preparations. I chop it into chunks and use it in warming curries with chickpeas, red chili paste, and coconut milk. I mash it and use it instead of potatoes as a topping for my shepherd’s pie. If I’m making my aromatic sheet pan roast chicken dish with red bell peppers and cumin, in it goes. Cakes and muffins? Butternut squash adds sweetness and keeps these bakes moist. I have quite an extensive repertoire of butternut squash soups, too.
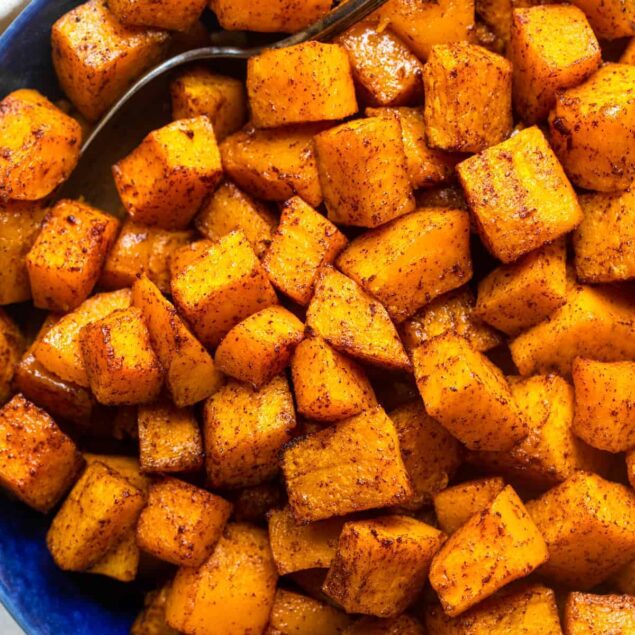
Even without embellishment, butternut squash is incredibly delicious. Especially when you roast it. The natural sweetness intensifies, and the edges get crispy, making it a delightful side dish or snack. And if you’re looking to speed things up without sacrificing taste, the air fryer is a game-changer. Plus, it’s almost Thanksgiving. If you’re looking for a side that doesn’t require a lot of time and effort, this one’s definitely for you.
Is Air-Fryer Butternut Squash Healthy?
Absolutely! Baking in the air fryer means you’ll be using only a minimal amount of oil, and because you’re not boiling the squash, you won’t be throwing out all its nutrients with the water. Butternut squash contains a variety of vitamins and minerals, such as vitamins A, C, and E, thiamine, niacin, folate, magnesium, and potassium. It’s also high in fiber and low in calories. Talk about bringing something healthy to the table!
The Super Powers of The Air Fryer
If you haven’t yet discovered the wonders of the air fryer, allow me to fill you in. This multifunctional kitchen appliance does almost everything your oven can, but in a fraction of the time, since it heats up faster and cooks food in a smaller, more compact space. Quicker cooking also means lower energy bills—something we could all benefit from! Its size makes it the perfect solution for anyone lacking space (college students in tiny dorm rooms, I’m looking at you!). Plus, they’re much easier to clean than an oven, which is a task most of us (raising my hand here!) aren’t fond of.
Air fryers require minimal oil, helping you cut down on fat and calories without sacrificing flavor or texture. And the best part? You can use it for everything—from baking muffins to roasting a whole chicken, or simply reheating leftovers. Trust me, this won’t be one of those kitchen gadgets that ends up collecting dust in the attic. In fact, you’ll wonder how you ever managed without it!
How To Make Ahead And Store
Roasted butternut squash tastes best fresh when its texture is golden and slightly caramelized on the outside and tender on the inside, but you can store it in an airtight container in the fridge for up to 1 week, or freeze it in Ziploc bags for up to 3 months. Leftover butternut squash can also be puréed into soups or mashed and added to baked goods. It can even be eaten cold in salads and bowls.

Serving Suggestions
Though you could easily serve this dish as a side, if you leave out the cinnamon and sugar, you could use it to top salads such as this Smoked Salmon Salad or this Kale Salad With Cranberries. Use it instead of the sweet potato in these Chipotle Chicken Bowls With Pineapple Salsa, or add it to a bowl of Turkey Chili for a sweet touch.

Ingredients
- 1 medium butternut squash (just under 3 pounds)
- 2 teaspoons olive oil
- 3 teaspoons coconut sugar
- 1 teaspoon cinnamon
- 1/4 to 1/2 teaspoon sea salt to taste
Instructions
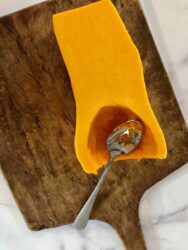
- Peel the squash, slice it in half, and scoop out the seeds.
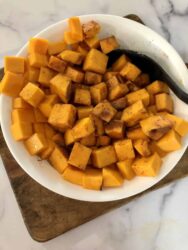
- Cut the squash into 1/2-inch cubes and toss with the oil.
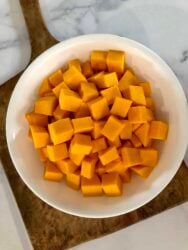
- Add the rest of the ingredients into the bowl and toss to coat well.
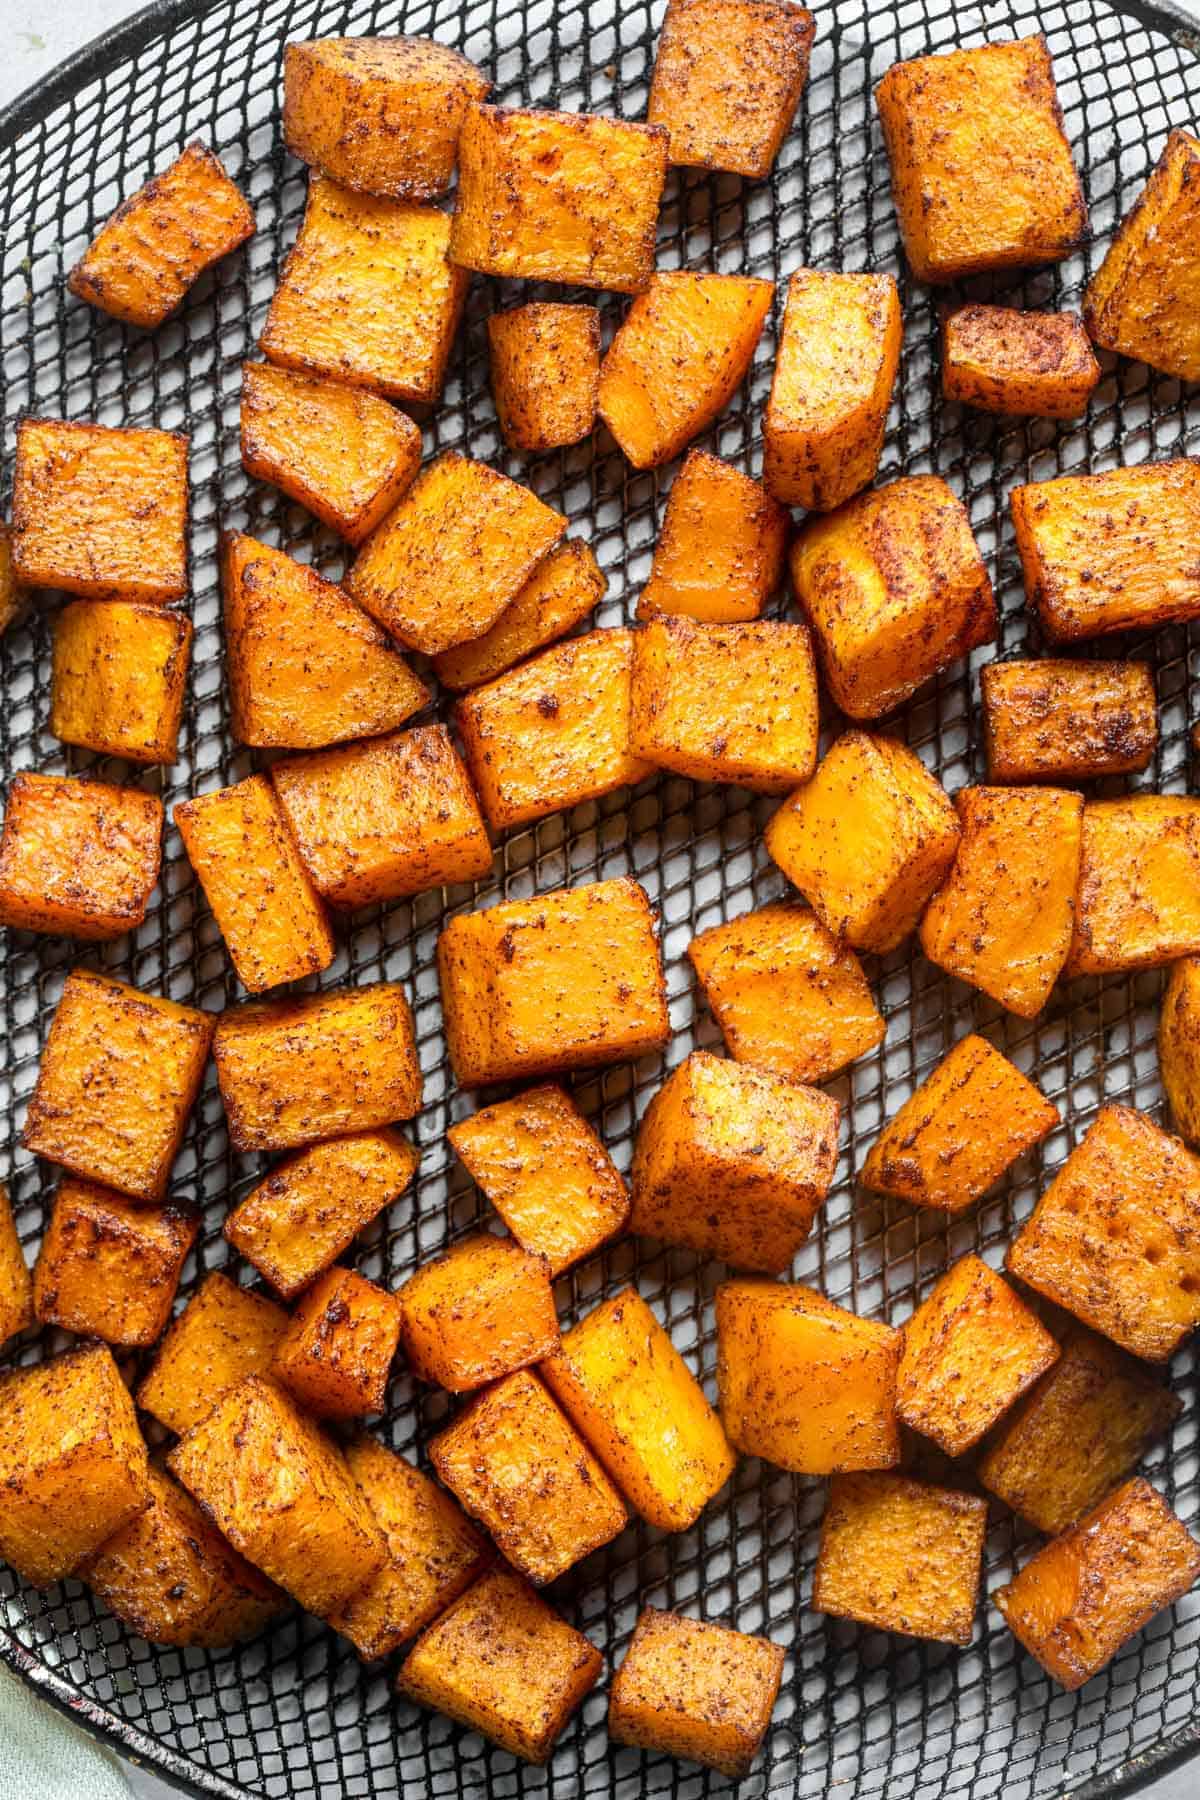
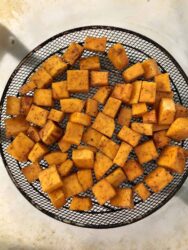
- Place the squash in the air fryer in a single layer (you may need to do it in two batches) and cook at 400°F for 15-20 minutes, until fork-tender.
Nutrition Info:
Nutrition information are estimates only and may vary based on the specific brands, ingredients, and portion sizes you use. This data is provided for informational purposes only.
Leave a Comment