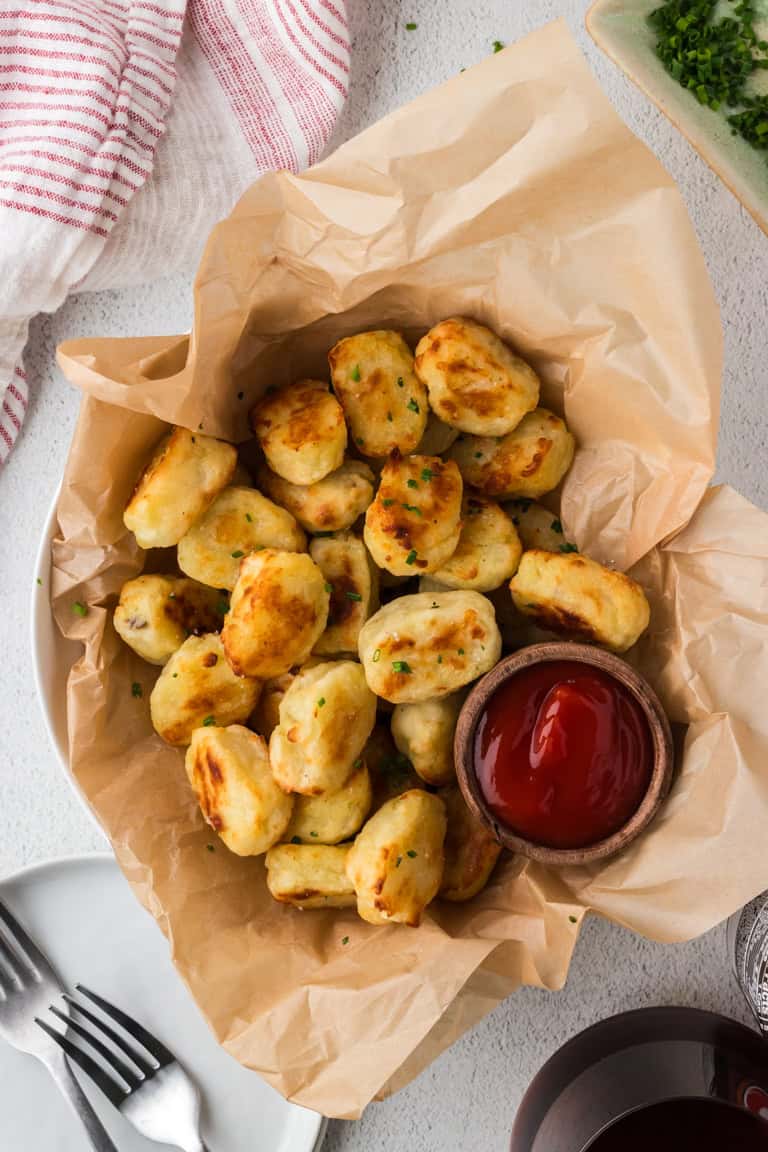
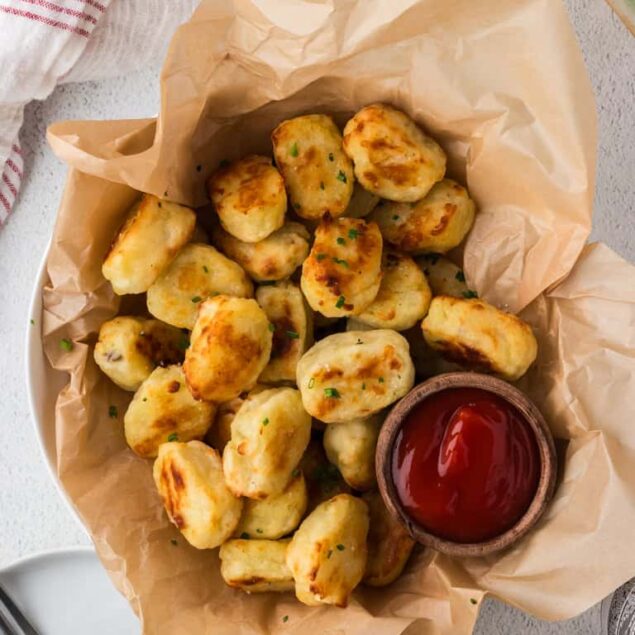
Crispy, cheesy, and irresistibly flavorful, these baked homemade tater tots are a healthier twist on a classic favorite!
If I spot tater tots on a menu when I go out for dinner, you better believe that I’m going to be ordering them! It’s not just the crunchy texture and savory flavor of these little golden nuggets that I love, but also all the new and exciting ways chefs will adapt the traditional recipe with new ingredients and cooking styles.
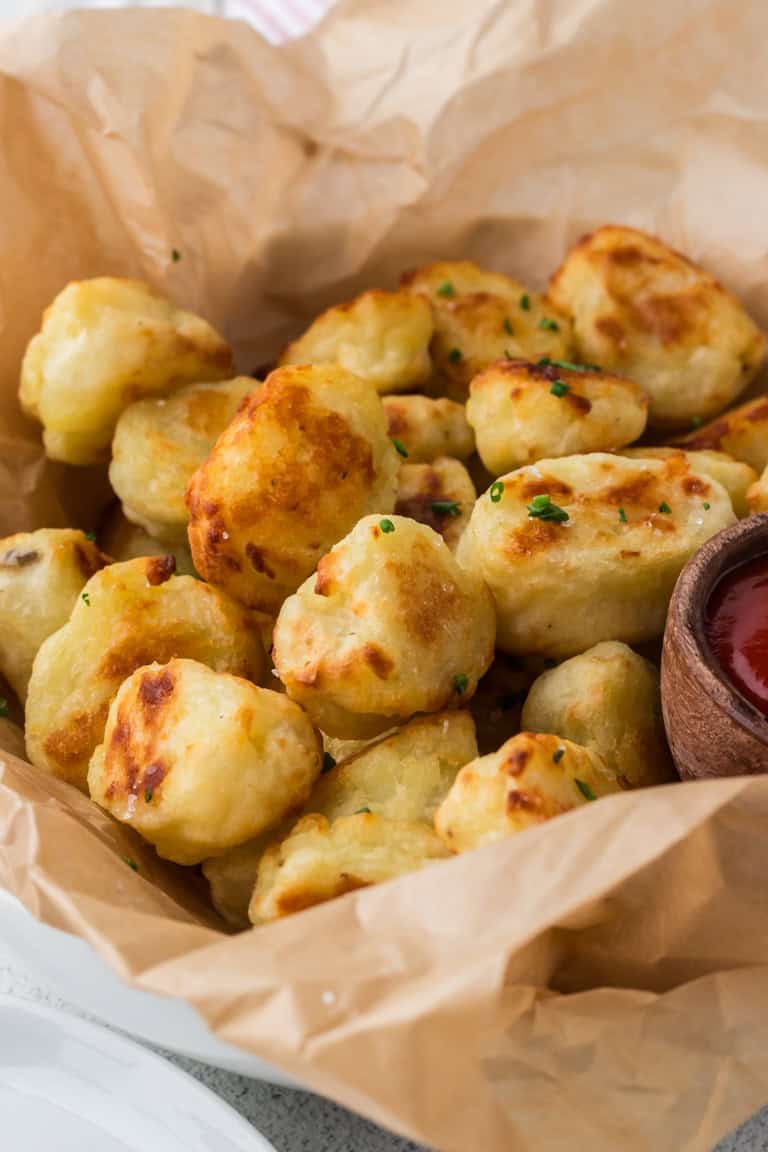
These homemade tater tots are an example of that. Made with wholesome ingredients, these tater tots are actually baked in the oven rather than breaded and deep-fried. The result? Crispy on the outside, soft and fluffy on the inside, and the ideal combination of indulgence and simplicity.
Each bite is loaded with the earthy richness of russet potatoes, the sharp tang of white cheddar, and the delicate freshness of chopped chives. Perfectly seasoned with garlic or onion powder and a touch of cracked black pepper, these tater tots are a versatile dish that can fit into a variety of diets, including vegetarian and gluten-free (if you use arrowroot powder).
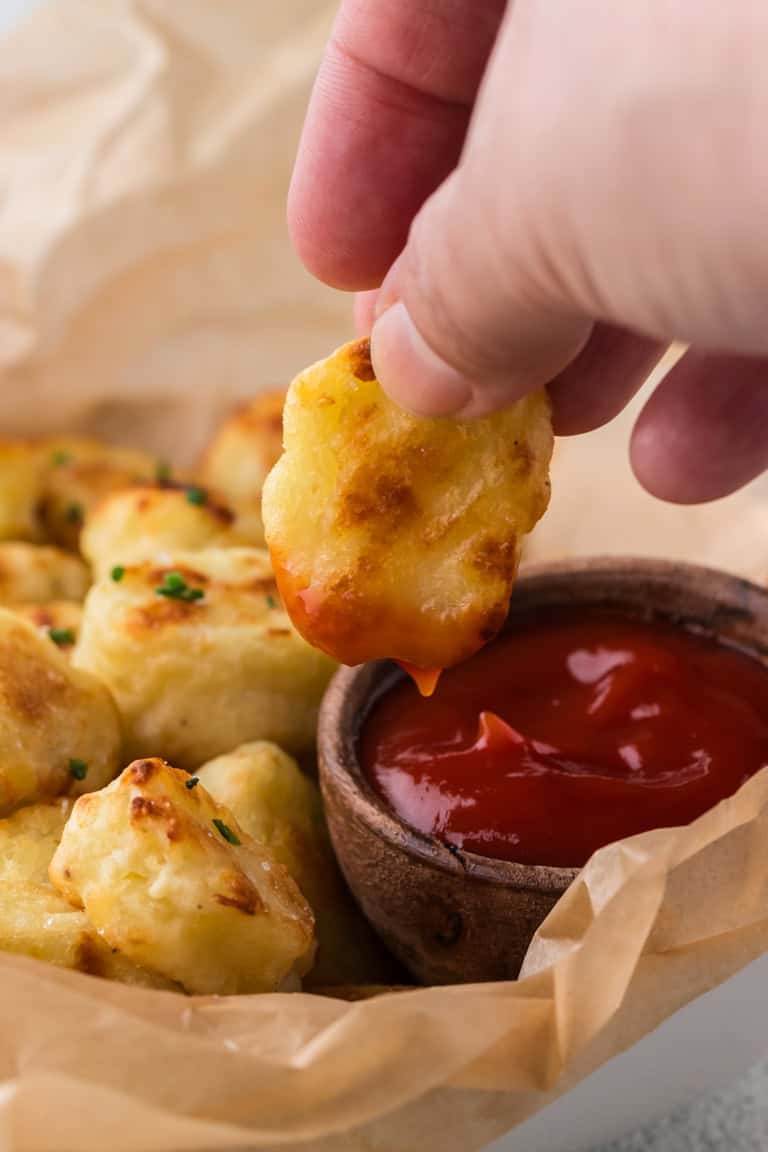
Pair them with your favorite dipping sauce (think spicy ketchup, creamy ranch, or even sriracha mayo) for a dish that’s as comforting as it is crowd-pleasing. These tots are proof that homemade really is better!
Are Homemade Tater Tots Healthy?
These tater tots are baked, not fried, making them a much lighter alternative to the traditional deep-fried version. By using olive oil instead of frying oil, you’re incorporating heart-healthy fats, while the use of real, whole ingredients like fresh potatoes and sharp cheddar keeps things clean and flavorful. Plus, the small amount of arrowroot powder (or cornstarch) used for binding ensures the tots hold their shape without adding unnecessary fillers.
Want to make them even healthier? Swap out the white cheddar for a reduced-fat version, or replace the cheese with some nutritional yeast for a vegan option. You can also experiment with sweet potatoes for a slightly sweeter, beta-carotene-rich twist.
Where Do Tater Tots Come From?
Tater tots have humble beginnings rooted in ingenuity and sustainability. Invented in 1953 by the Grigg brothers, founders of the Ore-Ida frozen food company, these crispy potato bites were born out of a desire to minimize food waste.
Leftover potato scraps from their French fry production were repurposed into a seasoned mixture, shaped into bite-sized pieces, and introduced to the public in 1956. Initially sold at a low price, tater tots gained traction once their price was adjusted to suggest higher quality, a marketing move that cemented their place in American kitchens.
Over the decades, tater tots have become a cultural icon, finding a home in everything from school lunches to regional casseroles. In the Midwest, the beloved “tater tot hotdish” layers tots with ground beef, vegetables, and cheese, creating the ultimate comfort food.

How To Make Ahead And Store
You can shape the tater tots ahead of time and refrigerate them for up to 24 hours before baking. You can also freeze them uncooked and thaw them the night before you want to bake them. To store leftovers, let them cool completely before transferring them to an airtight container. They’ll stay fresh in the refrigerator for up to 3 days. For longer storage, freeze the tots on a baking sheet until firm, then transfer them to a freezer-safe bag or container. They’ll keep for up to 3 months. When ready to enjoy, reheat in the oven at 375°F until crispy.
Serving Suggestions
Tater tots are a tasty French fry alternative, so I enjoy serving them with typical pairing meals like this Jalapeño Popper Burger With Ranch or a Black Bean Burger. I get that tater tots aren’t fancy, but I also love to serve them as a decadent side dish to my Instant-Pot Steak. Even seafood dishes like this Seared Ahi Tuna Steak or some Sautéed Shrimp go with these tots. And if you’re getting bored of dipping your tots in ketchup, check out my Onion Ring Sauce.
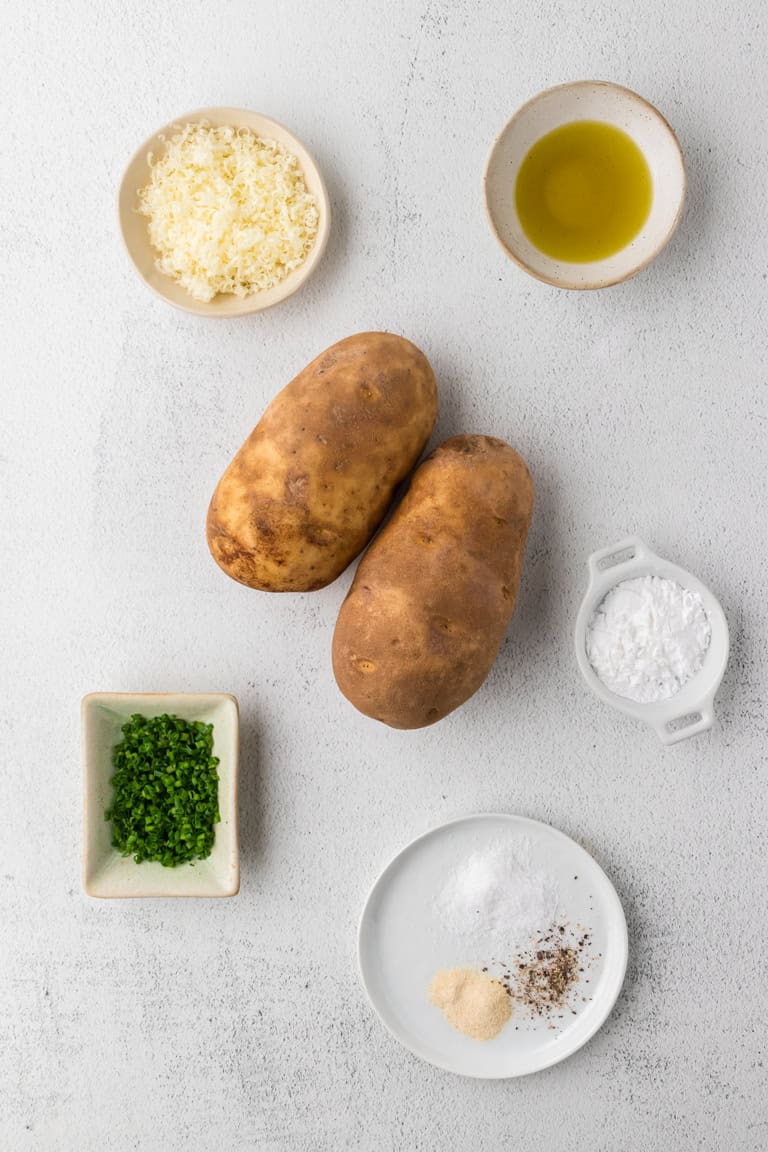
Ingredients
- 2 tablespoons olive oil divided
- 1 1/2 pounds russet potatoes peeled and cut into 1-inch chunks
- 3/4 teaspoon sea salt plus more for finishing
- 1/2 teaspoon garlic powder or onion powder
- 1 tablespoon arrowroot powder or cornstarch
- 1 ounce sharp white cheddar cheese grated
- Freshly ground black pepper to taste
- 2 tablespoons fresh chives finely chopped
Instructions
- Preheat your oven to 425℉. Brush a baking sheet with 1 tablespoon of olive oil and set aside.
- Place the potato chunks into a microwave-safe bowl, cover with a microwave-safe plate, and microwave on high for 10 minutes, or until the potatoes are tender. Let them cool for a couple of minutes.

- Transfer the cooked potatoes to a food processor. Pulse a few times until the potatoes are broken down but not mashed, as they need to keep some structure.
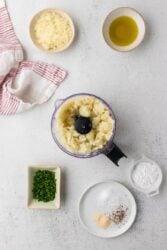
- Transfer the potato mixture to a large bowl. Add in the sea salt, garlic powder, arrowroot powder, grated white cheddar cheese, and the black pepper. Mix well.

- Using clean hands, shape the potato mixture into small cylinders, roughly 1 inch long and 1/2 inch thick. If the mixture sticks to your hands, dip your fingers in a bowl of cold water.
- Arrange the tater tots on the prepared baking sheet. Make sure to leave space between each tot and brush the tops with the remaining olive oil.

- Bake in the preheated oven for 15 to 20 minutes, or until golden brown. Don’t forget to turn the tots halfway through the baking time.
- Remove from the oven and, while still hot, sprinkle with a little more sea salt. Let them cool for a few minutes before serving.
- Garnish with the chopped chives and serve with your favorite dipping sauce.
Nutrition Info:
Nutrition information are estimates only and may vary based on the specific brands, ingredients, and portion sizes you use. This data is provided for informational purposes only.
Leave a Comment