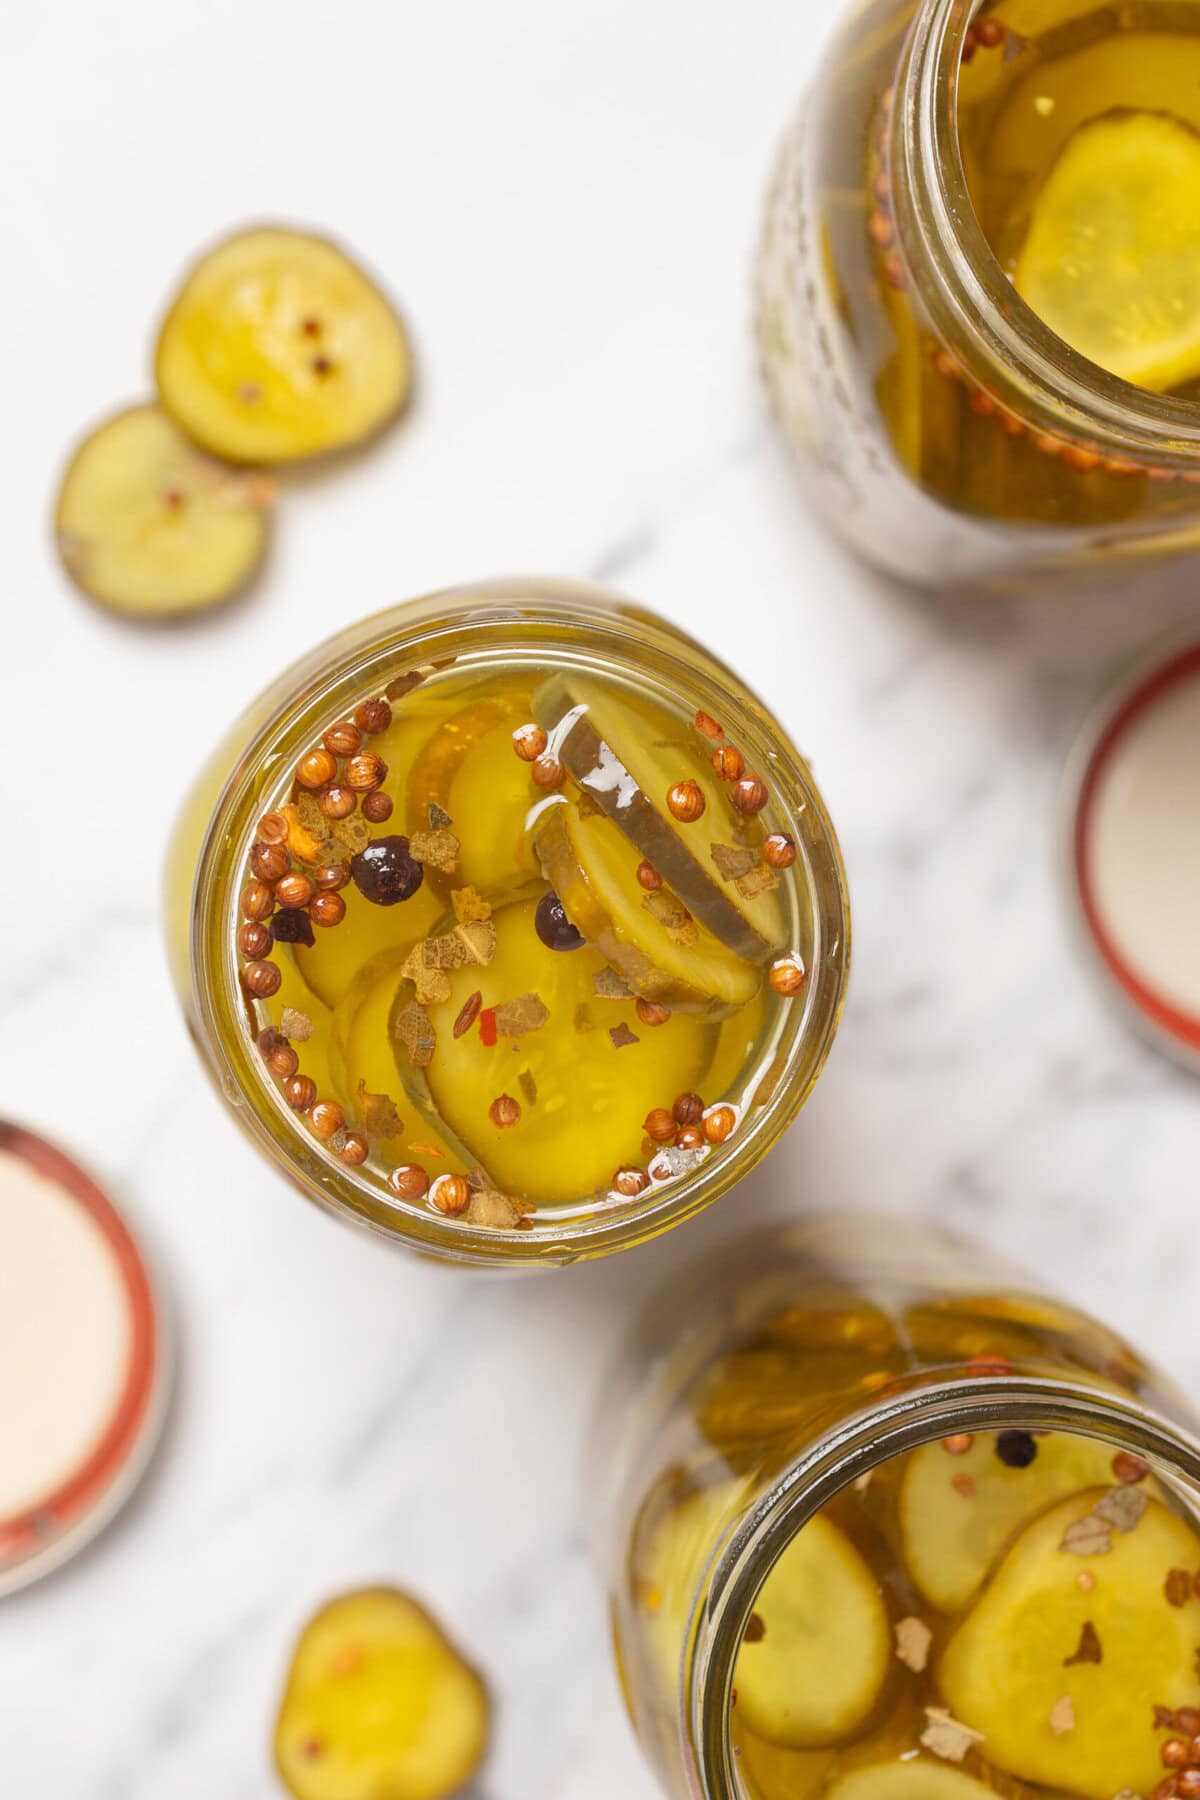
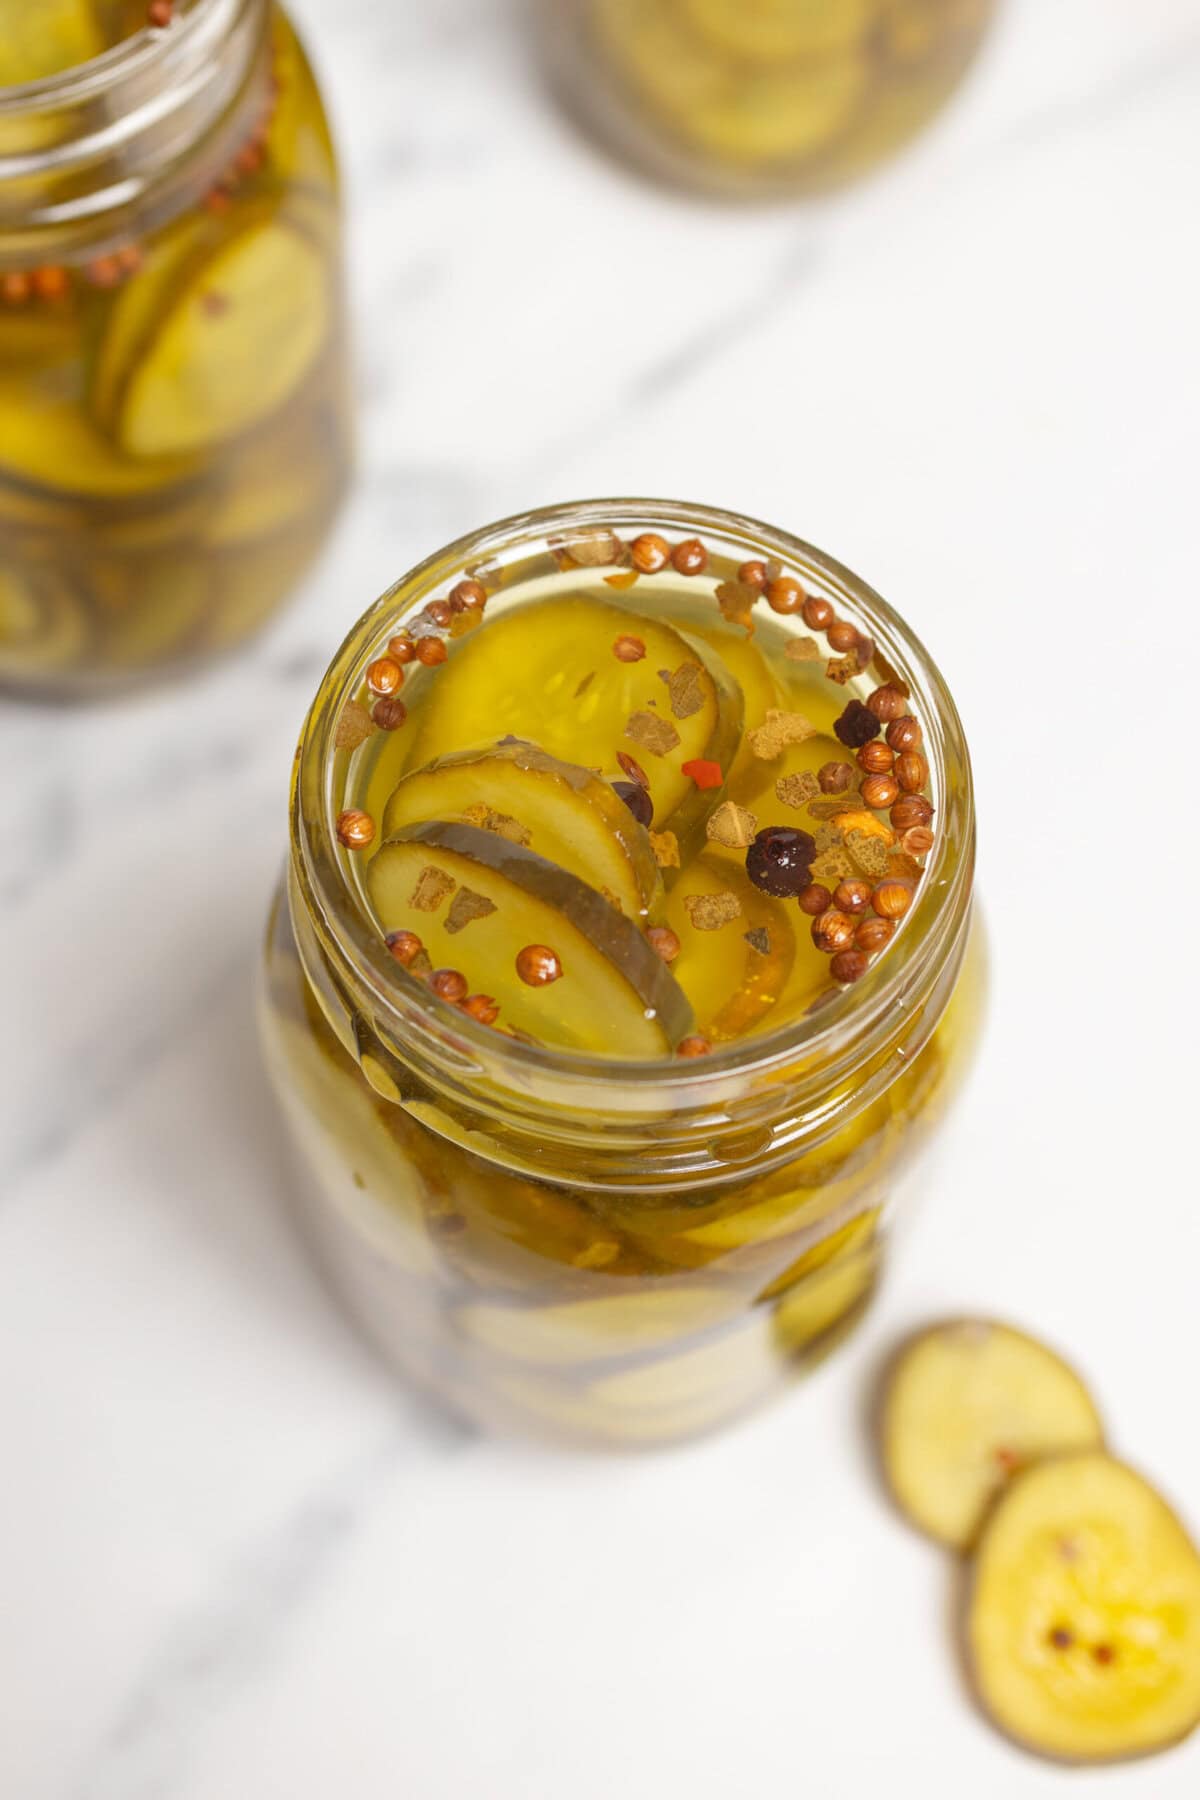
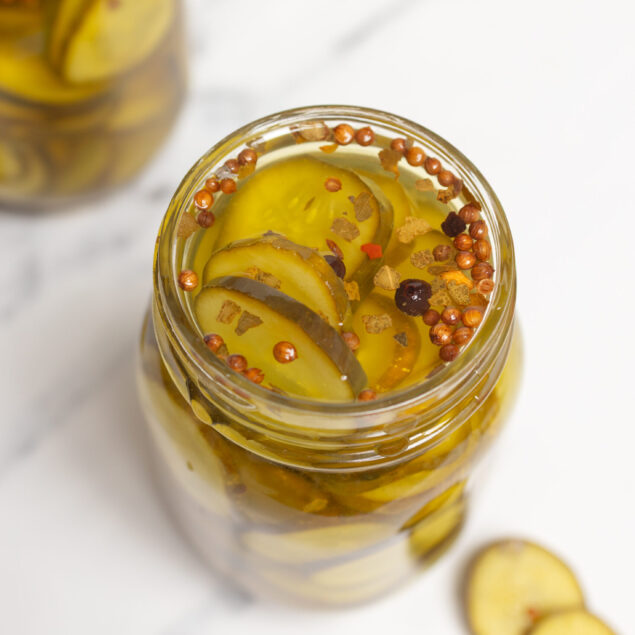
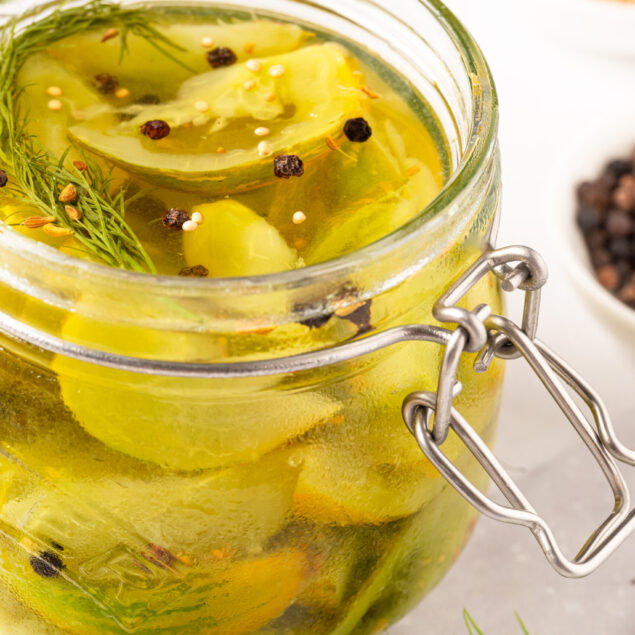
Made with pickling lime, these old-fashioned pickles turn out perfectly crispy and crunchy!
In our Indian culture, we have a saying, “If you can’t eat it, pickle it!” This basically amounts to “waste not, want not.” Whether you have a bounty of produce that is in danger of spoiling, a head of cabbage that’s looking a little wilted, or rock-solid mangoes that just won’t ripen, pickling can solve a host of your problems.
Of course, Indian methods of pickling are slightly different. Similar to other Asian pickling methods, they involve a drying out of the produce (rather than a submersion in liquid) and a hefty dose of spice. And while pickled lime is a common condiment in Southern India consisting of limes preserved with salt and spices, these lime pickles are actually a very different thing, despite the similar-sounding names. On the contrary, lime pickles don’t have any citrus at all.
Lime pickles are made with pickling lime, also known as hydrated lime. Though it’s flavorless, it aids the pickling process by binding with pectin. This helps the cucumbers retain their firm, crisp texture and helps avoid any soggy pickle outcomes. The result is perfectly crisp pickles that have a satisfying crunch when you bite into them!
How can I customize this recipe?
Like any recipe, this recipe is simply a blueprint, with room to experiment. And while we include a lot of spices in this recipe, such as celery seed and whole cloves, you can definitely customize the blend to your taste. We recommend trying things like black or pink peppercorns, mustard seed, cinnamon, or even a splash of hot sauce for a spicy variant. You can also add in a blend of fresh dill or bay leaves for an herbal note, or garlic for a bit of punch. Some pickling variations even involve adding brown sugar for extra sweetness or Szechuan peppercorns for an unexpected hit of spice.
How do I store leftovers?
Once prepared, store these pickles in a cool, dark place. Unopened, they can last for up to 1 year. Once opened, store the jar of pickles in the refrigerator for 3-4 weeks, ensuring that any pickle slices are fully submerged in the pickling liquid to prevent spoilage. If necessary, you can add vinegar to cover them.

Serving suggestions
Treat these pickles like you would classic pickles, adding them to your lunchtime sandwich, like this BLT Sandwich, or, better yet, these Ham And Cheese Sliders, which would be amazing with a pop of acidity. You can also use them wherever you’d use a bit of relish, such as on this rich Cowboy Burger, this Cheeseburger Wrap, or these indulgent Bacon-Wrapped Hot Dogs.
Ingredients
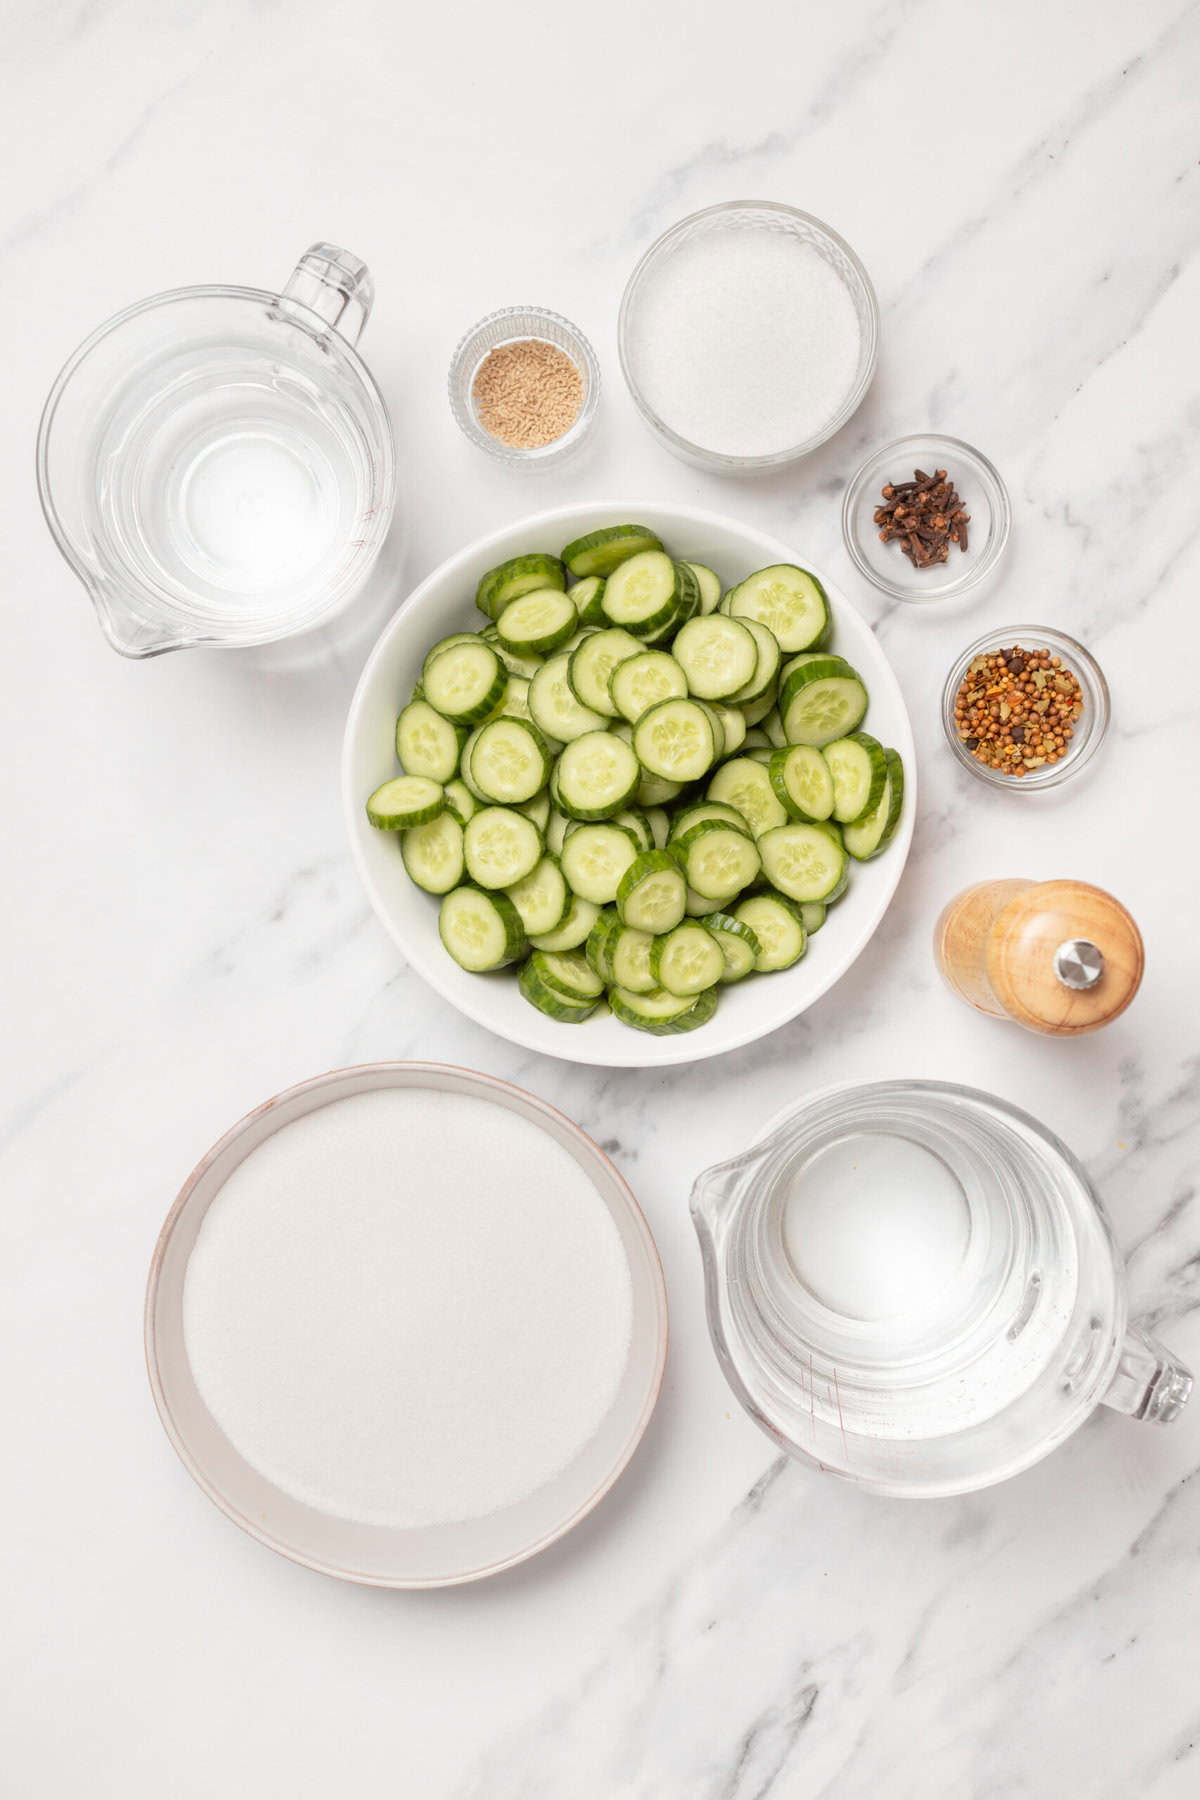
- 2 gallons water
- 1 cup pickling lime food-grade calcium hydroxide
- 7 pounds pickling cucumbers washed, trimmed, and cut into 1/4-inch slices
- 8 cups cold white vinegar 5% acidity
- 8 cups white sugar
- 2 1/2 teaspoons pickling spice
- 1 teaspoon salt
- 3/4 teaspoon celery seed
- 1/4 teaspoon whole cloves
- 1 drop green food coloring optional
Instructions
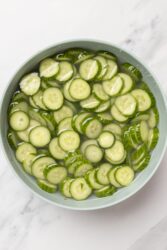
- Combine 2 gallons of water with the pickling lime in a large, non-reactive bowl. Add the cucumbers and stir. Let this mixture soak for 24 hours; then drain and rinse the cucumbers thoroughly with cold water.
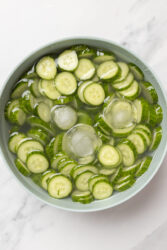
- Place the rinsed cucumbers in a bowl filled with ice water and let them soak for 3 hours to firm up. Drain the cucumbers and place on a clean cloth to dry off.
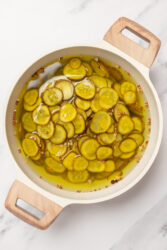
- In a large pot, combine the cold white vinegar with white sugar, pickling spice, salt, celery seed, whole cloves, and the optional drop of green food coloring. Stir until the sugar dissolves completely. Add the cucumbers to the pickling brine. Let the cucumbers sit in the mixture for 8 hours or overnight.
- Bring the cucumber and brine mixture to a boil and then remove from heat.
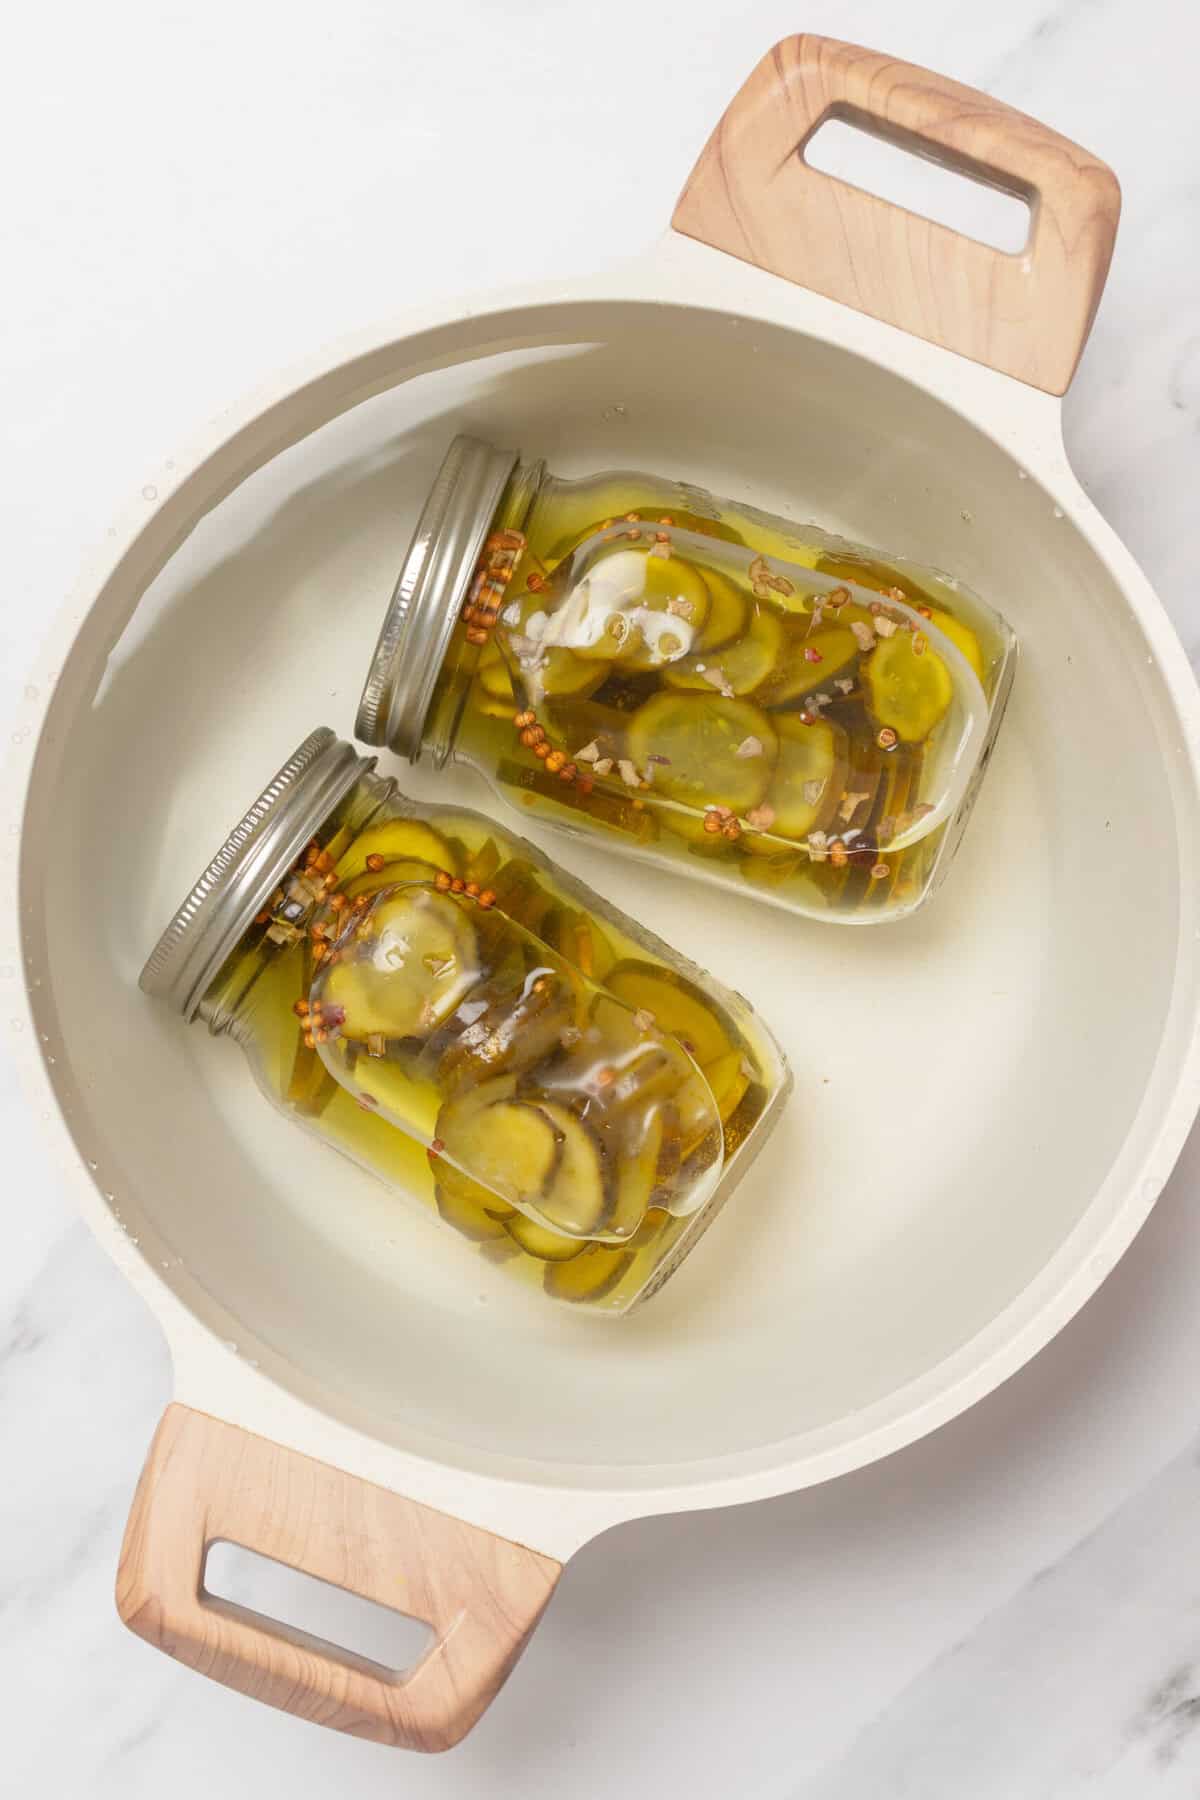
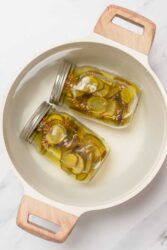
- Sterilize the pickle jars and lids by boiling them in water for 5 minutes. Remove from the water, and pack the hot cucumber mixture into the jars, leaving 1/4 inch of headspace.
- Remove any air bubbles by running a clean knife or spatula along the inside edge of each jar. Wipe the jar rims clean with a damp paper towel, secure the lids, and then process the jars in a boiling water bath for 15 minutes. Remove the jars and let them cool completely, checking that each seal is tight before storing in a cool, dark place.
Nutrition Info:
Nutrition information are estimates only and may vary based on the specific brands, ingredients, and portion sizes you use. This data is provided for informational purposes only.
Leave a Comment