The queen of chocolate desserts!
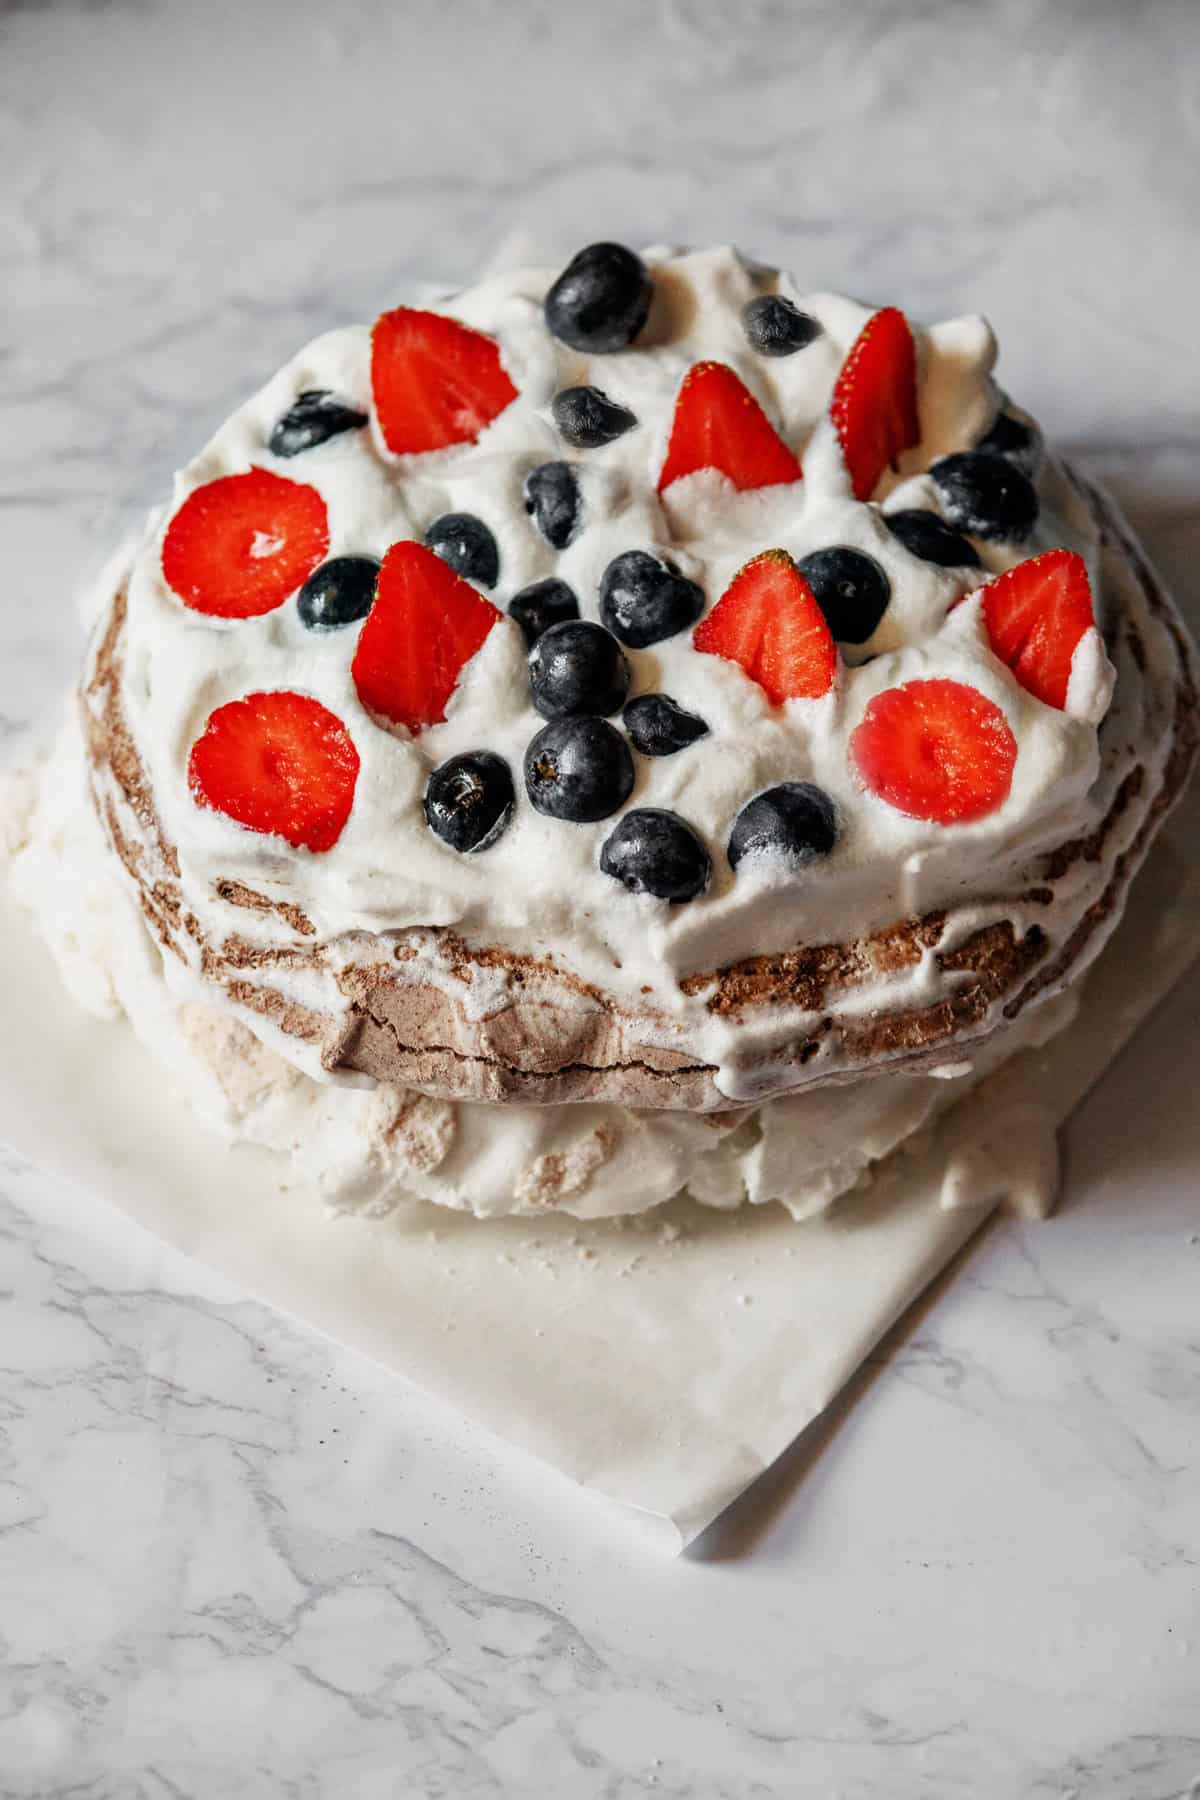
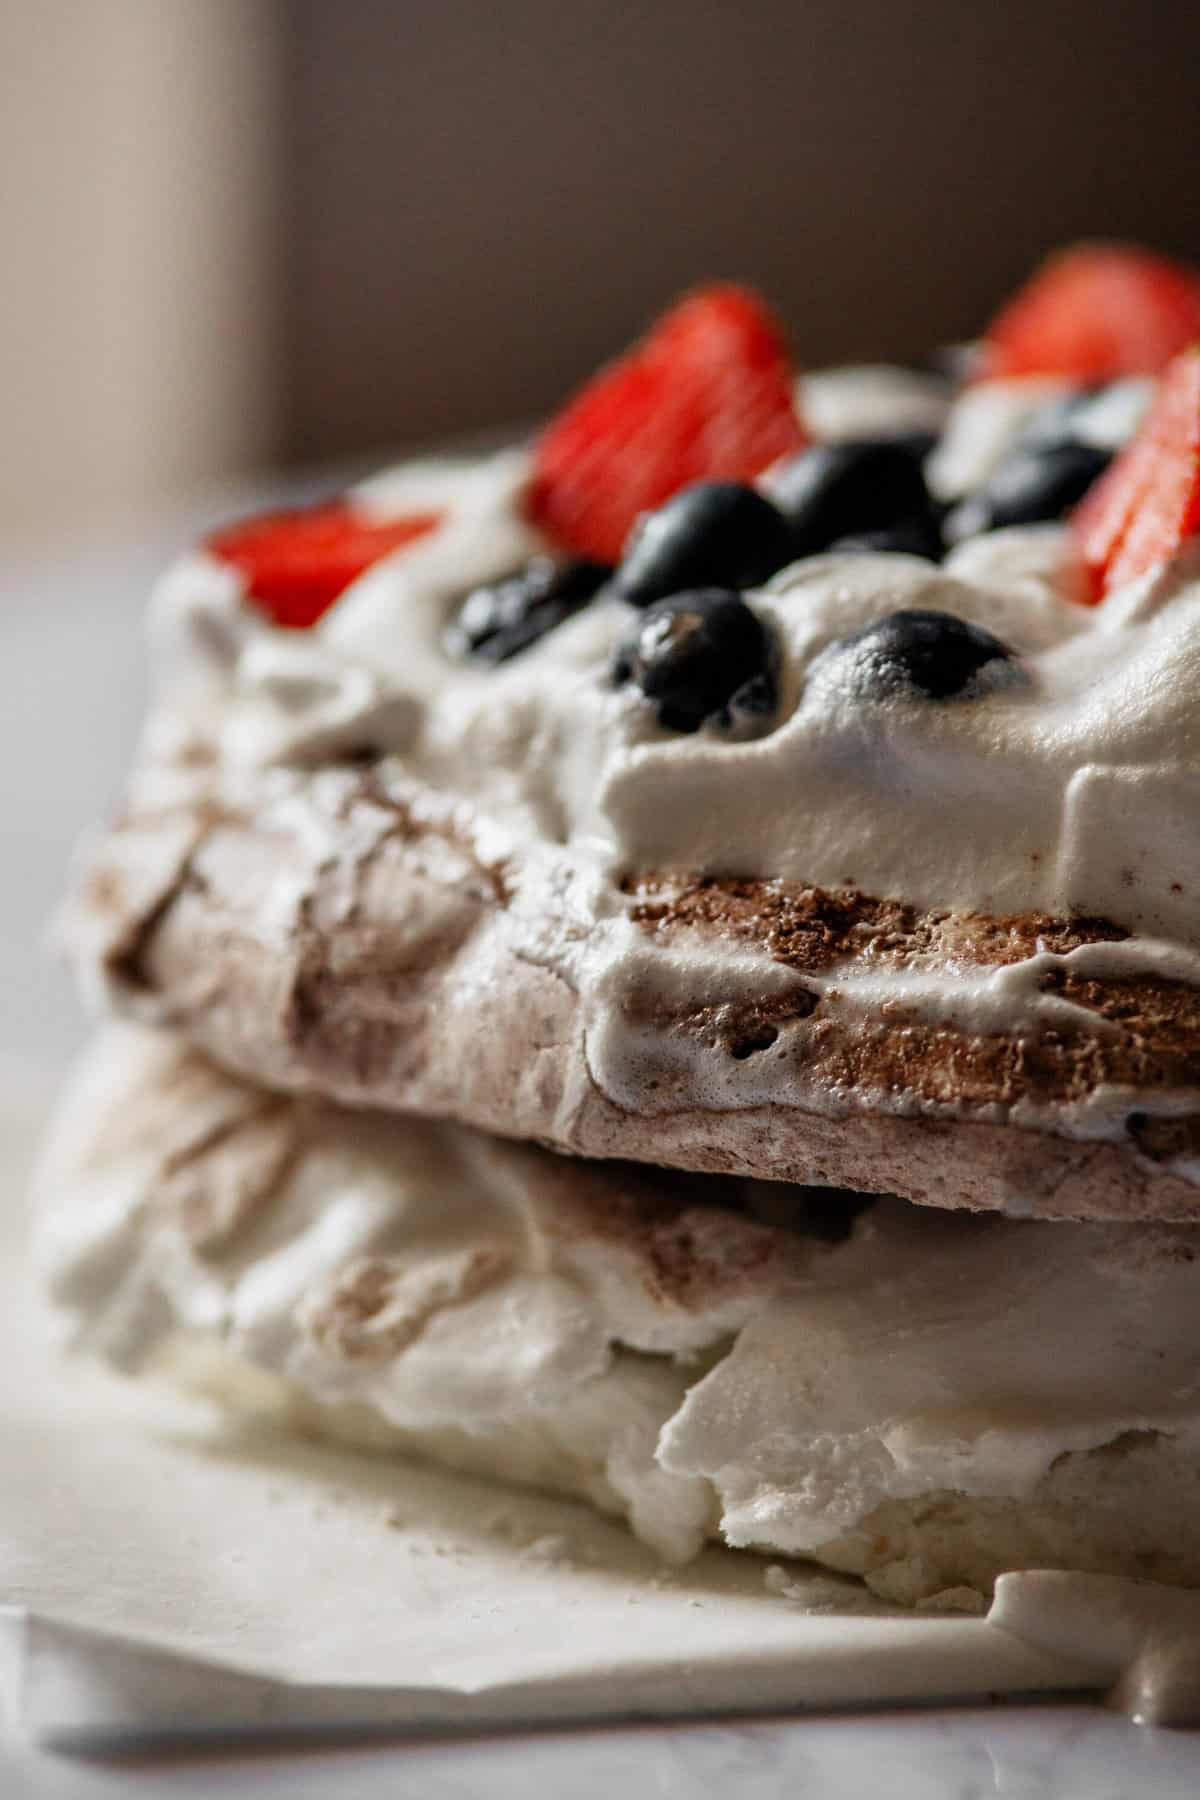
If you’ve never had a pavlova before, prepare to meet your new dessert obsession. This cloud-like confection is named after the legendary Russian ballerina Anna Pavlova, and it first graced tables in the 1920s. Both Australia and New Zealand claim to have invented it in Pavlova’s honor during one of her tours—and while the culinary custody battle continues, we’re just happy it exists! Traditionally, pavlova is a crisp-on-the-outside, marshmallowy-inside meringue topped with whipped cream and fruit. But in this chocolaty twist, we’re adding rich cocoa powder and bittersweet chocolate to turn a graceful classic into a full-on showstopper.
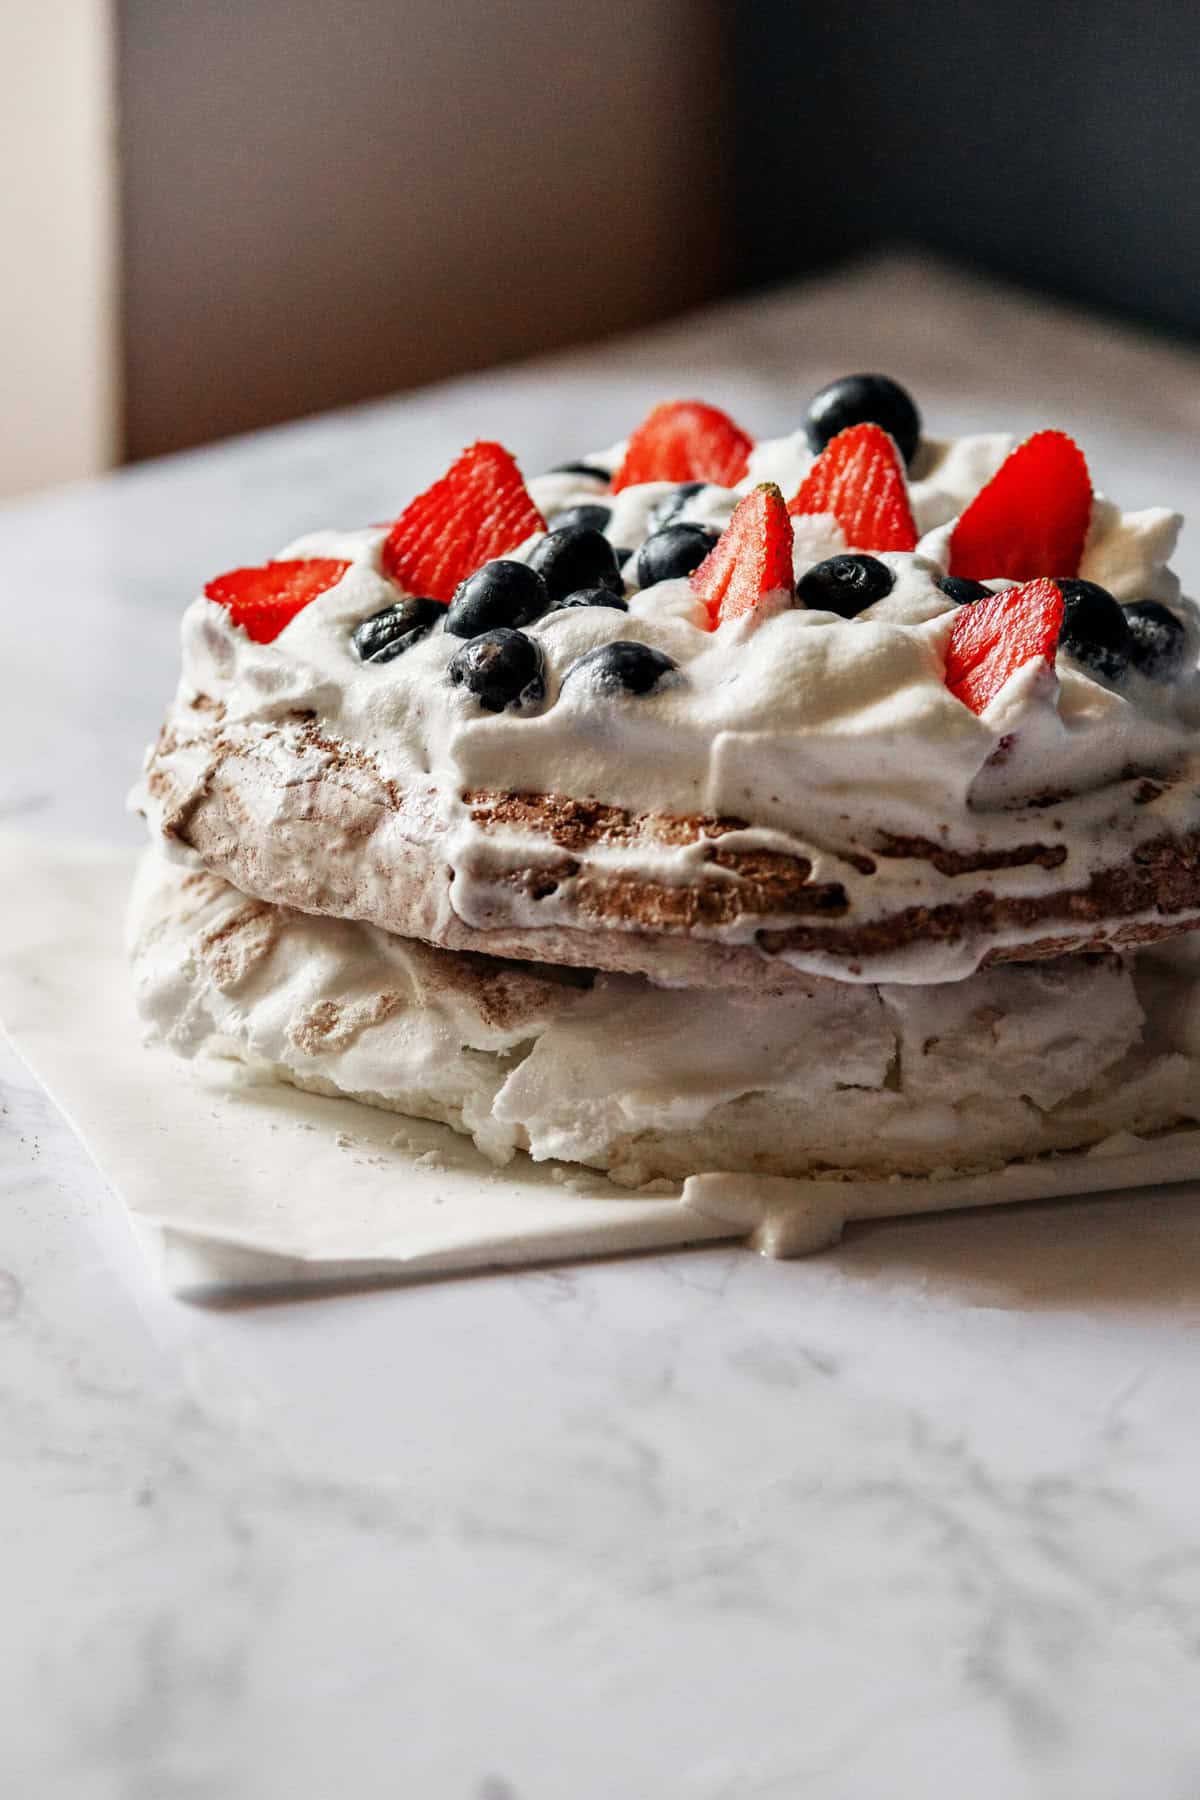
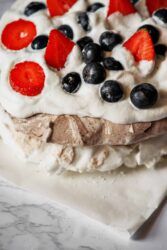
What makes this dessert especially magical is its textural contrast: crispy shell, gooey center, fluffy cream, and juicy berries. A chocolate pavlova isn’t just a dessert; it’s a theatrical experience in each bite. Whether you’re hosting a dinner party or just want to treat yourself, this recipe brings drama, elegance, and a whole lot of flavor to the table—all without requiring a pastry chef’s skill set.
Is This Chocolate Pavlova Healthy?
Let’s be honest: chocolate pavlova isn’t trying to sneak into your green smoothie lineup. It’s a dessert, and a pretty indulgent one at that. However, compared to many rich desserts—like triple-layer cakes or butter-laden brownies—pavlova can actually be relatively light. Its base is made mostly of egg whites and sugar, so it’s naturally gluten-free and lower in fat. Add some antioxidant-rich fresh fruit, and suddenly, you’re feeling slightly virtuous with every forkful.
That said, it’s not exactly a health food, and it shouldn’t have to be. Desserts have their own purpose—to delight, to celebrate, to give you a joyful pause. If you are working on being mindful of your sugar intake, you could scale back the sweetness slightly. But remember that the key is always balance: enjoy a slice (or two!) and savor every bite without guilt.
Take It Slow…
If there’s one ingredient that can’t be rushed in a chocolate pavlova, it’s patience. From the moment you start whipping those egg whites, slow and steady wins the race. Begin on a lower speed to help build a stable foam—this gives your meringue structure and volume that will hold up in the oven. When it’s time to fold in the cocoa powder and chopped chocolate, be gentle. Overmixing can deflate the meringue and result in a flatter, less airy pavlova. Don’t worry if the batter has streaks of chocolate running through it—those swirls will actually create beautiful patterns and pockets of flavor once baked.
Baking is where patience really pays off. Although the recipe calls for 90 minutes, your meringue may need up to two hours depending on your oven and humidity levels. What you’re looking for is a firm, dry shell. Resist the urge to open the oven door too often—temperature changes can cause cracks or collapse. And once it’s done? Let it cool completely in the oven for at least two hours. This slow cooldown ensures the pavlova will not crack. In the world of pavlova, rushing equals regret—but patience gives you perfection.
How Do I Store Leftovers?
Chocolate pavlova is best enjoyed fresh, but leftovers can be stored for up to 24 hours—with a few caveats. If it’s already topped with cream and fruit, your best bet is to cover it loosely with foil or plastic wrap and refrigerate. It’ll be softer the next day but still delicious. For longer storage, try to keep the meringue base and toppings separately. Store the shell in an airtight container at room temperature and the cream in the fridge for no longer than 2 days. Assemble just before serving to maintain that signature crunch.
Serving Suggestions
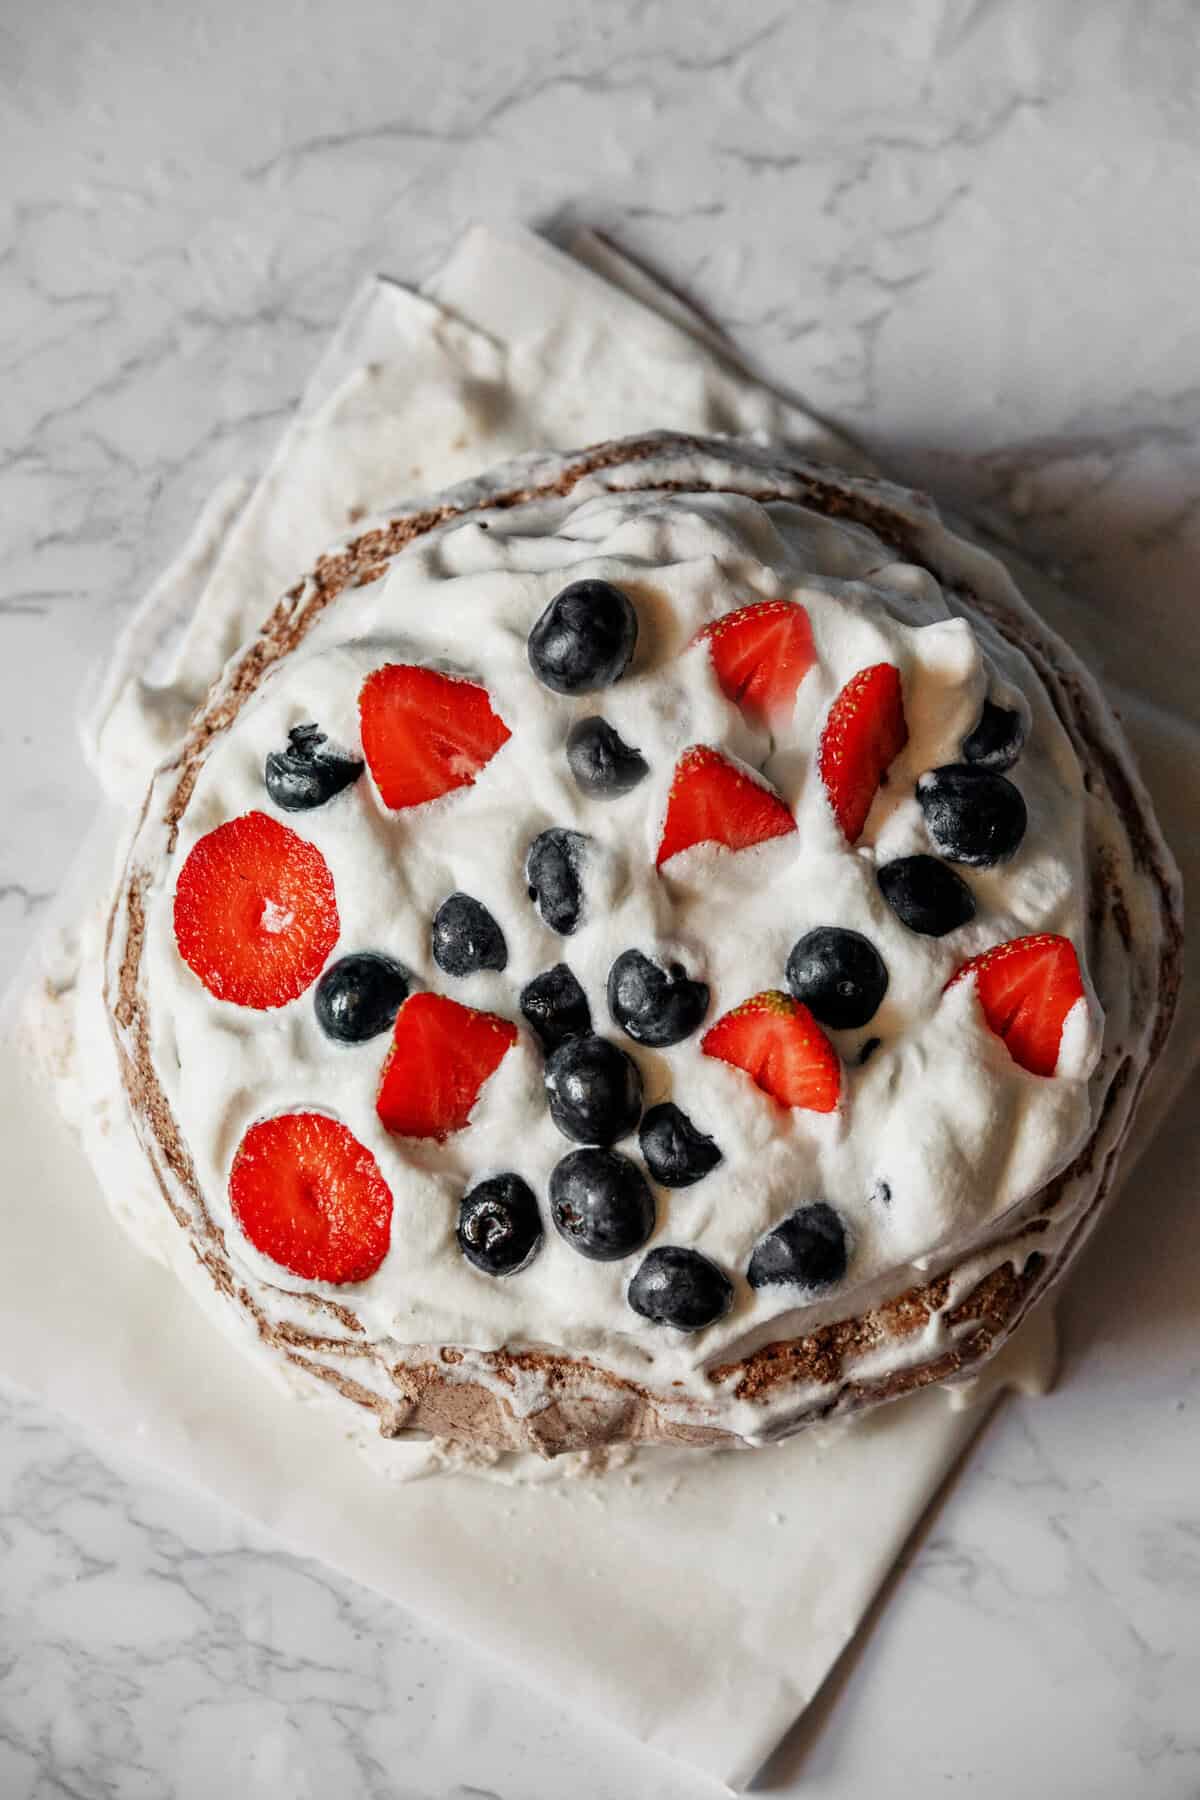
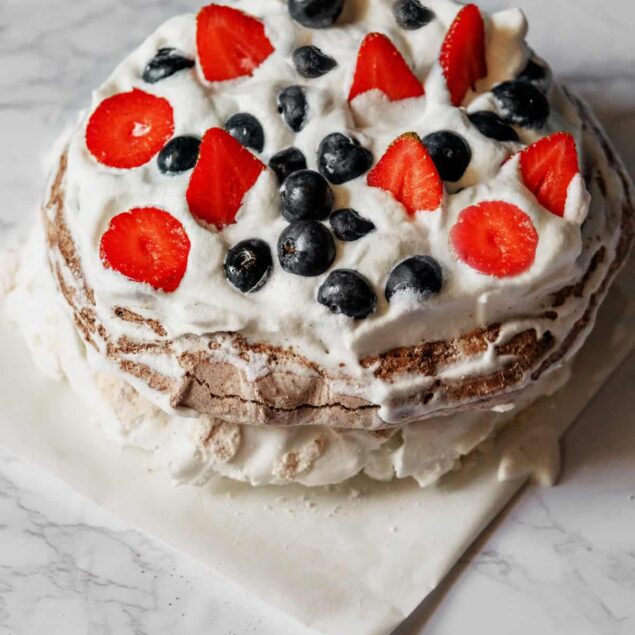
Chocolate pavlova is a showstopper on its own, but in our kitchen, the real fun begins with the toppings. A generous cloud of whipped cream and fresh fruit, as recommended in this recipe, are classic—but from there? The options are endless. For a richer twist, try dolloping on mascarpone cream or drizzling dark chocolate ganache over the top. Cherries and a splash of kirsch? Heaven. Bananas and Caramel Sauce? Don’t mind if we do.
Want to really wow your guests? Play with texture. Add a sprinkle of toasted hazelnuts or pistachios for crunch. Shave curls of dark chocolate over the cream. Or give it a winter spin with poached pears and a dusting of cocoa powder. But no matter how you choose to present your creation, a chocolate pavlova is meant to be shared, celebrated, and most of all, savored slowly.
On a chocolate kick? Why not try out the always popular Chocolate Lava Cake, which happens to be gluten-free and Paleo-friendly? You could also try our Flourless Gluten-Free Chocolate Cookies, Almond Flour Chocolate Cake, or perhaps a Keto Chocolate Cake.
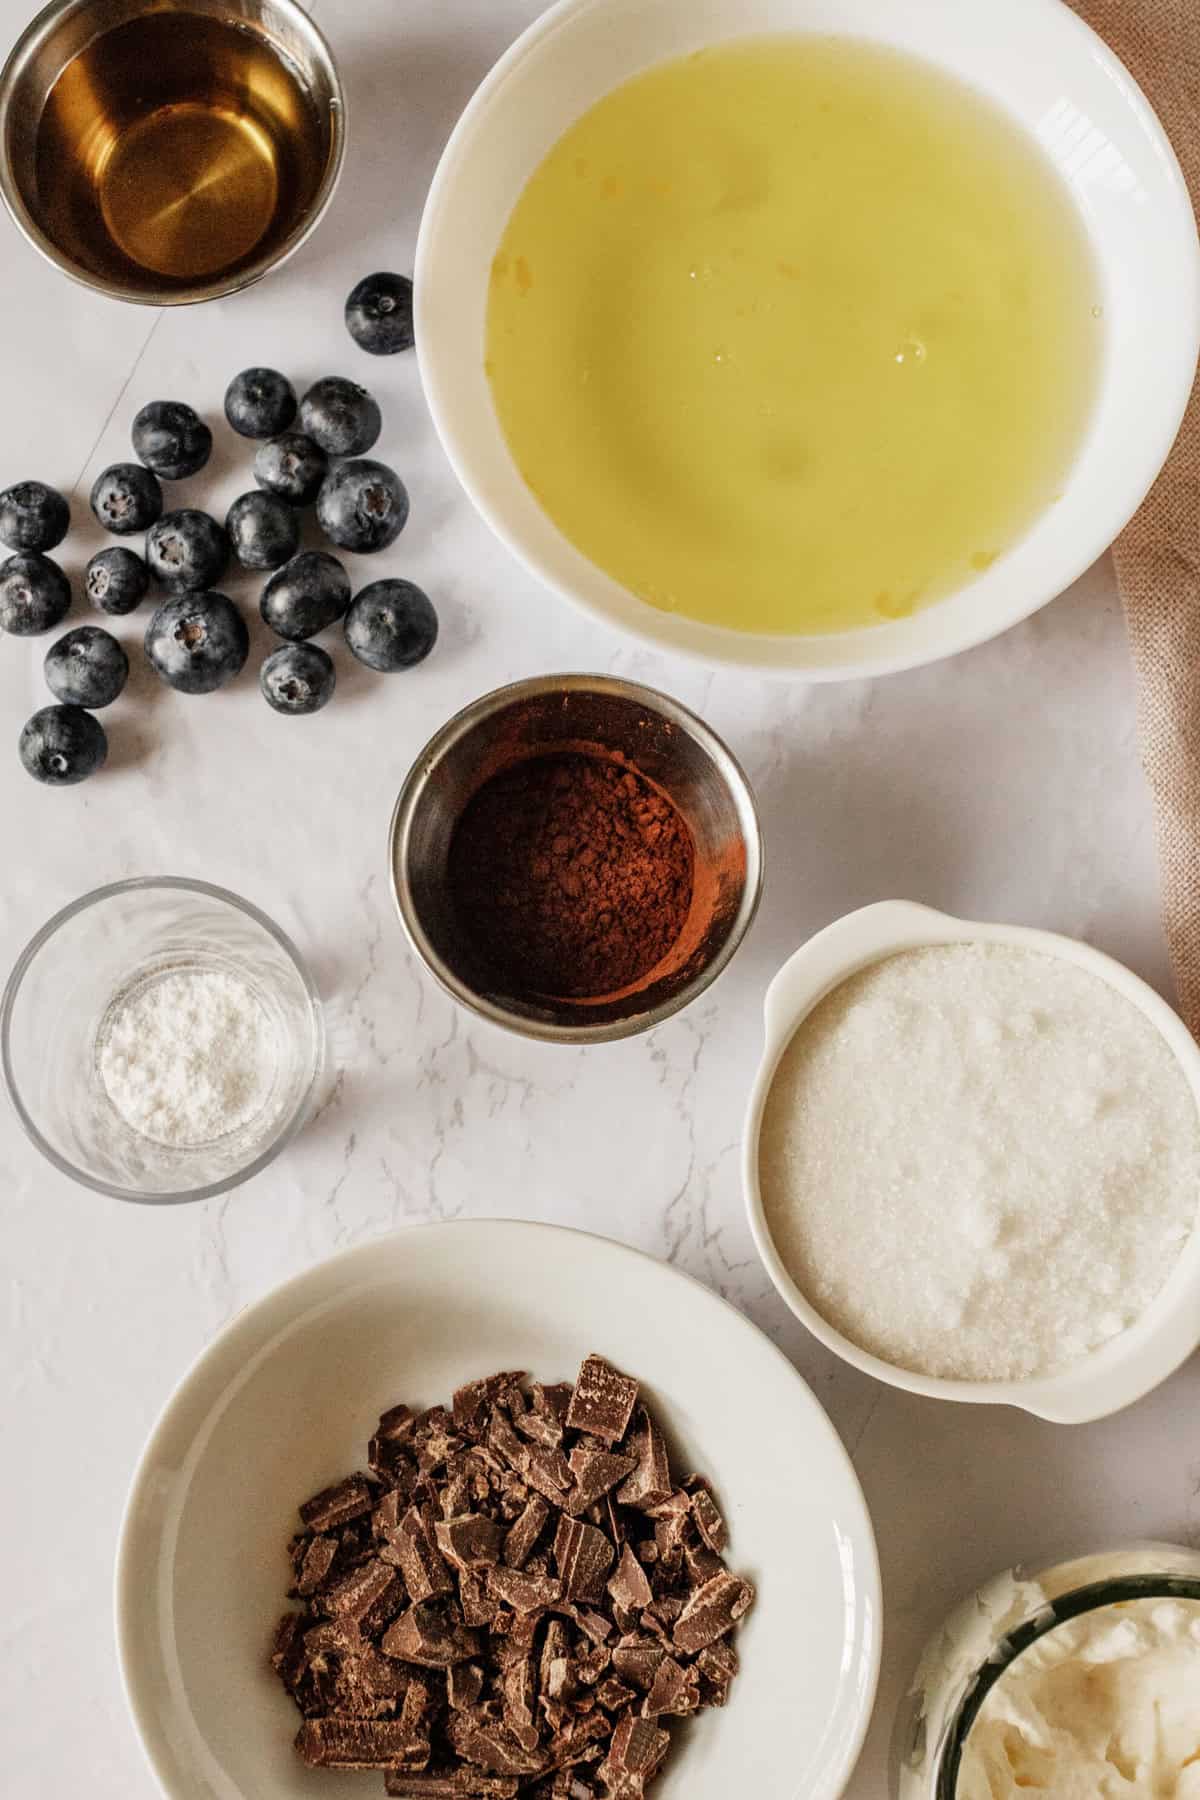
Ingredients
- 6 large egg whites at room temperature
- 1 1/2 cups granulated sugar
- 3 tablespoons unsweetened cocoa powder sifted
- 1 teaspoon white vinegar
- 1 teaspoon pure vanilla extract
- 2 ounces bittersweet chocolate finely chopped
- 1 1/2 cups heavy cream
- Fresh mixed berries for topping
Instructions
- Preheat the oven to 300°F and line a baking sheet with parchment paper. Draw a 9-inch circle on the parchment and flip it over.
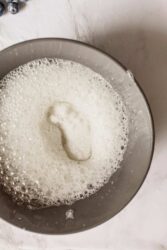
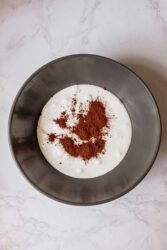
- In a clean, dry mixing bowl, beat egg whites until soft peaks form. Gradually add sugar and continue beating until stiff peaks form and the mixture is glossy.
- Sift cocoa powder over the egg whites, add vinegar and vanilla, and fold gently until combined. Fold in the chopped chocolate.
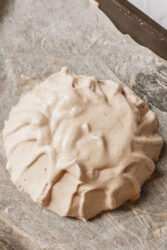
- Mound the meringue onto the parchment within the circle, creating a slight well in the center. Bake for 1 hour 30 minutes, then turn off the oven and let cool completely inside the oven.
- Once cooled, whip the heavy cream to soft peaks and spoon over the pavlova. Top with fresh mixed berries before serving.
Nutrition Info:
Nutrition information are estimates only and may vary based on the specific brands, ingredients, and portion sizes you use. This data is provided for informational purposes only.

Leave a Comment