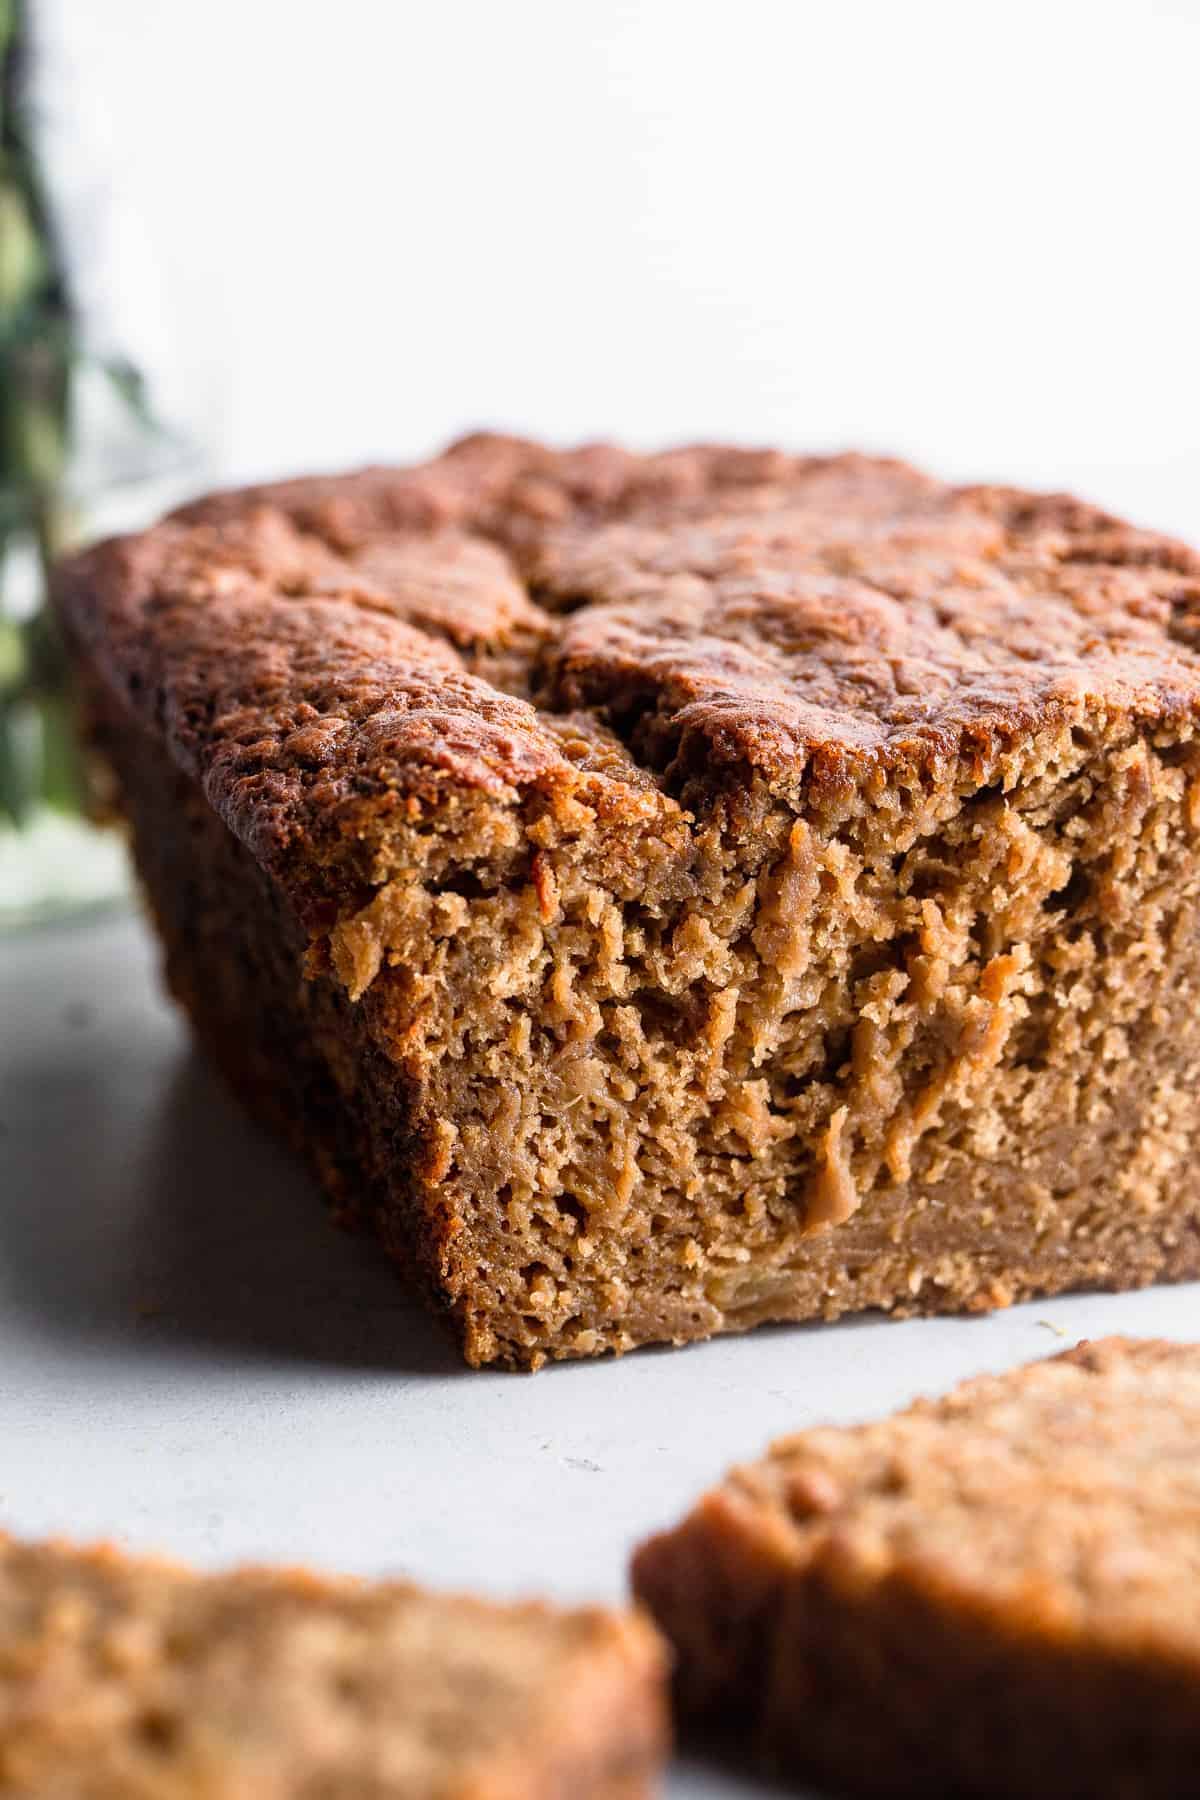
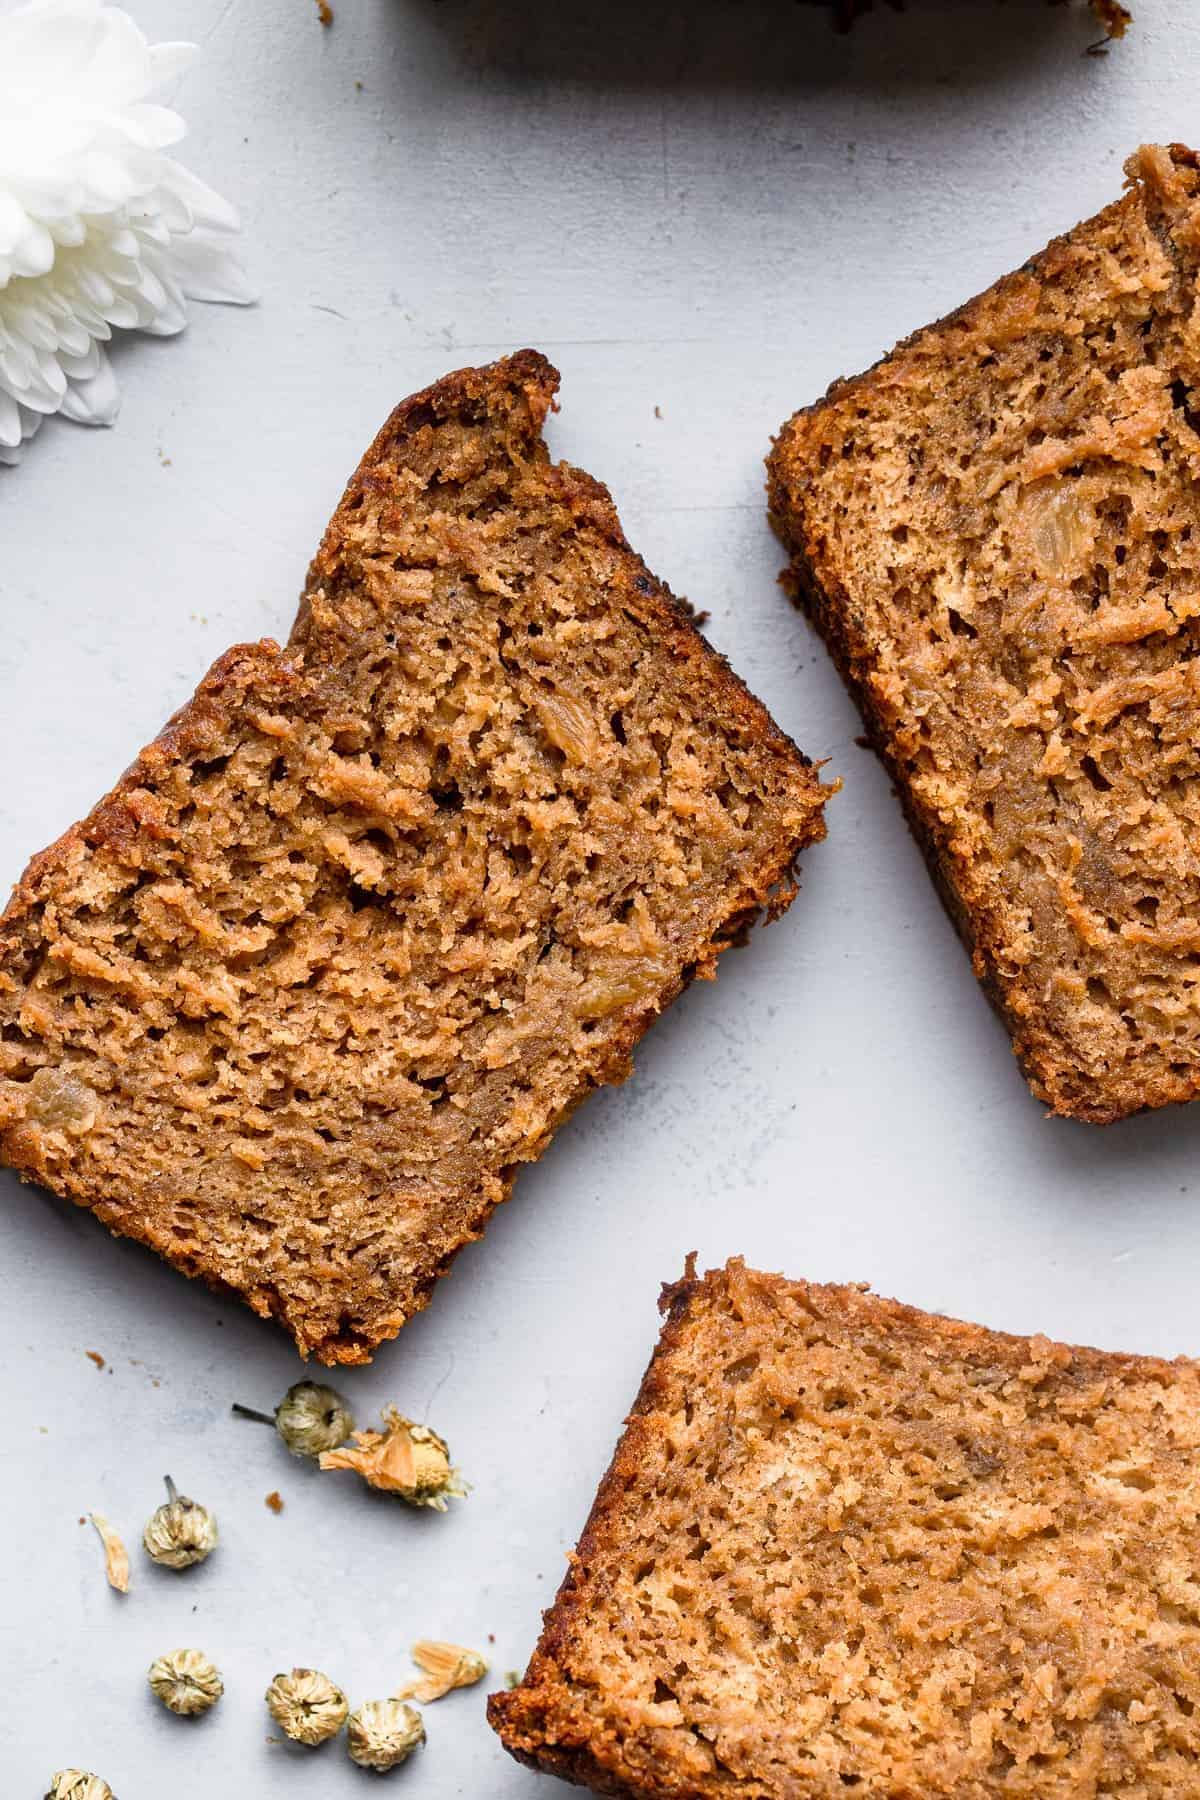
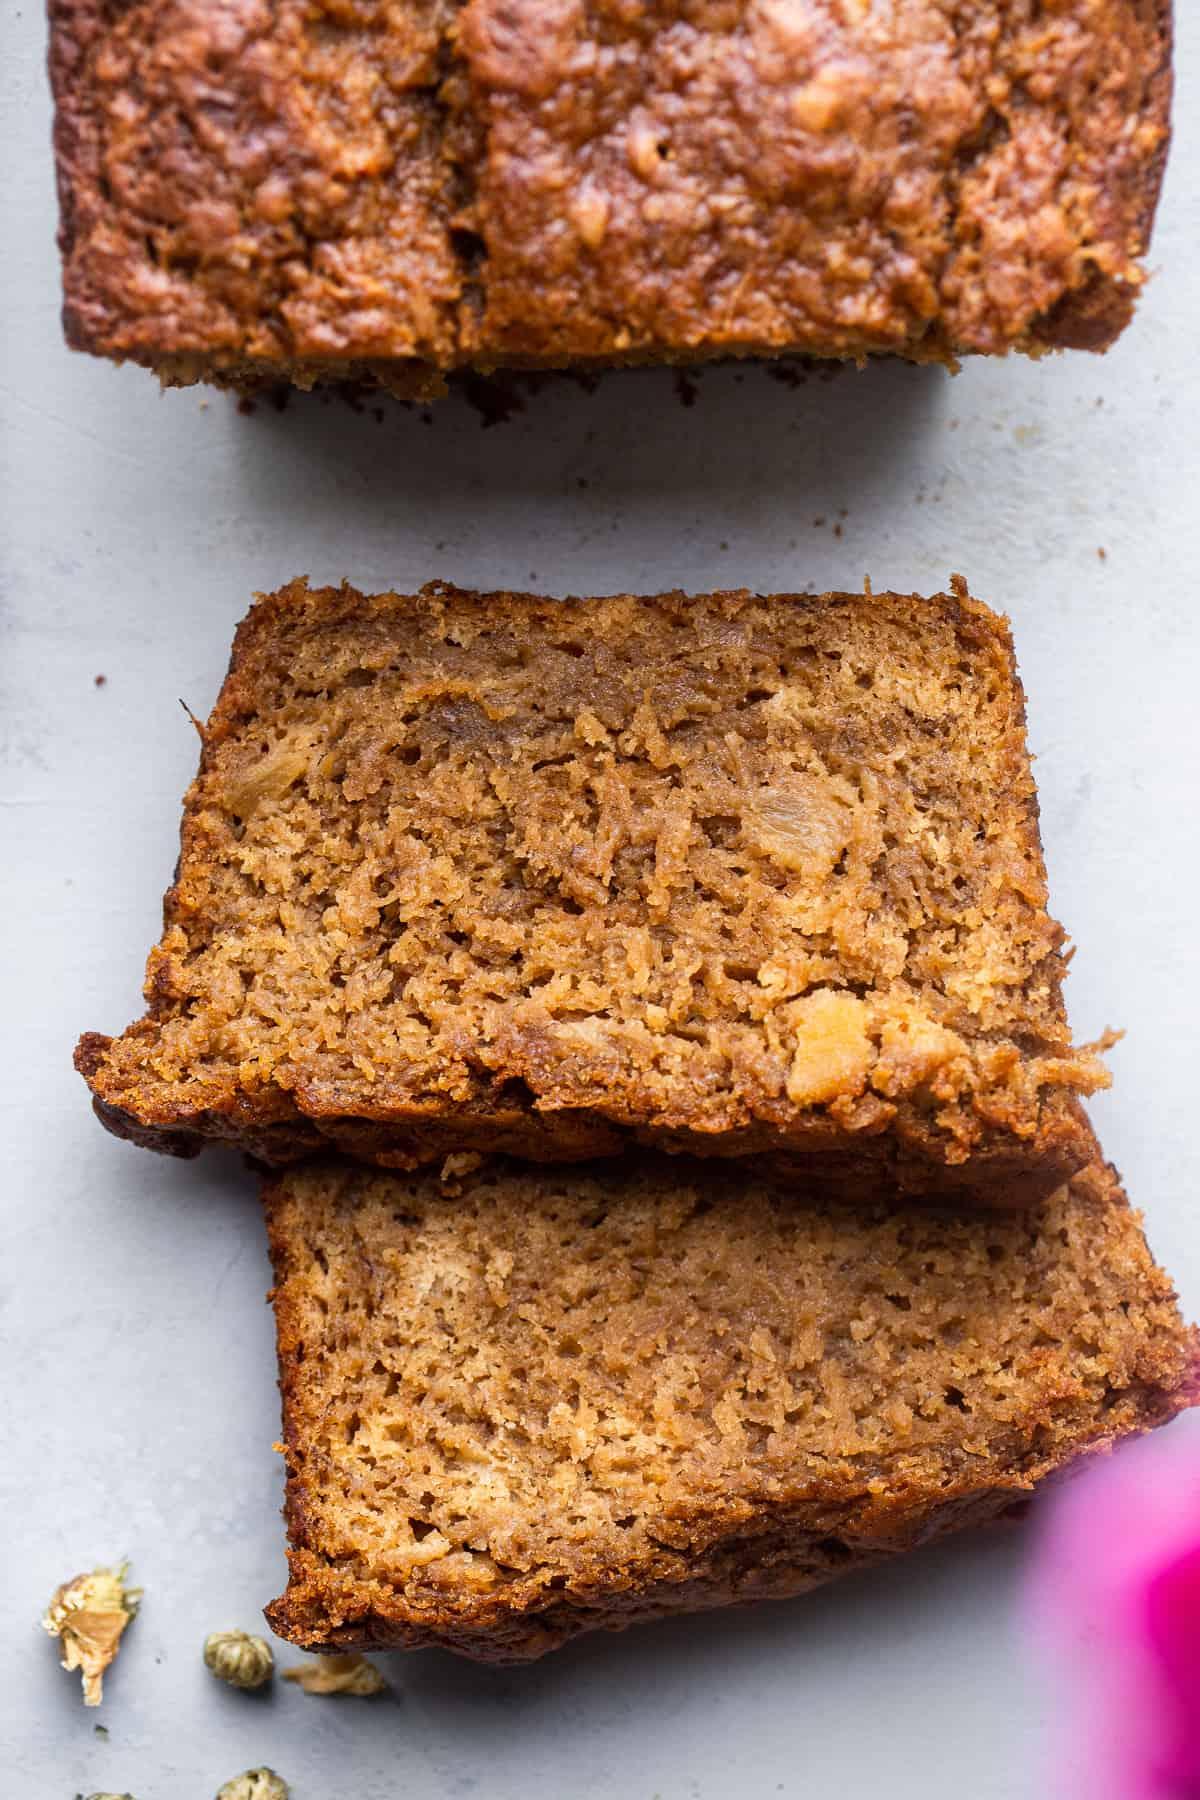
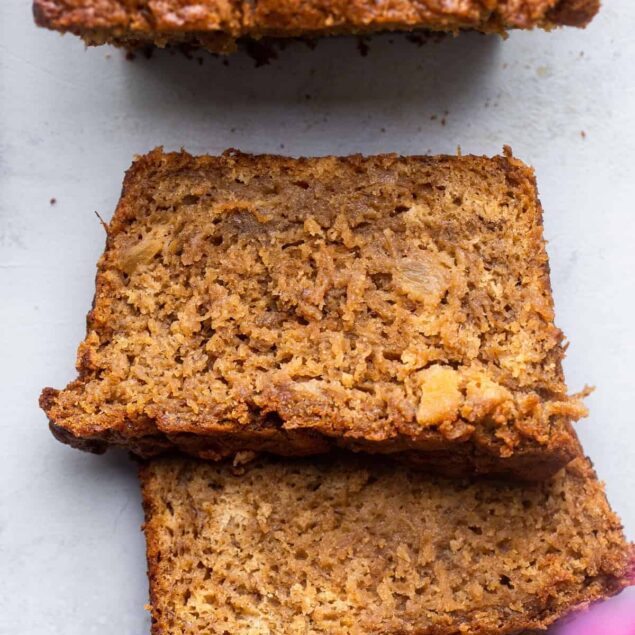
Super tender and moist, this Banana-Pineapple Bread is a deliciously sweet spin on a classic recipe!
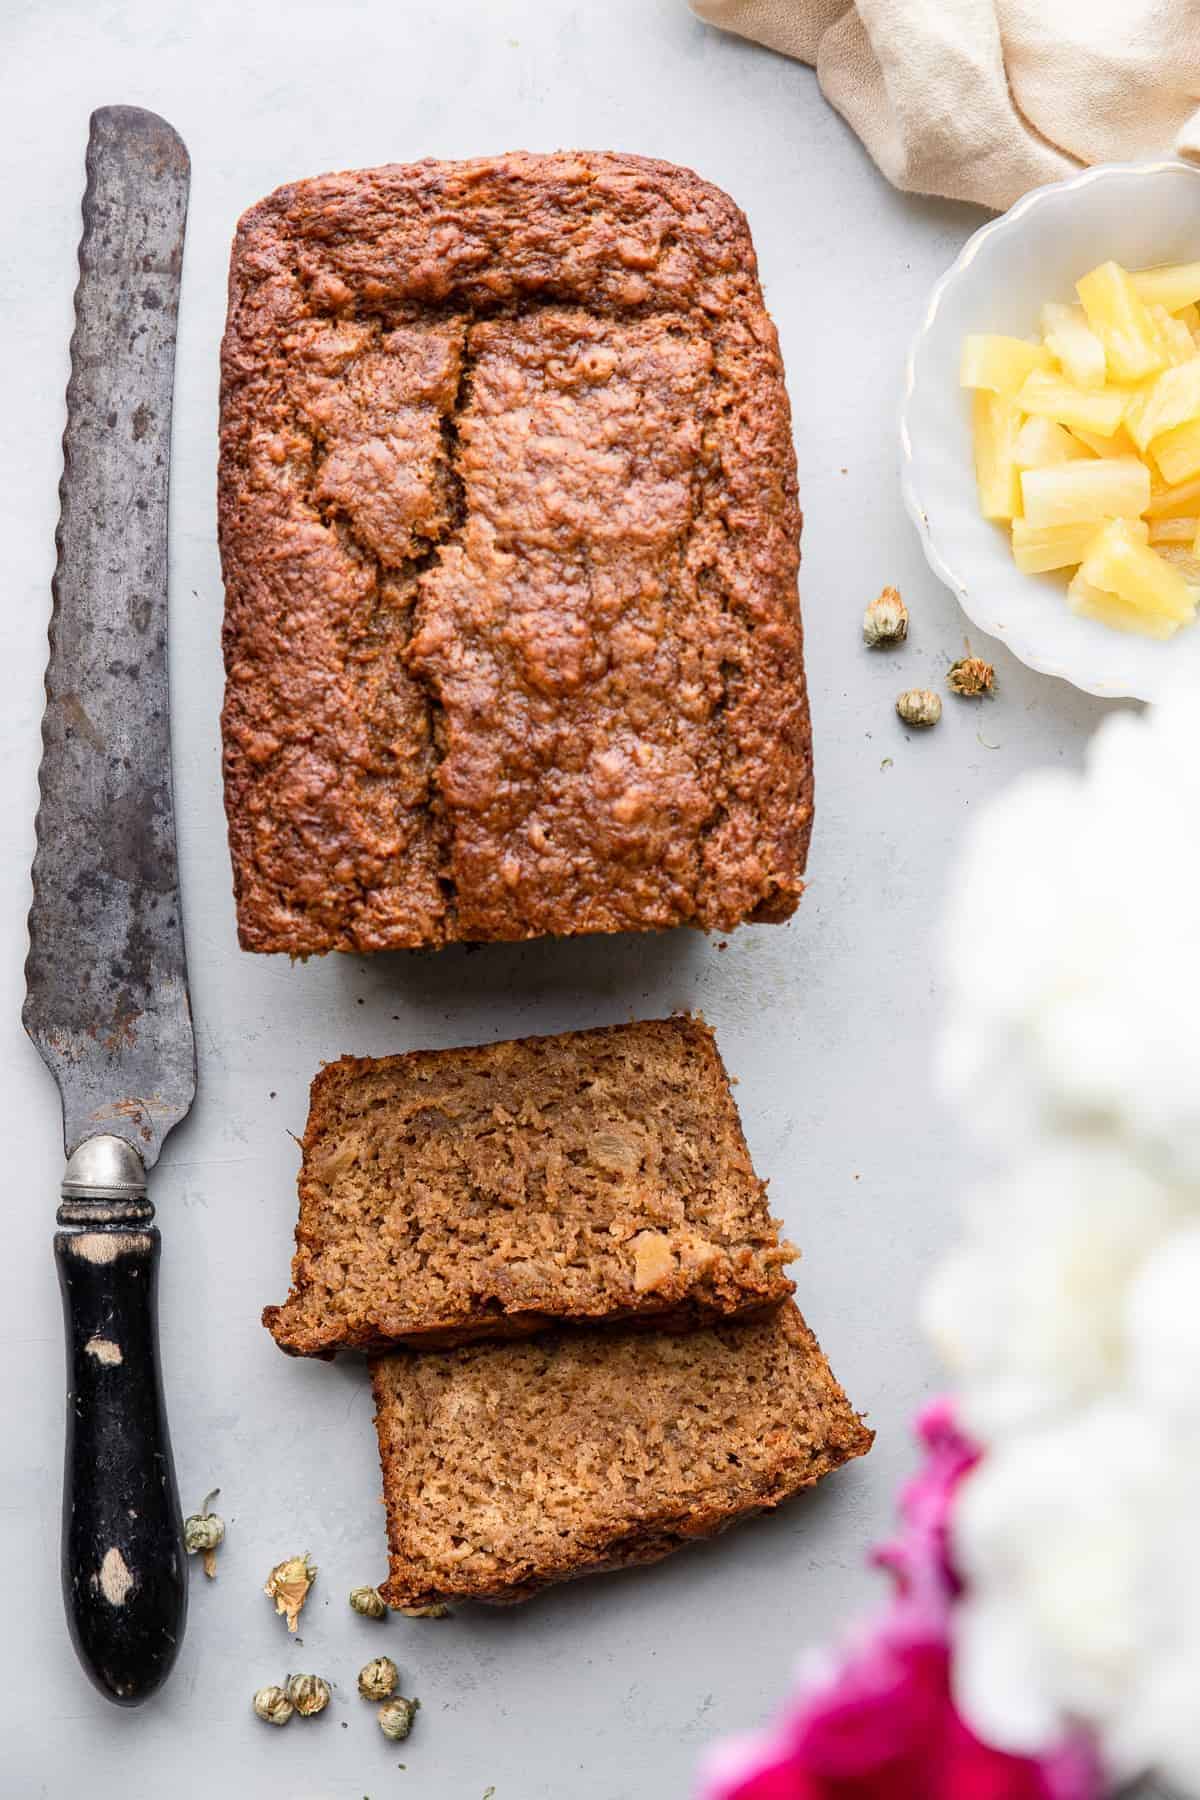
Bananas and pineapples are two of the best fruits on the planet, in my humble opinion. And they come together perfectly in this bread to create something super special (also my humble opinion). If you’re like me and can’t get enough of fruity flavors, you’re in for a treat here. This isn’t just your regular, run-of-the-mill banana bread; this is a tropical twist on a classic recipe that’s sweet, tender, and downright addictive.
If you’re already a fan of banana bread, you know it can basically do no wrong. From Paleo coconut flour banana bread to vegan and gluten-free versions, I’ve tried them all—and loved them all! But this banana-pineapple bread takes things to a whole new level. It’s ultra-moist (yes, we’re using that word because it’s the truth), naturally sweetened, and made without dairy or refined sugar. So whether you’re looking for a fun breakfast, an afternoon snack, or something to bring to a potluck, this loaf has you covered. It’s tropical decadence in every bite and proof that simple, wholesome ingredients can create something truly next-level.
Is This Banana-Pineapple Bread Healthy?
As far as banana breads go, this recipe is relatively healthy. The two star ingredients—banana and pineapple—are chock-full of vital nutrients, including vitamin C, vitamin B6, and potassium. Pineapple also contains the enzyme bromelain, which has anti-inflammatory properties that aid in everything from digestive to immune health. Whole-wheat flour, if you choose to use it, is an excellent source of fiber, while avocado oil is noted for being a heart-healthy fat. Eggs are another great source of nutrients, containing vitamin B12, calcium, and protein. Coconut sugar is the sweetener for this banana bread recipe, and while it’s still a sugar, it is all natural and has a lower glycemic index than refined white sugar.
Ripe Bananas Are The Key
You might think those spotty brown bananas sitting on your counter are ready for the bin, but I have to stop you; those are exactly what you want for banana bread. As a matter of fact, the darker and spottier those bananas are, the sweeter and softer they’ll be, which is perfect for baking. Overripe bananas are full of natural sugars that sweeten up the recipe, and because they have such a soft texture, they are easy to mash and help keep the bread moist. Fresh, yellow bananas just don’t hit the same—they’re too firm and not nearly as sweet.
What do you do if your bananas aren’t there yet? There’s a hack for this, believe it or not. You can ripen bananas in the oven! Pop your unpeeled yellow bananas onto a baking sheet and bake them at 300 degrees Fahrenheit for about 15-20 minutes, or until the skins start to turn black. Voilà—soft, sweet, ripe bananas at your service.
How To Make Ahead And Store
When stored in an airtight container or zip-top bag, this banana and pineapple loaf recipe will last for up to 1 week in the fridge. You can also keep it wrapped on the counter for up to 5 days. If you freeze it, it will last up to 3 months.
Serving Suggestions
This bread is perfect on its own, but you could serve it for breakfast alongside some Air-Fryer Bacon or Air-Fryer Breakfast Sausage. It would also be delicious with a schmear of homemade Pumpkin Seed Butter or Pecan Butter.
Ingredients
- 1 3/4 cups white whole-wheat or all purpose flour (230 grams)
- 1 tablespoon baking powder
- 3/4 teaspoon salt
- 1 cup mashed ripe banana (about 2 large bananas)
- 1 cup crushed pineapple drained well
- 1 cup coconut sugar
- 2 large eggs
- 1/3 cup avocado oil (or any neutral flavored oil)
- 2 teaspoons vanilla
Instructions
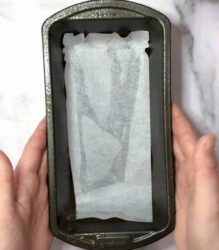
- Heat your oven to 350 degrees Fahrenheit and spray a loaf pan with cooking spray, lining the bottom with parchment paper.
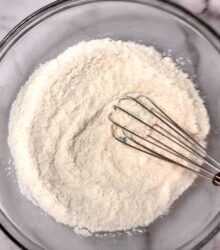
- In a medium bowl, whisk the flour, baking powder, and salt.
- In a separate large bowl, whisk all remaining ingredients.

- Add the dry ingredients into the wet ingredients and stir until just combined.
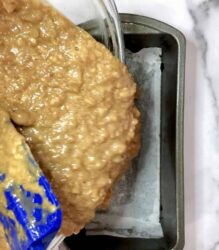
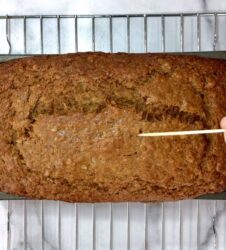
- Pour into the loaf pan and bake until golden brown and a toothpick inserted in the center comes out clean, about 1 hour and 10-15 minutes.
- Let cool completely before slicing.
Nutrition Info:
Nutrition information are estimates only and may vary based on the specific brands, ingredients, and portion sizes you use. This data is provided for informational purposes only.


Leave a Comment