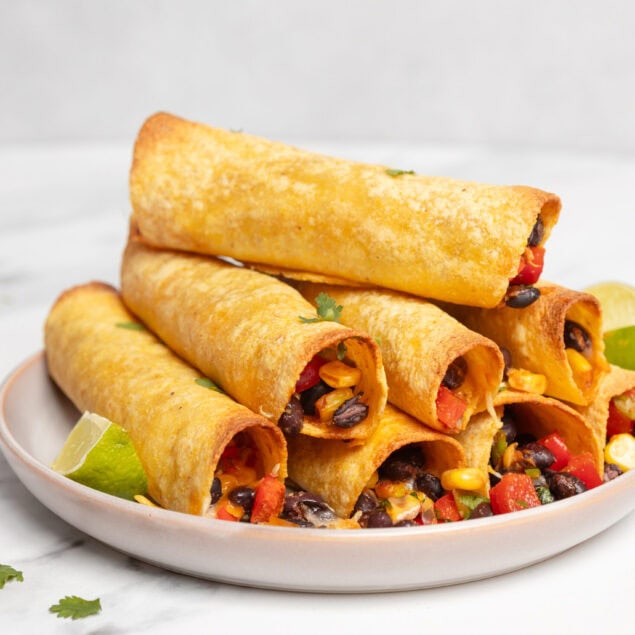
Indulge in these meat-free taquitos stuffed with vibrant veggies, herbs, and spices.

A few months ago, my best friend thought it would be a good idea to buy the cheapest frozen taquitos in the grocery store. Spoiler alert—this was not a good idea. Although he was about to transition to a vegetarian diet, he gave in to the craving for shredded chicken, which turned out to be from a questionable factory source. After a couple of hours, he felt sick, and I helped nurse him back to health with plenty of water and tea.
I’m not sharing this story to embarrass him or to shame anyone who likes frozen taquitos. But I am sharing it to offer a simple rule of thumb that he and I both go by now—homemade taquitos are almost always better than store-bought, for a myriad of reasons. Vegetarian taquitos are especially easy to whip up. They can also be frozen to enjoy later, without any risk of upset tummies.
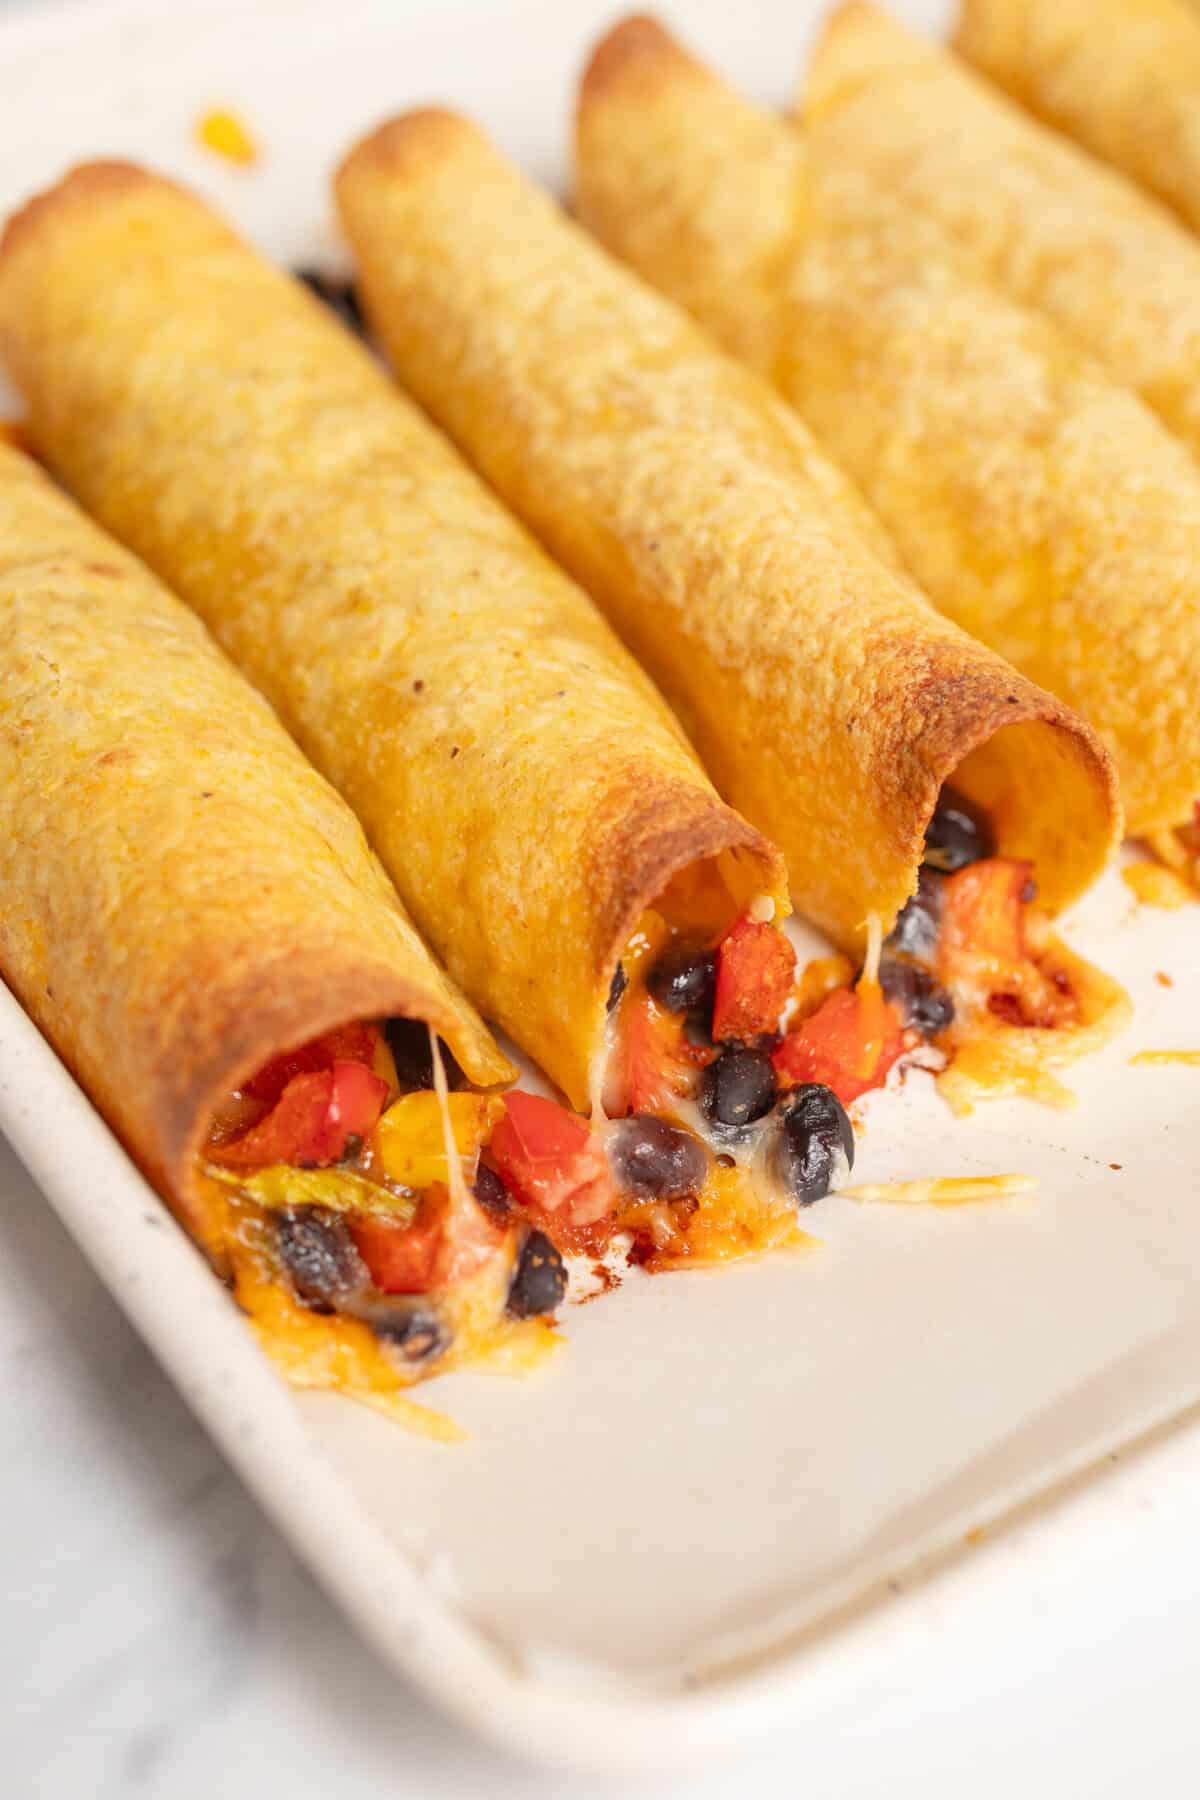
When I first bit into a vegetarian taquito, the dopamine went off like fireworks in my brain. That satisfying crunch of the corn tortilla, plus the rainbow of tender black beans, juicy bell pepper, punchy jalapeño, and sweet corn, hits the spot like nothing else. These tiny Tex-Mex treats are a great way to satisfy cravings without overdoing it. And what’s great is that both vegetarians and meat-eaters alike can enjoy them!
Where do taquitos come from?
Literally translated to “small taco” in Spanish, taquitos originate in Mexico as both an at-home dish and popular street food. Traditionally, they’re made with meat like beef or chicken, plus a blend of melted cheeses. This version replaces meat with black beans, which offer a decent amount of protein and fiber for hungry veggie-lovers. While the exact origin story of taquitos is mysterious, many folks hypothesize that they were invented as a quick and easy way to repurpose leftover tortillas. Even if they’re a little stale, tiny corn tortillas come out crunchy and scrumptious after being baked in this recipe.
How do I store leftovers?
Room-temperature leftovers can be stored in an airtight container and refrigerated for 3-4 days. For longer storage, transfer them to a freezer-safe container, separating the layers with parchment so they don’t stick together. Freeze them for up to 2 months, then thaw in the fridge overnight to prepare for serving. I like to heat them up in the toaster oven at 350°F for 10-15 minutes, but you can also use a regular oven. Or pop them in the air fryer at the same temperature for 5-10 minutes.
Serving suggestions
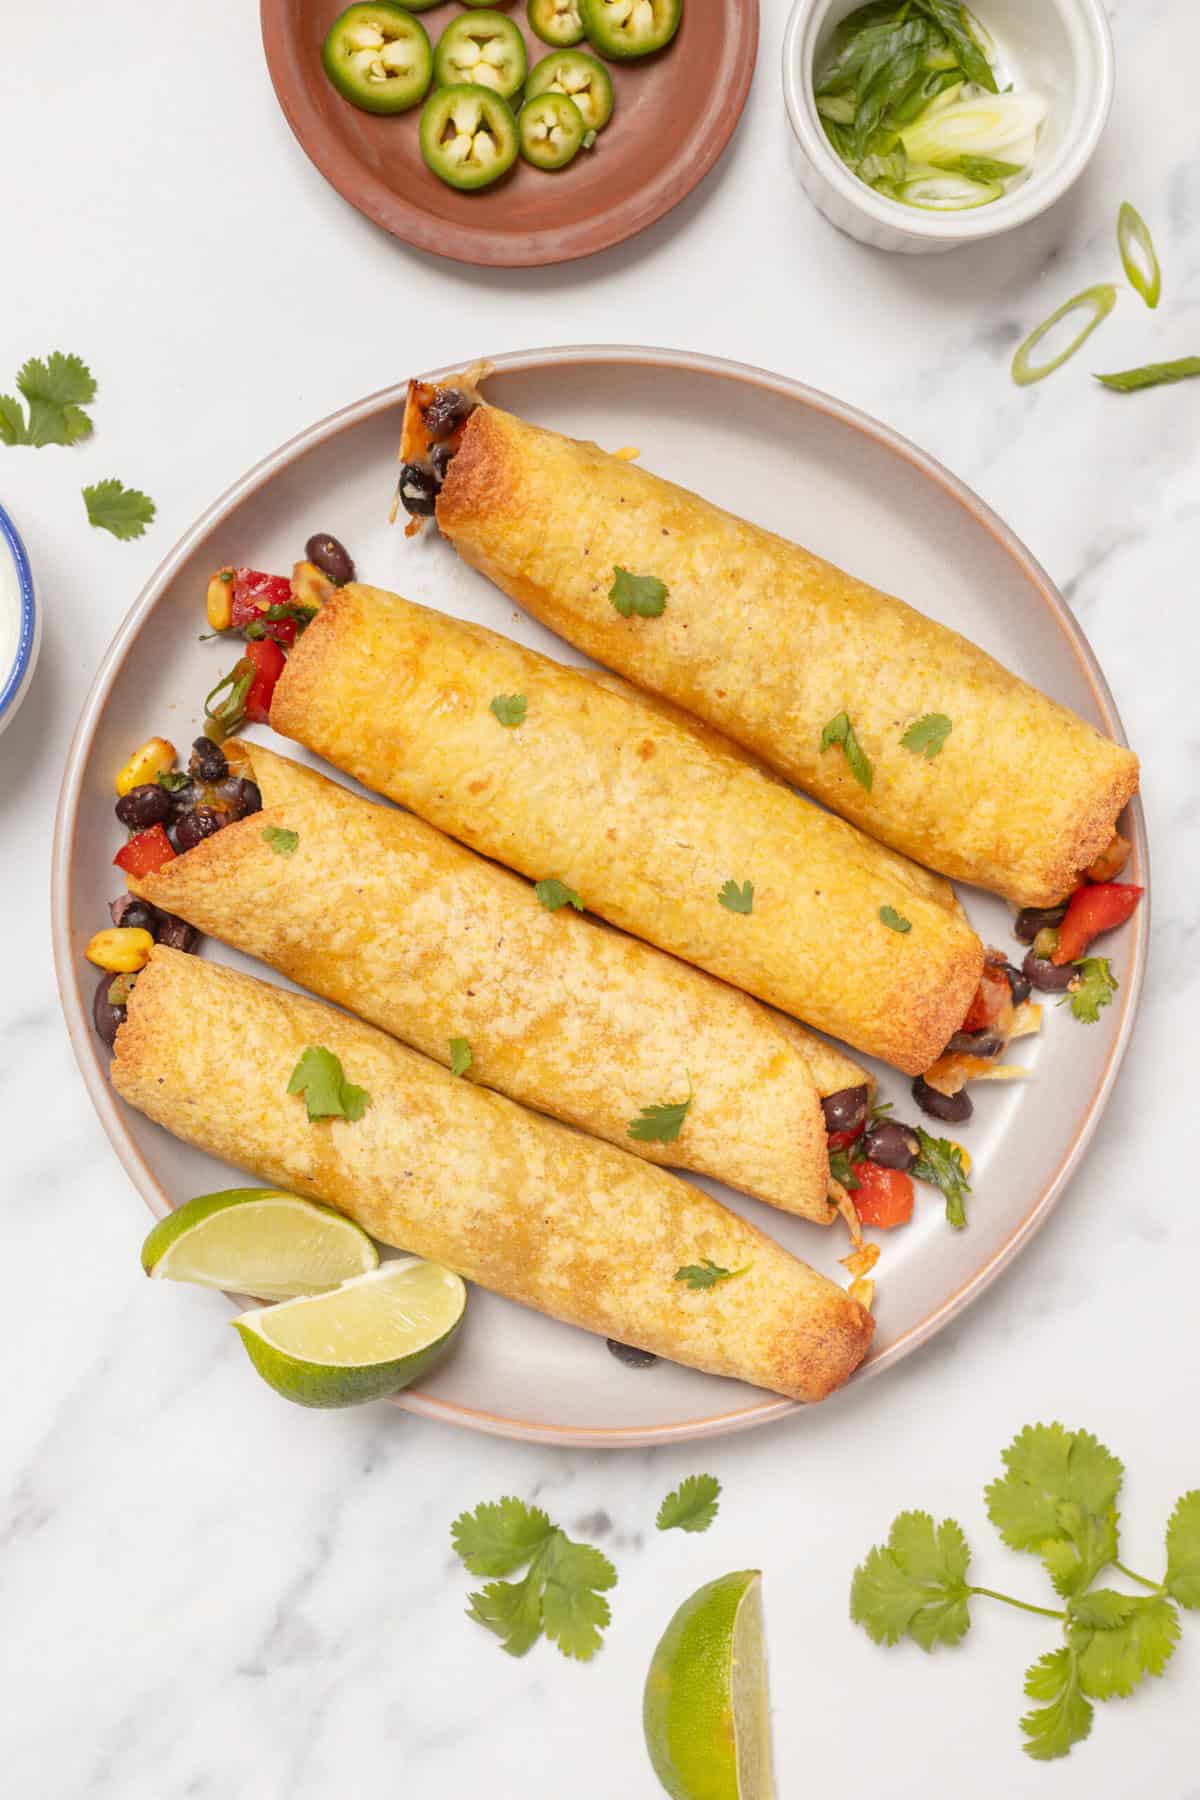
Pair your vegetarian taquitos with Cheesy Mexican Rice or Spanish Rice And Beans for a completely nutritious and delicious meal. Sometimes, my BFF and I like to enjoy vegetarian taquitos for breakfast, stuffed with Cheesy Scrambled Eggs and/or Hash Browns. But it’s up to you for which meal you serve it. No matter what you pair it with, make sure to top your taquitos with some classic condiments like Salsa Roja, Easy Guacamole, or homemade Sour Cream.
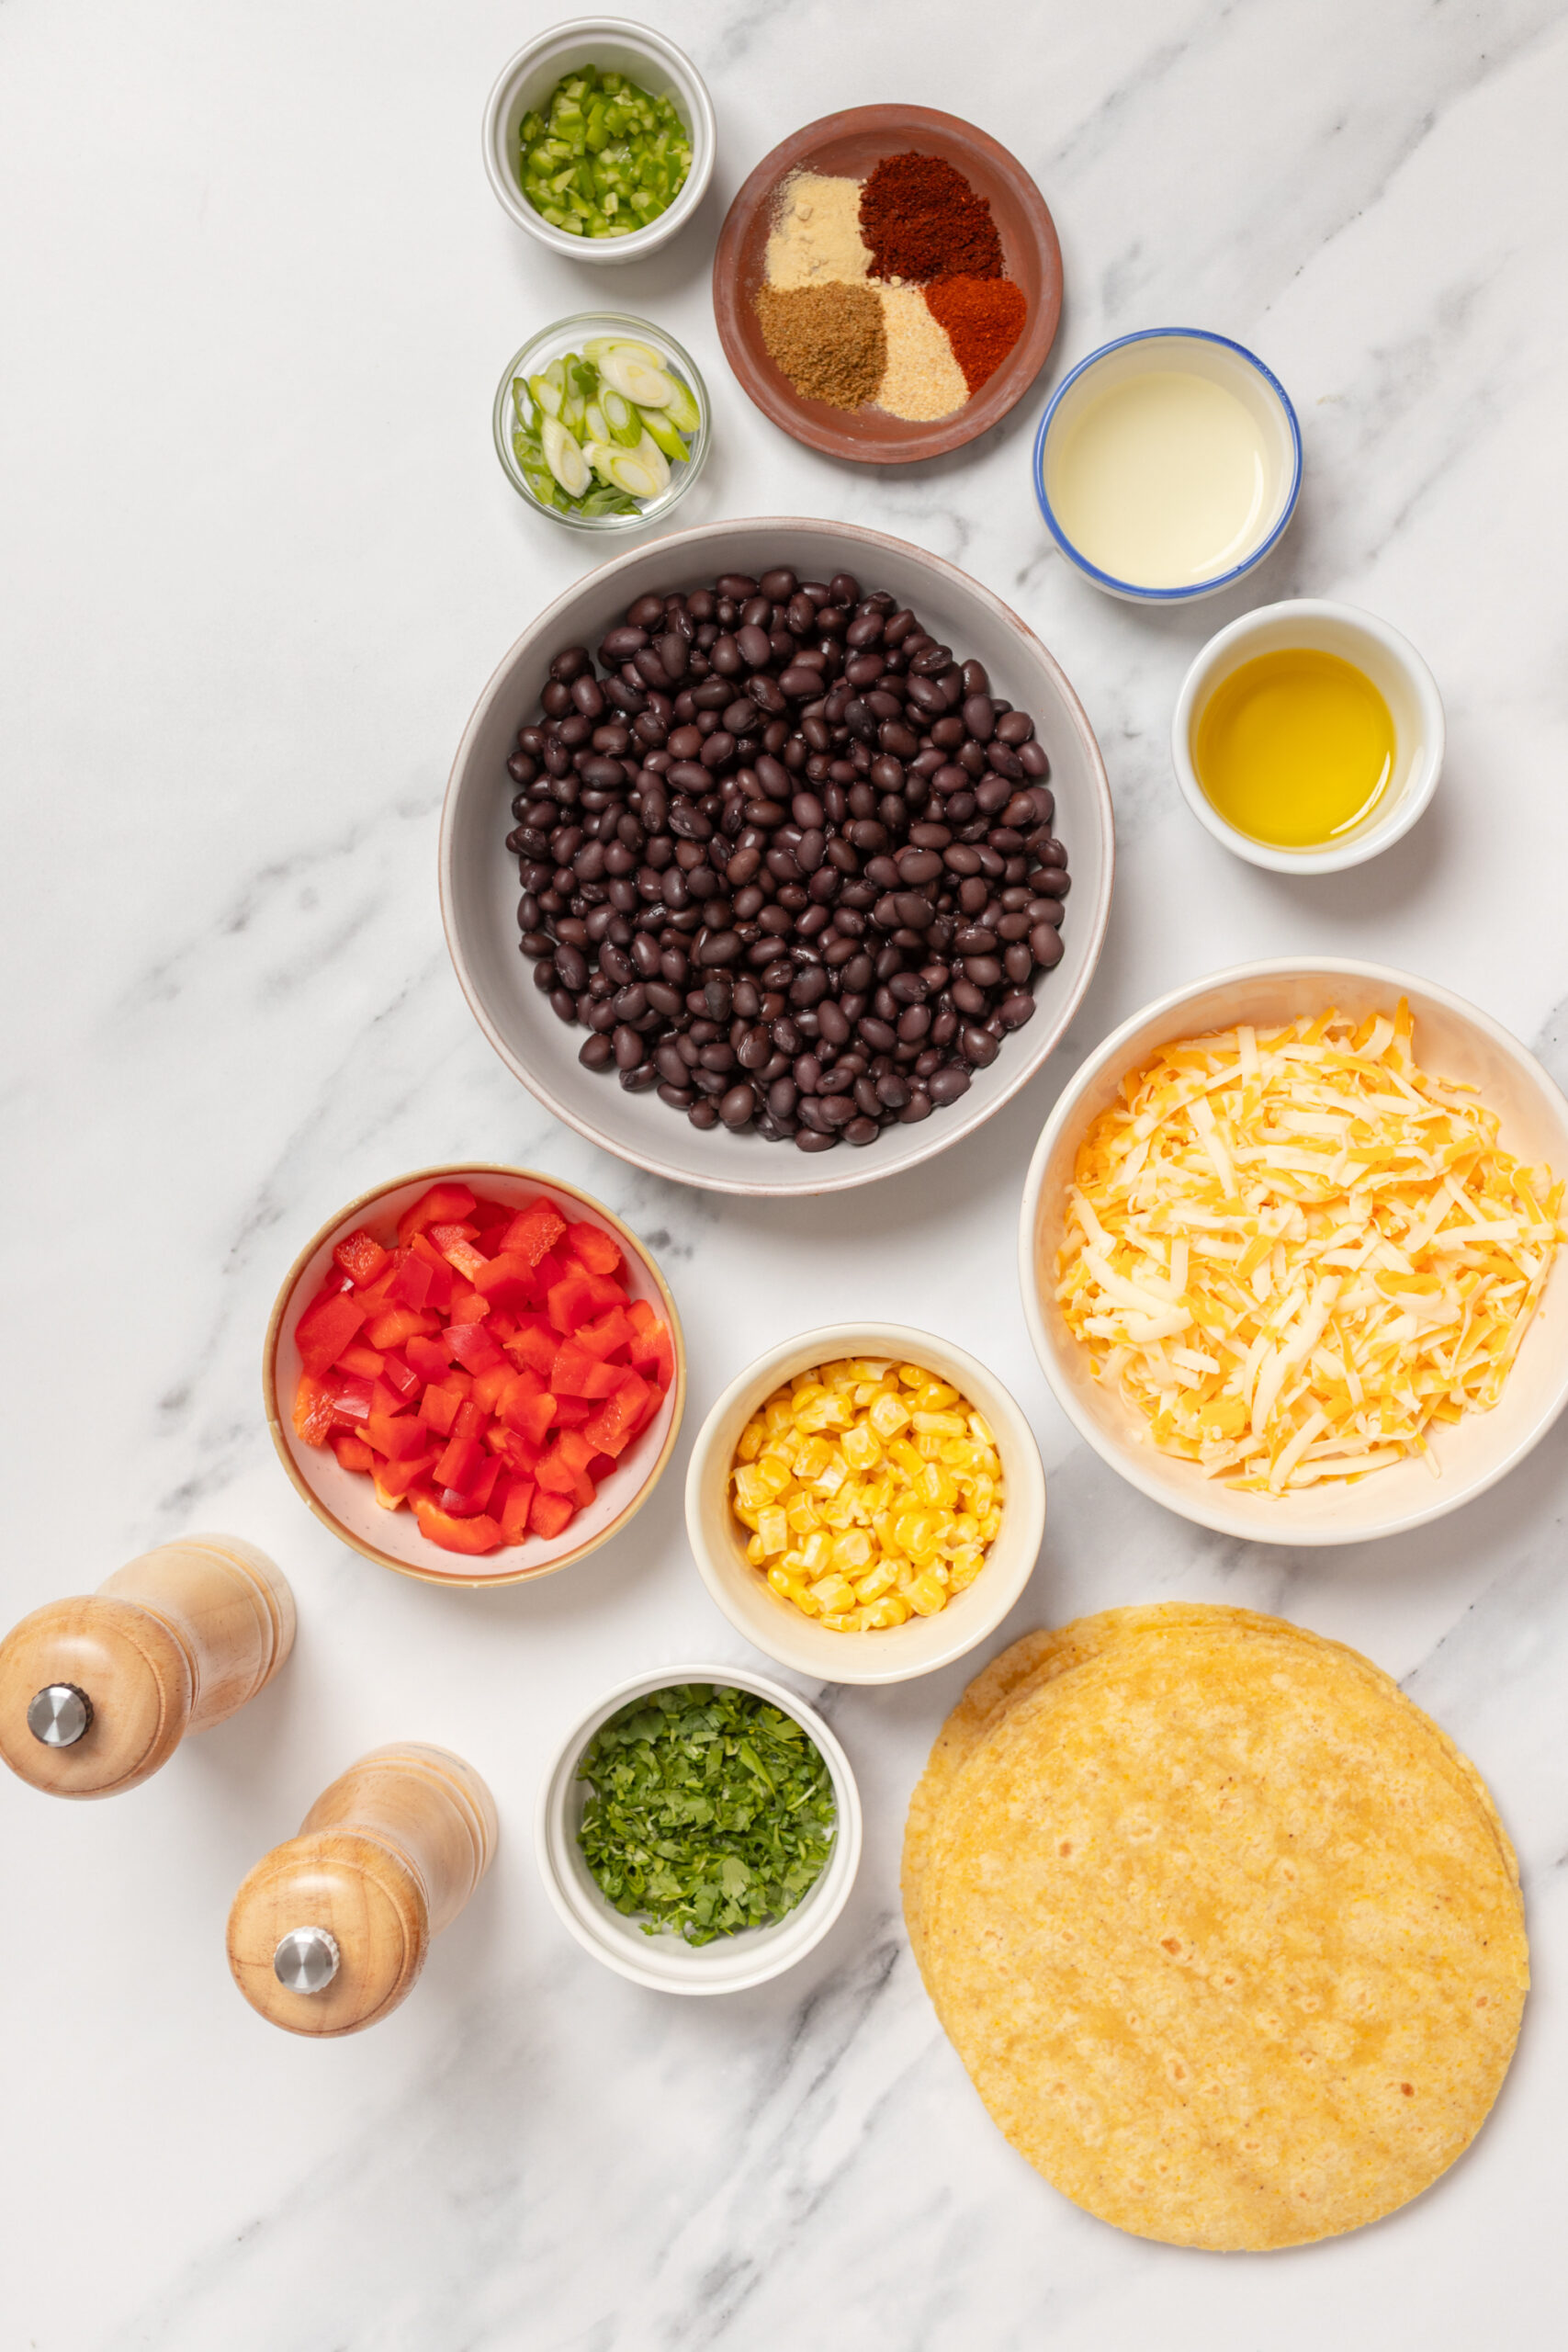
Ingredients
- 1 15-ounce can black beans, rinsed and drained
- 1 small red bell pepper, chopped
- 1/2 jalapeño, seeded and minced
- 1 cup corn kernels, fresh or frozen, thawed
- 4 tablespoons cilantro, chopped
- 1 green onion, sliced
- 1 1/2 tablespoons lime juice
- 1 teaspoon chili powder
- 1/2 teaspoon ground cumin
- 1/2 teaspoon garlic powder
- 1/4 teaspoon onion powder
- 1/4 teaspoon paprika
- salt and black pepper, to taste
- 20 small corn tortillas
- 1 1/2 cups cheddar or Mexican blend cheese, cheddar
- olive oil, for brushing
- preferred toppings, for serving
Instructions
- Preheat your oven to 425°F and line a large baking sheet with parchment paper.
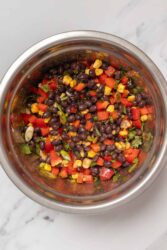
- In a bowl, combine the black beans, red bell pepper, minced jalapeño, corn, cilantro, green onion, lime juice, chili powder, cumin, garlic powder, onion powder, paprika, salt, and pepper.
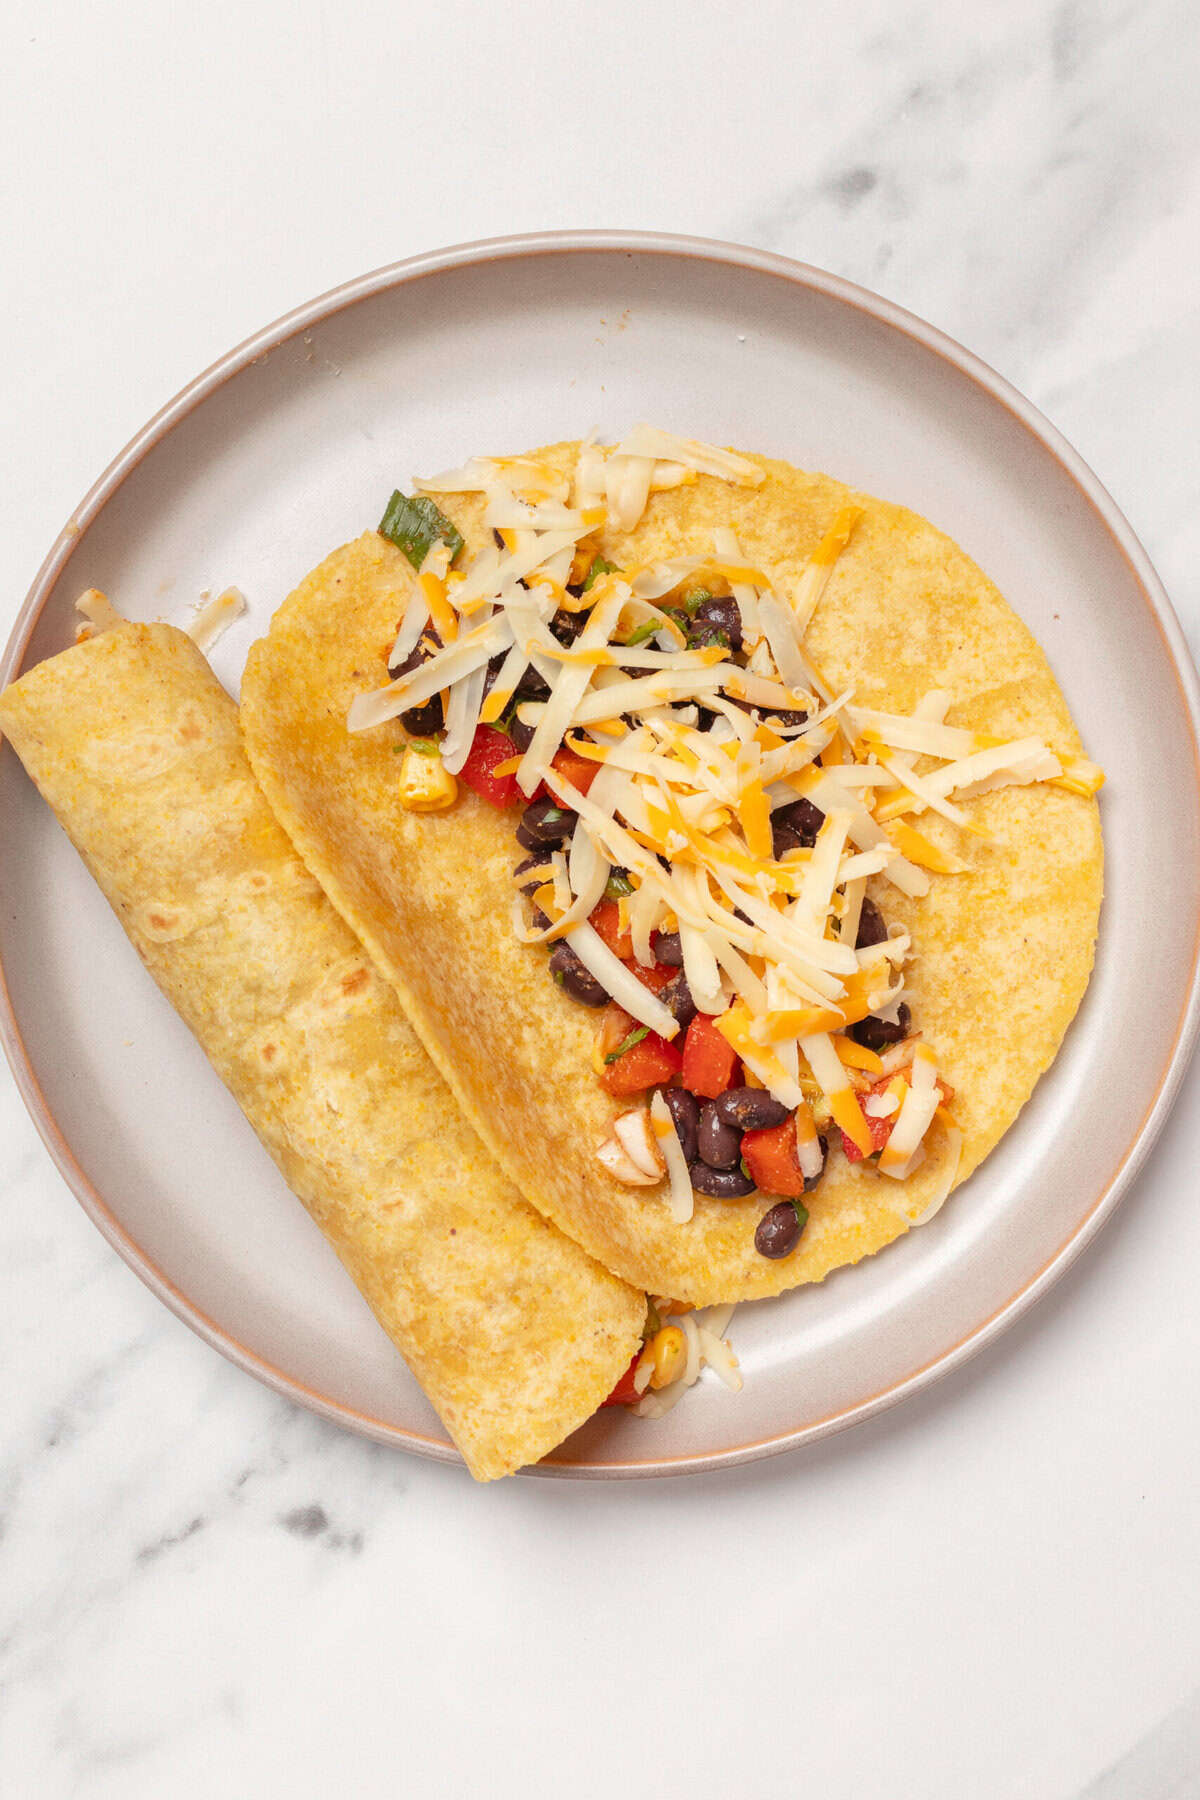
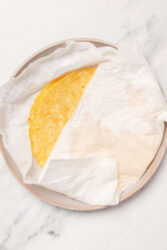
- Wrap 2 corn tortillas in a slightly damp paper towel and microwave for 20-30 seconds to soften them.
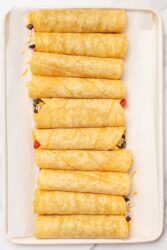
- Spoon about 2 tablespoons of the filling onto each tortilla, sprinkle with cheese, and roll tightly to form a taquito.

- Place the rolled taquitos seam side down on the prepared baking sheet. Brush them lightly with olive oil and bake for 18-24 minutes until golden and crispy. Serve warm with your favorite toppings.
Nutrition Info:
Nutrition information are estimates only and may vary based on the specific brands, ingredients, and portion sizes you use. This data is provided for informational purposes only.

Leave a Comment