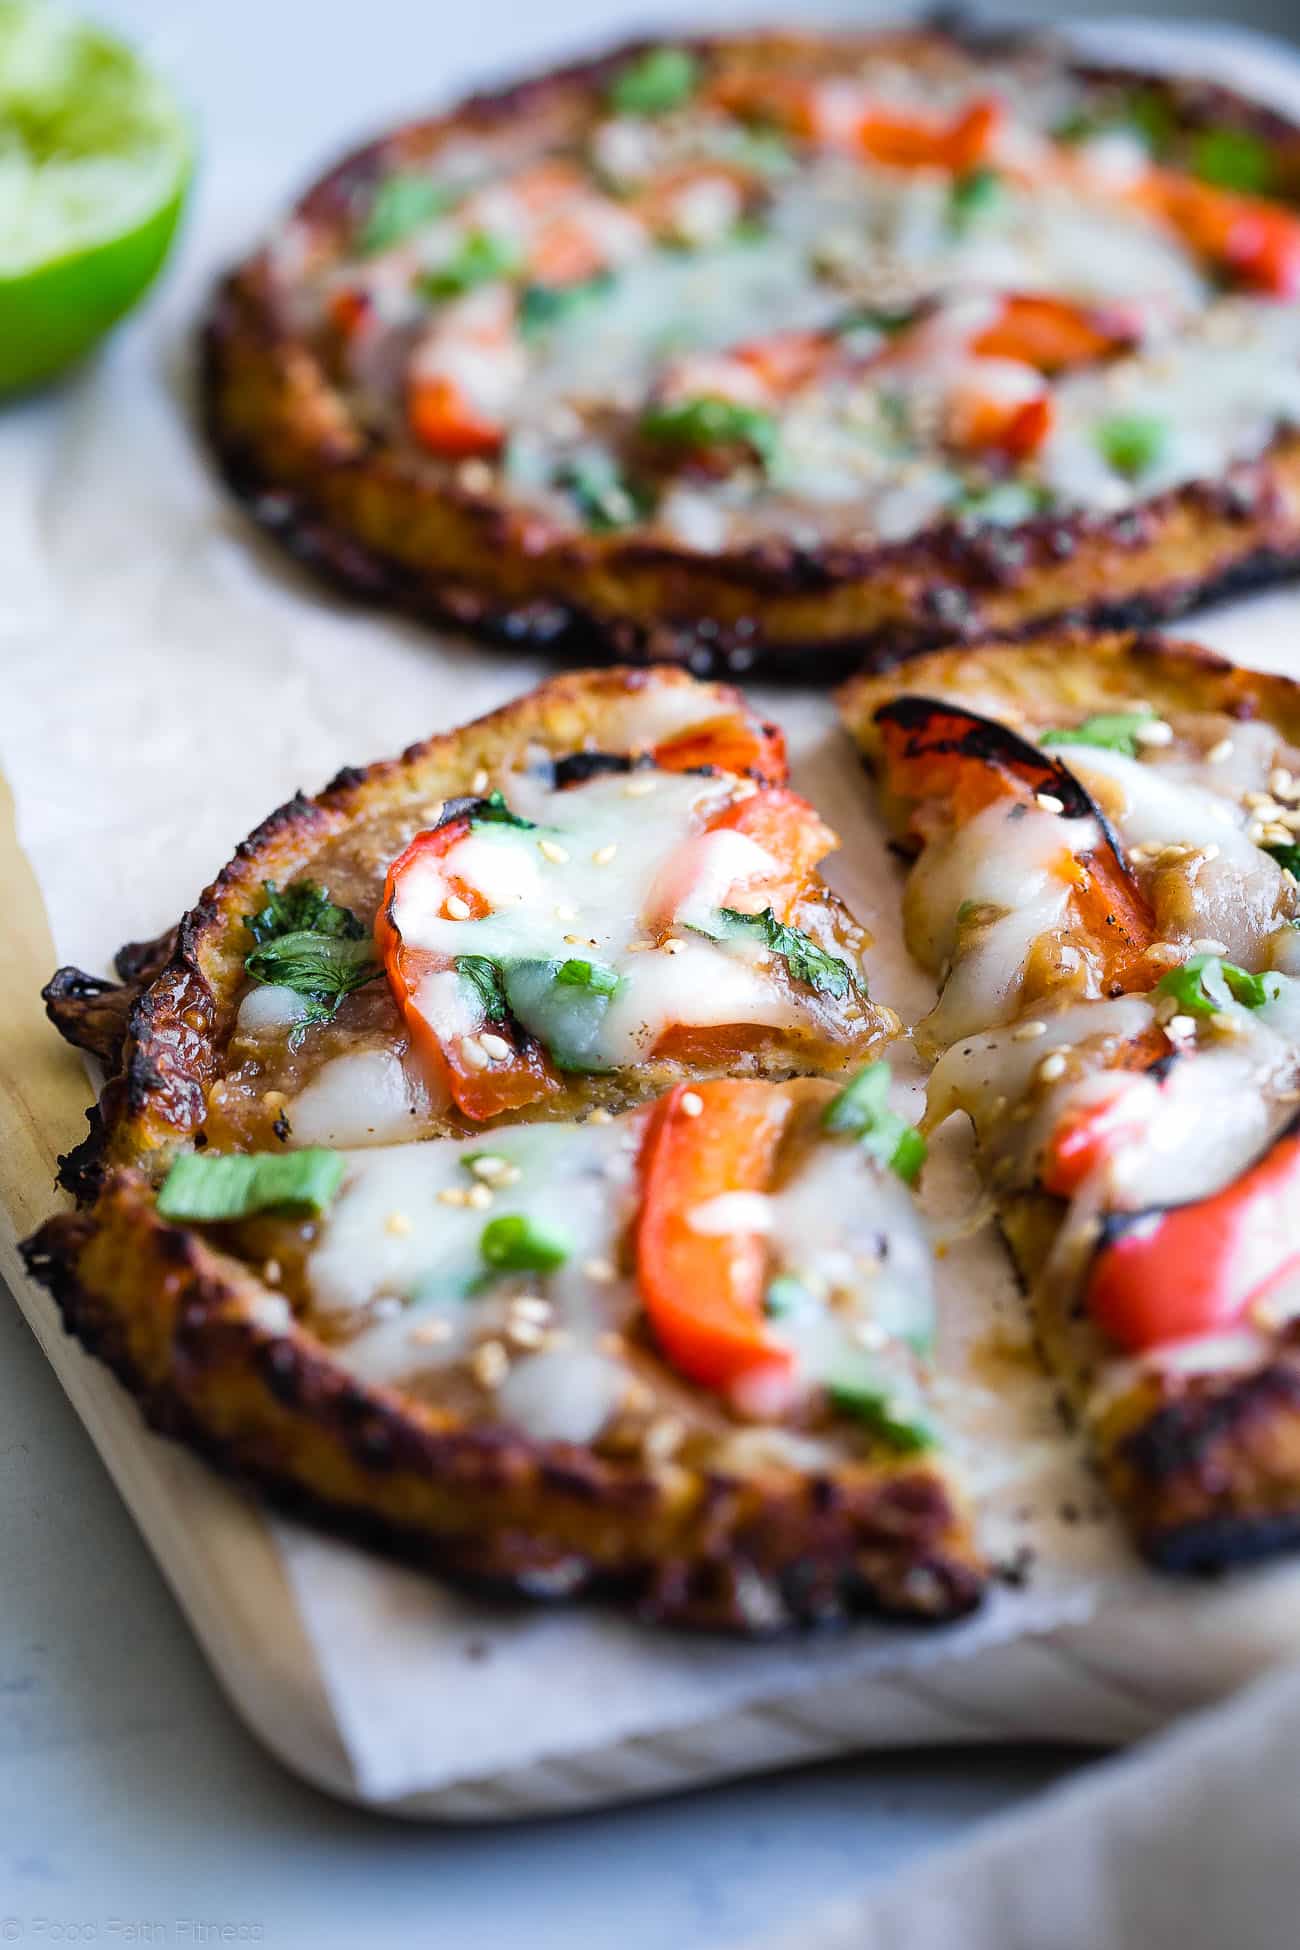
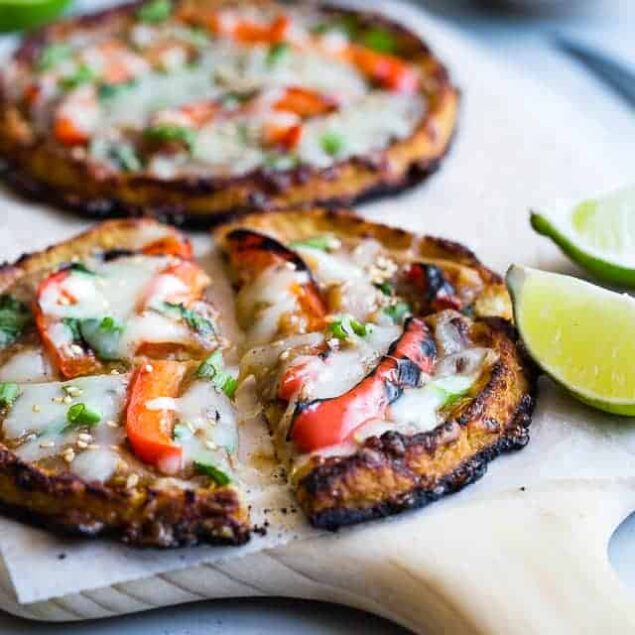
This Thai Peanut-Cauliflower Pizza topped with a creamy sauce, melting mozzarella, and vibrant veggies is a delicious (and more wholesome!) twist to your usual pie with marinara and pepperoni.
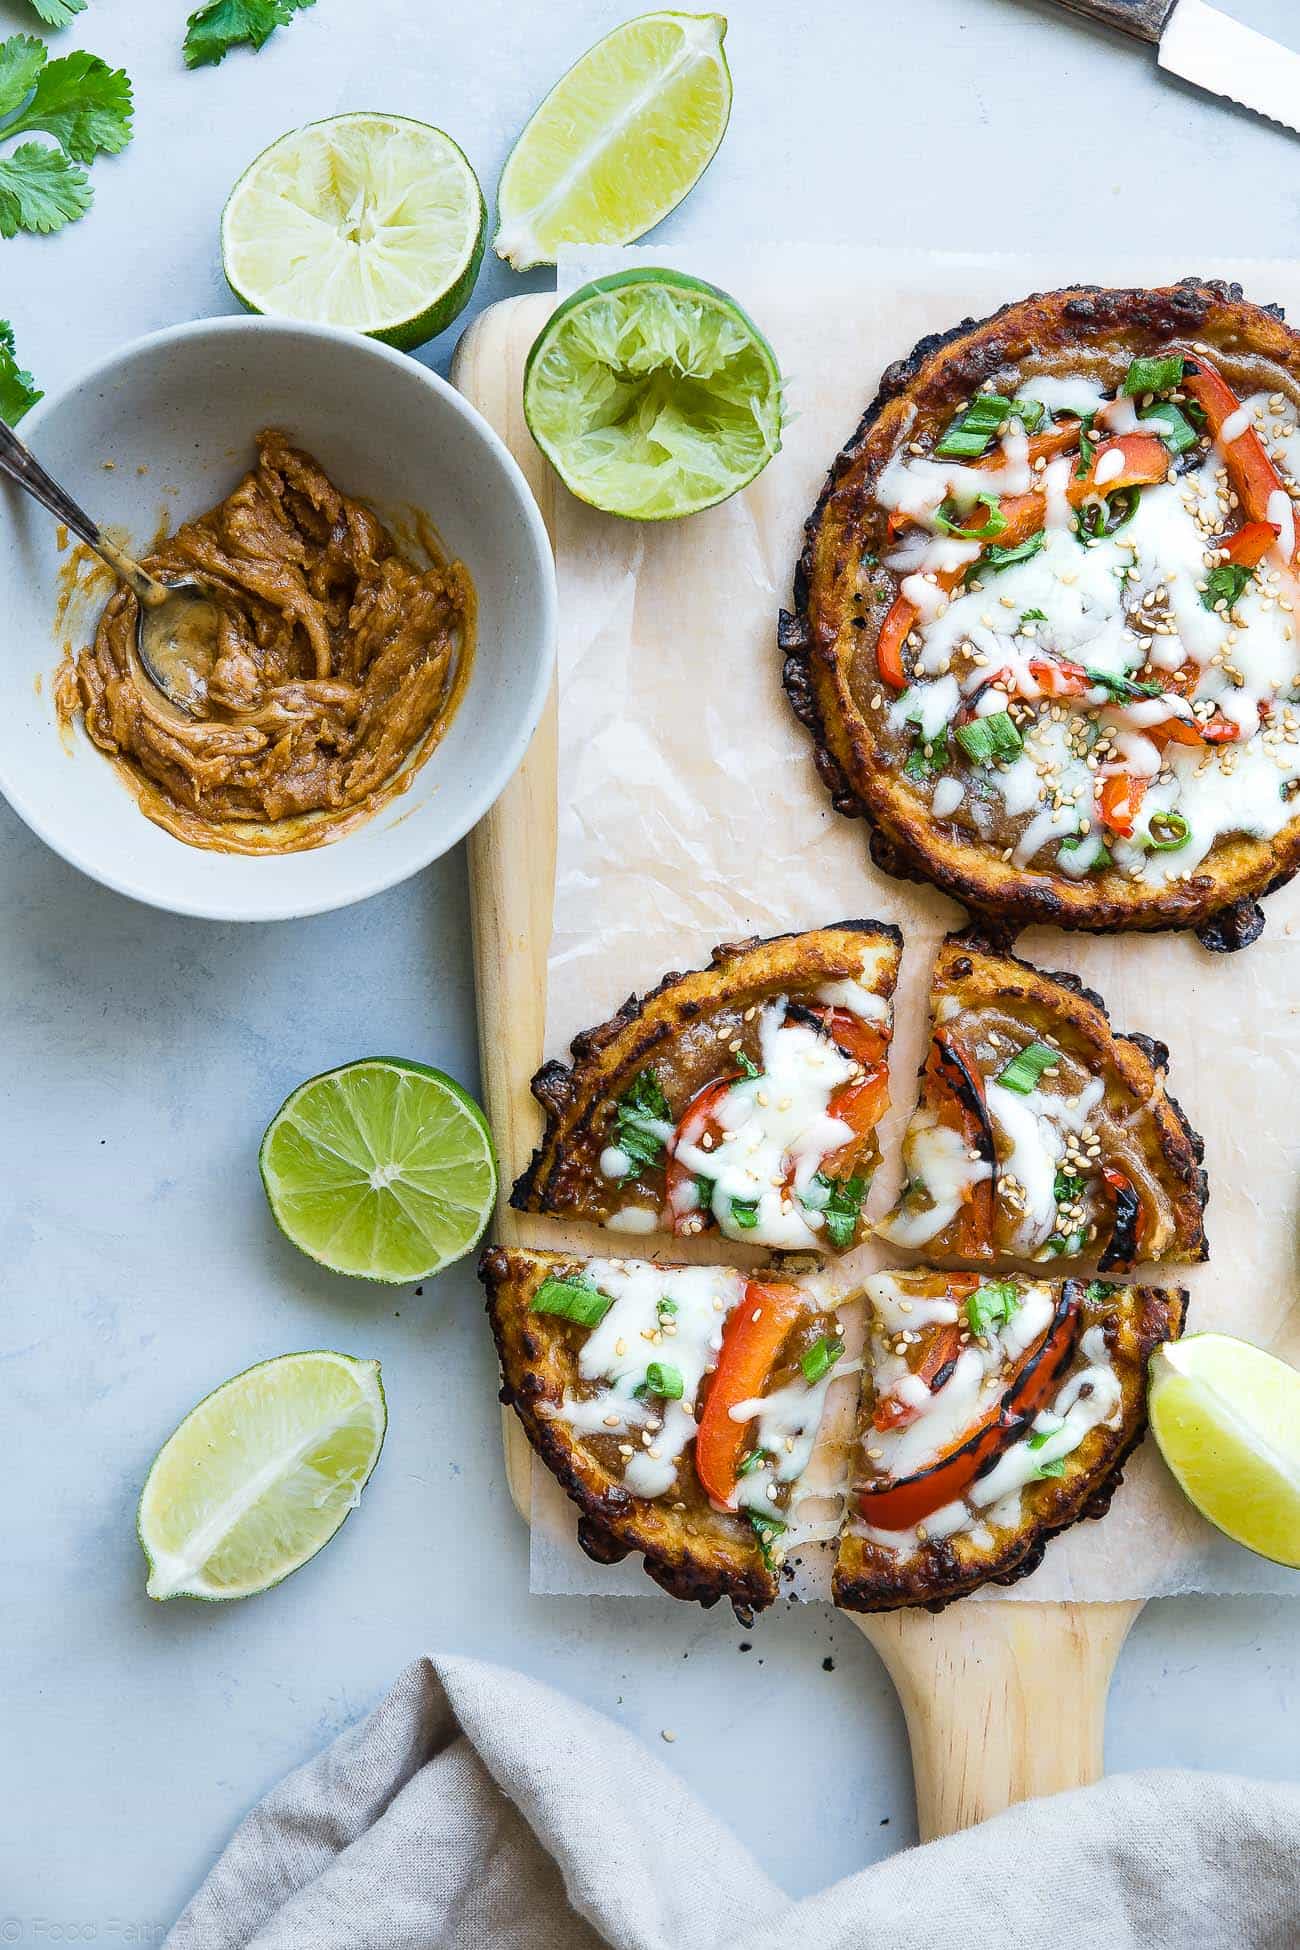
Cauliflower is one of those culinary chameleons that never fails to amaze me. From mashed potatoes to rice to pizza crust, this versatile veggie wears many hats and can take on the role of comfort food without missing a beat. This Thai peanut-cauliflower pizza is one of the dishes I’ve recently made with it. I’ve been serving it to my family on repeat (they don’t seem to mind!), and once you try it, I think you’ll do the same. With its nutty, savory peanut sauce and fresh toppings, this pizza is a delicious way to blend global flavors with a creative, veggie-forward base.
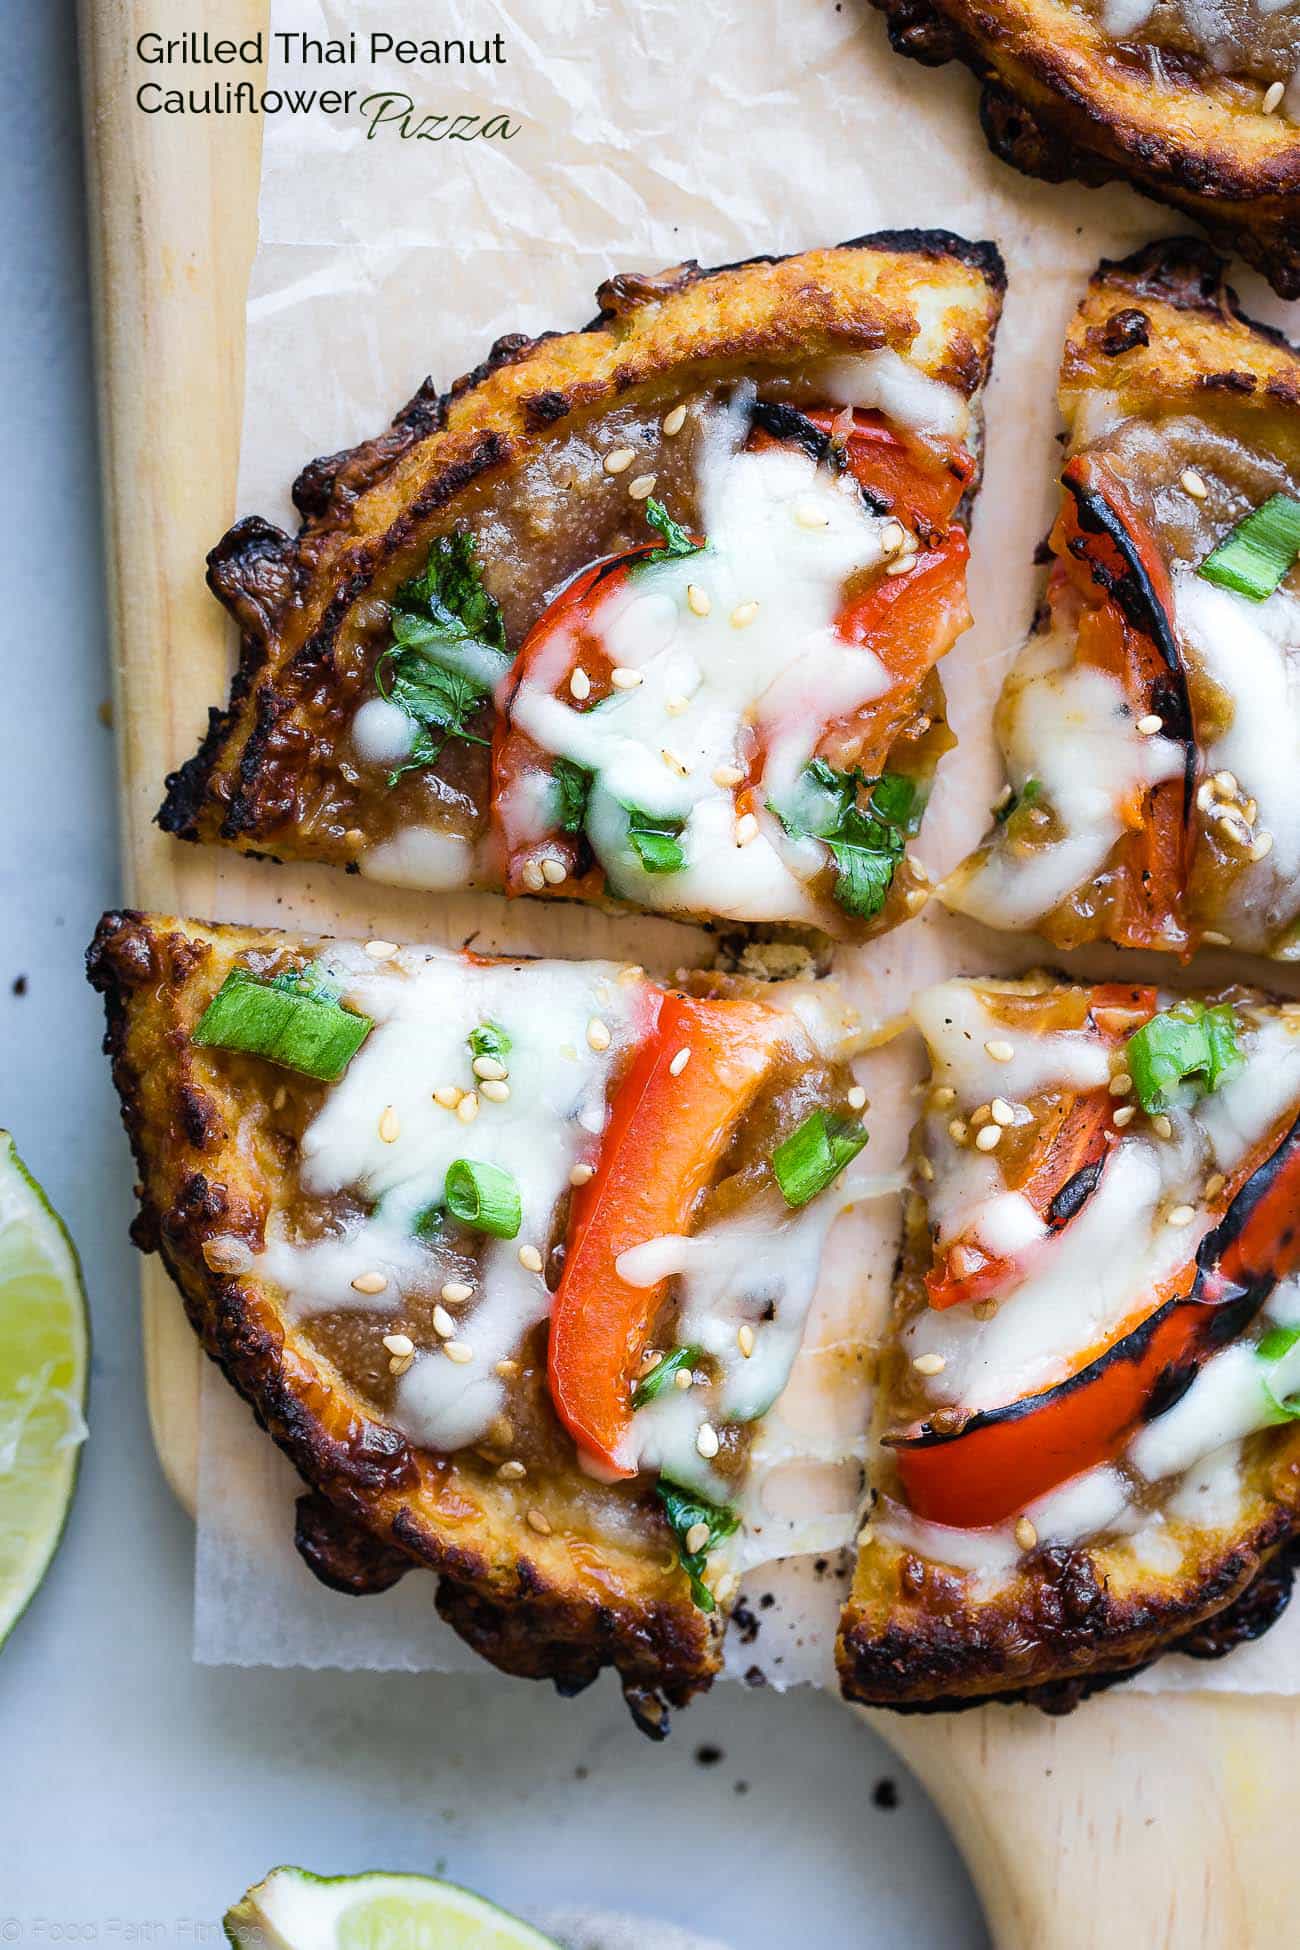
This recipe also gets a crispy upgrade: it’s grilled! No soggy crusts here. Just a charred, crispy bottom that’s perfect for holding all those Thai-inspired flavors. Whether you’re a cauliflower crust enthusiast or just love trying new spins on pizza night, this recipe is bound to earn a spot in your rotation.
Is Thai Peanut-Cauliflower Pizza Healthy?
This pizza is a balanced choice. While cauliflower makes a lighter crust compared to traditional dough, it’s also a veggie loaded with nutrients. The peanut sauce and mozzarella cheese add richness and protein, making it a satisfying meal. Think of this pizza as a flavorful way to include more vegetables in your diet while still enjoying an indulgence. A win-win for your taste buds and your mealtime goals!
To make a vegan variation, simply replace the mozzarella with a plant-based alternative. The egg white can be replaced with a flax “egg.” In a small bowl, mix one tablespoon of flax meal with three tablespoons of water. Leave this for ten minutes until it becomes gelatinous, and use it instead of the egg white.
The Secret To A Crispy Cauliflower Crust
The secret? Head to the grill for the perfect crust! If you’ve ever been disappointed by a soggy cauliflower crust, grilling is the solution you didn’t know you needed. After baking, placing the crust directly on the grill ensures it develops a firm, crispy base. The direct heat adds a smoky depth and prevents any flop-factor when you’re loading on the toppings. Another secret: Mozzarella isn’t just a topping here. It’s part of what holds the cauliflower crust together. The cheese melts into the cauliflower, binding it into a sturdy, sliceable base. Plus, mozzarella’s mild flavor lets the peanut sauce and Thai-inspired toppings shine. Whether you’re a cheese lover or just looking for a functional (and tasty) crust component, mozzarella is key.
How To Make Ahead And Store
You can prepare and bake the crust in advance, then store it in the fridge for up to 3 days. Add toppings and grill when ready to serve. Leftovers keep well in an airtight container in the fridge for up to 3 days. You can also freeze the baked crust or fully assembled pizza for up to 1 month. Reheat in the oven or on the grill for best results.
Serving Suggestions
This Thai peanut-cauliflower pizza proves pizza night doesn’t have to mean the same old thing. Pair this pizza with a crisp and refreshing Thai Cucumber Salad, or this Creamy Cucumber Salad. A light dessert like this Vanilla Mousse or a Coconut Milk Ice Cream With Rum And “Egg Nog” will finish your pizza night in style.
Ingredients
- 6 cups cauliflower cut into florets (1 1/4 pounds)
- 13 tablespoons grated, reduced-fat mozzarella cheese divided (just over 3 ounces)
- 1 teaspoon fresh ginger minced
- 1 teaspoon fresh garlic minced
- 1/4 teaspoon sea salt
- Pinch of pepper
- 1 large egg white
- 1/2 large red pepper sliced
- Cilantro for garnish
- Sliced green onion for garnish
- Toasted sesame seeds for garnish
For The Sauce:
- 2 tablespoons + 1 teaspoon natural peanut butter
- 1 tablespoon peanut oil
- 2 teaspoons fresh lime juice
- 1/2 teaspoon agave (or honey)
- 1/2 teaspoon rice vinegar
- 1/4 teaspoon fresh ginger minced
- Salt to taste
Instructions
- Preheat your oven to 400℉ and line a pizza pan with parchment paper.
- In a large food processor, process the cauliflower until it is the texture of rice.
- Place the cauliflower into a large bowl and microwave for 7 minutes, stir, and microwave for an additional 7 minutes. Then, let the cauliflower stand until cool enough to handle, 10-15 minutes.
- Place the cauliflower on a thin kitchen towel and wring out all the excess moisture. Once you think you've gotten all the water out, transfer it to another thin towel and wring out again. Get out as much moisture as you can, as this is the key to a crust that won't be soggy.
- Transfer the cauliflower to a sheet of paper towel and use another paper towel to further press out some moisture. Place it back in the large bowl.
- Add 1/2 cup of the cheese, the ginger, garlic, salt, and a pinch of pepper. Stir until well combined and then add the egg white, mixing until well combined.
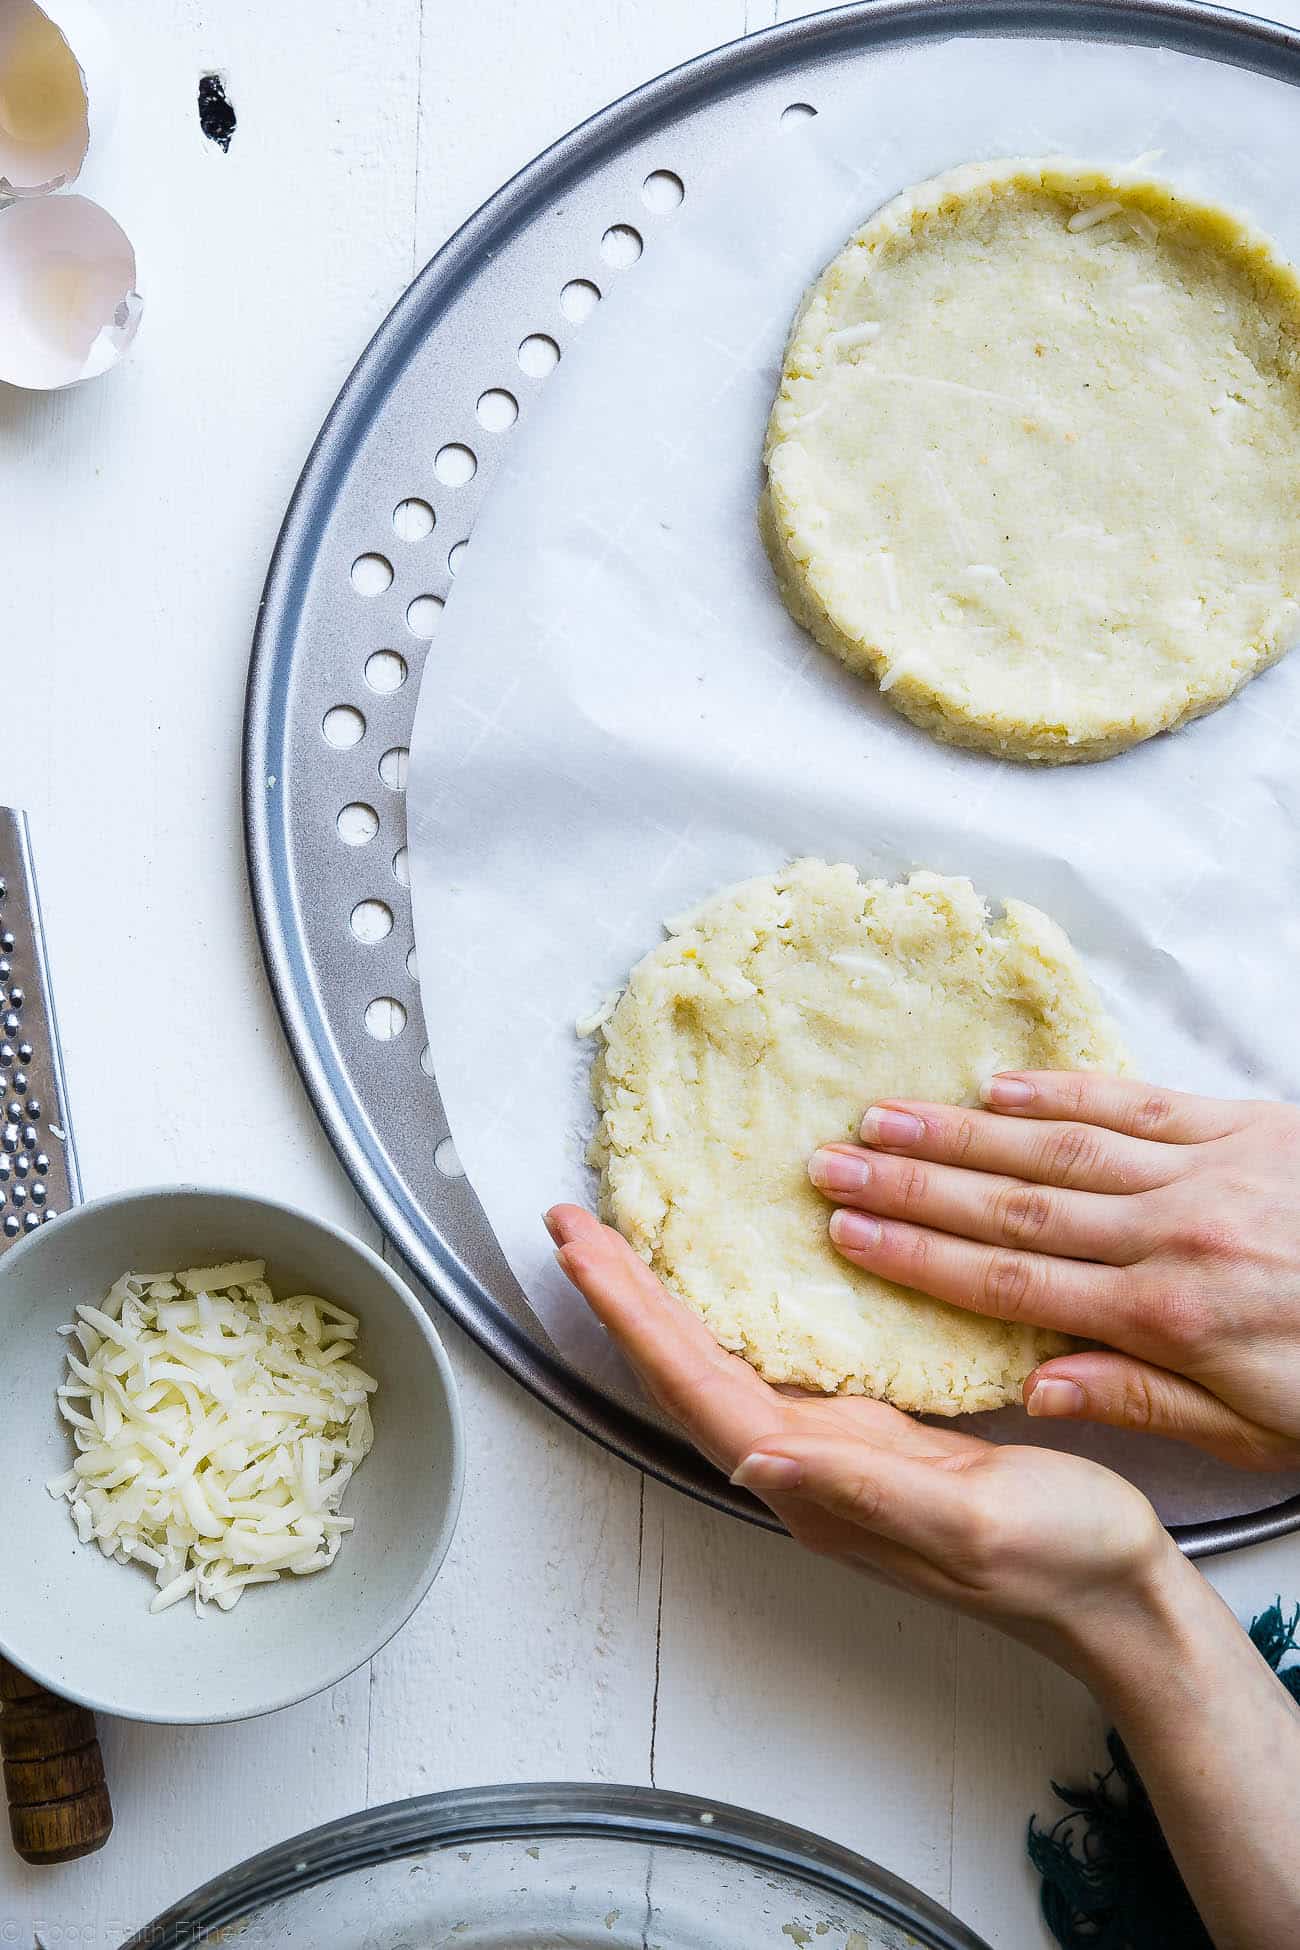
- Divide the cauliflower into 2 balls (about a heaping 1/2 cup each) and flatten each onto on the pizza pan, leaving a ridge for the crust. Your crust should be roughly 5 1/2 inches across.
- Bake until golden brown, about 25-30 minutes. While the pizza crust bakes, whisk all the ingredients for the sauce together in a medium bowl.
- Once the pizza is golden, remove from the oven and turn the oven to high broil.
- Sprinkle 1 tablespoon of the remaining cheese onto each pizza and broil until melted, about 2-3 minutes.
- Remove from the oven and use a pancake flipper to gently slide the pizza crusts off the parchment and onto a grill. Also place the sliced red pepper on the grill. Cook until the bottom of the pizza is charred and begins to crisp, about 3 minutes.
- Gently remove the pizza and peppers from the grill. Divide the sauce between the 2 crusts, followed by the red peppers, a sprinkle of cilantro, green onion, and the remaining cheese (about 1 1/2 tablespoons of cheese per pizza).
- Place back onto the grill until the cheese is melted, about 2-3 minutes.
- Sprinkle with sesame seeds and serve.
Nutrition Info:
Nutrition information are estimates only and may vary based on the specific brands, ingredients, and portion sizes you use. This data is provided for informational purposes only.


Leave a Comment