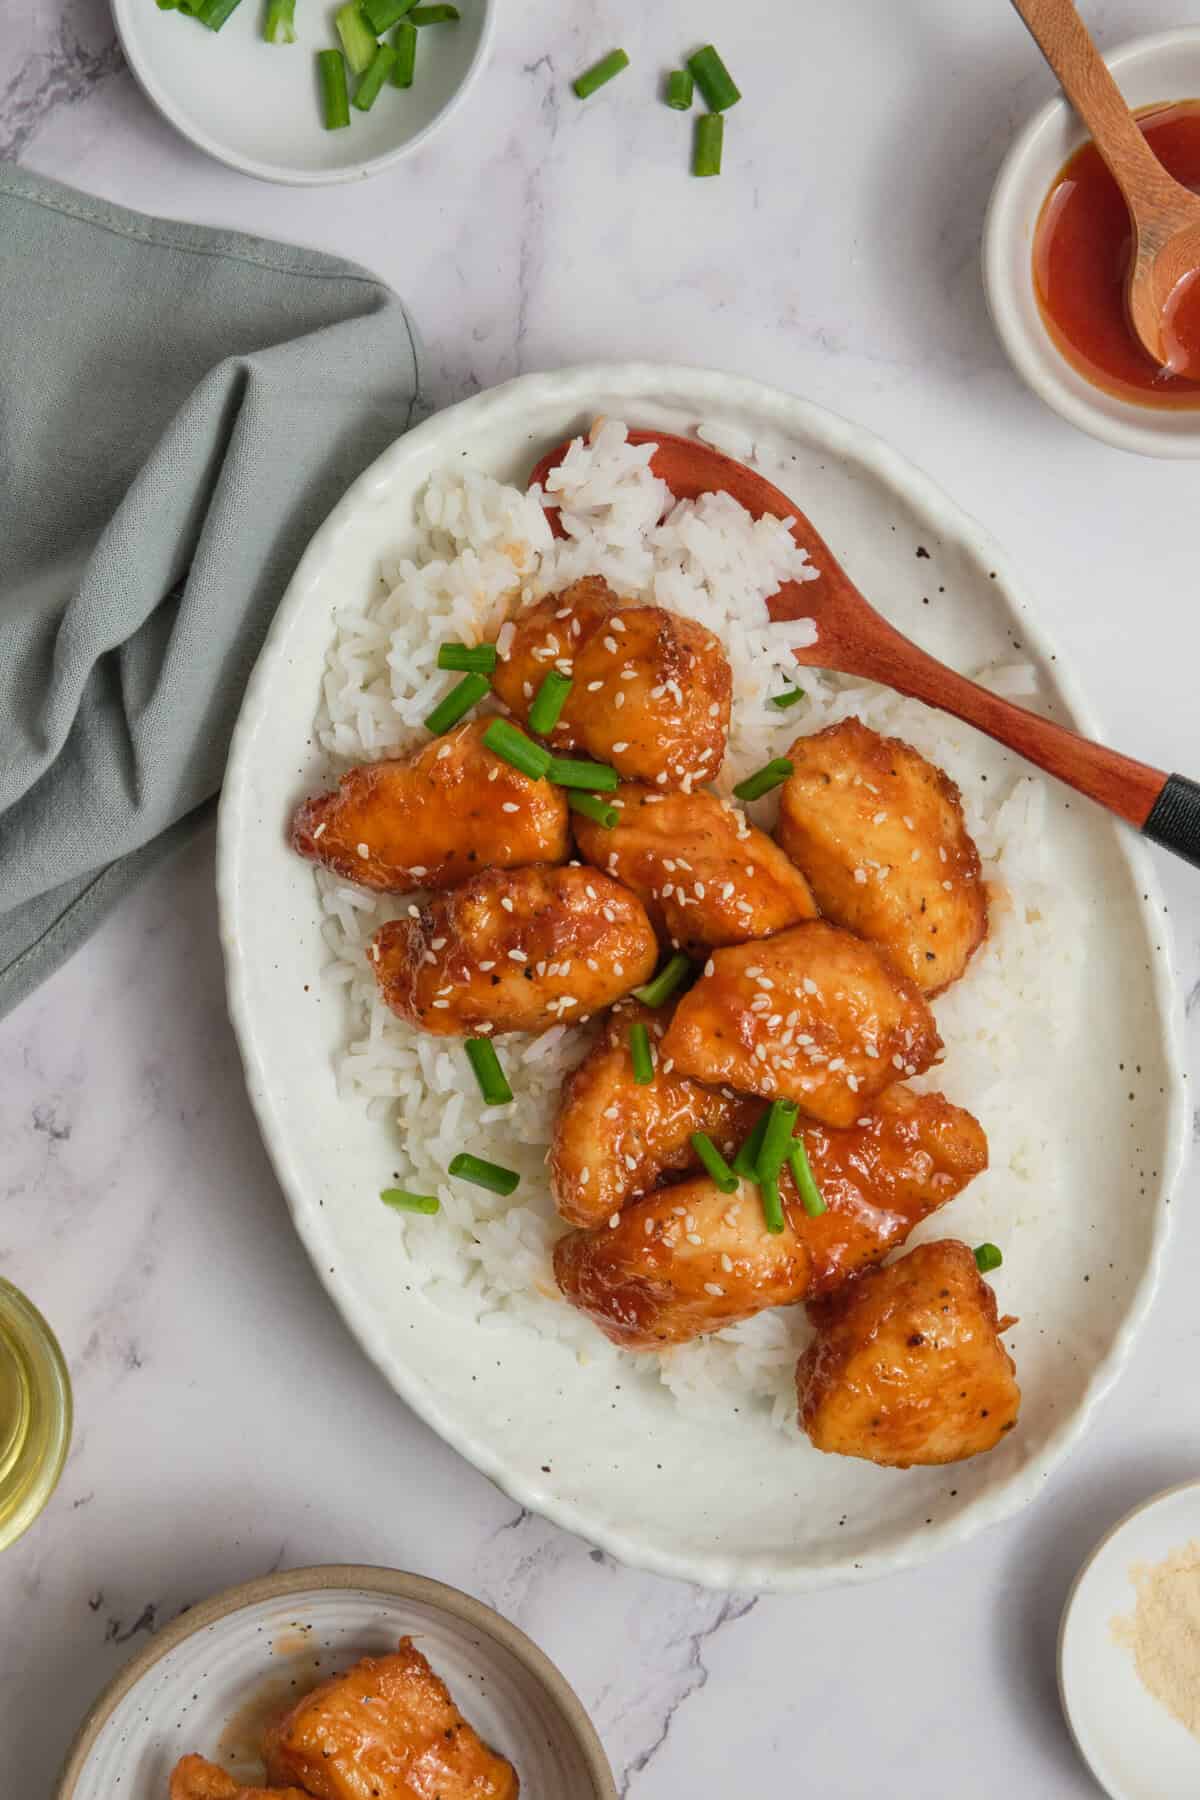
Enjoy this homemade take on a Chinese takeout classic.
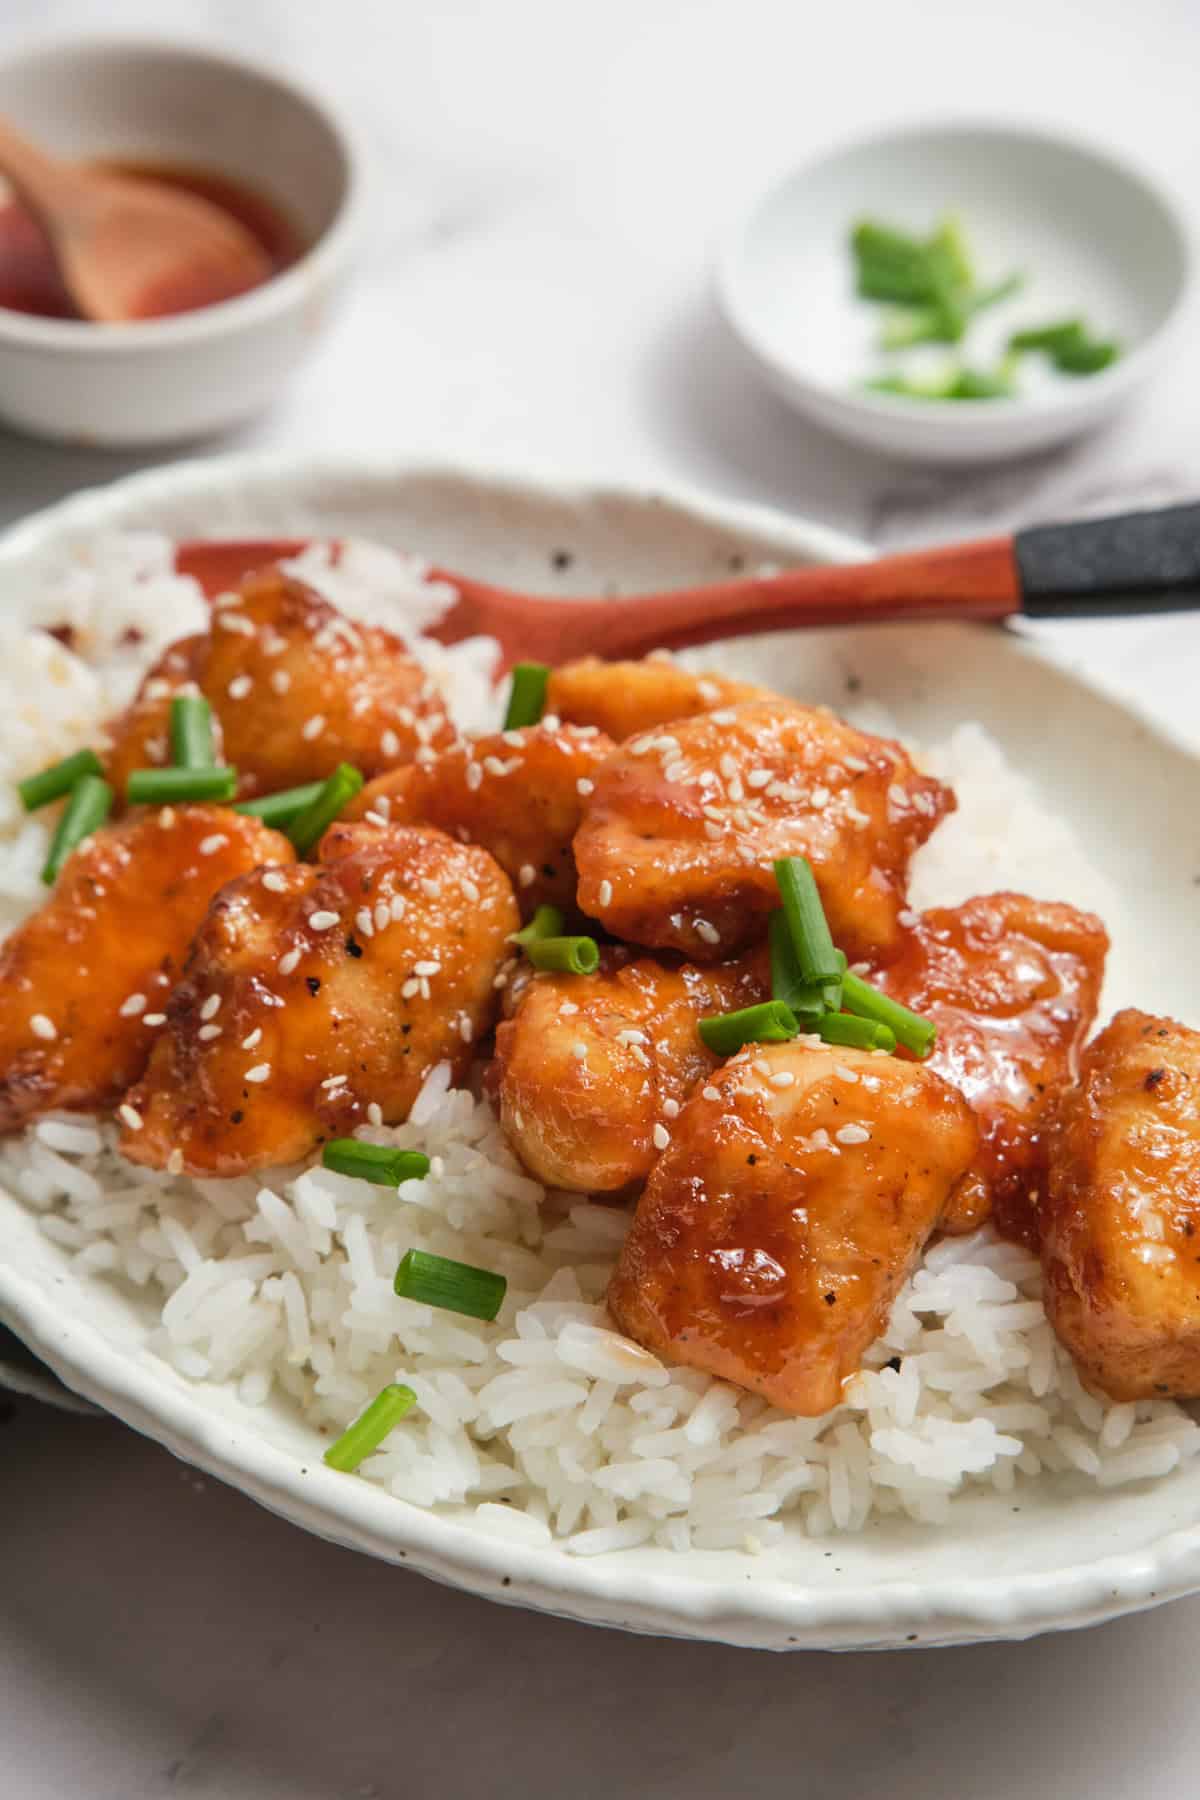
Just about every other month, I get the urge to order Chinese takeout. One of our family favorites is sweet-and-sour chicken. There’s something about that tangy and sticky sauce that’s so crave-worthy. Is it the healthiest meal? Probably not. But you know what? Sometimes, taste trumps calories. And while my homemade take isn’t low-calorie, it boasts quality ingredients and a taste that likely rivals your local takeout.
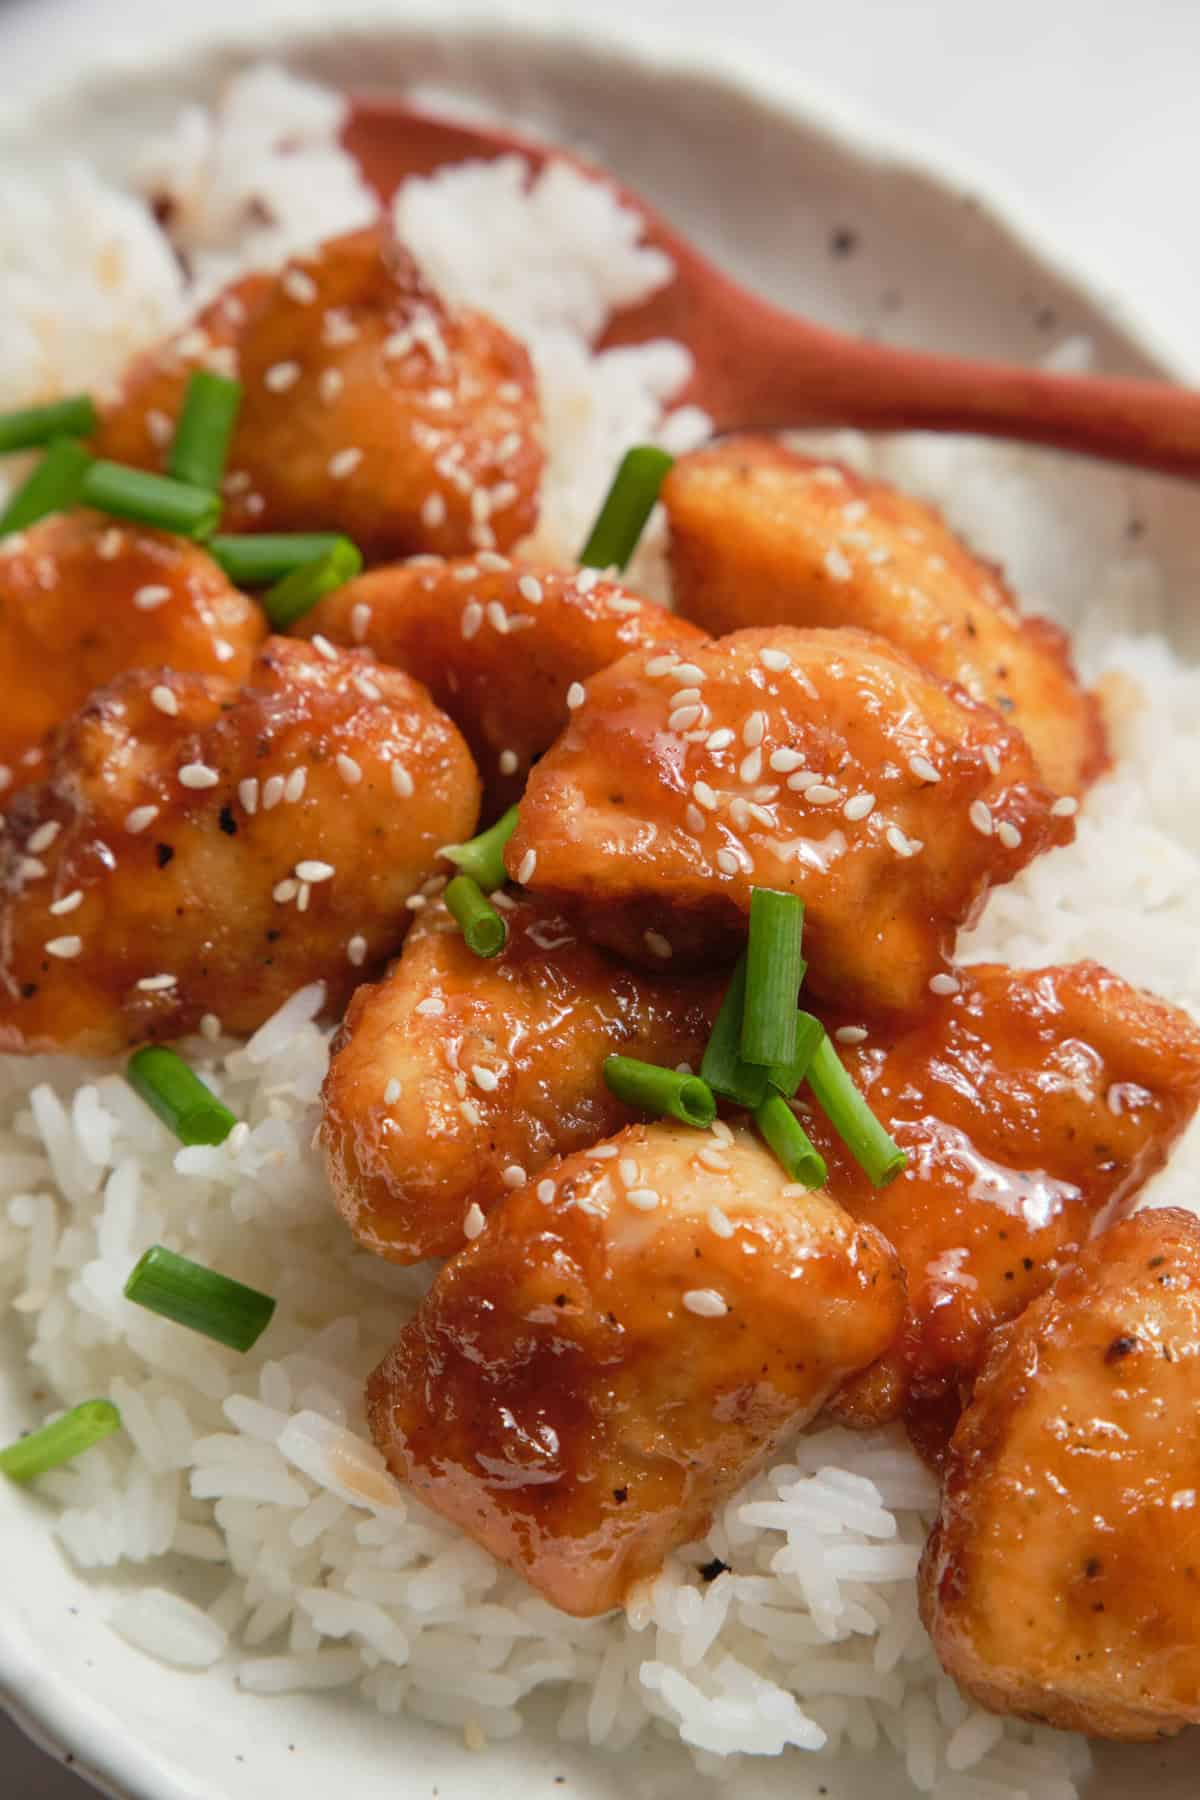
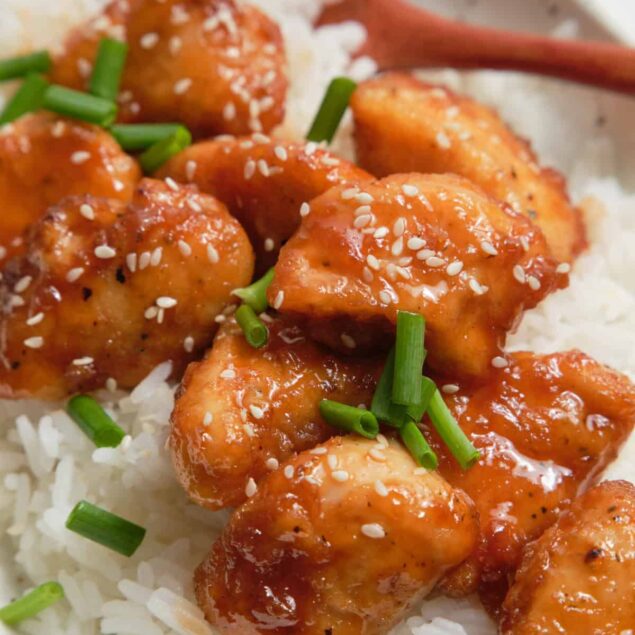
Aside from being easy to make, my favorite part about this sweet-and-sour chicken recipe is how the crispy, golden chicken soaks up the delicious sauce. The mix of apple cider vinegar, ketchup, and sugar creates that balance of tangy and sweet we all like, while the garlic powder and soy sauce add an umami touch.
There’s something so satisfying about making sweet-and-sour chicken at home. No need to worry about mystery ingredients, artificial colors, or high sodium—and I can adjust the sweetness to exactly how I like it. Plus, serving it hot from the oven means the chicken’s coating stays perfectly crispy; no soggy takeout boxes here! Now, if only I could figure out how to make my own fortune cookies…
Chicken thighs—the affordable alternative
I have a family of five, so I’m always looking for affordable ways to provide nutrient-rich meals. That’s why I often substitute chicken breasts with skinless chicken thighs. They’re an excellent alternative for this sweet-and-sour chicken recipe. Thighs are usually more budget-friendly than chicken breasts, so I can buy them in bulk.
But I don’t just buy them because they’re easier on my wallet. They’re also more forgiving—thighs stay juicy and tender even when I accidentally cook them longer than intended. I’m often helping kids with homework as I cook, so it’s nice to know that chicken thighs won’t dry out during study sessions. Chicken thighs are a win-win—affordable and foolproof for busy family dinners.
How do I store leftovers?
If you have leftovers, you can store them in an airtight container in the fridge for up to four days. The sauce, however, can be made in a large batch and stored for future use. I like to keep some in the fridge (stored separately from the chicken, of course) for up to a week.
Serving suggestions
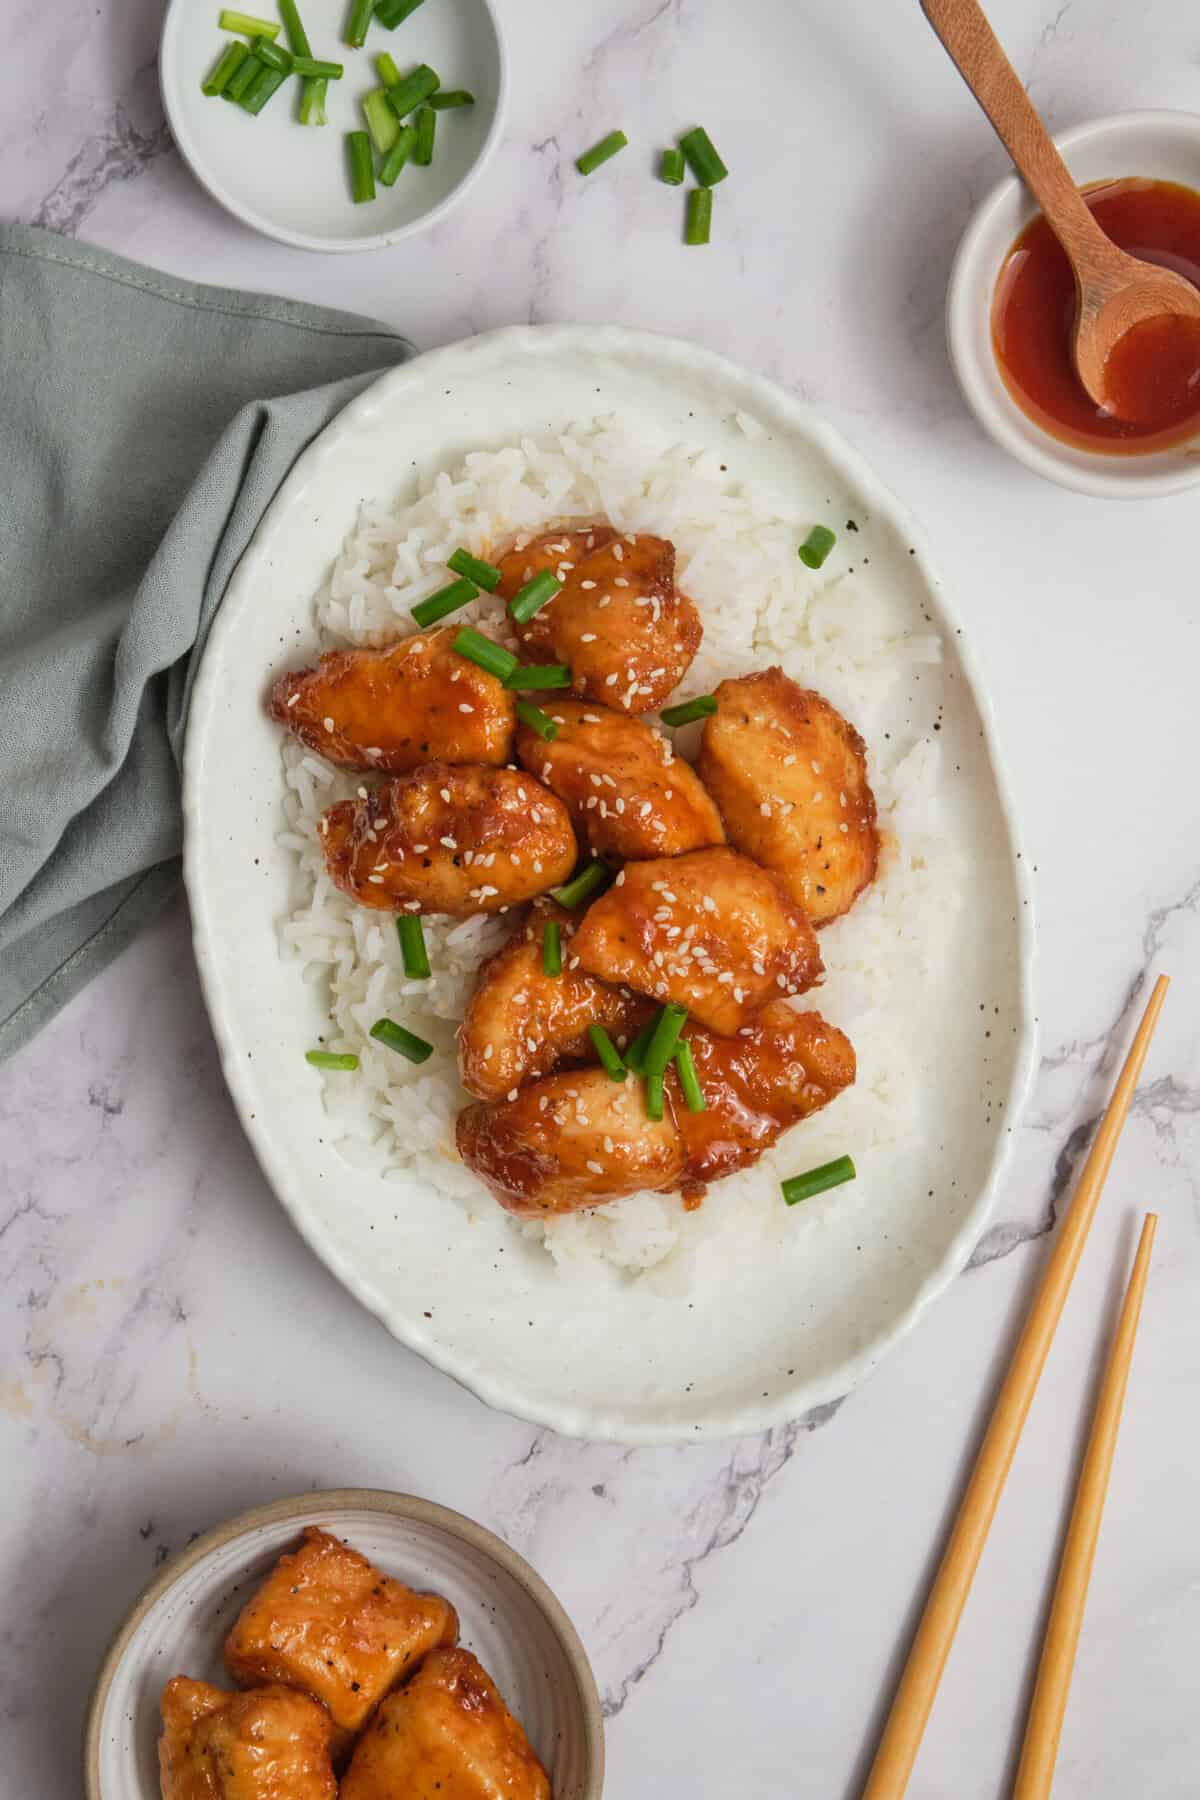
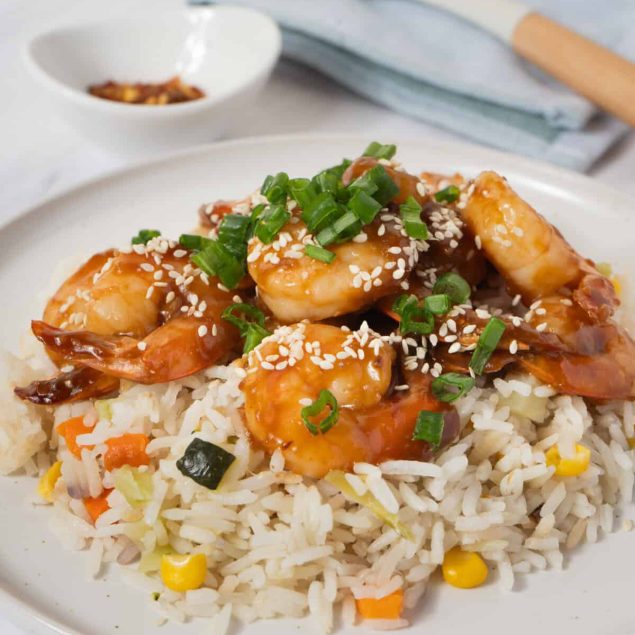
When I make sweet-and-sour chicken at home, I still like to pretend that I’m ordering takeout. So, if you’re like me, then you’ll want to serve the chicken on a bed of Steamed Rice or Vegetable Fried Rice. Oh, and we can’t forget about some classic appetizers, like Crispy Fried Wontons and Air-Fryer Egg Rolls. You can also add a side of stir-fried veggies, like an Asparagus Stir-Fry, to balance out the rich sauce.
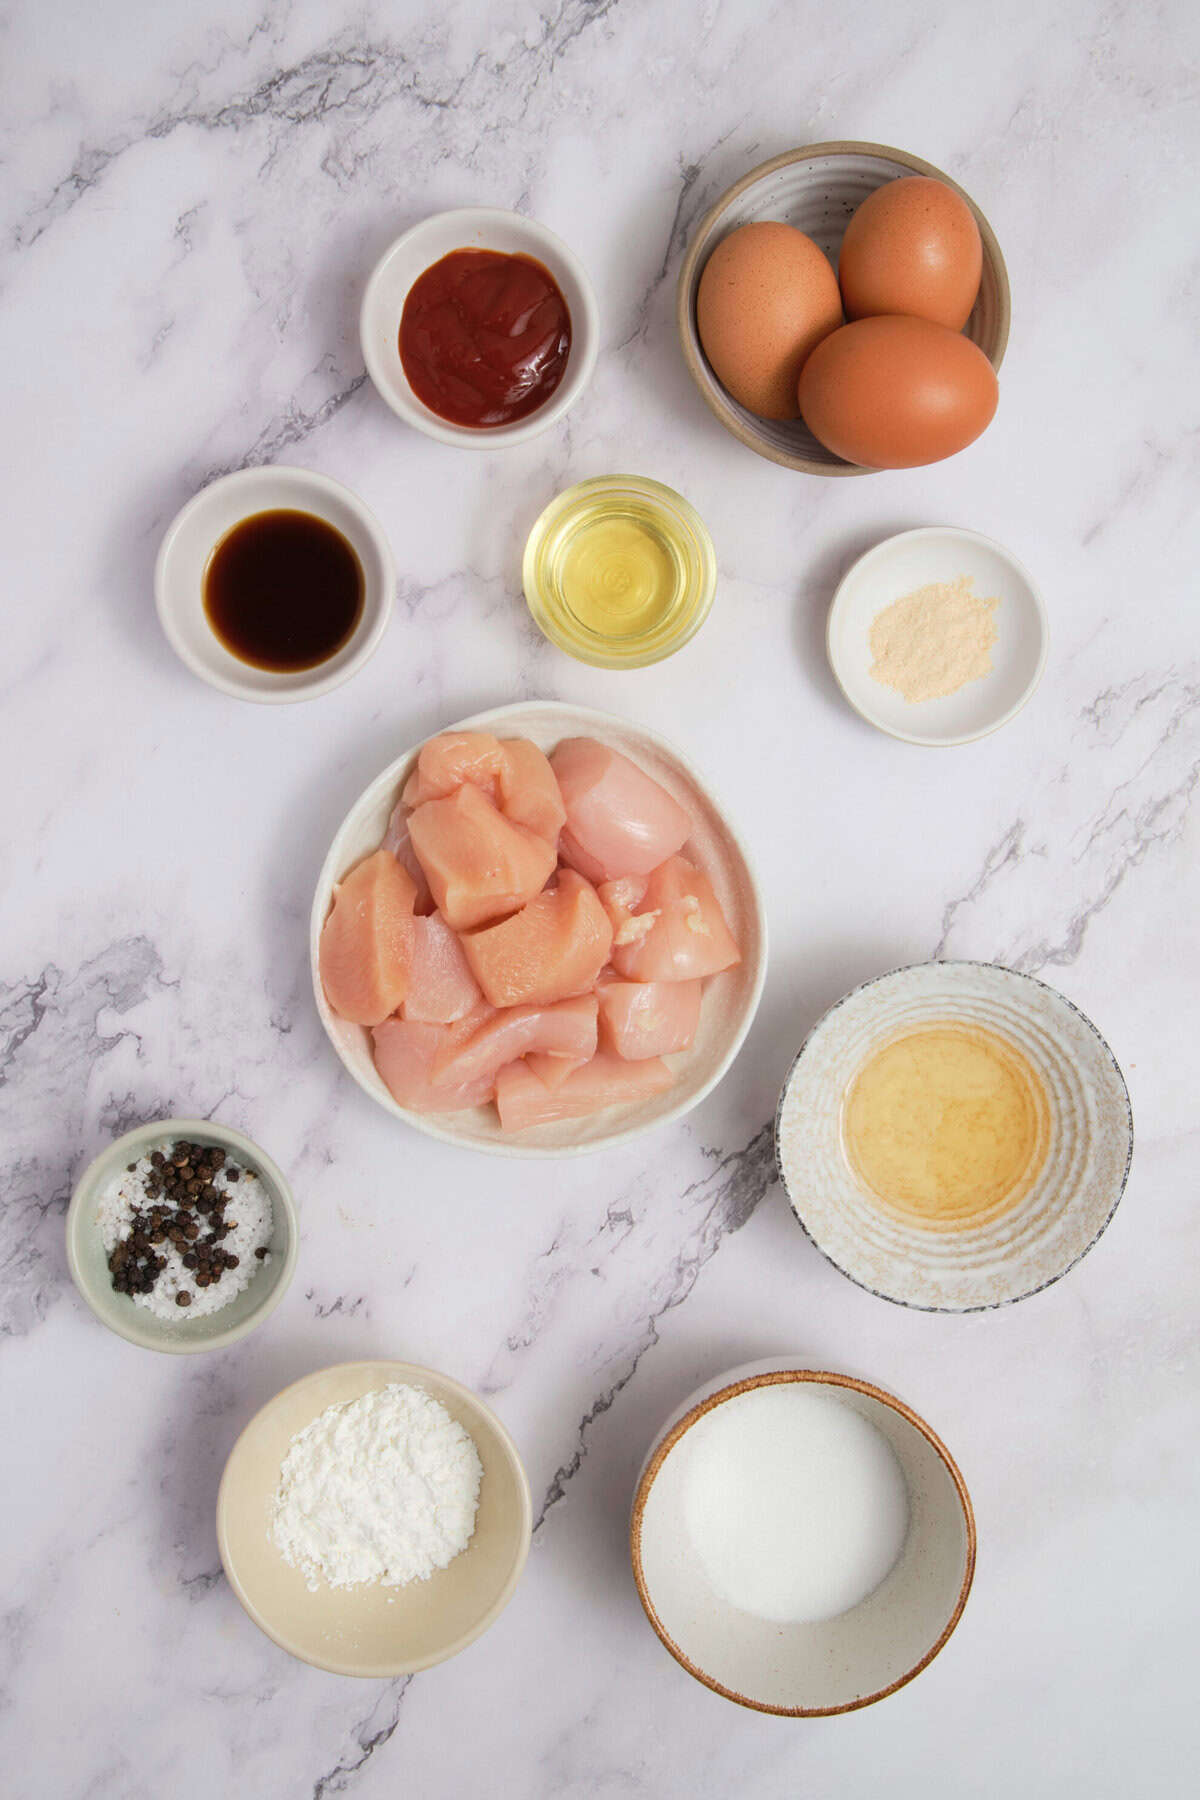
Ingredients
- 1 pound boneless, skinless chicken breasts cut into 1-inch pieces
- Salt and pepper to taste
- 1 cup cornstarch
- 3 large eggs beaten
- 1/4 cup vegetable oil
- 1/2 cup sugar
- 1/2 cup apple cider vinegar
- 1/3 cup ketchup
- 1 tablespoon soy sauce
- 1 teaspoon garlic powder
Instructions
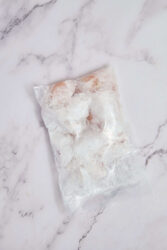
- Season the chicken pieces with salt and pepper. Place cornstarch in a large zip-top bag, add chicken, and shake to coat.
- Dip the cornstarch-coated chicken pieces in beaten eggs.

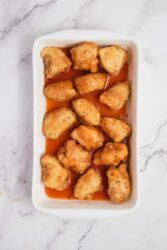
- Heat oil in a skillet over medium-high heat. Fry the chicken until golden but not cooked through, about 2 minutes per side. Transfer to a baking dish.

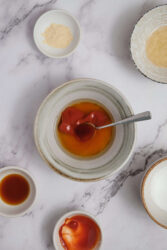
- In a bowl, mix together sugar, apple cider vinegar, ketchup, soy sauce, and garlic powder.
- Pour the sauce over the chicken in the baking dish. Bake in a preheated oven at 325°F for 1 hour, turning chicken every 20 minutes to coat with sauce.
Nutrition Info:
Nutrition information are estimates only and may vary based on the specific brands, ingredients, and portion sizes you use. This data is provided for informational purposes only.

Leave a Comment