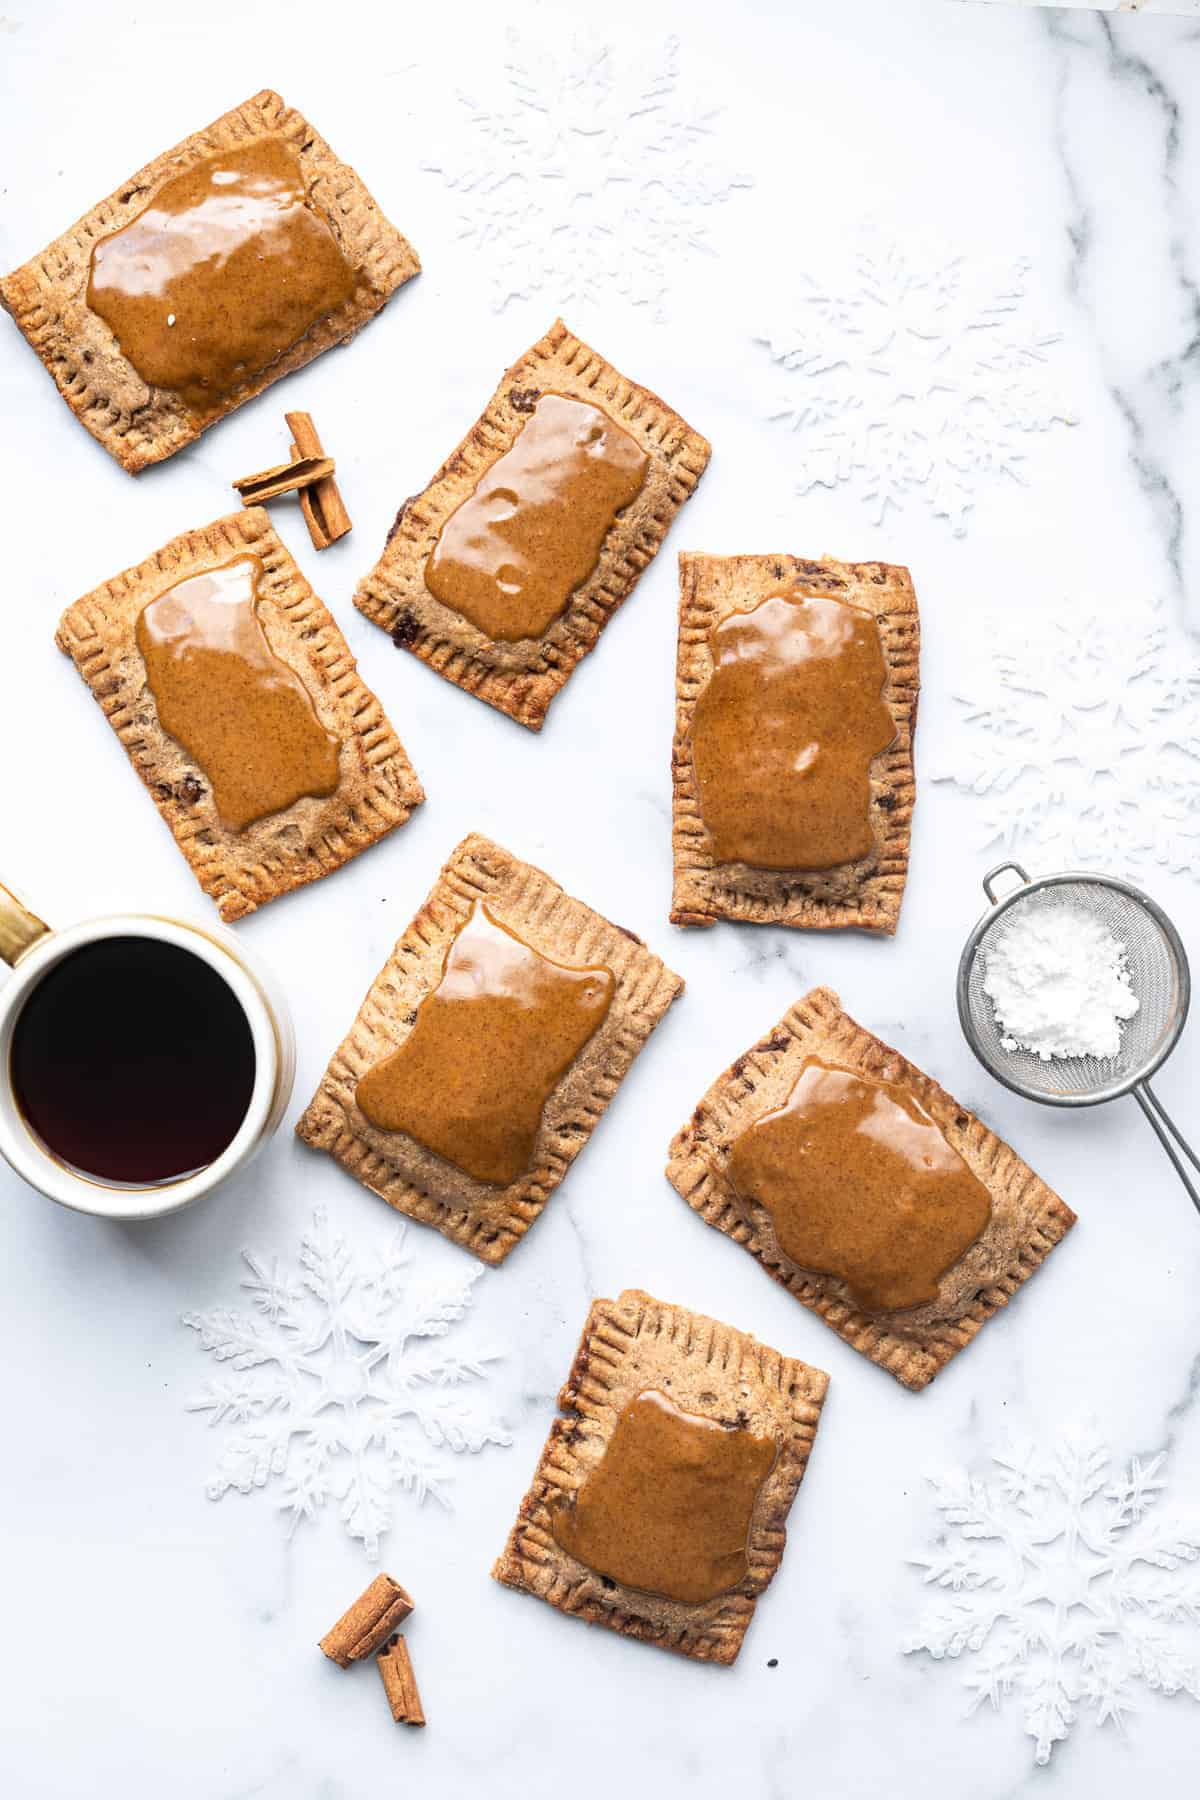
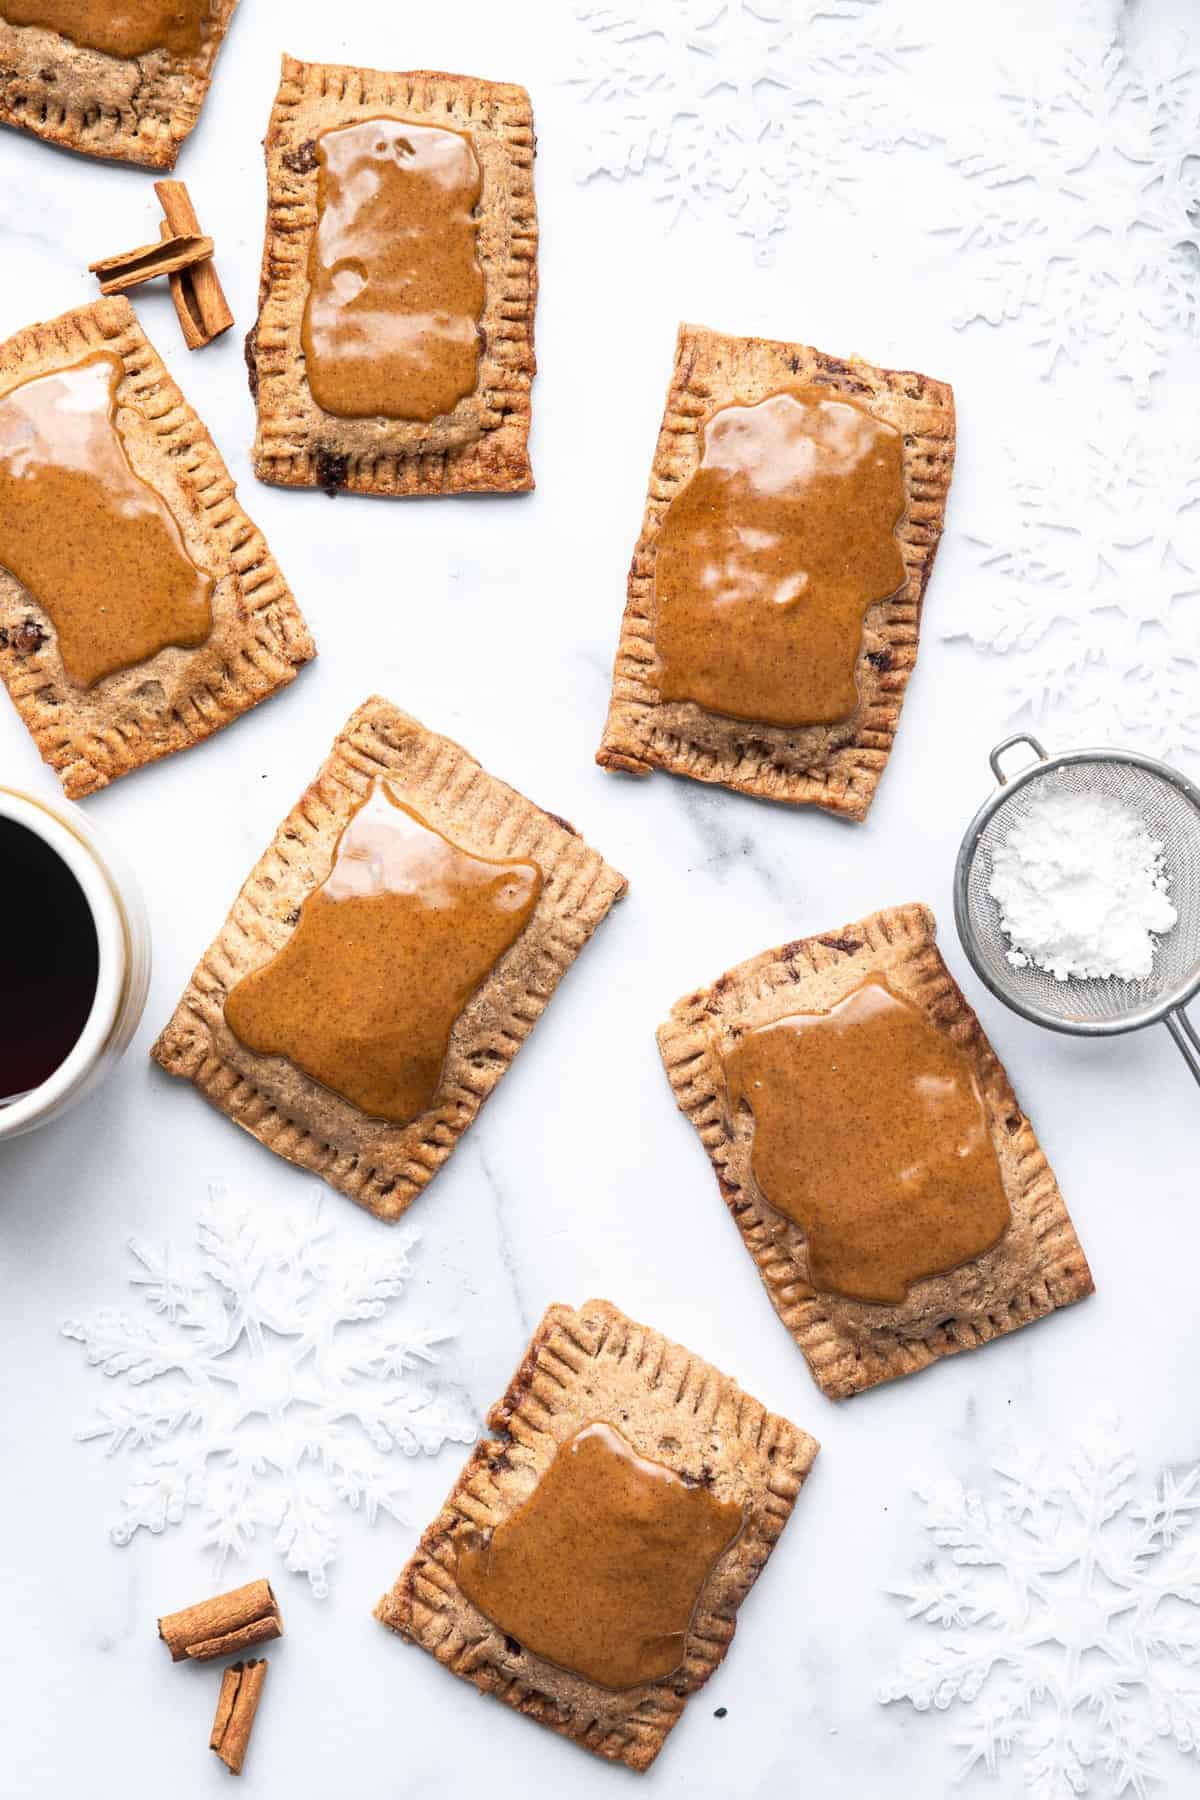
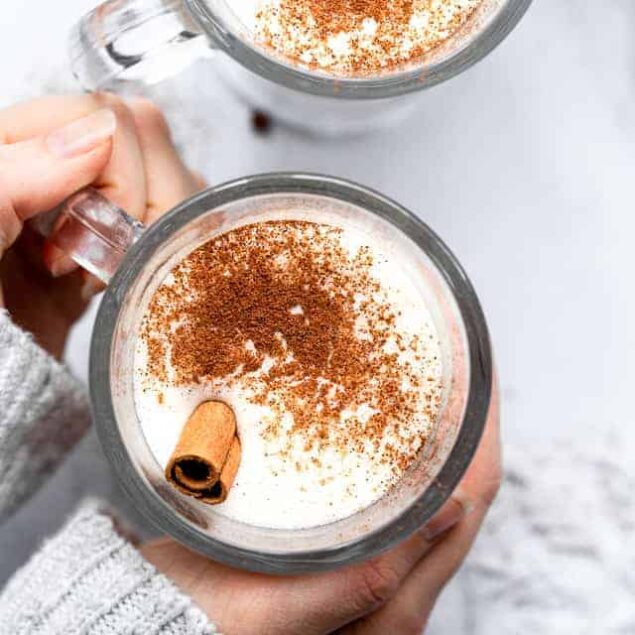
Bring back a touch of childhood nostalgia with these flaky, Healthy Homemade Pop-Tarts!

My eating habits as a kid were anything but exemplary. Despite my mother’s excellent cooking and her insistence on packing every meal with a generous helping of fruits and vegetables, my appetite for sweet treats took over the moment I stepped outside. Whether it was at school or a friend’s house, I couldn’t resist the sugar-laden treats that called to me from colorful wrappers and catchy jingles on TV. Twinkies, Hostess Cupcakes, Cracker Jack, Snowballs, and, most of all, Pop-Tarts—these were my ultimate weaknesses. While they were undoubtedly best enjoyed fresh from the toaster, patience was not something I had. The second I got my hands on a box, I’d devour at least four in one sitting, until I felt giddy from my self-induced sugar high. But sugar isn’t the only questionable ingredient in those little pastries. The list isn’t exactly short, and their nutritional profile? Let’s just say it leaves a lot to be desired.
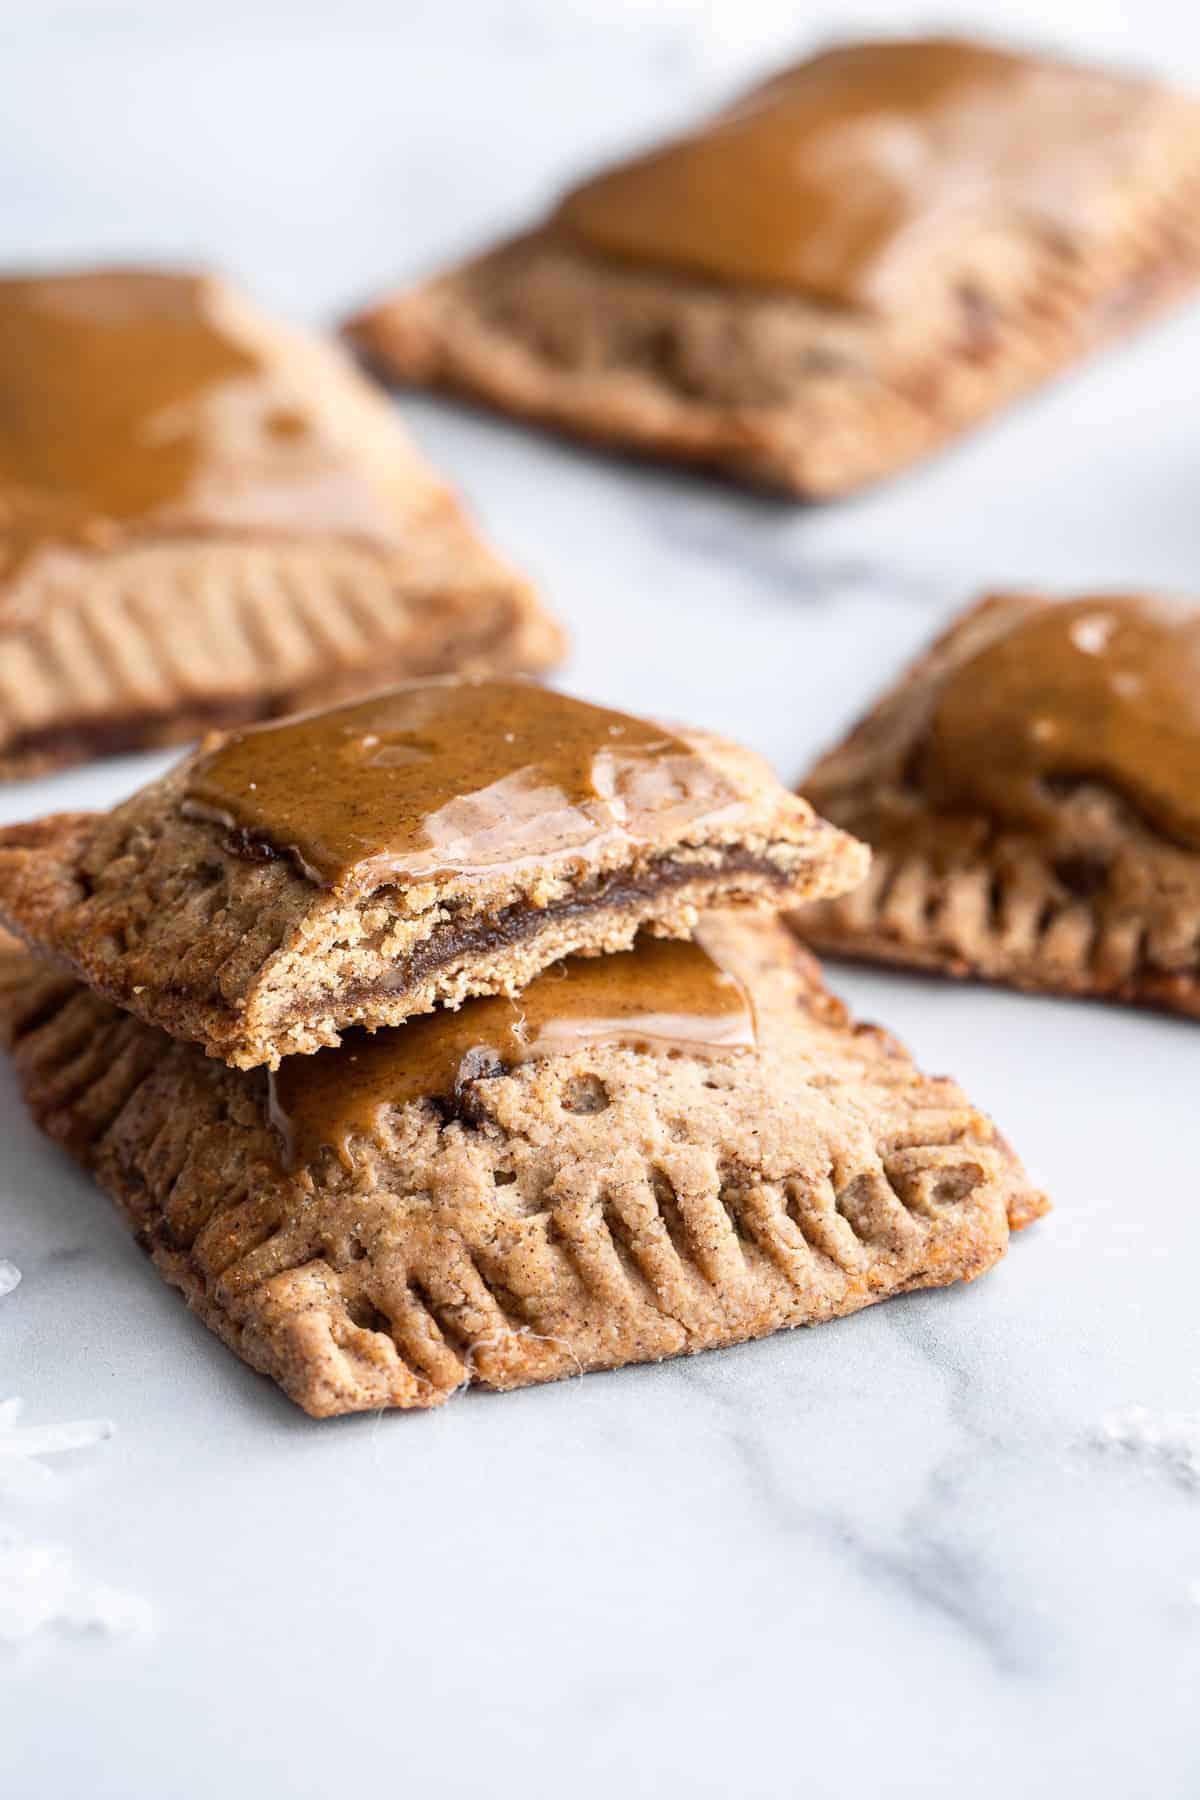
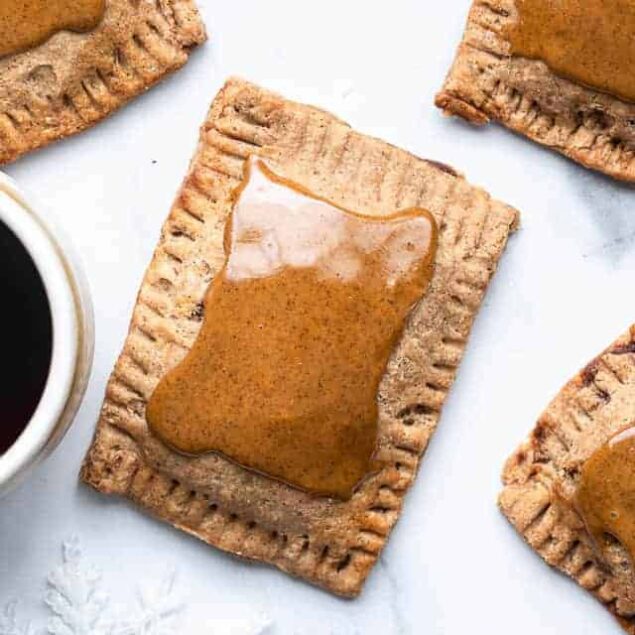
Even now, I’d be lying if I said I don’t feel a pang of nostalgia when I spot a box of Pop-Tarts at the supermarket—especially the cinnamon and brown sugar variety. That’s exactly what inspired me to create this recipe for homemade Pop-Tarts—with ingredients you can actually pronounce, like whole-wheat flour. The crust is beautifully flaky and light as air, and the best part is that sweet cream cheese blend that pairs perfectly with a glossy, cinnamon-scented glaze. These homemade treats capture all the indulgence of that beloved childhood classic, reimagined in a way that’s considerably more wholesome and decidedly delightful.
Are Homemade Pop-Tarts Healthy?
Well, there’s no doubt these homemade Pop-Tarts are a better choice compared to their store-bought counterparts. They’re made with real ingredients and use whole-wheat flour instead of the overly processed white stuff. But let’s call a spade a spade—these melt-in-your-mouth toaster pastries don’t exactly skimp on indulgence. They’re rich in coconut oil, which is mostly saturated fat, and pack their fair share of sugars. Sure, I opted for more natural sweeteners like coconut sugar, honey, raw organic cane sugar, and molasses, but at the end of the day, sugar is still sugar and should be enjoyed in moderation. With a single Pop-Tart containing as many calories (and potentially more fat) as an average healthy lunch, these are definitely a treat meant for special occasions.
A Short History Of Pop-Tarts
First conceived by cereal giant Kellogg’s in 1963, Pop-Tarts quickly became the epitome of convenience food. The idea was to create a toaster pastry inspired by toast and jam, offering a portable, no-fuss breakfast option. By 1964, the first four flavors hit the shelves: strawberry, blueberry, brown sugar cinnamon, and apple currant. Back then, Pop-Tarts resembled crackers with their dimpled crusts. It wasn’t until 1967 that Kellogg’s introduced a heat-resistant frosting, transforming them into the sugary, iconic pastries we know and love.
Over the decades, Pop-Tarts became hugely popular, thanks in part to creative advertising campaigns and an ever-expanding array of flavors. Today, there are more than 20 varieties, ranging from classics like Frosted Strawberry to Frosted Cinnamon Roll and Chocolatey Chip Pancake. Pop-Tart mania has only grown throughout the years. In fact, there was even a Pop-Tarts cereal developed in 1994!
How To Make Ahead And Store
These Pop-Tarts can be stored in an airtight container in the fridge for up to 1 week. Once the glaze has hardened, they can also be frozen in a Ziploc bag (with a piece of parchment paper between them) for up to 3 months. The Pop-Tarts can be popped in the toaster frozen. No need to thaw.
Serving Suggestions
Feeling creative and want to try out some other fillings for these tasty tarts? I recommend Vegan Cake Batter Cashew Butter With Macadamia Nuts, Oatmeal Cookie Granola Butter (yes, it’s as good as it sounds), or the strawberry cheesecake filling from my Gluten-Free Brownie Sandwiches.
Ingredients
For the Crust:
- 3/4 cup whole-wheat pastry flour (90 grams)
- 18 tablespoons white-whole wheat flour (140 grams)
- 1/4 teaspoon salt
- 3 teaspoons ground ginger
- 2 1/4 teaspoons ground cinnamon
- 1 tablespoon coconut sugar
- 3/4 cup coconut oil frozen and cut into small cubes
- 6 to 8 tablespoons ice-cold water
For the Egg Wash:
- Egg white from 1 large egg
- 1 tablespoon water
For the Brown Sugar Spread:
- 6 tablespoons coconut sugar
- 1 1/2 teaspoons ground cinnamon
- 3/4 teaspoon ground ginger
For the Filling:
- 5 tablespoons reduced-fat cream cheese softened at room temperature
- 2 1/2 tablespoons honey
For the Molasses Glaze:
- 6 tablespoons powdered sugar
- 3/4 teaspoon ground cinnamon
- 2 1/4 teaspoons molasses
- 3/4 teaspoon unsweetened almond milk
Instructions
- To make the crust, in a large bowl, stir together the flours, salt, ginger, cinnamon, and coconut sugar. Cut in the frozen coconut oil with a pastry blender, or rub it in with your fingers, until the mixture resembles coarse breadcrumbs.
- Drizzle in 6 tablespoons of the ice-cold water and knead until the dough just comes together, adding the remaining 2 tablespoons if the dough is too crumbly.
- Form the dough into 2 discs and wrap them in plastic. Refrigerate for 20 minutes. Line 2 baking sheets with parchment paper.
- After the chilling time, on a lightly floured surface and using a floured rolling pin, roll one of the discs into a 4-inch wide rectangle. Cut the dough in 3-inch increments (so each piece is 3×4 inches) and place the squares onto a prepared baking sheet. Place into the refrigerator to chill while you repeat with the remaining disc.
- Combine the egg white and water in a small bowl, and brush each square with the egg wash.
- Combine the brown sugar ingredients in a small bowl, and spoon a 1/2 tablespoon onto the middle of each square, spreading gently and leaving about a 1/4 inch around the edge of each square.
- Whisk together the filling ingredients in a small bowl until mostly smooth (a few little lumps are perfectly fine). Drop the filling in 1 tablespoon balls onto the center of half of the squares and lightly spread out, leaving about a 1/2 inch around the edge.
- Cover each cream cheese covered square with one of the squares that only has the brown sugar spread (spread side down) and firmly press around the filling to seal. Use a fork to press along the outside of each pastry to crimp the edges. Then, use a toothpick to poke 9 little holes in the top of each pastry so that air can escape while baking. Place into the freezer for 30 minutes to firm up.
- Preheat your oven to 350℉ and bake for 25 to 35 minutes, or until golden brown. Let cool for 5 minutes on the baking sheet. Transfer to a wire rack to finish cooling completely.
- Once the pastries are completely cooled, whisk together the glaze ingredients and spread it over. The glaze will harden after about an hour.
Nutrition Info:
Nutrition information are estimates only and may vary based on the specific brands, ingredients, and portion sizes you use. This data is provided for informational purposes only.
Leave a Comment