Bring fall vibes to your dessert plate with this easy recipe that delivers creamy, complex flavors!
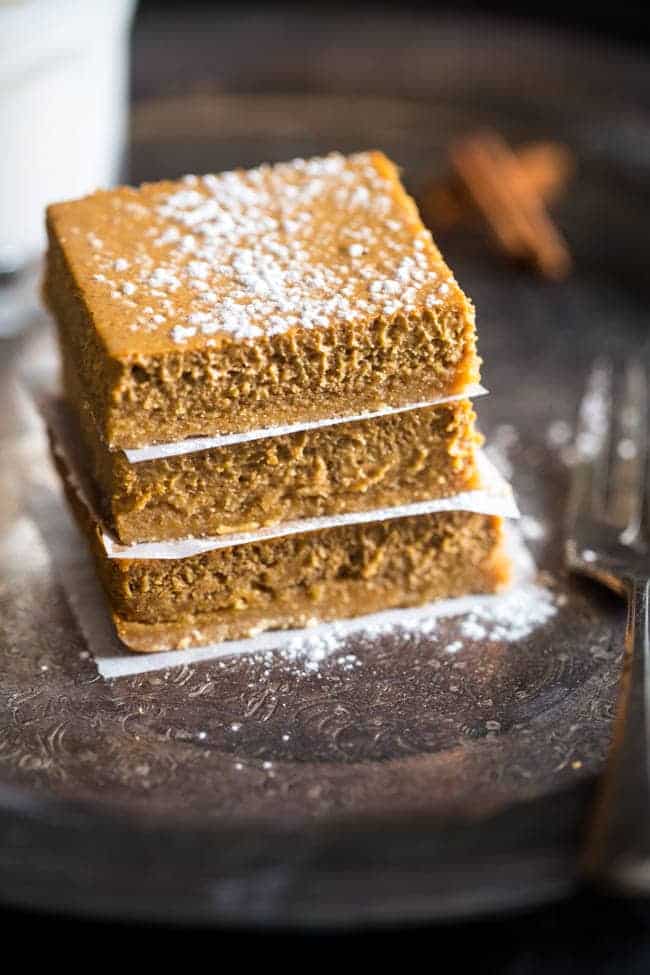
The flavors of fall are so cozy! I’m not one of those pumpkin-spice-everything people, but I do love the warm comfort of cinnamon and nutmeg. Plus, I’ve never met a cheesecake I didn’t like—especially if I can share it with my gluten-free niece. So this recipe for gluten-free healthy pumpkin cheesecake bars seemed tailor-made for me!
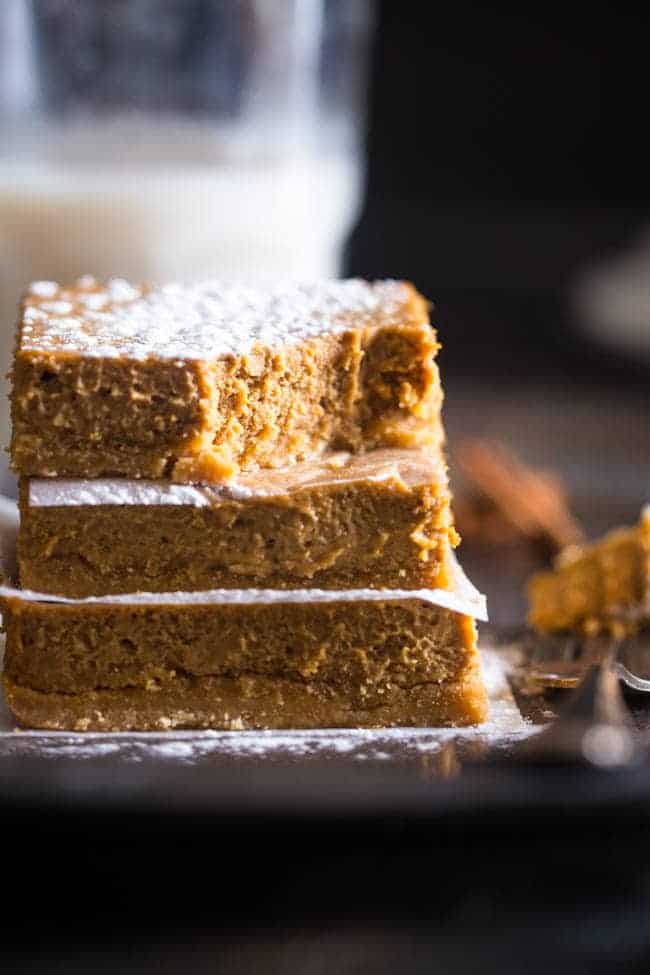
I’d never baked a cheesecake from scratch before this recipe. My mom made cheesecakes frequently when I was a kid, but my adult experience with them always came from someone else’s handiwork. I was relieved with how easy this recipe made the process! I got the entire thing put together in about an hour, then just popped it in the fridge until the next day. I took it to a family get-together—and boy, was it a hit! Everyone raved about the creamy texture. My niece and I particularly enjoy the way the molasses and ginger play off each other in the crust. And no one guessed that I had used reduced-fat cream cheese, coconut flour, and coconut oil to make it healthier. Next time, I’m going to try making homemade pumpkin purée for it!
Whether you’re a die-hard pumpkin spice fan or you’re just looking for a lighter dessert option, give this easy yet impressive recipe a try.
Are Gluten-Free Pumpkin Cheesecake Bars Healthy?
These pumpkin cheesecake bars are a nutrient-dense, gluten-free, and vegetarian-friendly treat, offering a balance of fiber, healthy fats, and vitamins. Pumpkin purée supplies a generous dose of vitamin A and fiber, while the reduced-fat cream cheese and egg contribute protein and calcium. The coconut sugar, maple syrup, and molasses provide not only sweetness but also trace minerals like potassium and iron. With a moderate calorie count, these bars could be a healthier alternative to traditional cheesecake. But they’re still a dessert, not an everyday healthy food, so they should be consumed in moderation.
You can boost the nutritional profile by adding ground flaxseed or chia seeds to the crust for extra fiber. Make a paleo-friendly version by swapping the cream cheese for a dairy-free alternative, like blended cashews or coconut cream, and using honey or additional coconut sugar if needed.
Pumpkins: Ancient Harvest To Holiday Icon
Pumpkins are far more than a symbol of autumn. They have a rich history as one of the oldest cultivated crops in the Americas, dating back over 7,500 years in Central America. Native Americans relied on pumpkins not only as a vital food source but also for practical uses like weaving dried strips into mats. When European settlers arrived, pumpkins became a crucial part of their diet and were soon woven into the fabric of American harvest festivals and Thanksgiving celebrations. Today, pumpkin-based desserts like pumpkin pie and pumpkin cheesecake are cherished holiday staples, connecting us to a long tradition of celebrating abundance and community with this humble, versatile squash.
How Do I Store Leftovers?
Store leftover pumpkin cheesecake bars in an airtight container in the fridge for up to 5 days. They also freeze very well for up to 3 months. Once cooled and fully set, wrap the bars tightly in plastic wrap and then place them in a freezer-safe container or bag. Thaw them overnight in the fridge. Note that the texture may change slightly after freezing, but they will still be delicious.
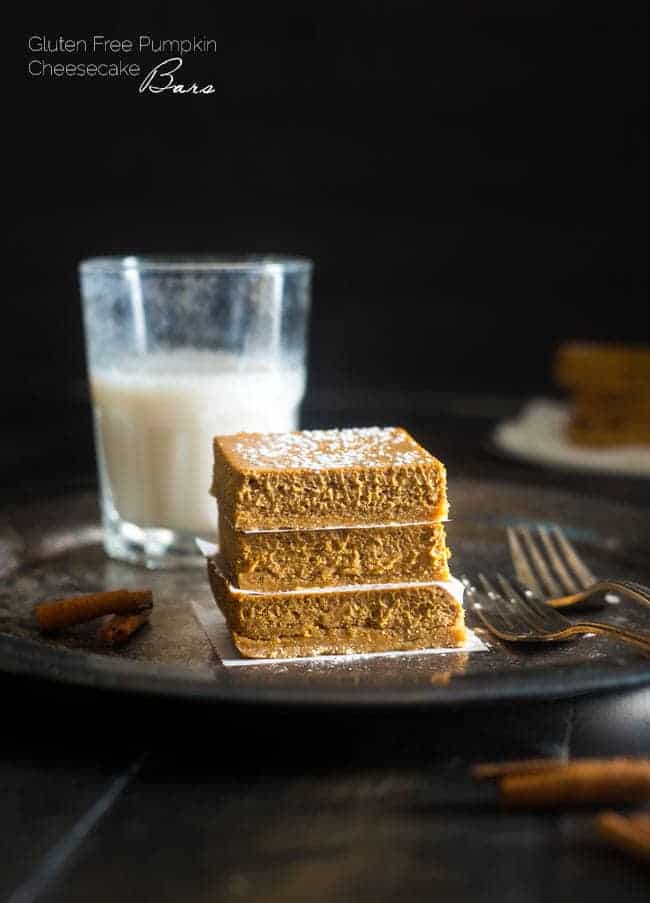
Serving Suggestions
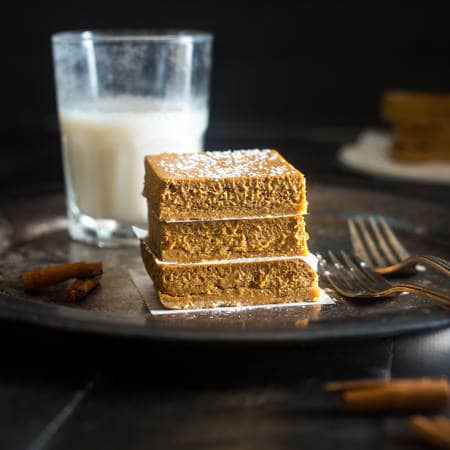
These gluten-free healthy pumpkin cheesecake bars make an excellent dessert, especially when paired with a steaming mug of Café de Olla. They’d also go great with the fall flavors of this Pumpkin Spice Latte Recipe or the holiday vibes of this Eggnog Recipe.
Ingredients
For The Crust:
- 2 tablespoons pure maple syrup
- 1 tablespoon molasses
- 1/3 cup coconut oil at room temp
- 3/4 cup coconut flour sifted, 2.33 ounces/66 grams
- 1/4 teaspoon ginger powder
- Pinch of salt
For The Cheesecake Filling:
- 8 ounces reduced-fat cream cheese softened, not fat-free
- 1/2 cup + 2 tablespoons coconut sugar
- 1/2 cup canned pure pumpkin not pumpkin pie filling
- 1 large egg at room temp
- 1/2 tablespoon pumpkin pie spice
Instructions
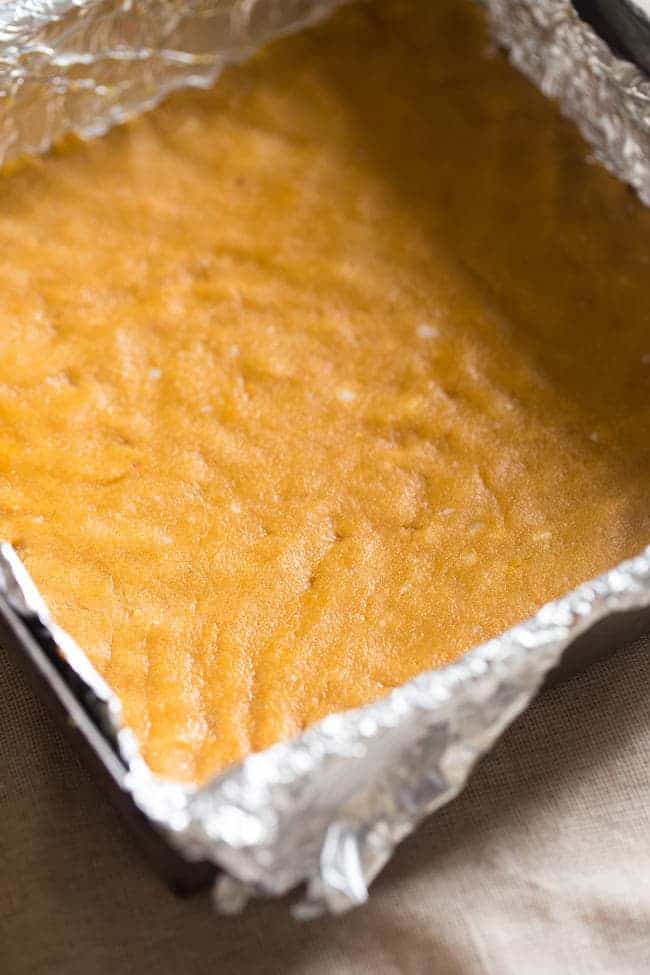
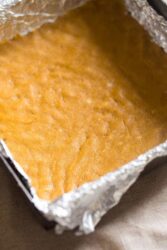
- Heat oven to 350°F. Line an 8×8-inch baking pan with aluminum foil, leaving an overhang over the sides of the pan. Lightly grease the tinfoil with cooking spray.
Make The Crust:
- In a large bowl, use an electric hand mixer to beat the maple syrup, molasses, and coconut oil together until creamy and well combined. Stir in the coconut flour, ginger powder, and salt until it forms a dough.
- Press the dough evenly into the bottom of the pan. Bake until lightly golden brown, about 7-8 minutes.
- If the crust has risen and cracked a little bit when it comes out of the oven, use the pack of a large spoon to pack it down so it’s flat and crack-free.
- Let the crust cool for 30 minutes before starting the cheesecake layer.
- Reduce the oven temperature to 325°F.
Make the Cheesecake Filling:
- In a large bowl, use an electric hand mixer to beat the softened cream cheese and coconut sugar until fluffy and combined.
- Add the canned pumpkin and beat just until combined. Finally, add in the egg and pumpkin pie spice and beat just until mixed, scraping down the sides as needed. Make sure you beat just until everything is smooth and creamy, as overbeating cheesecake causes it to crack while baking.
Assemble And Bake The Cheesecake:
- Pour the cheesecake filling onto the cooled crust. Use a spatula to spread it out evenly.
- Bake until the sides just begin to rise and the center feels set, but is still a little jiggly, about 30 minutes.
- Turn off the oven, but leave the cheesecake inside. Crack the oven door a little bit and let the cheesecake sit in the oven for 30 minutes.
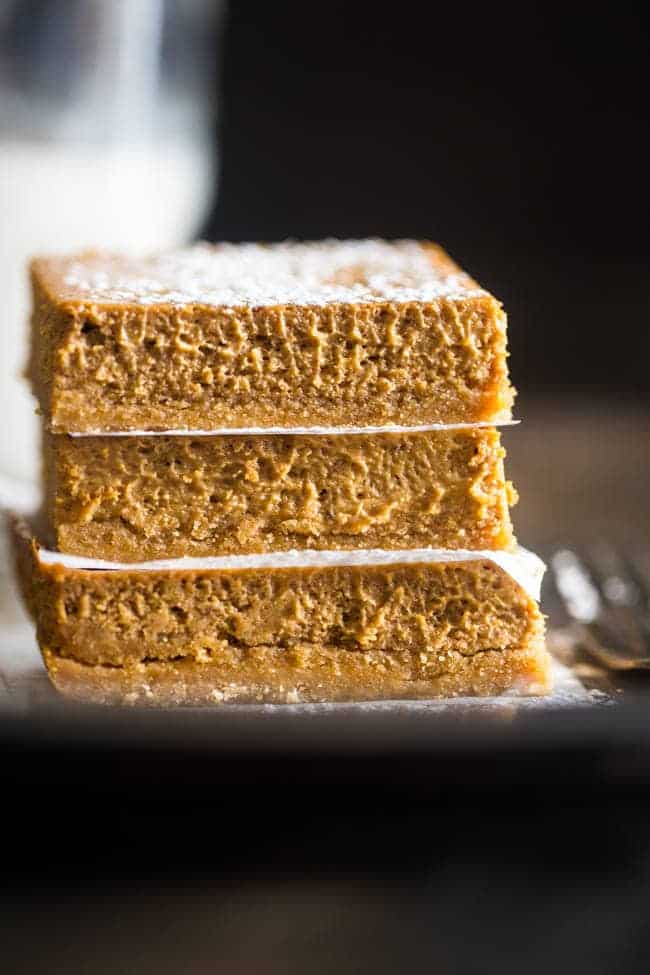
- Remove cheesecake from the oven and set it on a cooling rack. Once the cheesecake has cooled to room temp, cover and refrigerate it for 4 hours to overnight.
- Once chilled, slice into squares. Serve cold.
Nutrition Info:
Nutrition information are estimates only and may vary based on the specific brands, ingredients, and portion sizes you use. This data is provided for informational purposes only.
Leave a Comment