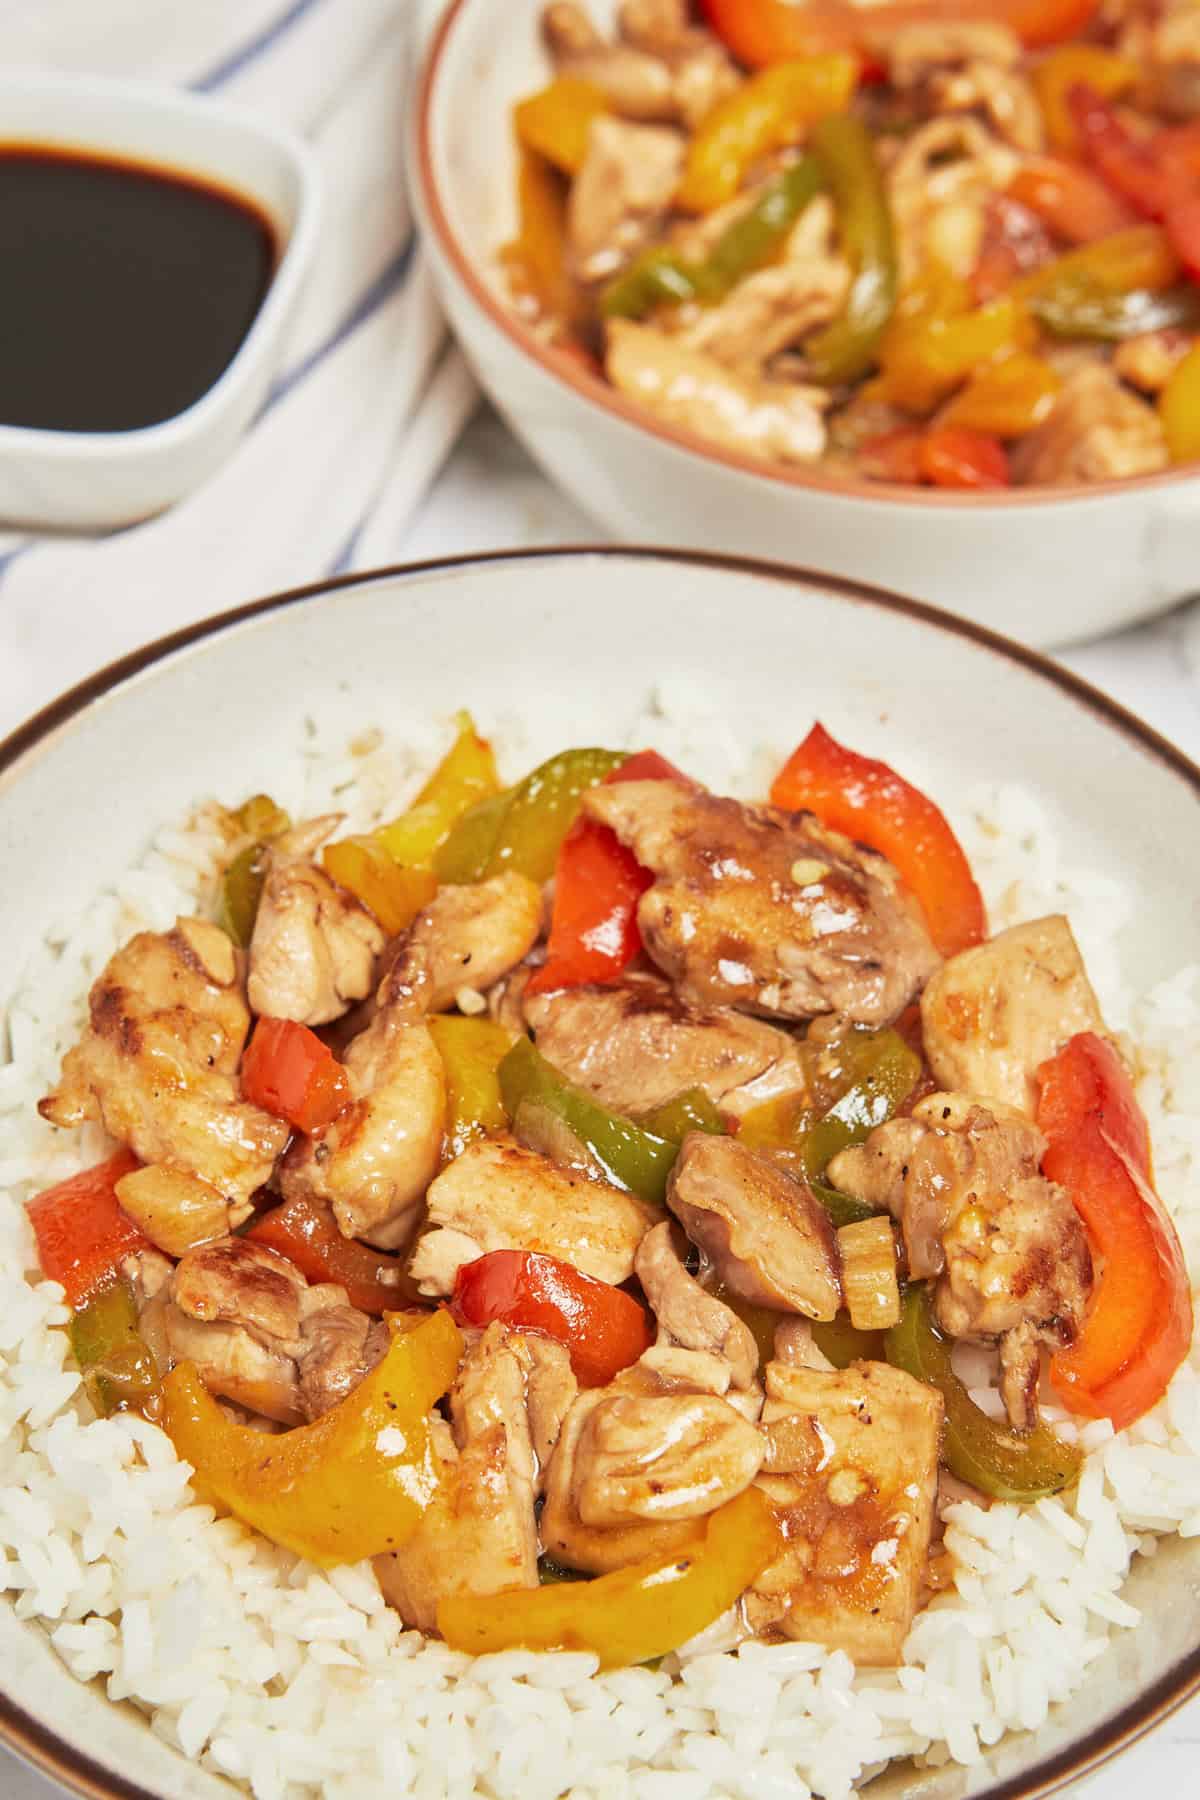
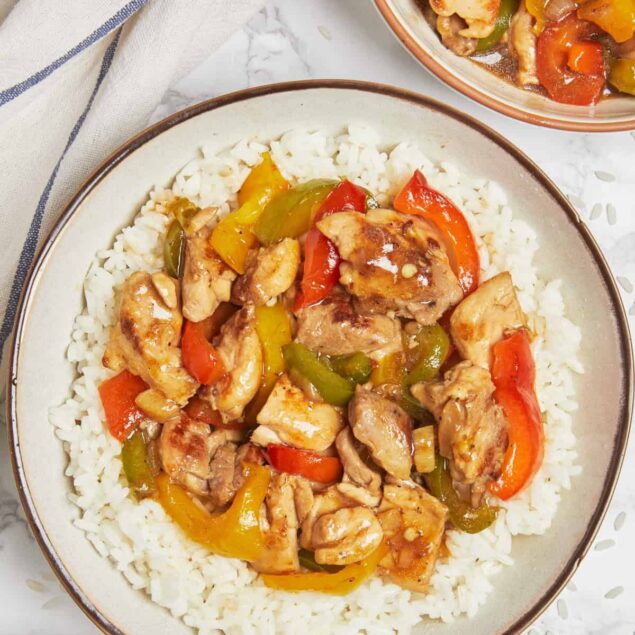
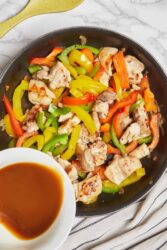
Eat the rainbow and enjoy a delicious and quick meal with this healthy Chicken and Pepper Stir-Fry.
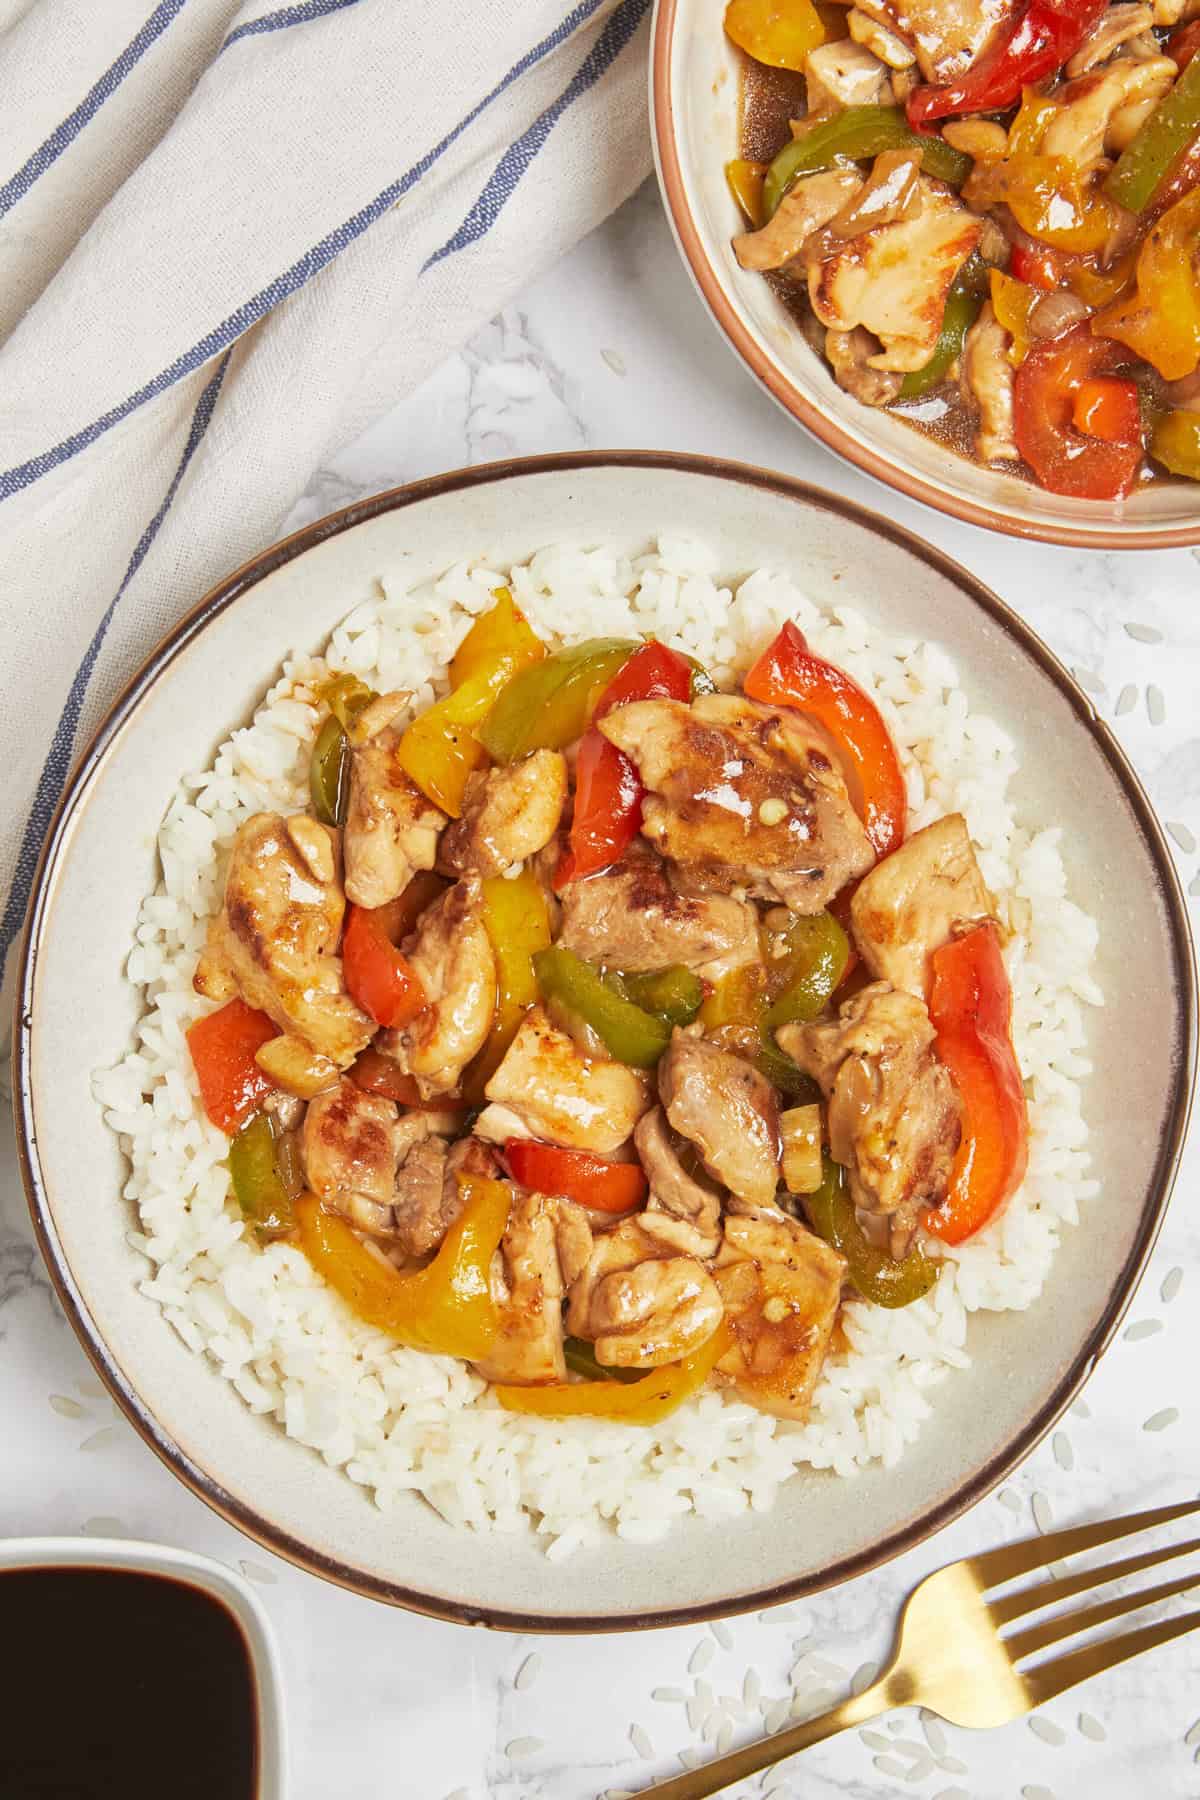
I make a lot of stir-fries simply because I can do it all in one pan. Chunks of succulent chicken and a bright Chinese-inspired sauce are paired with an assortment of bell peppers to create a rainbow of colors. Don’t worry if you only have one or two colors—use what you have or enjoy eating.
Creating a stir-fry is easy and takes only a few minutes. You can also customize it to include any other vegetables and proteins you like. I often scavenge through my refrigerator to see what I have on hand. By the way, if you have a wok, all the better. It is the perfect tool for stir-frying, but a large skillet will also work.
Stir-frying began in ancient China as a rapid cooking method that uses high heat to retain nutrients and save fuel. This technique quickly spread throughout Asia and beyond, becoming a fundamental part of Chinese cuisine and shaping cooking practices worldwide.
Is Chicken and Pepper Stir Fry Healthy?
A chicken stir-fry like this is reasonably healthy. The oil adds a little fat, but I recommend using heart-healthy extra virgin olive oil or coconut oil for the most significant health boost. Lean chicken breast is low in calories and fat, while also high in protein, and provides added potassium and phosphorus to your diet.
Bell peppers are mostly water and are low in calories, but their nutrition profile increases as they ripen—more on that in the next section.
What’s the Difference Between the Various Colors of Bell Peppers?
Long before I developed a taste for bell peppers, I wondered why there were so many colors. Not only were there green, yellow, orange, and red peppers, but there were also two-toned ones. Those peppers are transitioning from one stage of maturity to another.
I enjoy the different flavor profiles of each bell pepper color. Green peppers are the least ripe, so they have a more bitter taste. I don’t like them raw, but I do enjoy them when cooked in a stir fry. As the peppers ripen, they turn from deep green to yellow, then orange, and finally red. With each new stage, the flavor sweetens, with red bell peppers providing the sweetest taste.
How to make ahead and store
Stir-fries are easy to make ahead because the flavors continue to meld with time. You can make this dish a day ahead, but I recommend cooking the peppers for less time to help them retain their crunch. They will continue to soften as you reheat your leftovers. Chicken stir-fries can last up to 4 days in the refrigerator when stored in an airtight container. I do not recommend freezing, as the vegetables often turn mushy once defrosted.
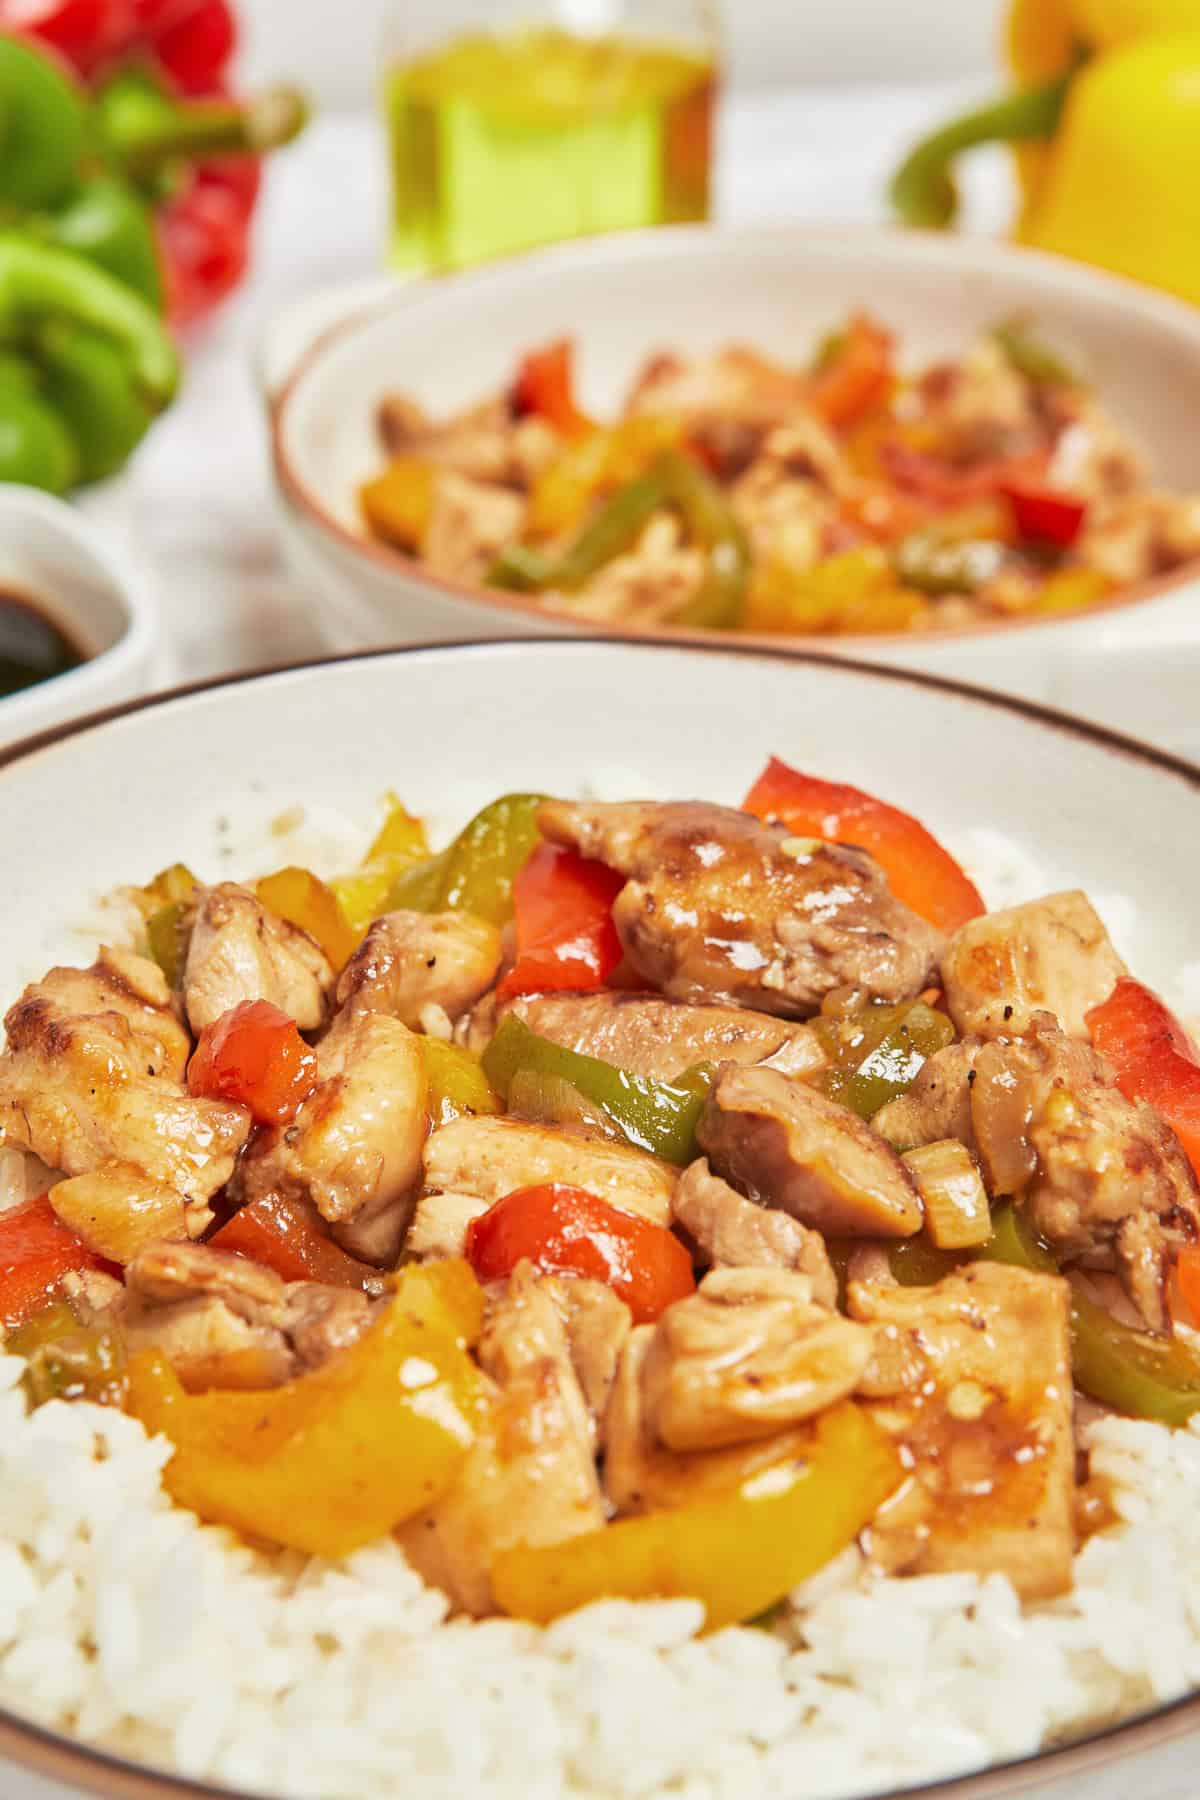
Serving Suggestions
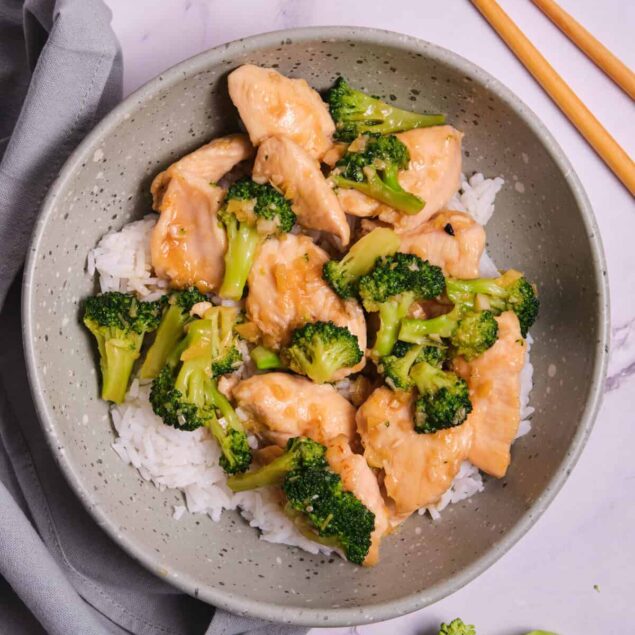
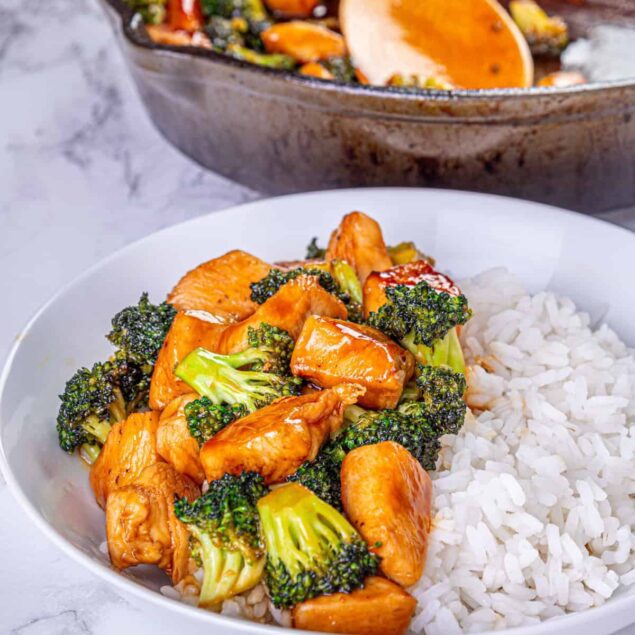
This chicken and pepper stir-fry goes well with some noodles or rice. If you are cutting back on carbs, you can use vegetables for this purpose, such as Cauliflower Fried Rice. In the past, I have also spiralized some veggies and tossed the noodles into the stir-fry during the last minute of cooking—just like in this recipe for Zucchini Noodles. If you’ve never tried shirataki noodles, they are made from konjac root and usually contain less than 10 calories per serving.
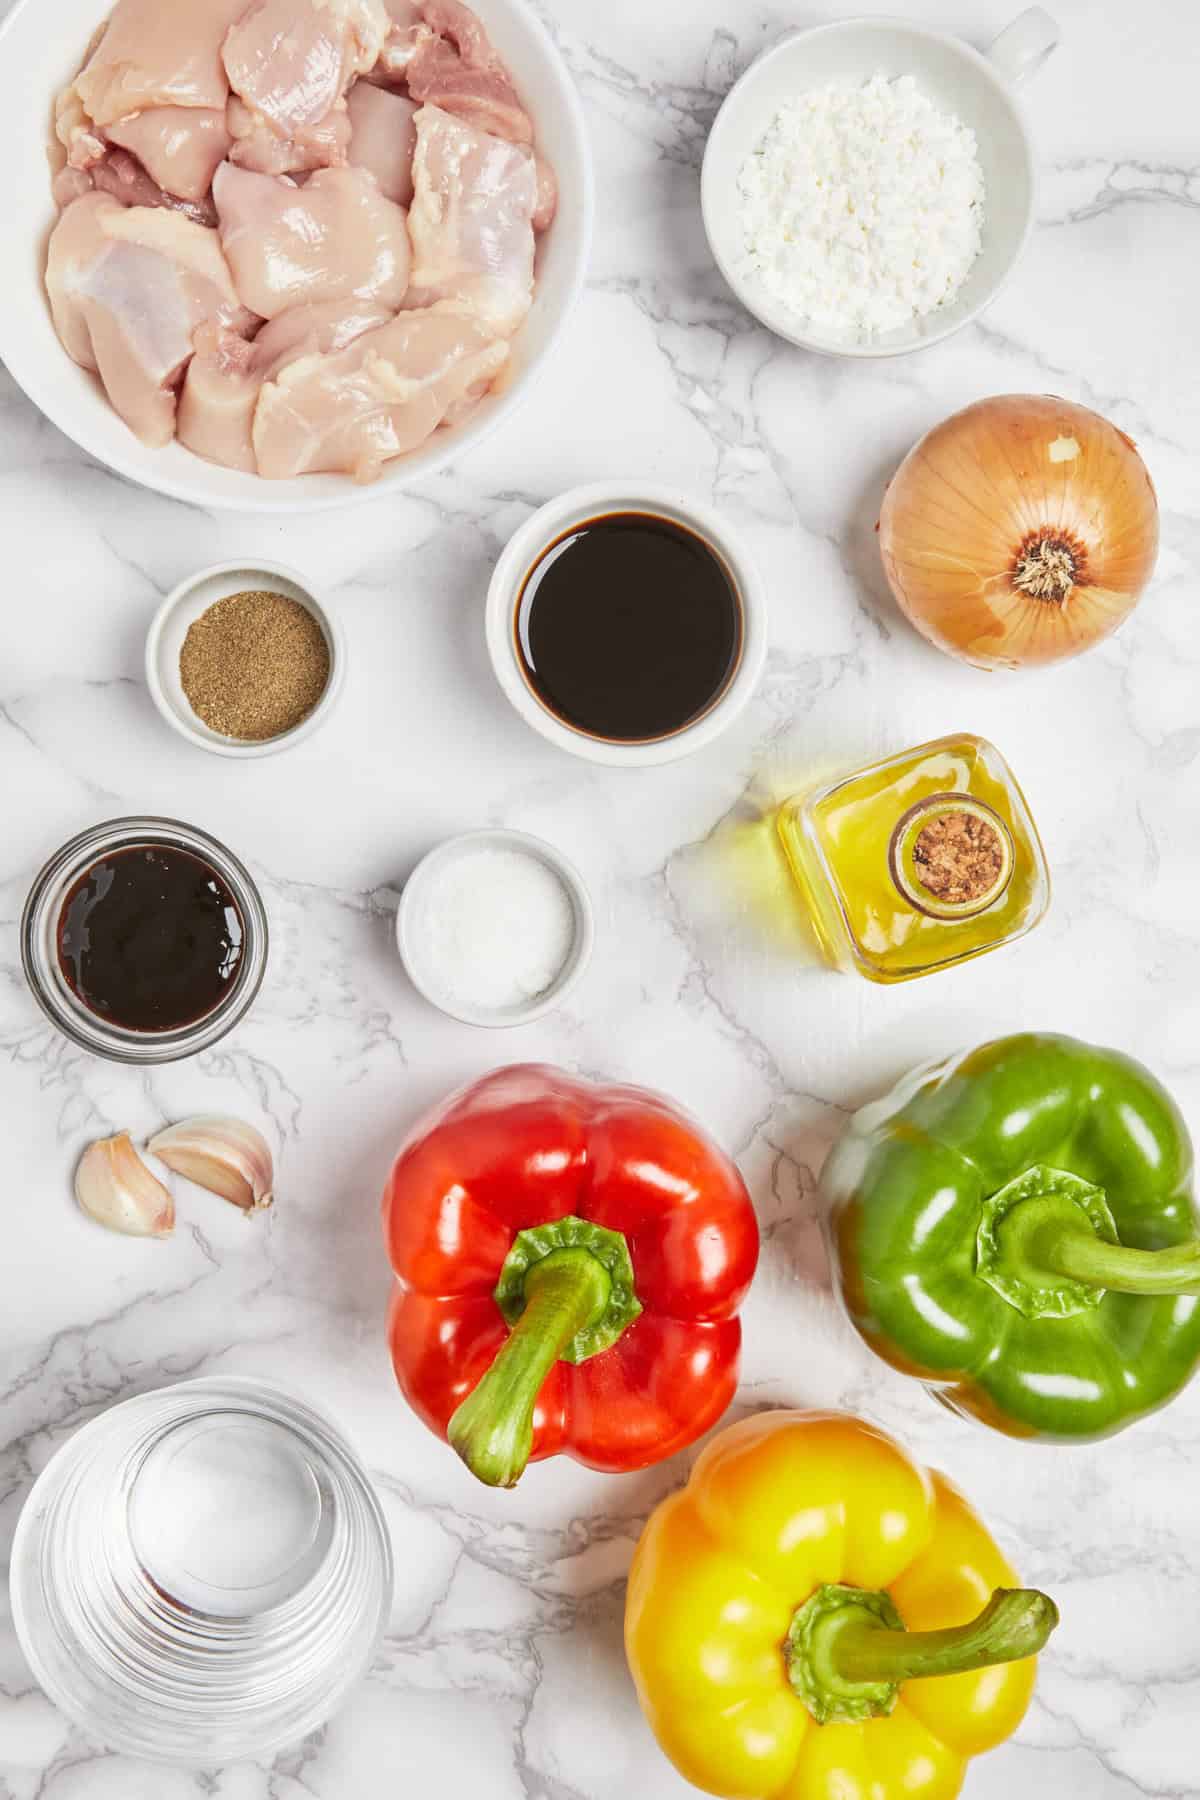
Ingredients
- 1 lb boneless skinless chicken breasts cut into bite-sized pieces
- 2 tablespoons vegetable oil
- 1 red bell pepper sliced
- 1 green bell pepper sliced
- 1 yellow bell pepper sliced
- 1 medium onion sliced
- 2 cloves garlic minced
- 2 tablespoons soy sauce
- 1 tablespoon oyster sauce
- 1 teaspoon cornstarch
- 1/4 cup water
- Salt and pepper to taste
Instructions
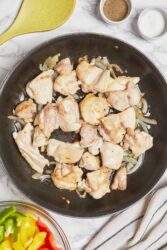
- Heat oil in a large skillet or wok over medium-high heat. Add garlic and onion, and sauté until fragrant and translucent.
- Add the chicken pieces to the skillet, season with salt and pepper, and cook until they are golden and cooked through.
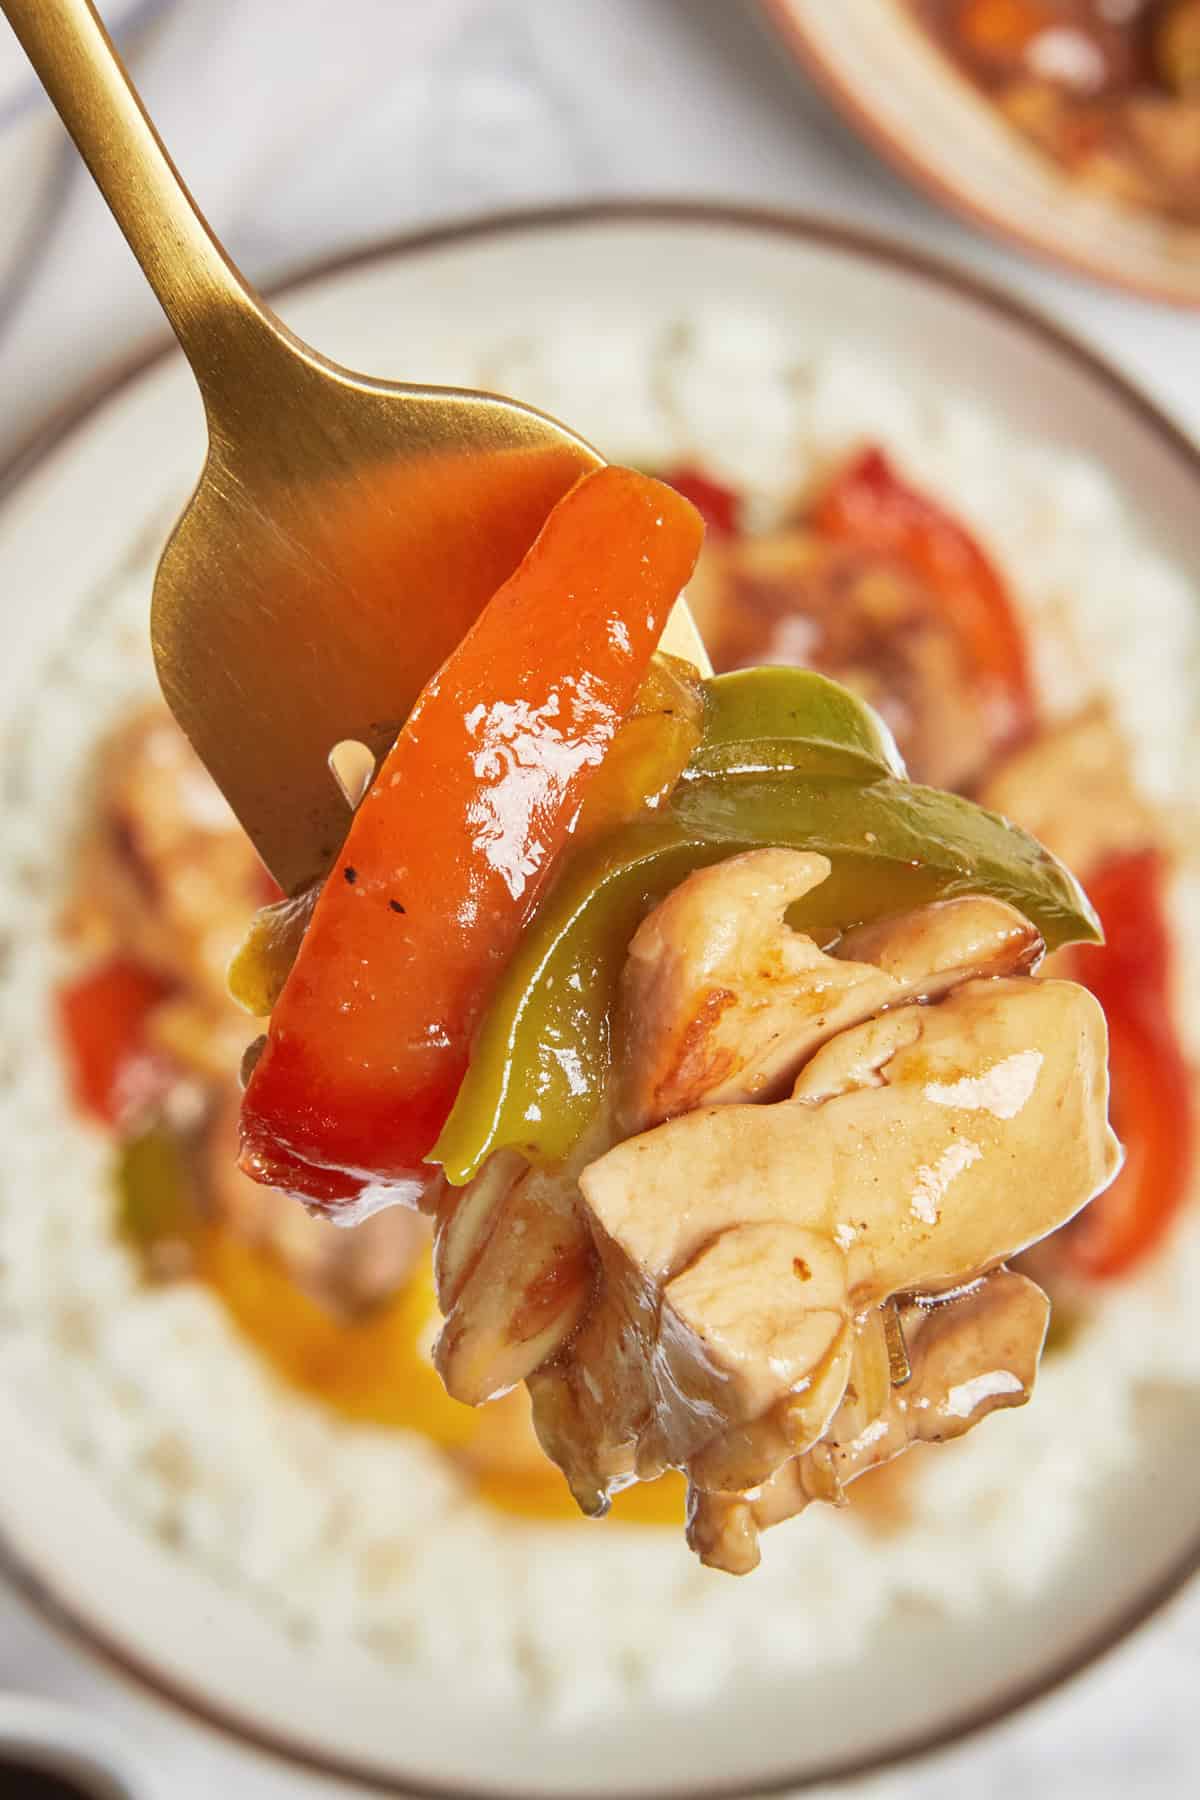
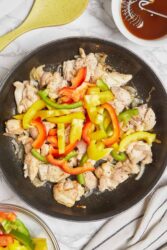
- Toss in the bell peppers and stir-fry for about 3 to 4 minutes or until they are just tender but still crisp.
- Whisk together soy sauce, oyster sauce, cornstarch, and water in a small bowl. Pour this mixture over the chicken and vegetables in the skillet.
- Stir everything together and cook for an additional 2 to 3 minutes, or until the sauce has thickened and everything is well coated. Adjust seasoning with salt and pepper if necessary.
Nutrition Info:
Nutrition information are estimates only and may vary based on the specific brands, ingredients, and portion sizes you use. This data is provided for informational purposes only.
Leave a Comment