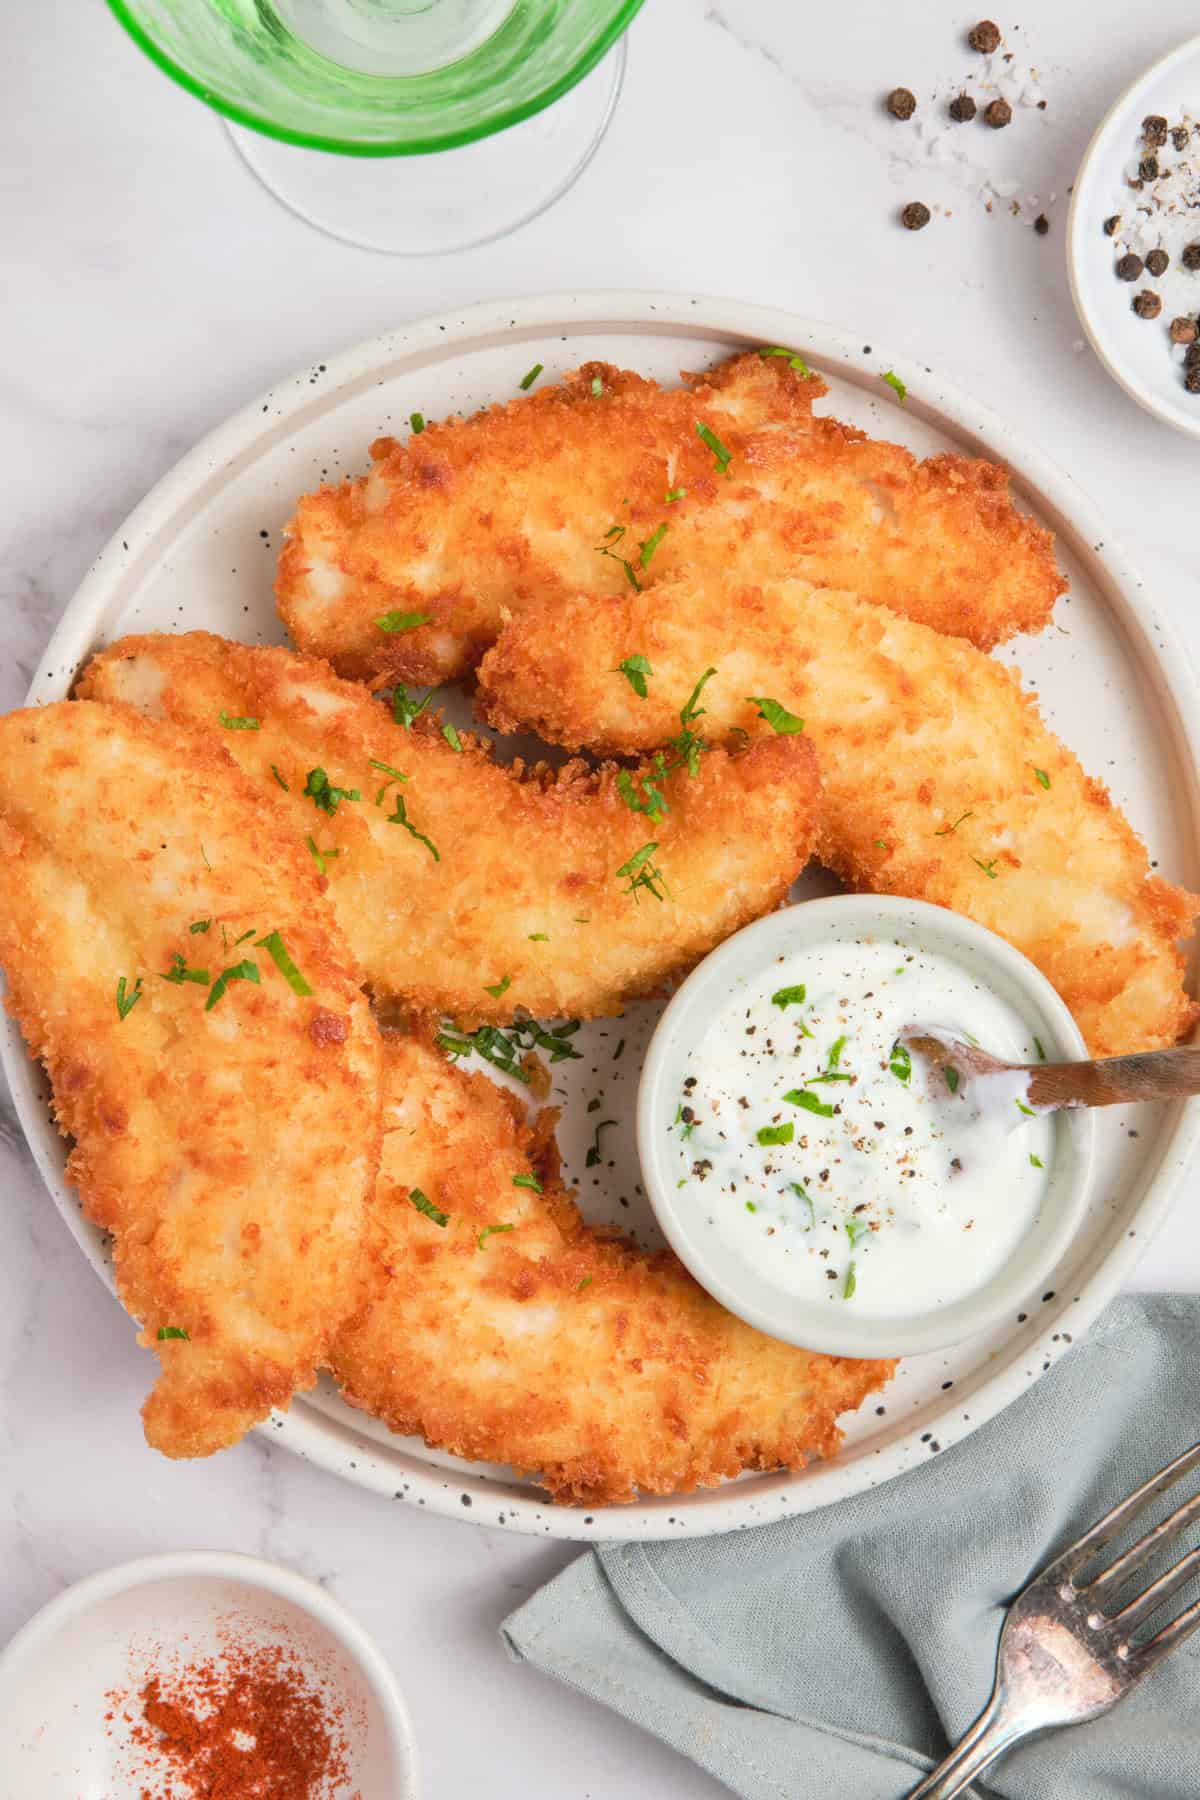
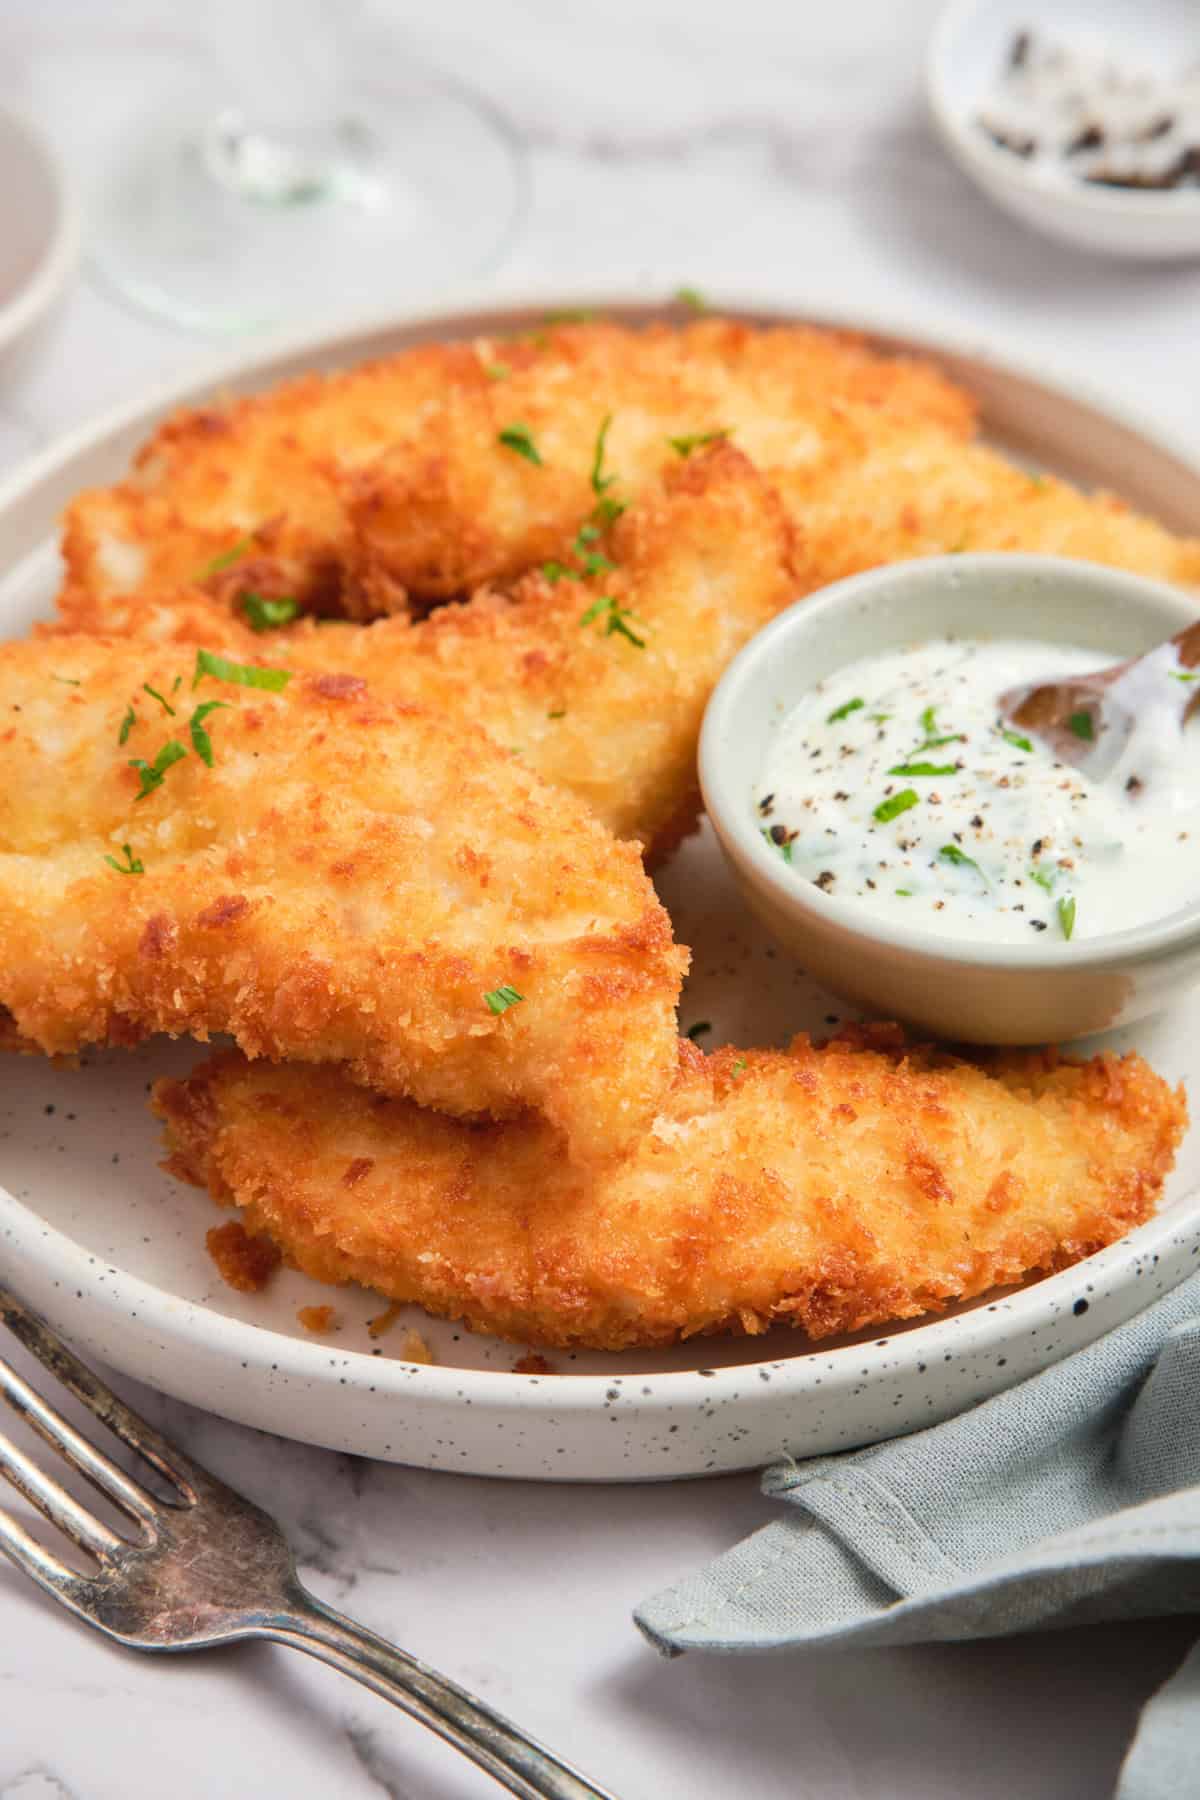
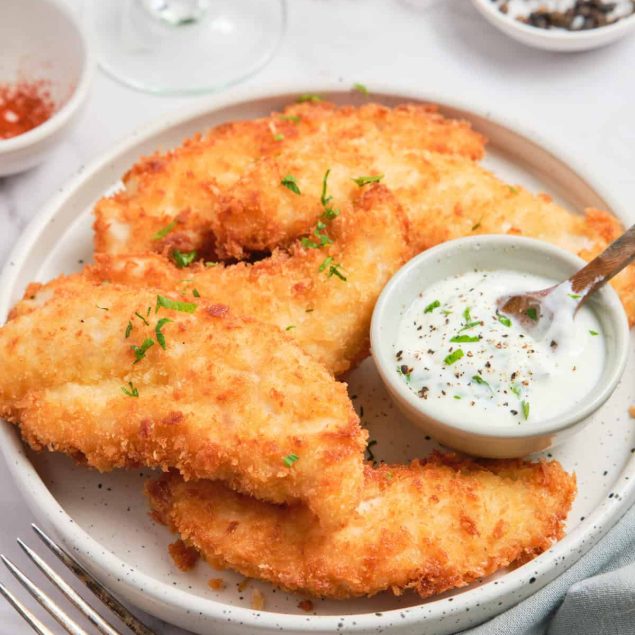
Keep it simple, but get amazing results with classic chicken fingers.
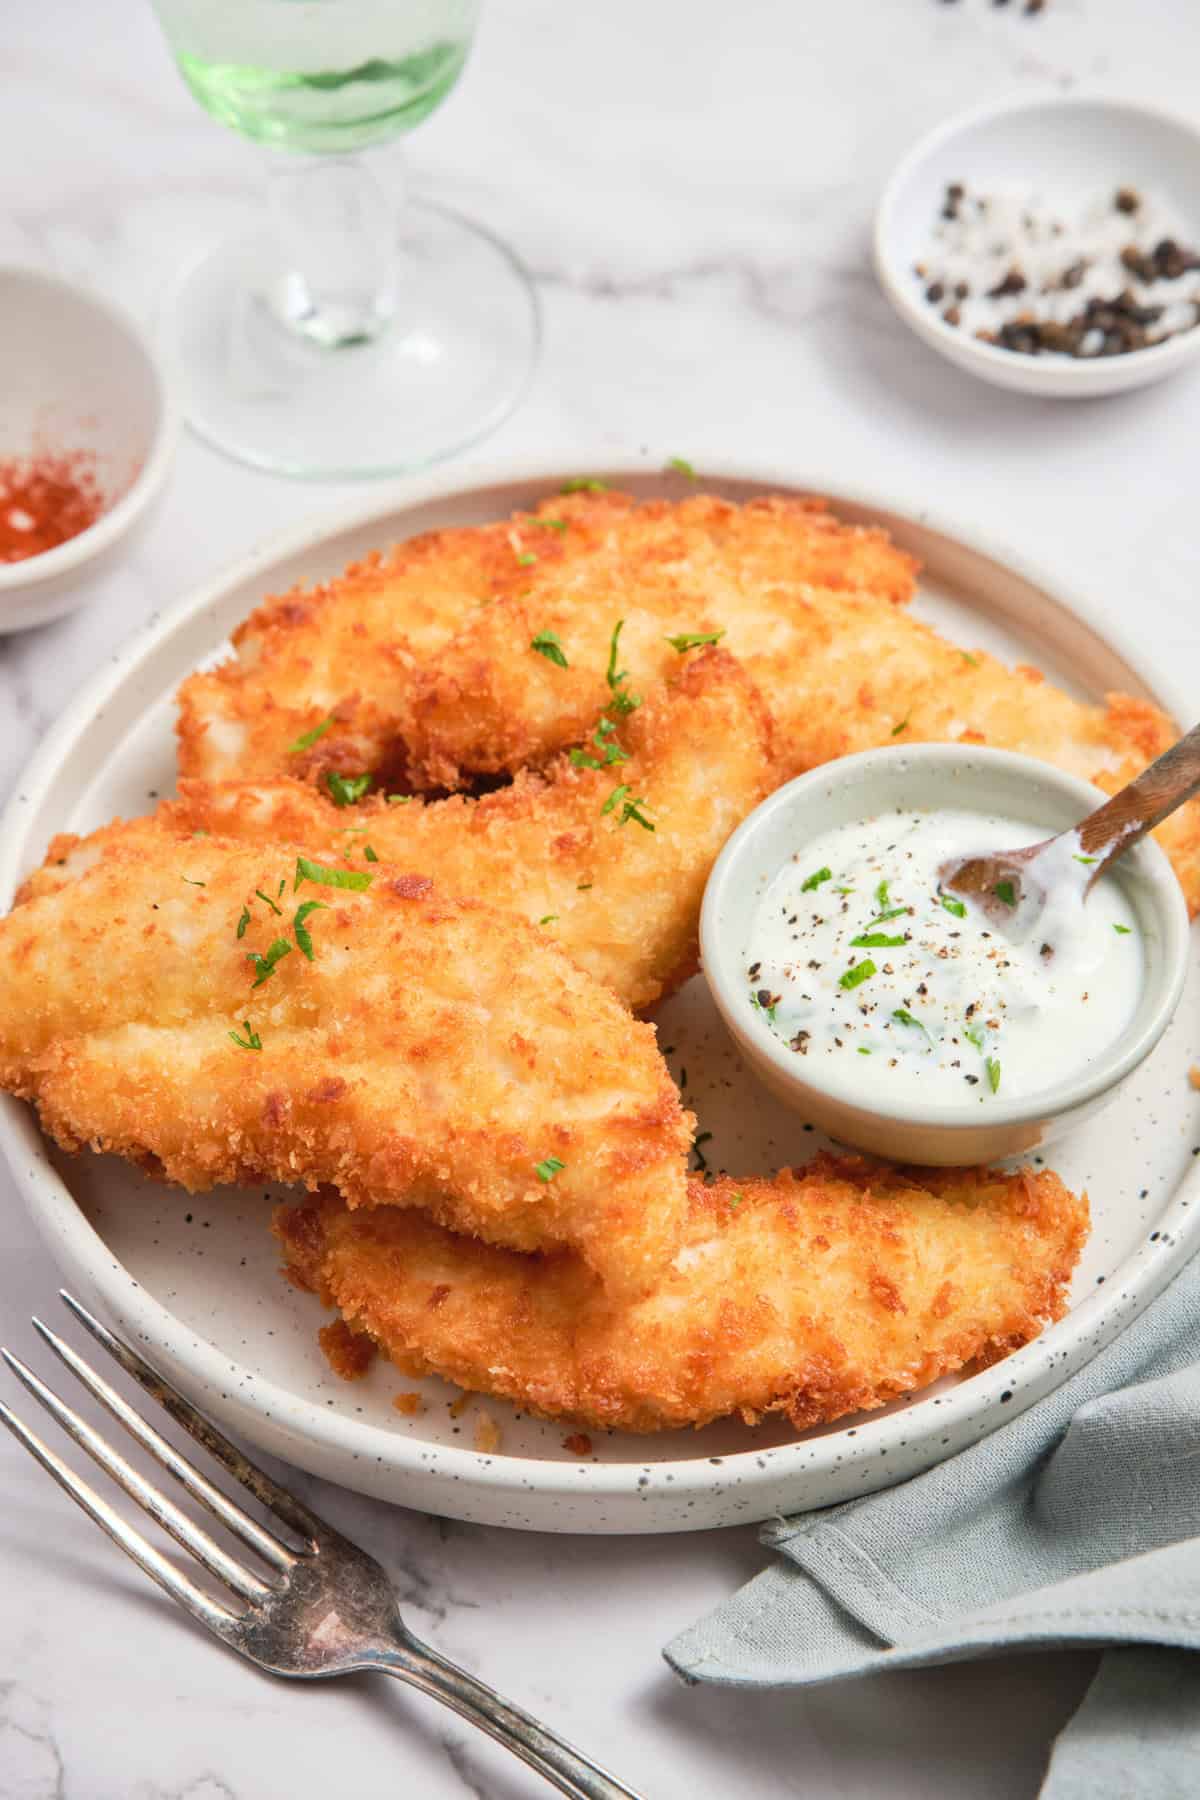
It’s hard for me to think of a bigger culinary crowd-pleaser than chicken fingers. It may not be the most sophisticated dish, but perhaps that’s because most of us grew up eating chicken fingers and associate them with our childhood. That connection just makes chicken fingers a classic food that’s been enjoyed by generations. So if you need a quick and simple meal that you know everyone is going to love, you can’t go wrong with chicken fingers.
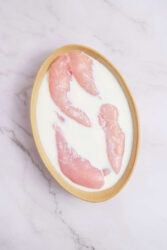
Of course, it’s easy to get chicken fingers in a restaurant or the frozen food aisle. But this recipe for homemade chicken fingers is so much better. The key is tenderizing the chicken in buttermilk. The combination of tender and juicy chicken with a crunchy coating is why people have always loved chicken fingers. You don’t need many spices or fancy ingredients to make it taste good. It’s just a delicious, simple, no-frills meal.
Are Chicken Fingers Healthy?
This particular chicken fingers recipe involves frying them in vegetable oil. Unfortunately, that adds to the calories and fat in this dish. This recipe is also problematic for those who are watching their cholesterol or sodium intake. On the other hand, chicken is a good source of protein, vitamins, and minerals. Enjoy your chicken fingers in moderation. And why not boost the meal’s nutritional content by pairing them with a healthy side salad?
Coat It Your Way
There is no law that says you have to coat chicken fingers with breadcrumbs. There are other ways of creating the crunchy outer layer on chicken fingers. For instance, some cereals, like Corn Flakes or Rice Krispies can be used in place of panko or mixed with panko. Crushed pork rinds and pretzels can also help create a crunchy coating for chicken fingers. Meanwhile, if you want to play around with different seasonings in addition to paprika, I’ve found that Italian seasonings work well, too.

How to make ahead and store
To prep ahead, you can leave the chicken fingers in the buttermilk marinade overnight, before frying the next morning. Once cooked, chicken fingers can be cooled and stored in freezer bags for up to 3 months. Allow them to defrost overnight before reheating them. In the fridge, chicken fingers will stay good for up to 2 days.
Serving Suggestions
It should go without saying that the right dipping sauce is key with chicken fingers. Most of the time, I keep things simple with a Homemade Honey Mustard Dipping Sauce. Of course, there are other times when I go with Keto BBQ Sauce or Low-Carb Sugar-Free BBQ Sauce. Meanwhile, if you want a good side, I suggest something with plenty of vegetables, including a Butternut Squash Salad. But if you want something simple, my advice is to make Roasted Broccoli or Air-Fryer Green Beans.
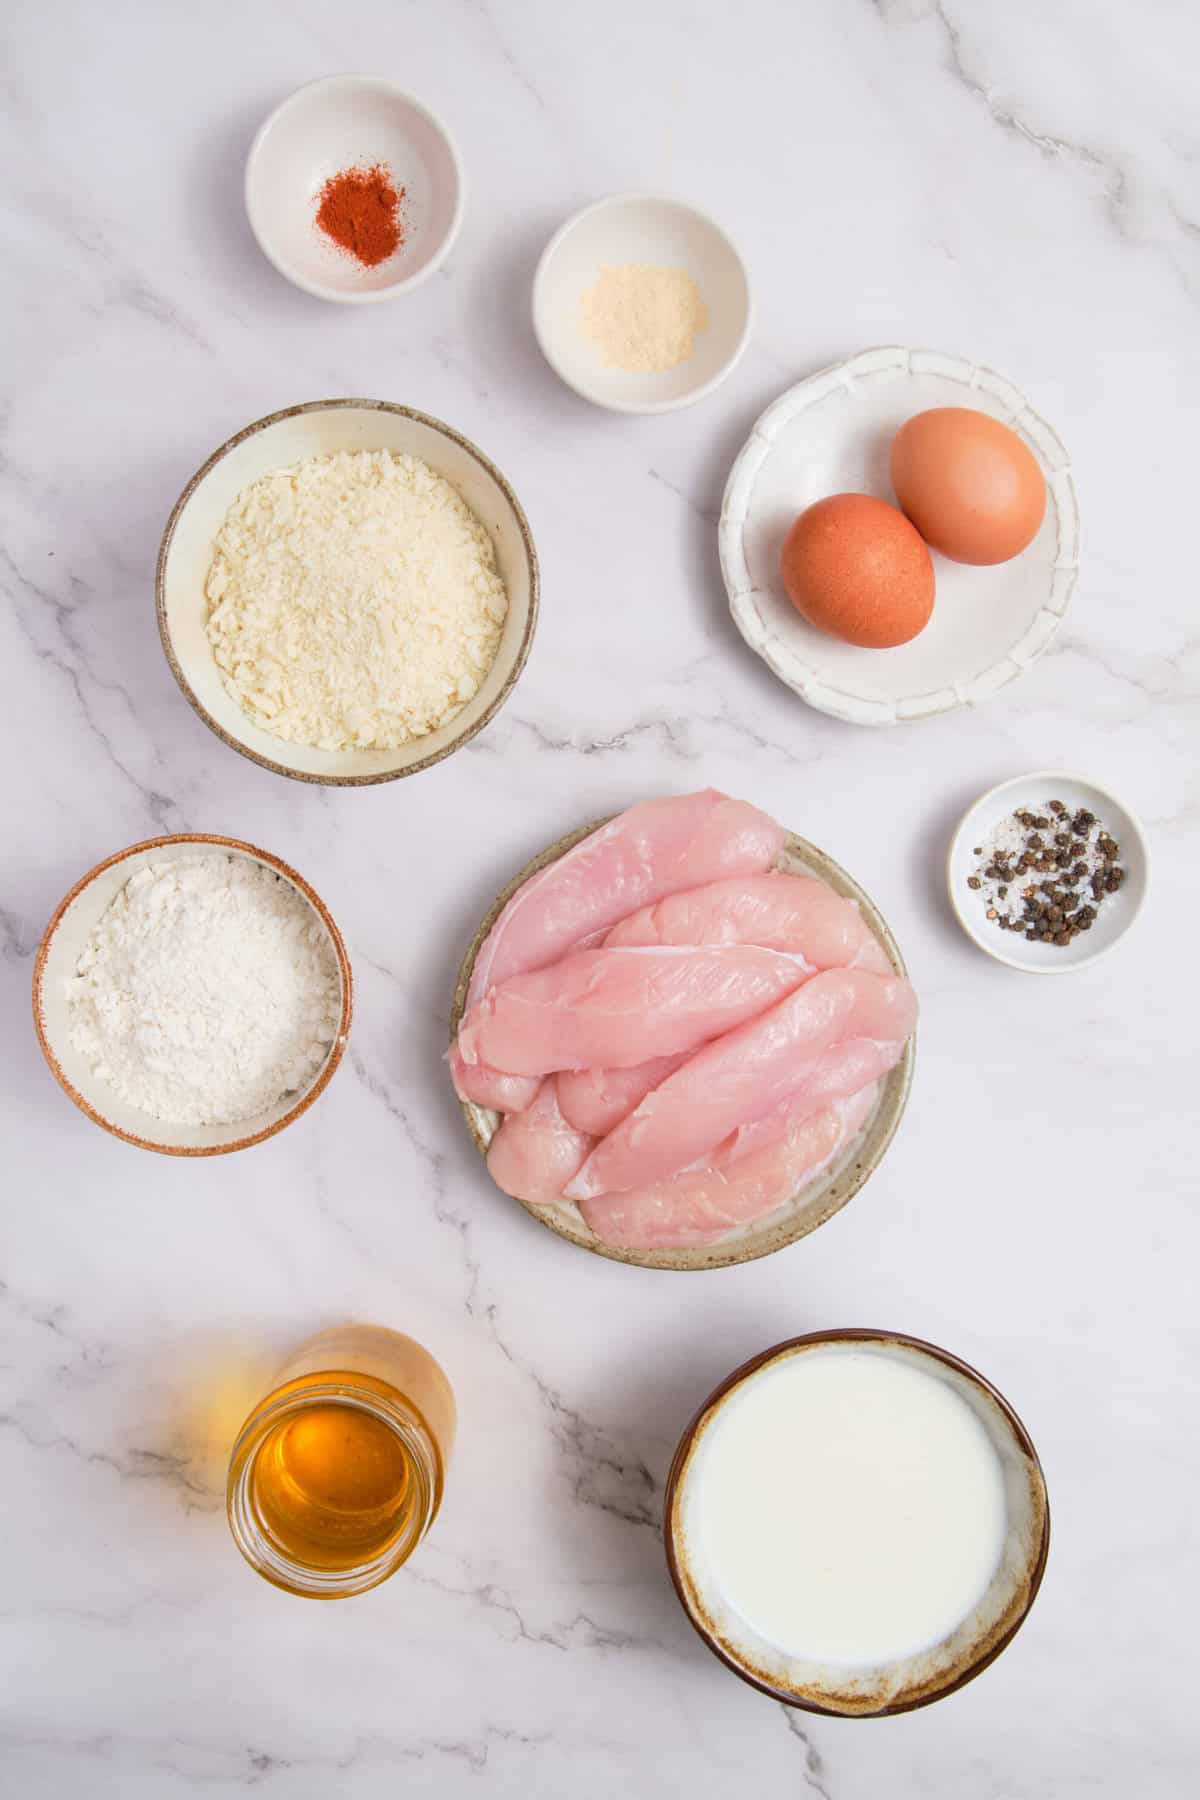
Ingredients
- 1 lb chicken tenderloins
- 1 cup buttermilk
- 1 cup all-purpose flour
- 2 large eggs beaten
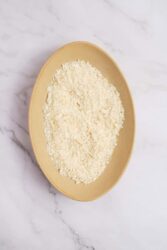
- 1 cup panko breadcrumbs
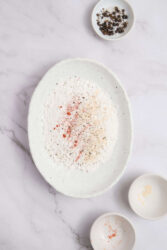
- 1 teaspoon salt
- 1/2 teaspoon black pepper
- 1/4 teaspoon garlic powder
- 1/4 teaspoon paprika
- Vegetable oil for frying
Instructions
- Cut chicken tenderloins into strips if not already pre-cut. Place in a bowl with buttermilk and let it marinate for at least one hour in the fridge.
- In a shallow dish, combine flour, salt, pepper, garlic powder, and paprika.
- In a separate dish, beat the eggs.

- Place panko breadcrumbs in a third shallow dish.
- Dredge each chicken strip in the seasoned flour, dip in beaten eggs, then coat with panko breadcrumbs.
- Heat oil in a deep fryer or large skillet to 350°F. Fry chicken strips until golden brown and cooked through, about 3-4 minutes per side.
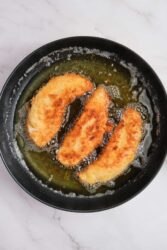
- Drain chicken fingers on paper towels and serve hot.
Nutrition Info:
Nutrition information are estimates only and may vary based on the specific brands, ingredients, and portion sizes you use. This data is provided for informational purposes only.
Leave a Comment