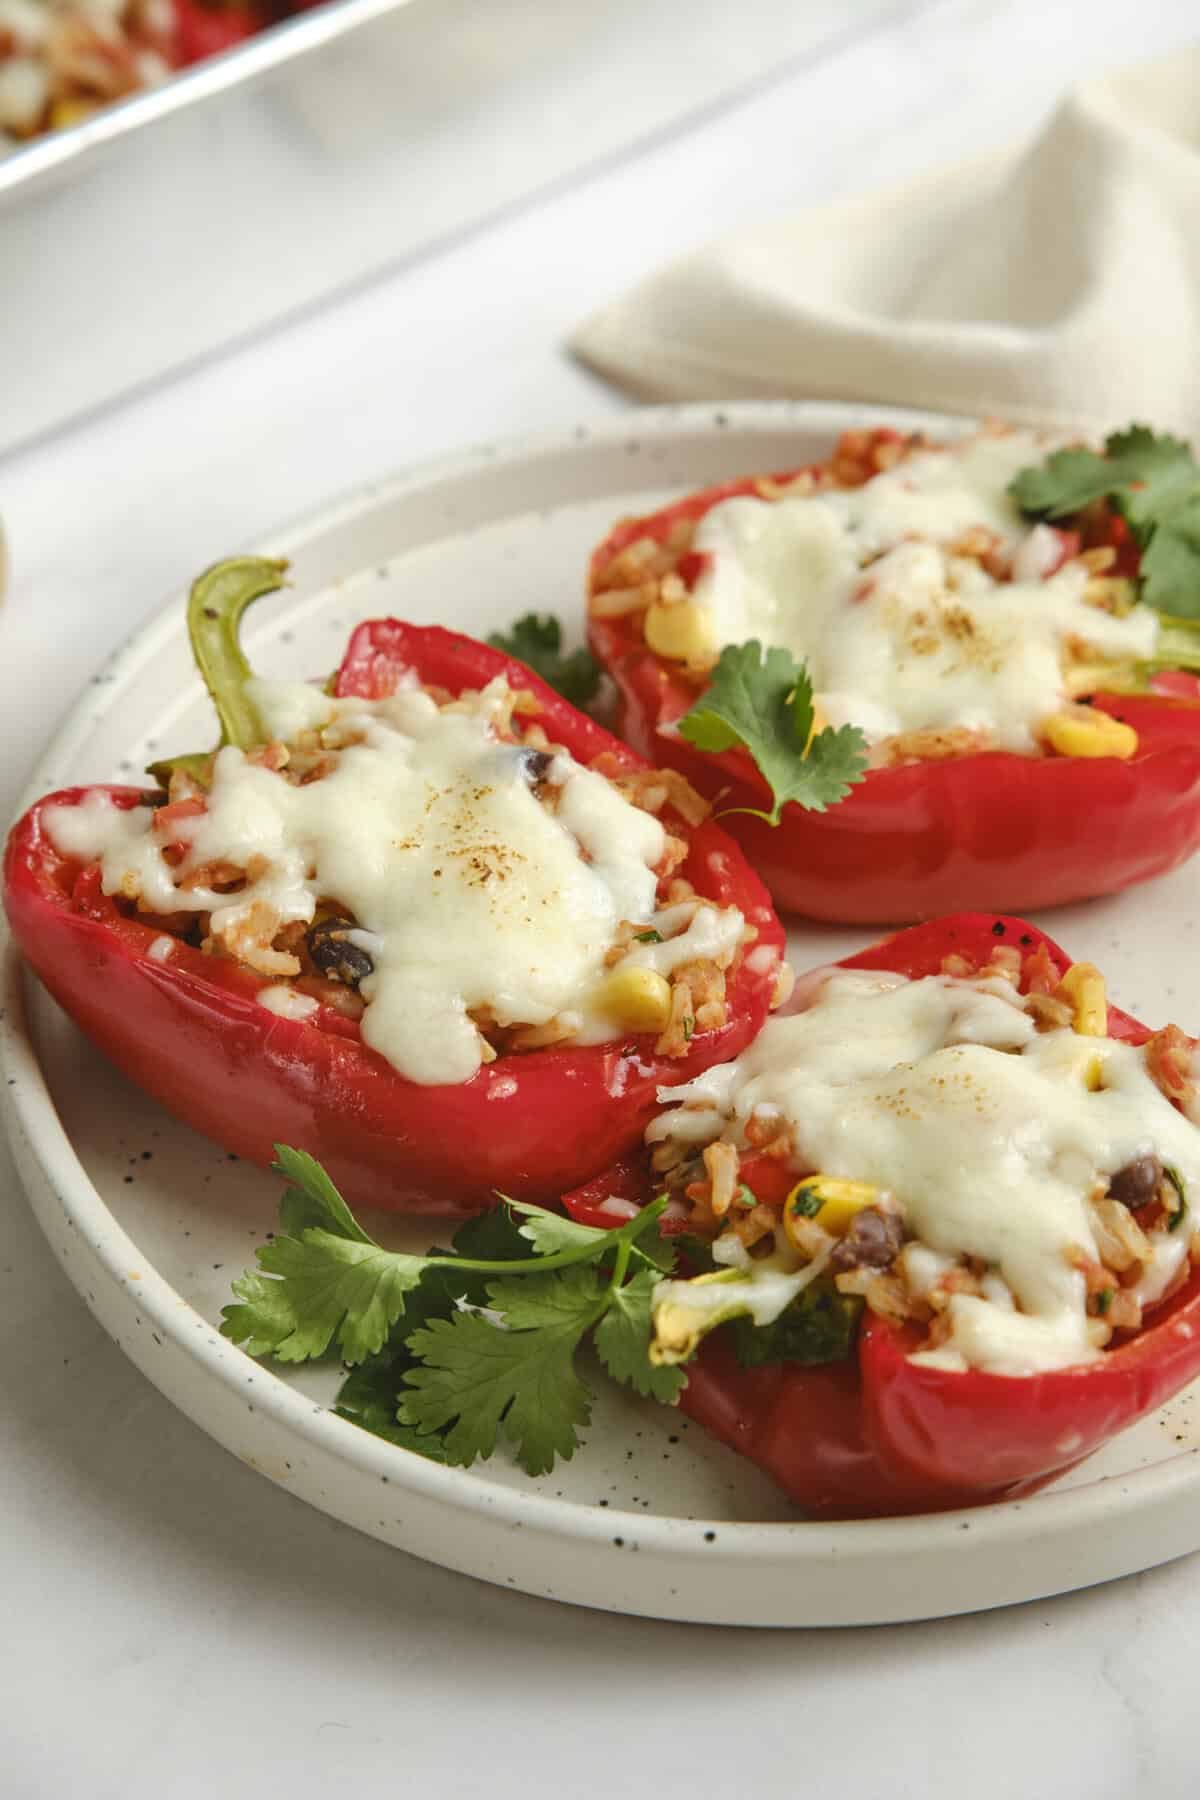
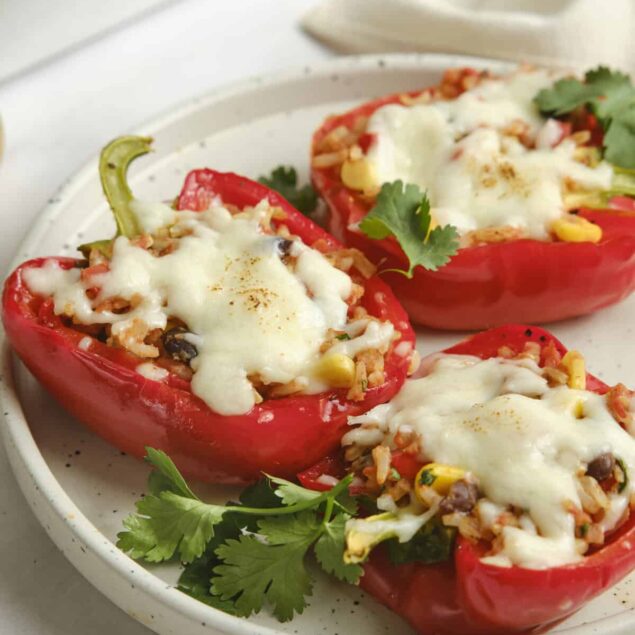
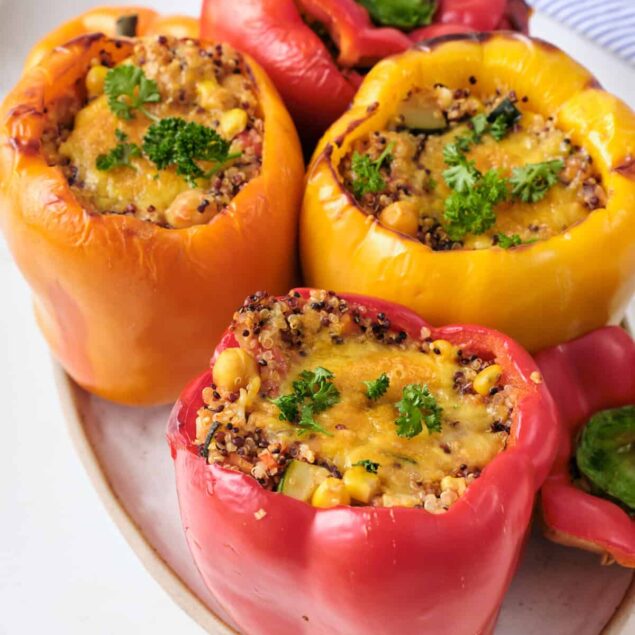
Delicious, impressive, and hearty, these stuffed peppers bring everything to the table!
Sometimes when I put so much dedication into an entrée, the side dish ends up becoming a total afterthought. A simple serving of rice or vegetables to go with the star of the show, for example. Well, I thought it was about time I started showing side dishes a bit more love. More love than I usually put into a main dish, even. And that’s how this recipe for vegetarian stuffed peppers came to be. It is indeed a labor of love (meaning it requires a decent amount of effort in the kitchen), but it’s sure to completely wow your guests with its delicious Mexican-inspired flavors and impressive assembly.
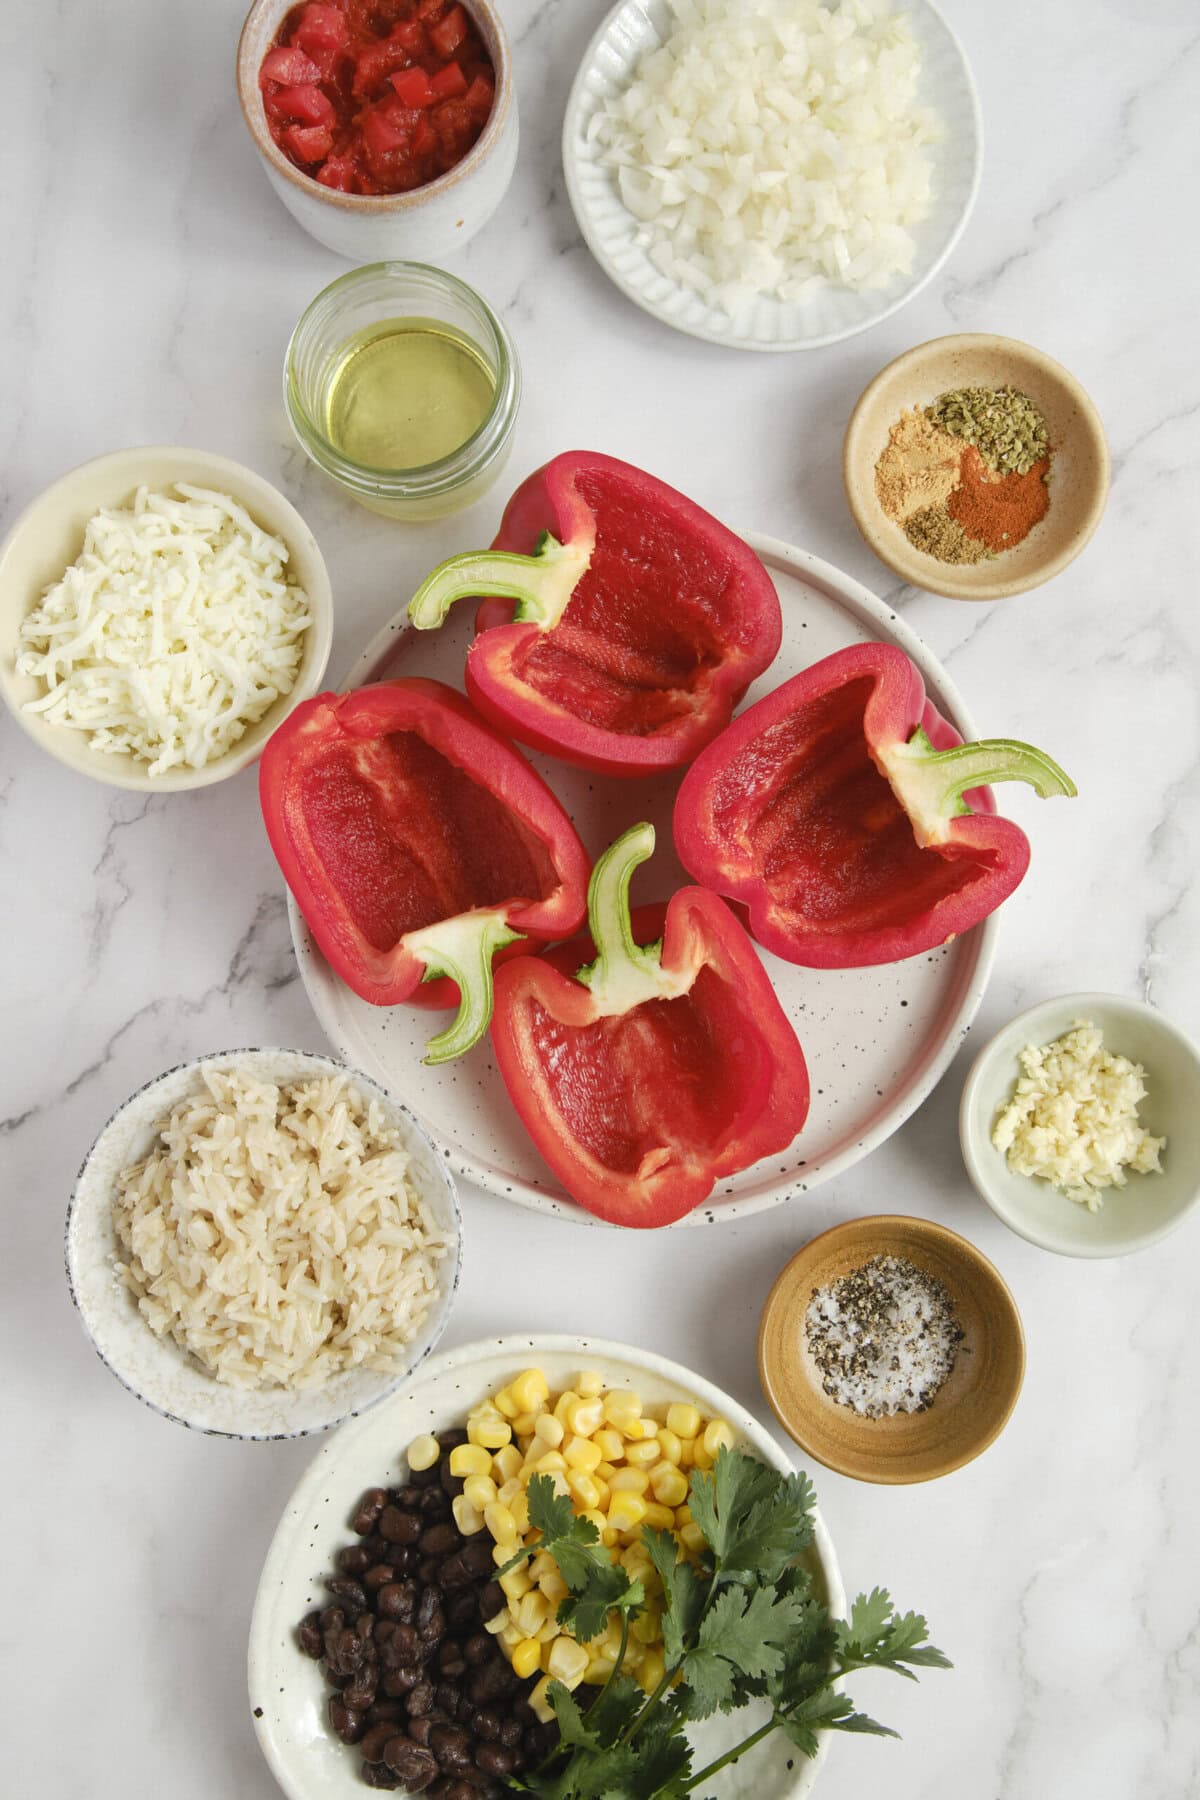
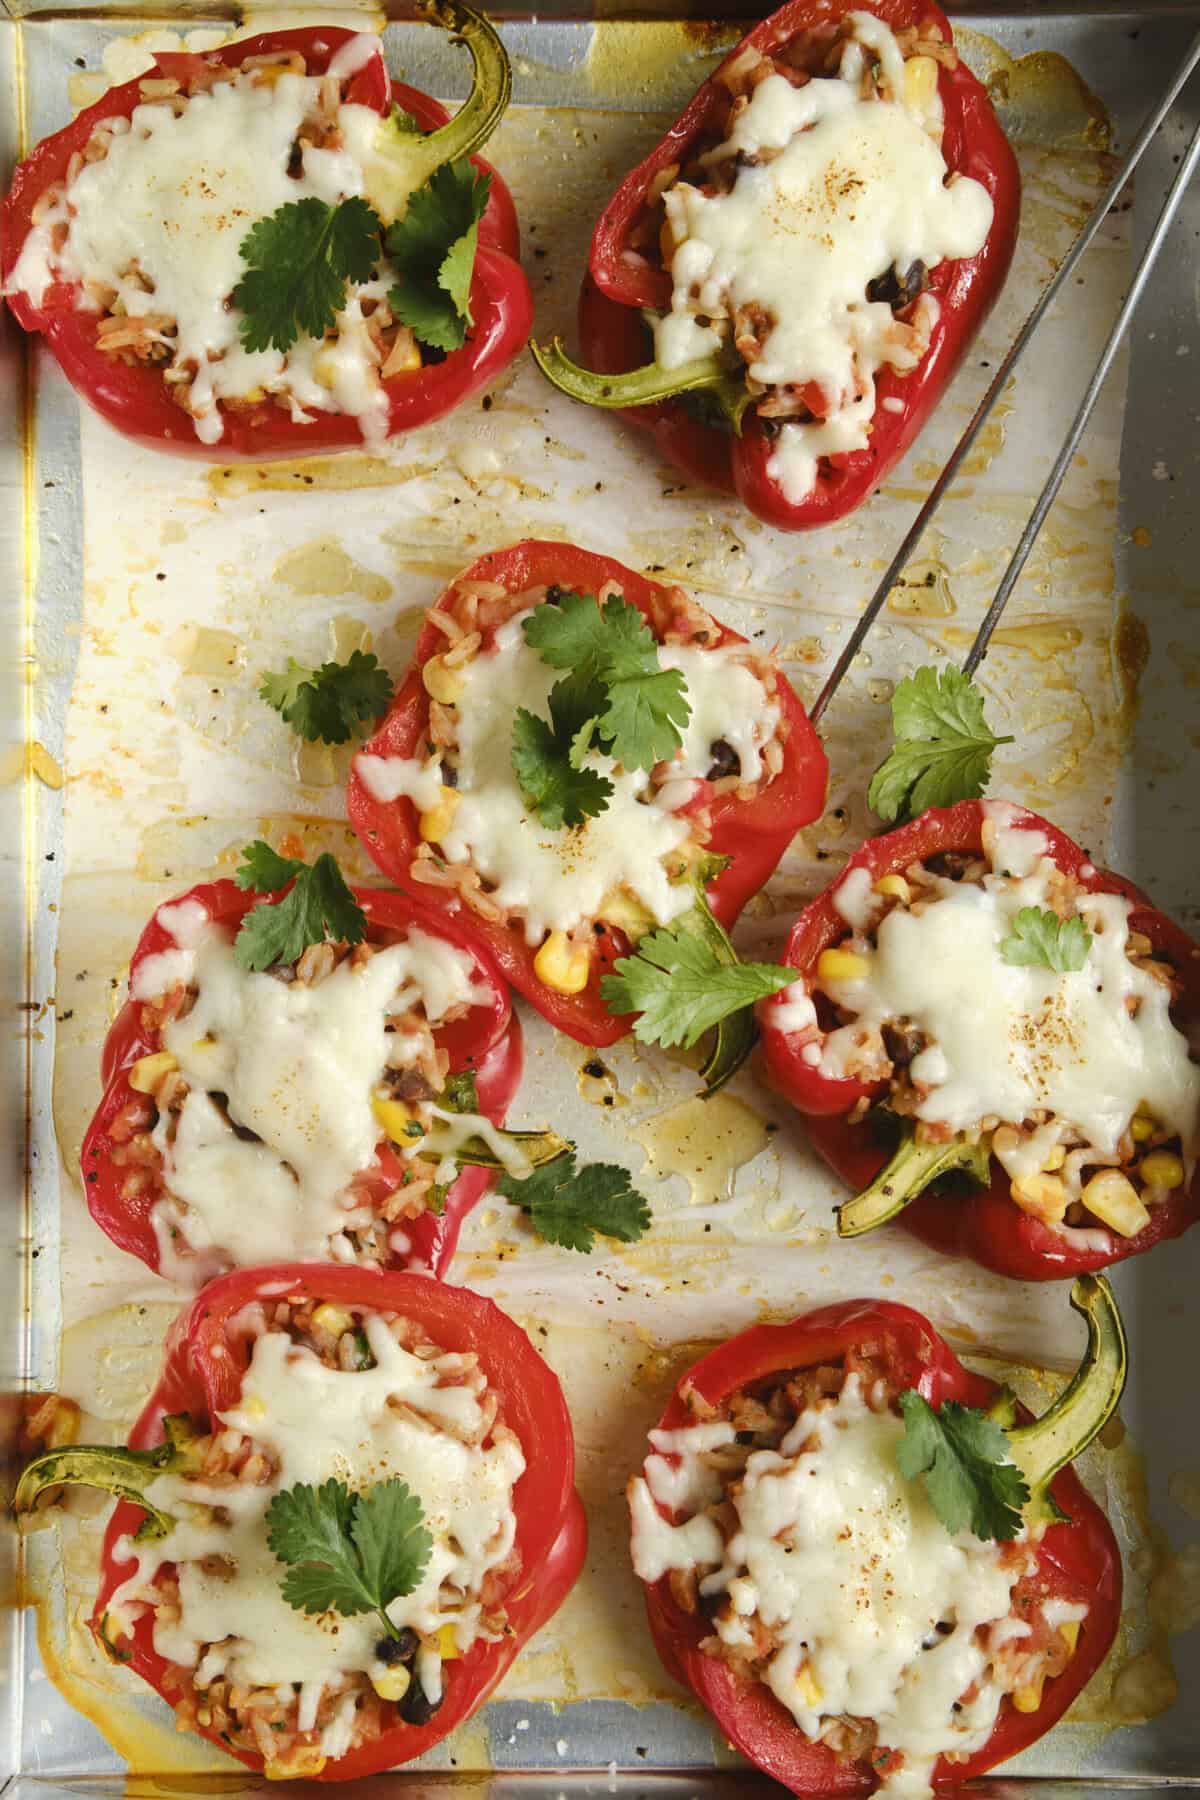
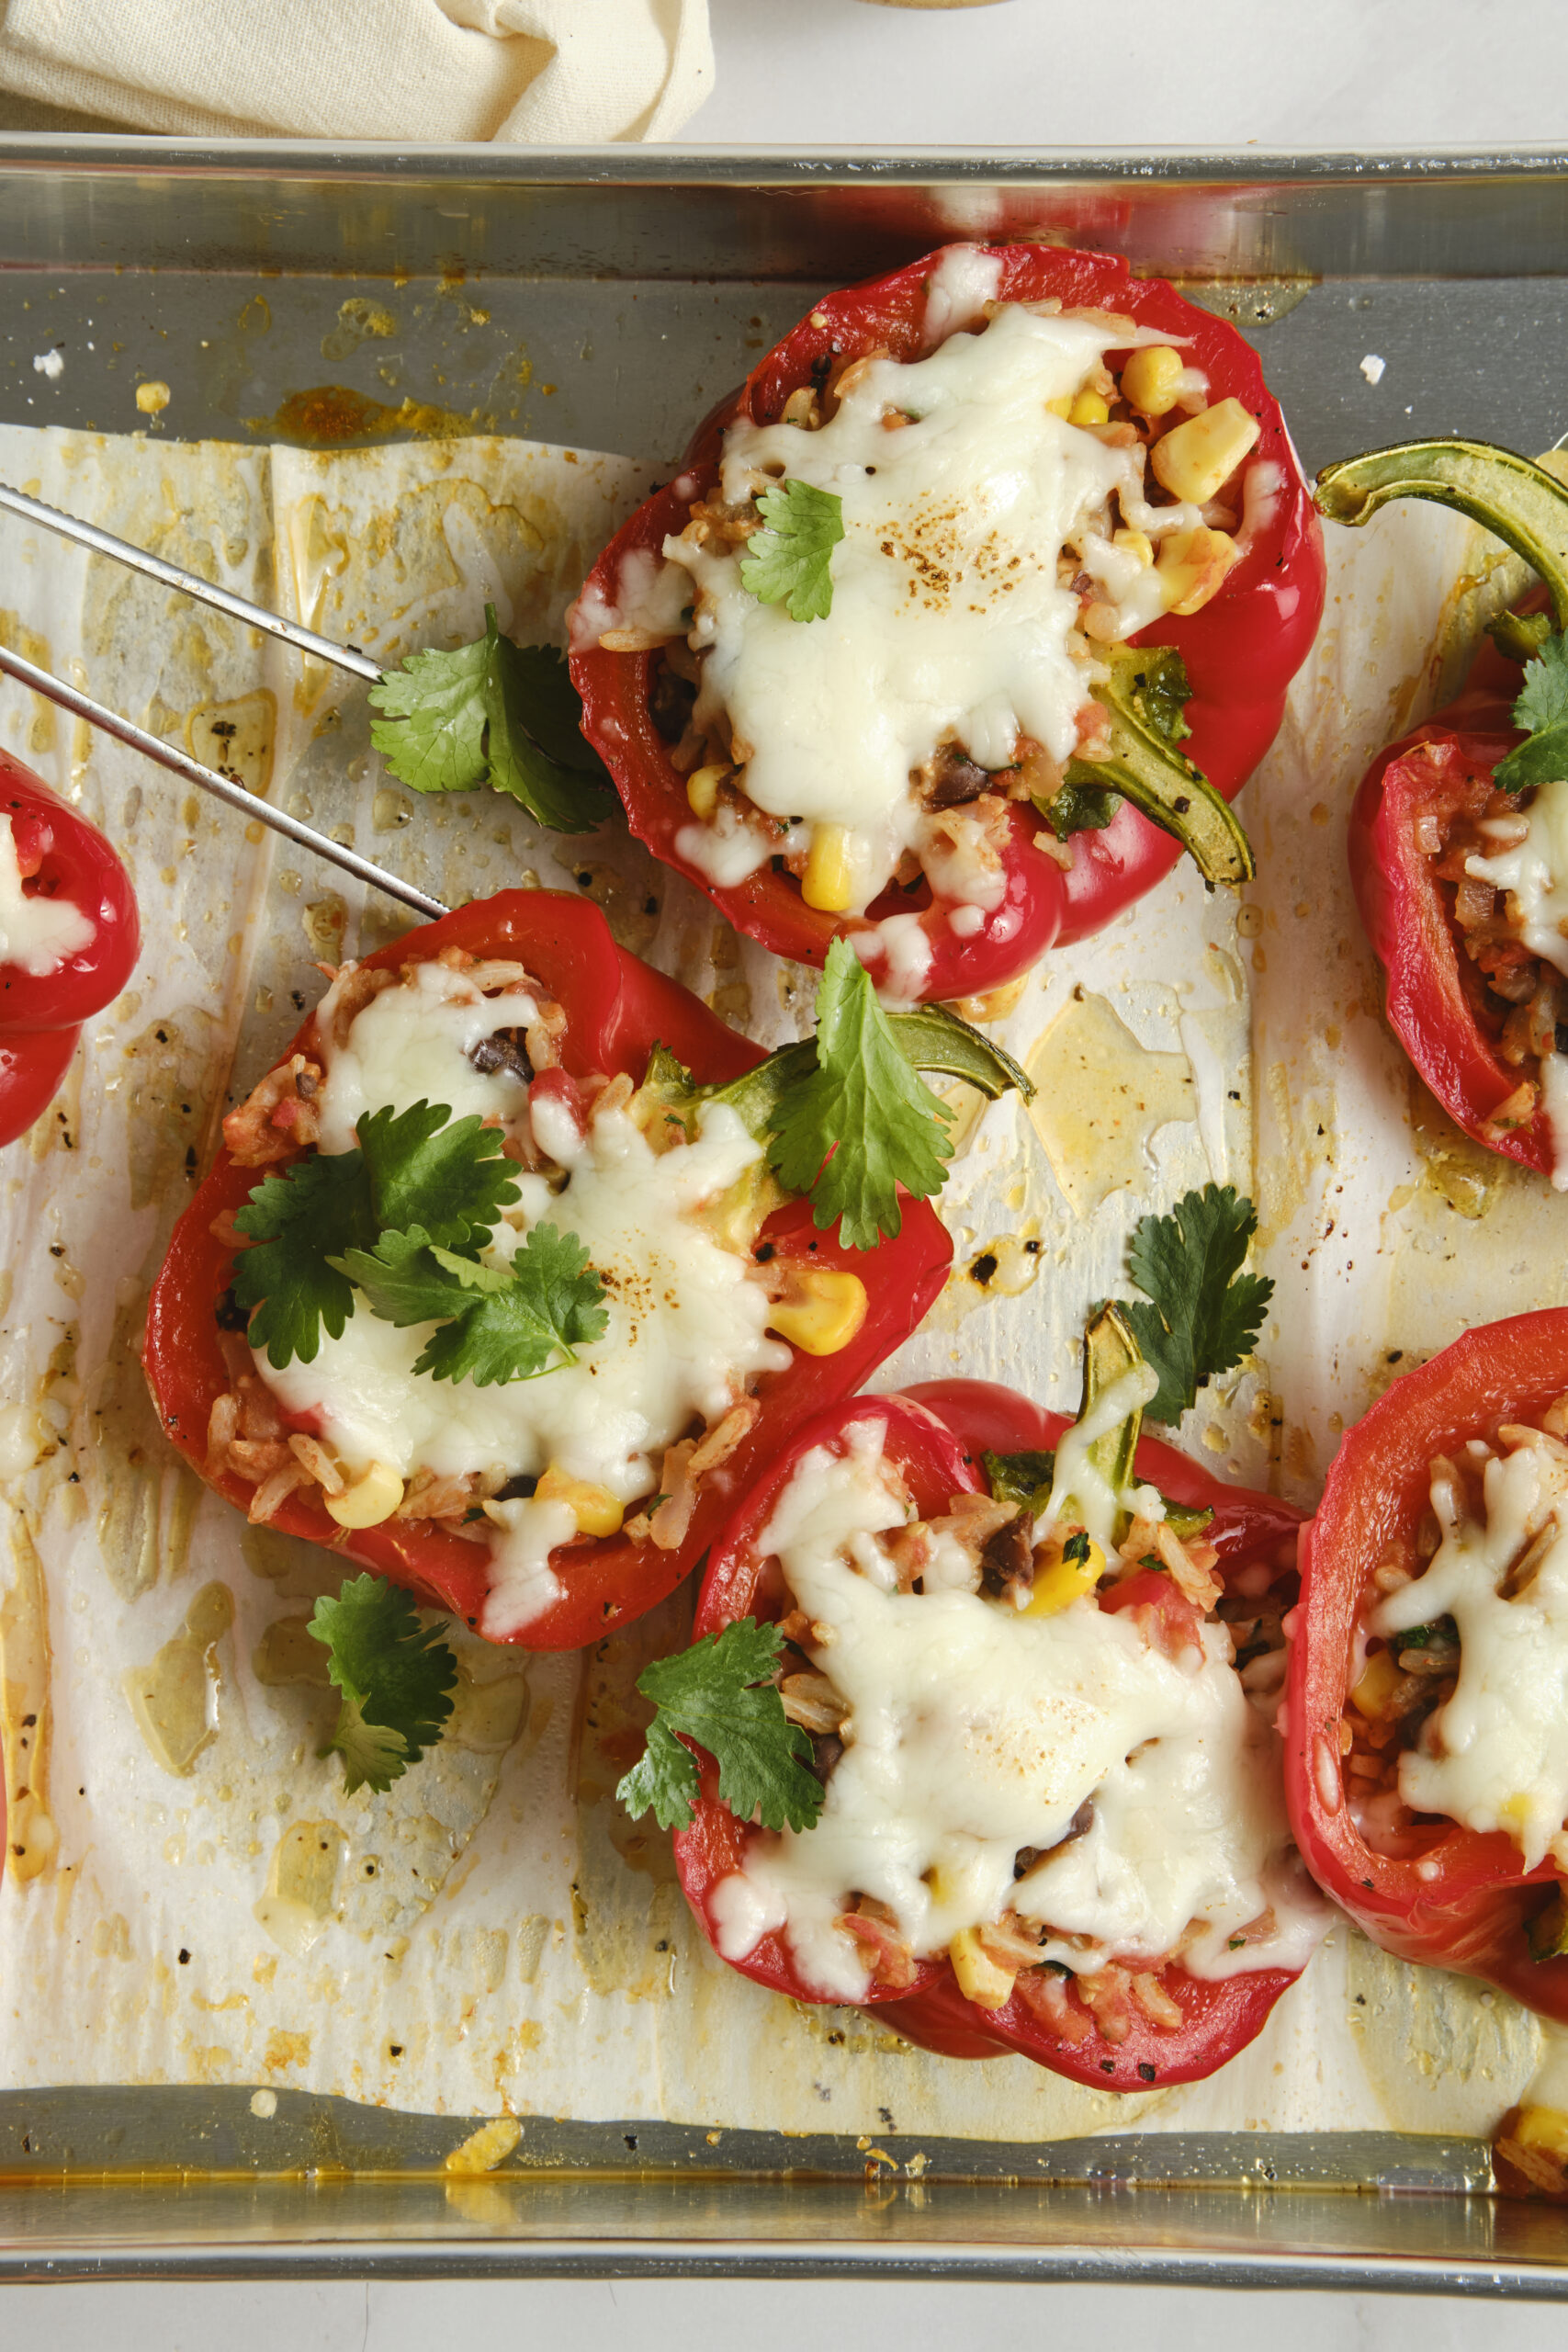
The part of this recipe that requires the most work is the filling, which could even be a side dish in itself. It consists of onion, garlic, diced tomatoes, black beans, corn, and brown rice sautéed in olive oil and seasoned with a blend of zesty spices and garnished with fresh cilantro. The tasty filling is then stuffed into sweet red bell peppers and topped with shredded mozzarella cheese that gets ooey-gooey in the oven once baked. It’s so hearty and satisfying to eat!
I wanted this recipe to be vegetarian for two reasons. First, so it could be easily enjoyed by vegetarians, of course. I’m not a vegetarian myself, but I have plenty of friends who are, and I wanted this to be something they could savor, too. The other reason is that when I’m dining with fellow meat-eaters, I like to serve these along with meat as a main course. If there were also meat in the stuffed peppers, I think it would make the meal too meat-heavy. By keeping this recipe vegetarian, the stuffed peppers become so much more versatile.
How to pick the best bell peppers
Did you know that the difference between green, yellow, orange and red bell peppers is simply the level of ripeness? Green peppers are the least ripe, so they tend to be firmer and less sweet. Red peppers are the most ripe, and also provide the sweetest, most well-developed flavors, making them ideal for this recipe. However, yellow and orange peppers could work just fine, too. It’s also important to pay attention to the shapes of peppers for this recipe. Specifically, you’re going to want to select more square-shaped peppers so that they can hold as much of the filling as possible. For optimal flavor, opt for red, square-shaped peppers.
Fun fact: You may have noticed at the supermarket that some peppers are more cone-shaped with three nodes on the bottom, whereas some are more square-shaped with four nodes on the bottom. It has been believed by many that the gender of the pepper is the reason for these shapes, in turn influencing the sweetness or the number of seeds inside. Well, it’s time to set the record straight…this is nothing but a garden myth! Peppers do not have a gender, and these varying shapes and sweetness are simply a product of different growing conditions.

How do I store leftovers?
If you have leftover stuffed peppers, first, make sure they are completely cooled before storing them. Once they’re cool, you can store them in an airtight container in the fridge for up to 4 days. If you’re stacking the peppers, make sure to place a sheet of parchment paper between the two layers in order to prevent sticking. You can also freeze the peppers for up to 3 months. I recommend wrapping each stuffed pepper individually in parchment paper before putting them in an airtight container or freezer bag. Allow them to thaw in the fridge overnight. When you’re ready to reheat the stuffed peppers, you can do so in the microwave or in the oven at 350°F.
Serving suggestions
I love to serve these stuffed peppers as a showstopping side dish along with a piece of meat. Since the flavors of this recipe offer some Southwestern/Mexican-inspired flair, it’d be a good idea to lean into that same cuisine for whatever else you’re serving the peppers with. This Santa Fe Chicken (which uses some of the same ingredients as the stuffed peppers) or this Jalapeño Popper Chicken with Quinoa Crust would really blow your guests away. It’d also go great with Chile Verde or Bistec Ranchero. If you’re looking for vegetarian pairings, try serving these stuffed peppers with this Black Bean Soup or this Grilled Mexican Quesadilla Recipe with Lentils.
Ingredients
- 4 large red bell peppers halved lengthwise and deseeded
- 2 tablespoons olive oil divided
- Salt and freshly ground black pepper to taste
- 1 medium yellow onion chopped
- 3 cloves garlic minced
- 1 cup diced tomatoes canned or fresh
- 1 1/2 cups black beans drained and rinsed
- 1 cup corn kernels fresh or frozen
- 1/2 teaspoon ground cumin
- 1/2 teaspoon onion powder
- 1/2 teaspoon dried oregano
- 1/4 teaspoon chili powder
- 1 1/4 cups cooked brown rice
- 1/4 cup chopped fresh cilantro plus more for garnish
- 1/2 cup shredded part-skim mozzarella cheese
Instructions
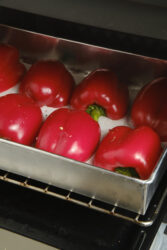
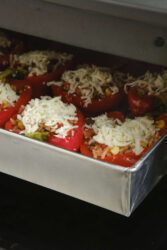
- Preheat your oven to 425°F. Brush the cut sides of the bell peppers with 1 tablespoon of olive oil. Sprinkle with salt and pepper, then place them cut side down on a baking sheet lined with parchment paper.

- Bake the peppers in the oven for roughly 20 minutes, or until they start to soften and develop some color. Take them out of the oven and set aside.
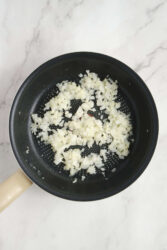
- In a large skillet, warm 1 tablespoon of olive oil over medium heat. Add the chopped onion and minced garlic, and sauté for approximately 5 minutes until softened.
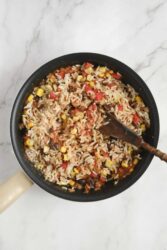
- Stir in the diced tomatoes, black beans, and corn. Season with ground cumin, onion powder, oregano, chili powder, salt, and pepper. Let the mixture cook for 3 to 4 minutes. Then stir in the cooked brown rice and chopped cilantro.
- Distribute the filling evenly among the roasted bell peppers. Sprinkle shredded mozzarella cheese on top of each one. Place the peppers back in the oven and bake for another 10-15 minutes, or until the cheese has melted and the filling is warmed thoroughly. Serve while warm, garnished with additional cilantro.
Nutrition Info:
Nutrition information are estimates only and may vary based on the specific brands, ingredients, and portion sizes you use. This data is provided for informational purposes only.
Leave a Comment