Don’t wait for a holiday to make this gorgeous dessert—it’s perfect any time of year!
This French silk pie recipe yields a dessert your family and friends will ask for time and again. Although there are a few steps that must be carefully followed (more on that below), it ultimately is not difficult to prepare. You need to plan accordingly, however, as there’s a lot of chilling and cooling time involved. However, when you finally take the finished pie out of the refrigerator and get ready to serve it, expect a lot of thanks from everyone at the table.
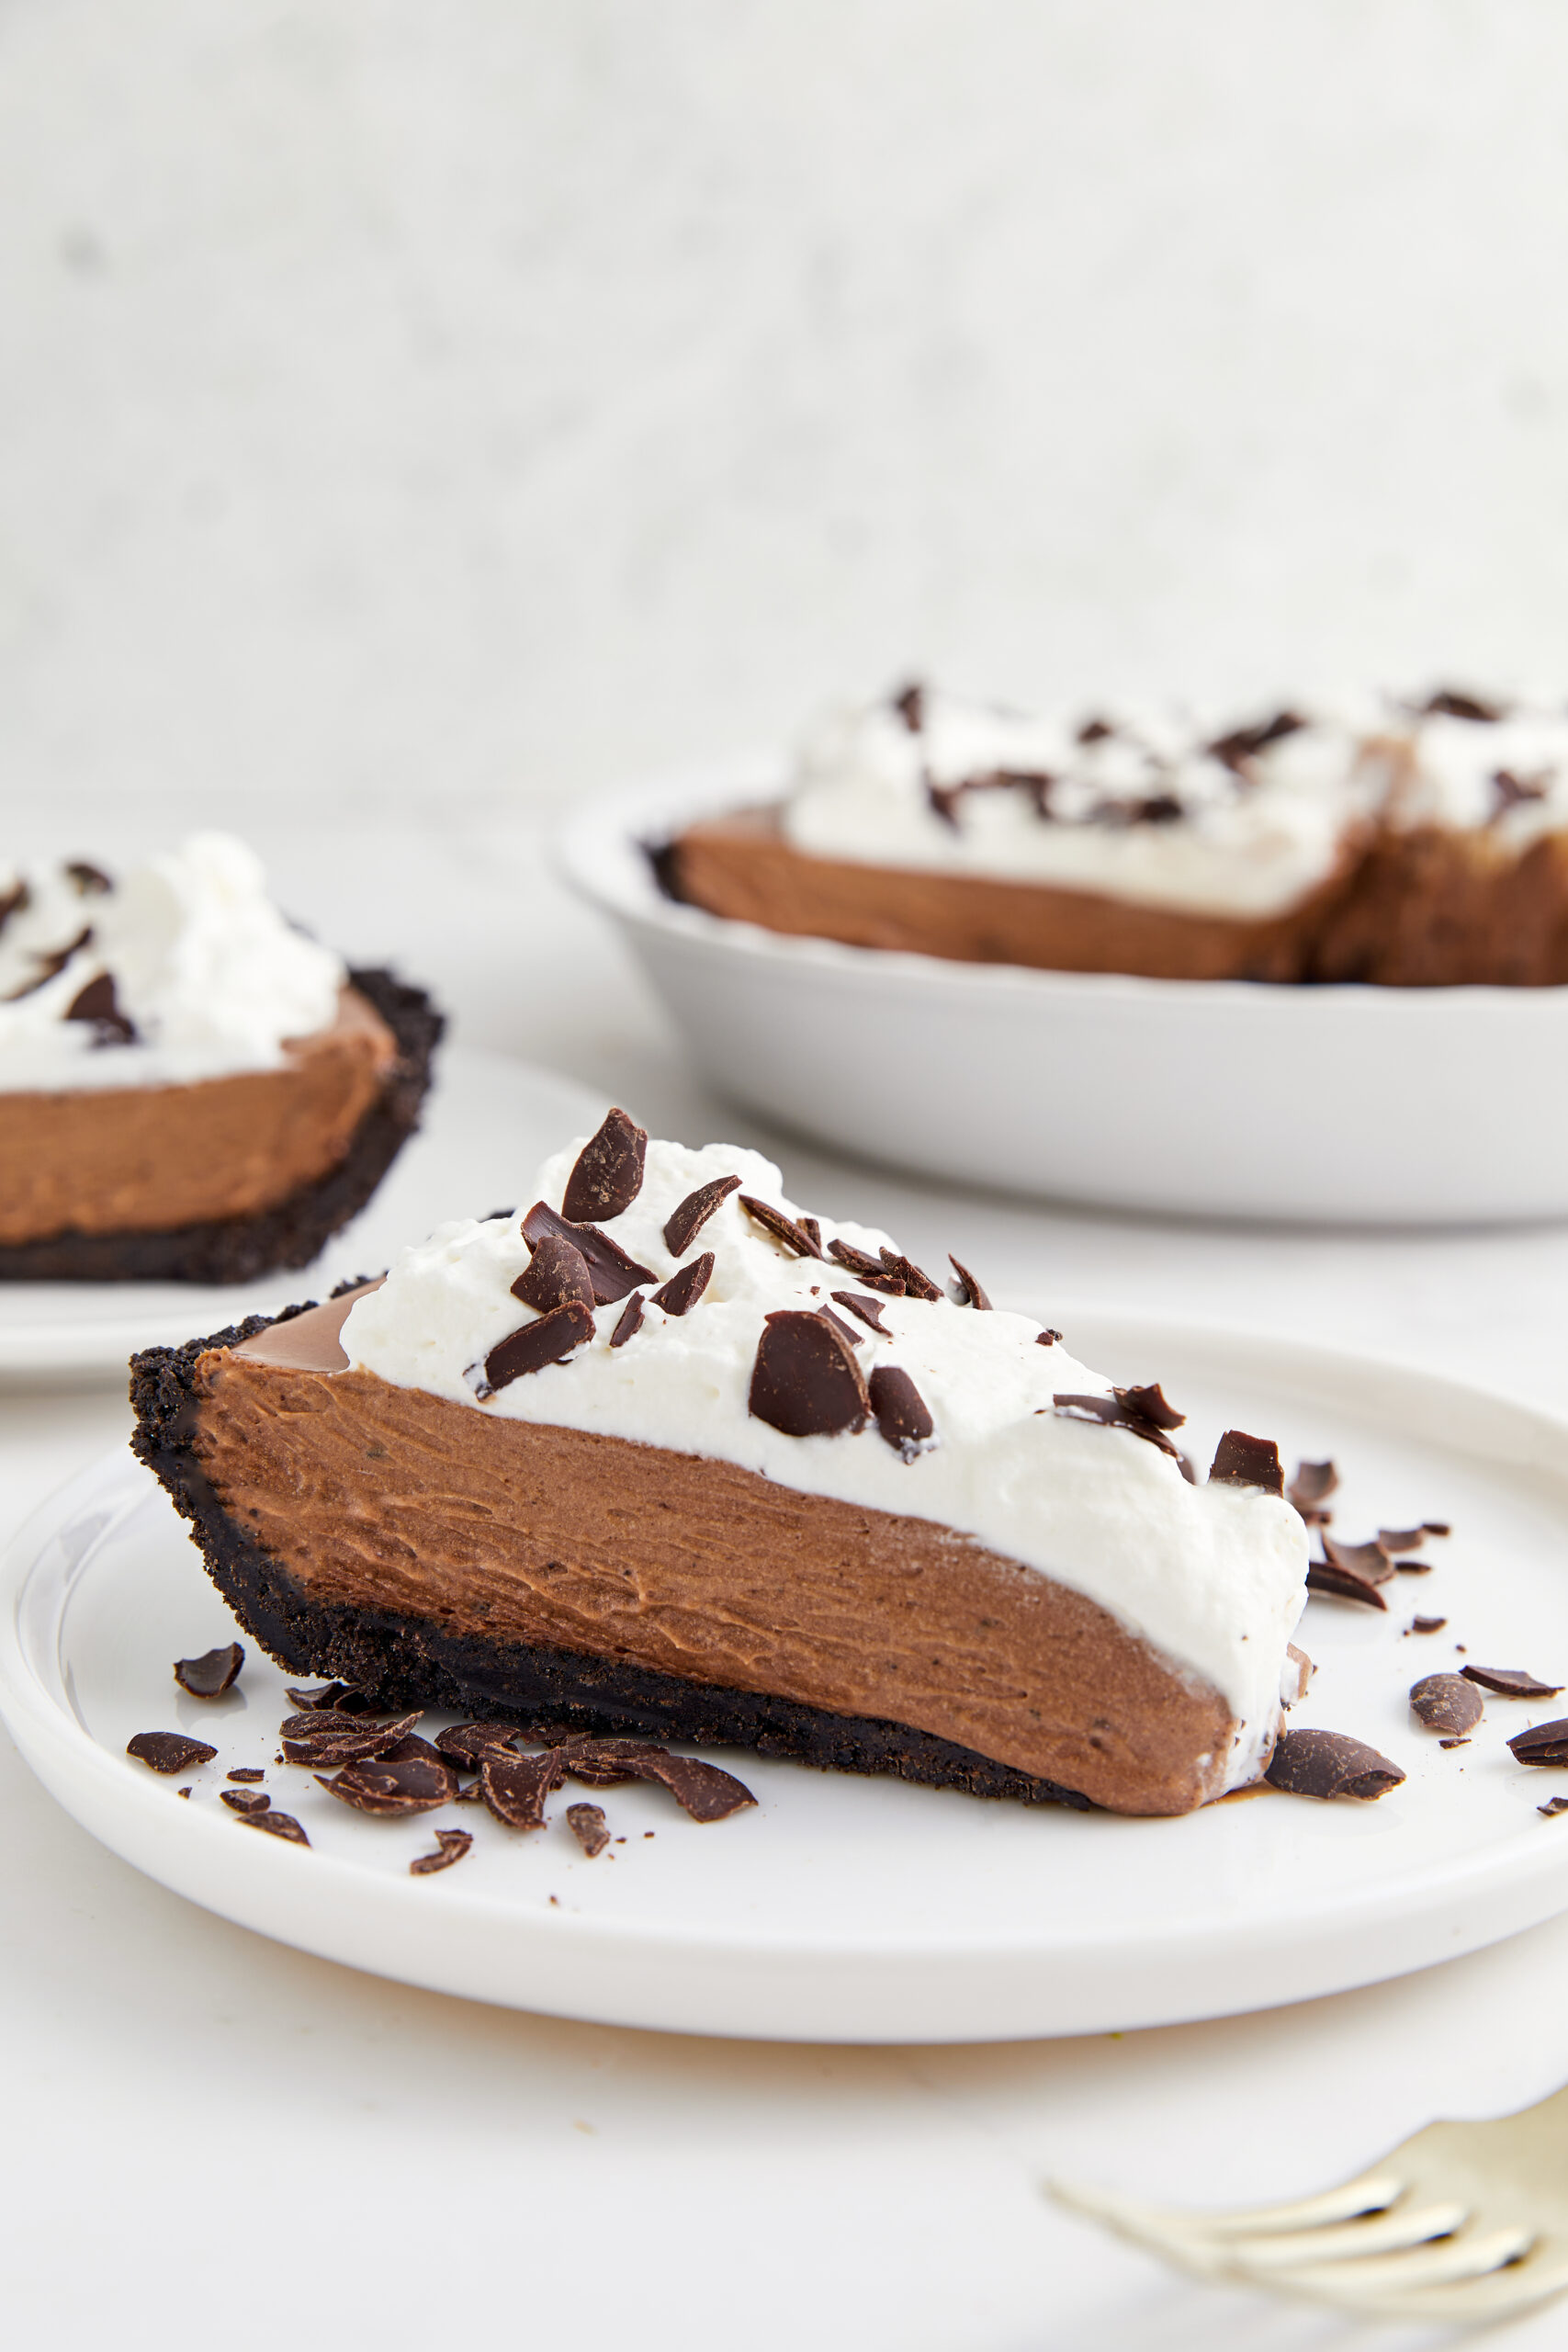
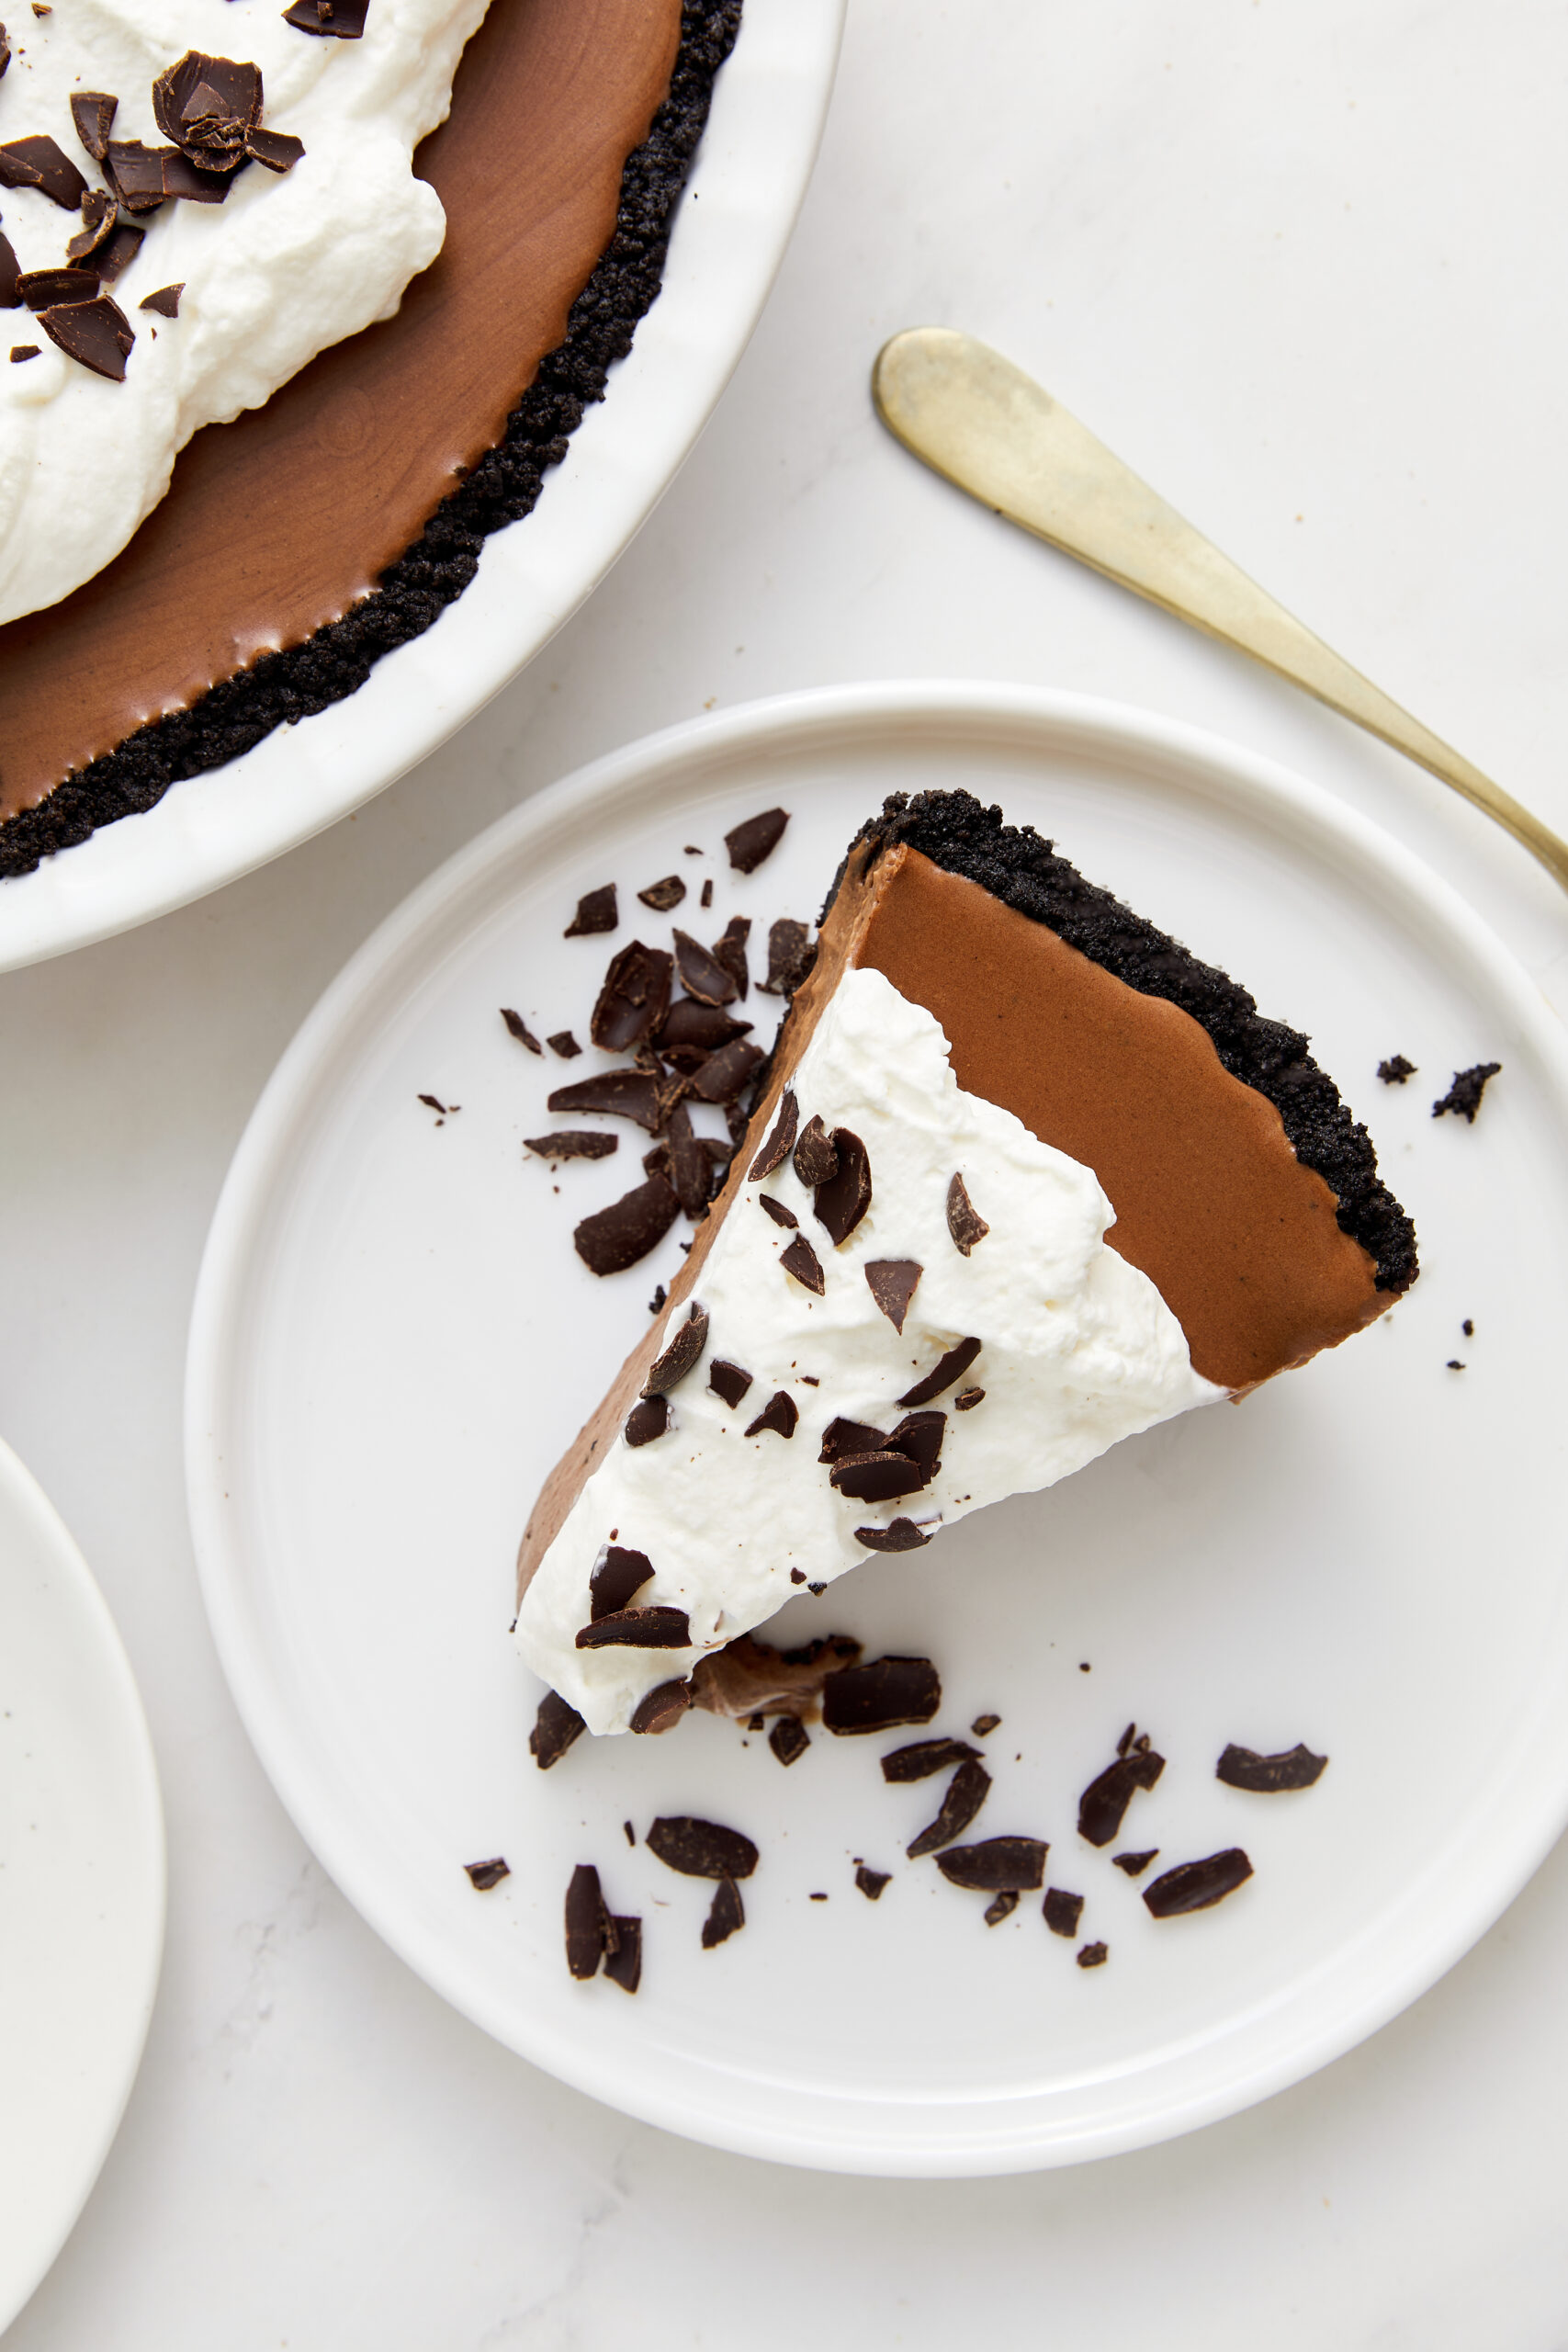
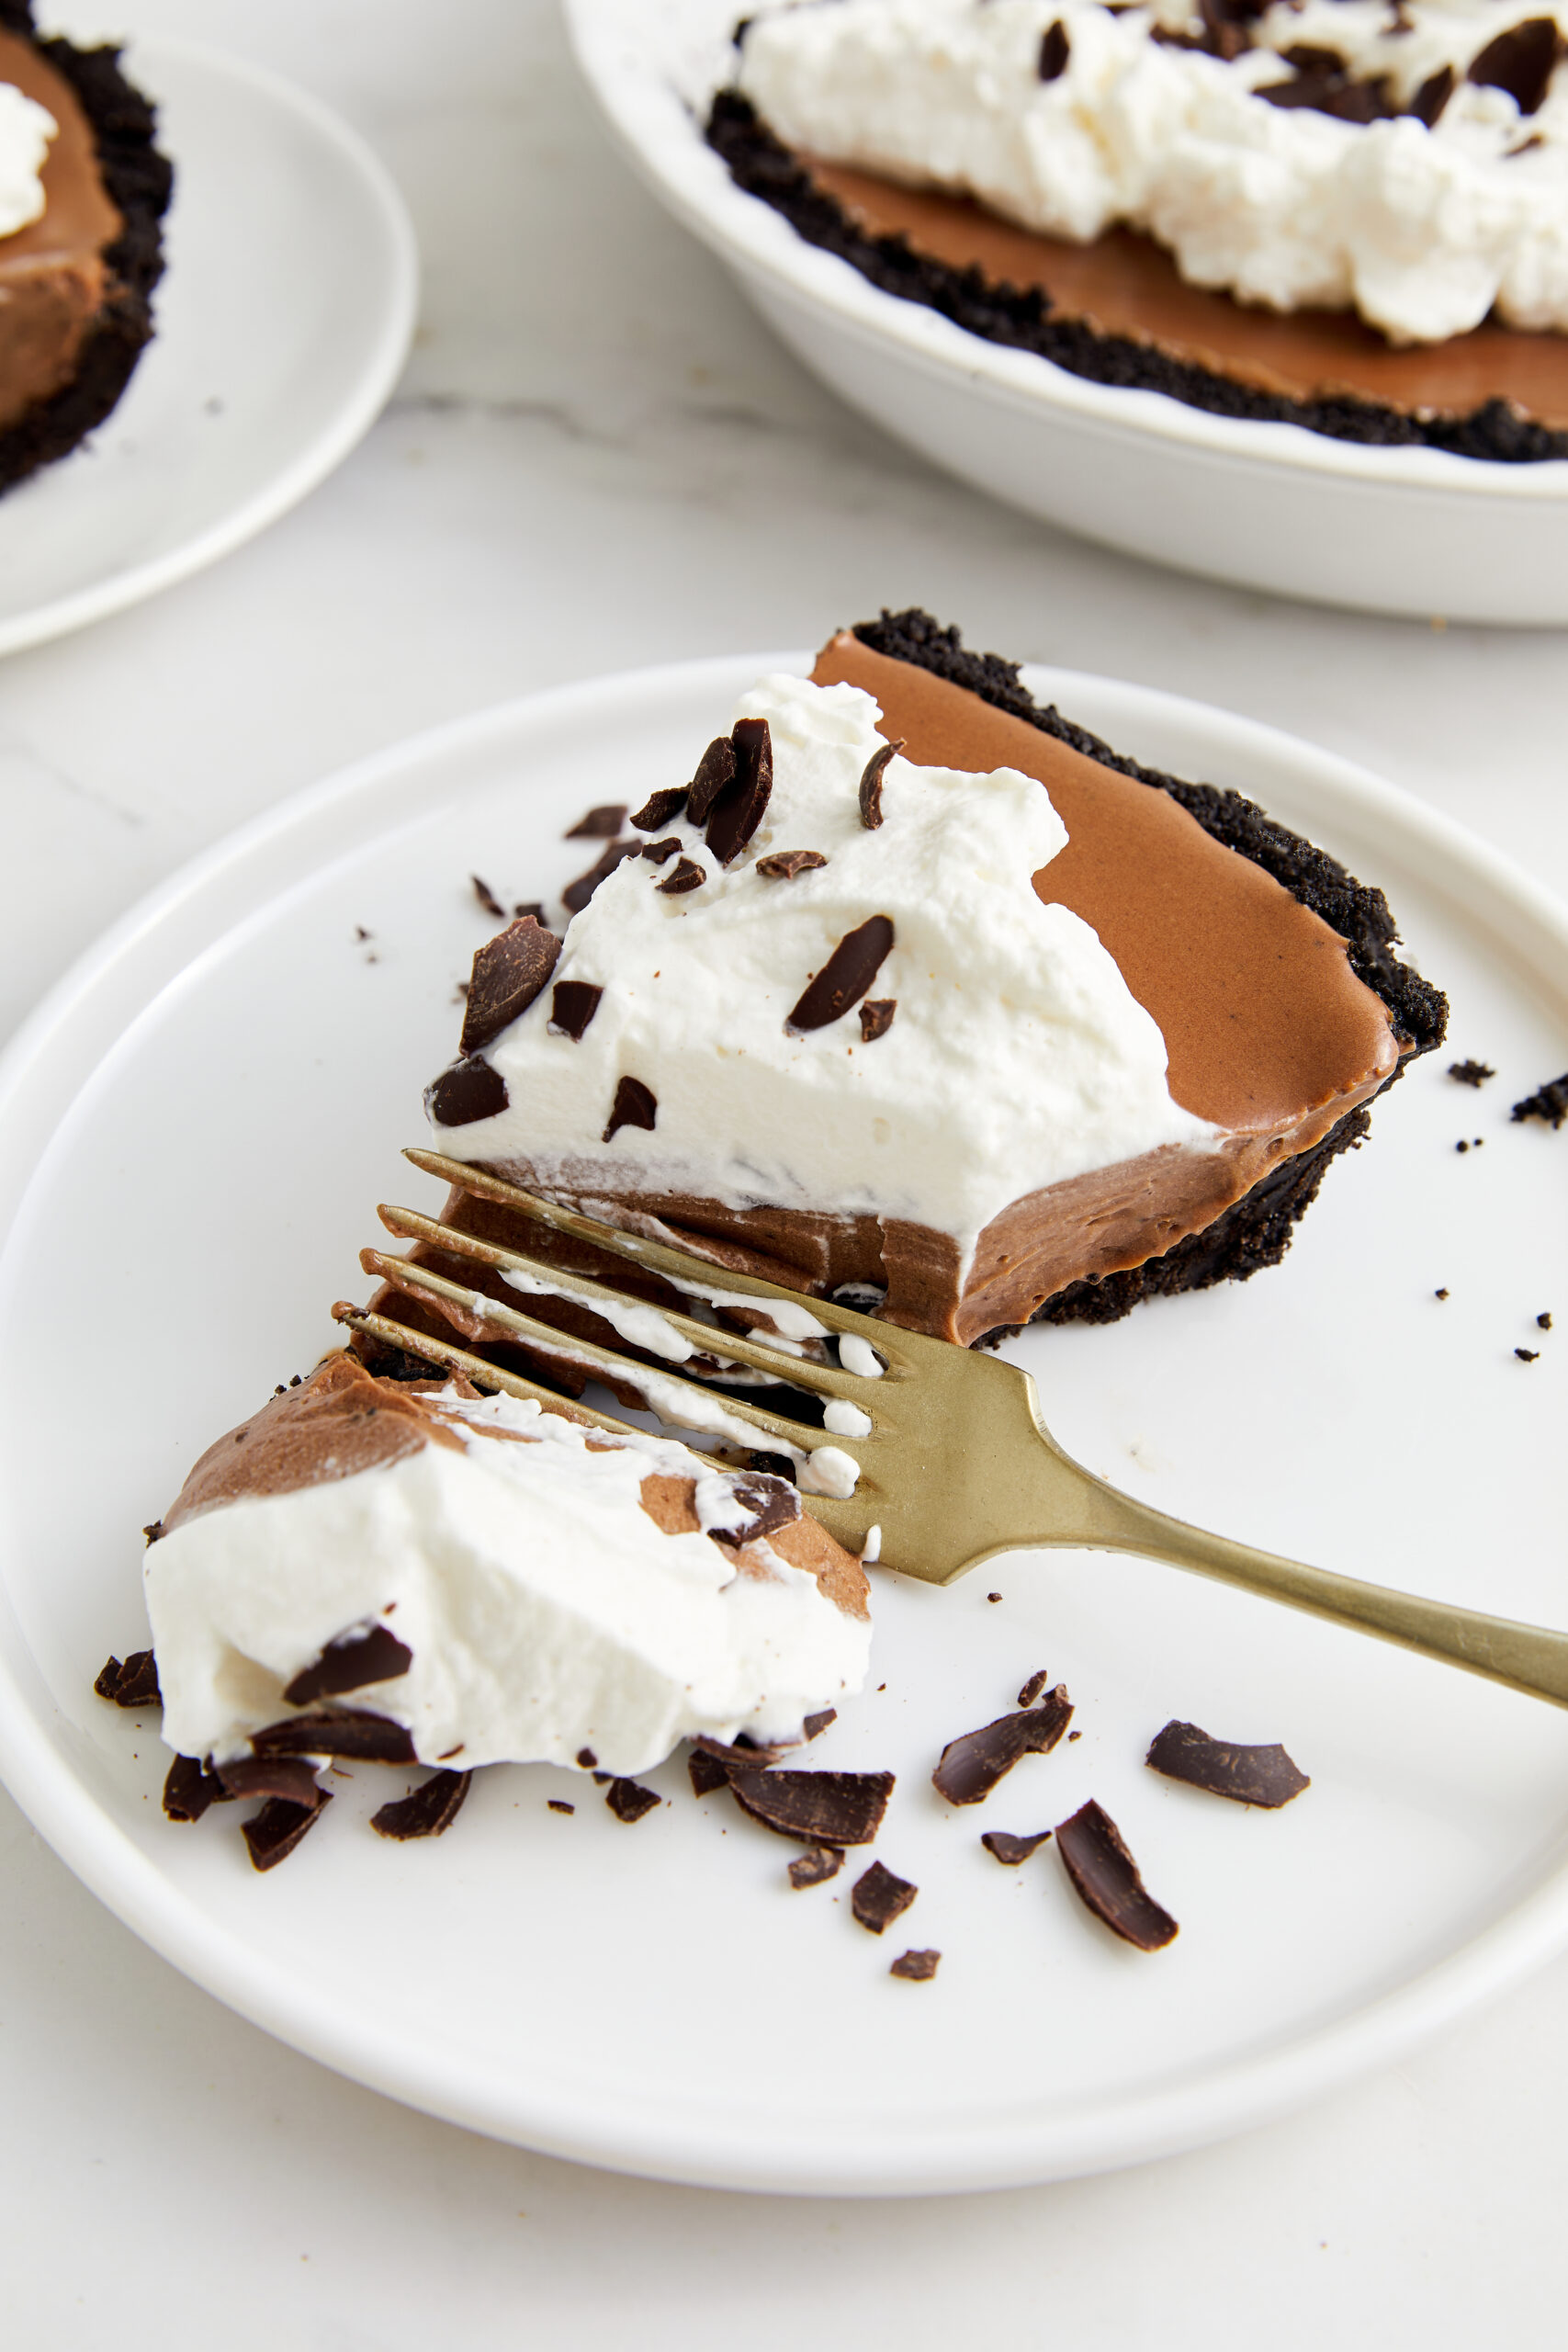
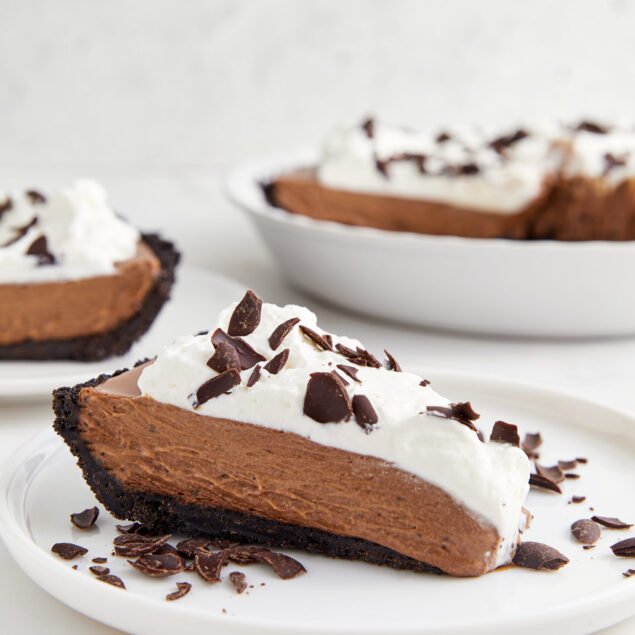
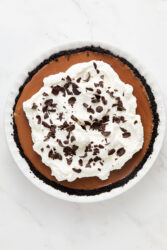
It’s as beautiful as it is delicious! Each bite delivers rich and creamy chocolate filling, decadent whipped cream topping, and a satisfyingly chewy chocolate crust. In short, this pie is a chocolate-lover’s dream come true.
When I make this pie, I use gluten-free chocolate sandwich cookies. Any brand of cookies will do, but who doesn’t like a good Oreo, regular or gluten-free? I’ve also made it with golden Oreos, giving the crust a colorful contrast to the filling. I like the golden crust because the filling is so rich and chocolatey tasting that it pairs nicely with the lighter-tasting crust. You can also save time by using store-bought cookie-crumb pie crusts, eliminating the need to prepare and bake the crust.
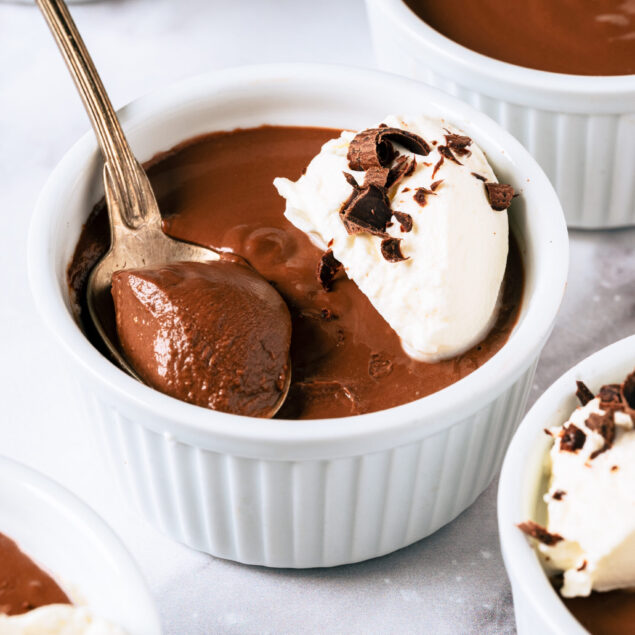
What if you don’t want to use a pie crust? Well, it wouldn’t be a pie, then, would it? However, that’s okay, because I have also skipped using a crust. The sweet, creamy filling makes a perfect dessert in glass custard or parfait cups. Simply spoon in the filling, top with whipped cream, and sprinkle with chocolate shavings. You can even add a maraschino cherry to the top of each one for added visual appeal.
Patience is crucial for a perfect pie
How’s your attention to detail? Are you feeling patient today? Unlike some recipes that can be completed quickly and without much planning, this French silk pie recipe requires careful review before getting started. Pay extra attention to ingredient temperatures, such as taking the eggs and butter out of the refrigerator ahead of time so they have a chance to come to room temperature. Also, keep the heavy cream refrigerated until you are ready to use it.
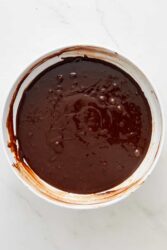
Making the crust is the first step, and it requires complete cooling after baking before you can add the filling. As you read through the instructions, you will see that you have to melt and then cool the dark chocolate before you combine it with your granulated sugar and eggs in a pan.
Speaking of the sugar and eggs, do not raise the stove temperature higher than medium-low heat to prevent the eggs from curdling. Continue stirring the mixture and use a digital thermometer to ensure it reaches a temperature of 160°F. Then, after you add the melted, cooled chocolate and vanilla, set the mixture aside to cool to room temperature before proceeding. This can take a while. I recommend against trying to speed it up by putting the bowl in an ice bath or the refrigerator, as an unappealing skin will develop atop the mixture.
How do I store leftovers?
If you have leftovers of this French silk pie, store them tightly wrapped with plastic or in an airtight container in the refrigerator for up to 4 days. While some people report freezing the pie tightly wrapped for up to 1 month, the texture will change upon thawing. If you do freeze it, let it thaw overnight in the refrigerator before serving. It is best to freeze it without the whipped topping, which will not withstand the freeze-thaw process well. Add fresh toppings right before serving.
Serving suggestions
When serving a dessert as decadent as this French silk pie recipe, I like to make my main course light and healthy. Some delicious options include this Ground Beef Taco Salad, this Caprese Pasta Salad, and this 7-Layer Salad. Many people equate this chocolate pie with holidays, so you might want to make a holiday-style meal that features lighter versions of your favorite dishes, such as Air-Fryer Turkey Breast, Roasted Sweet Potato Cubes, and Healthy Green Bean Casserole.
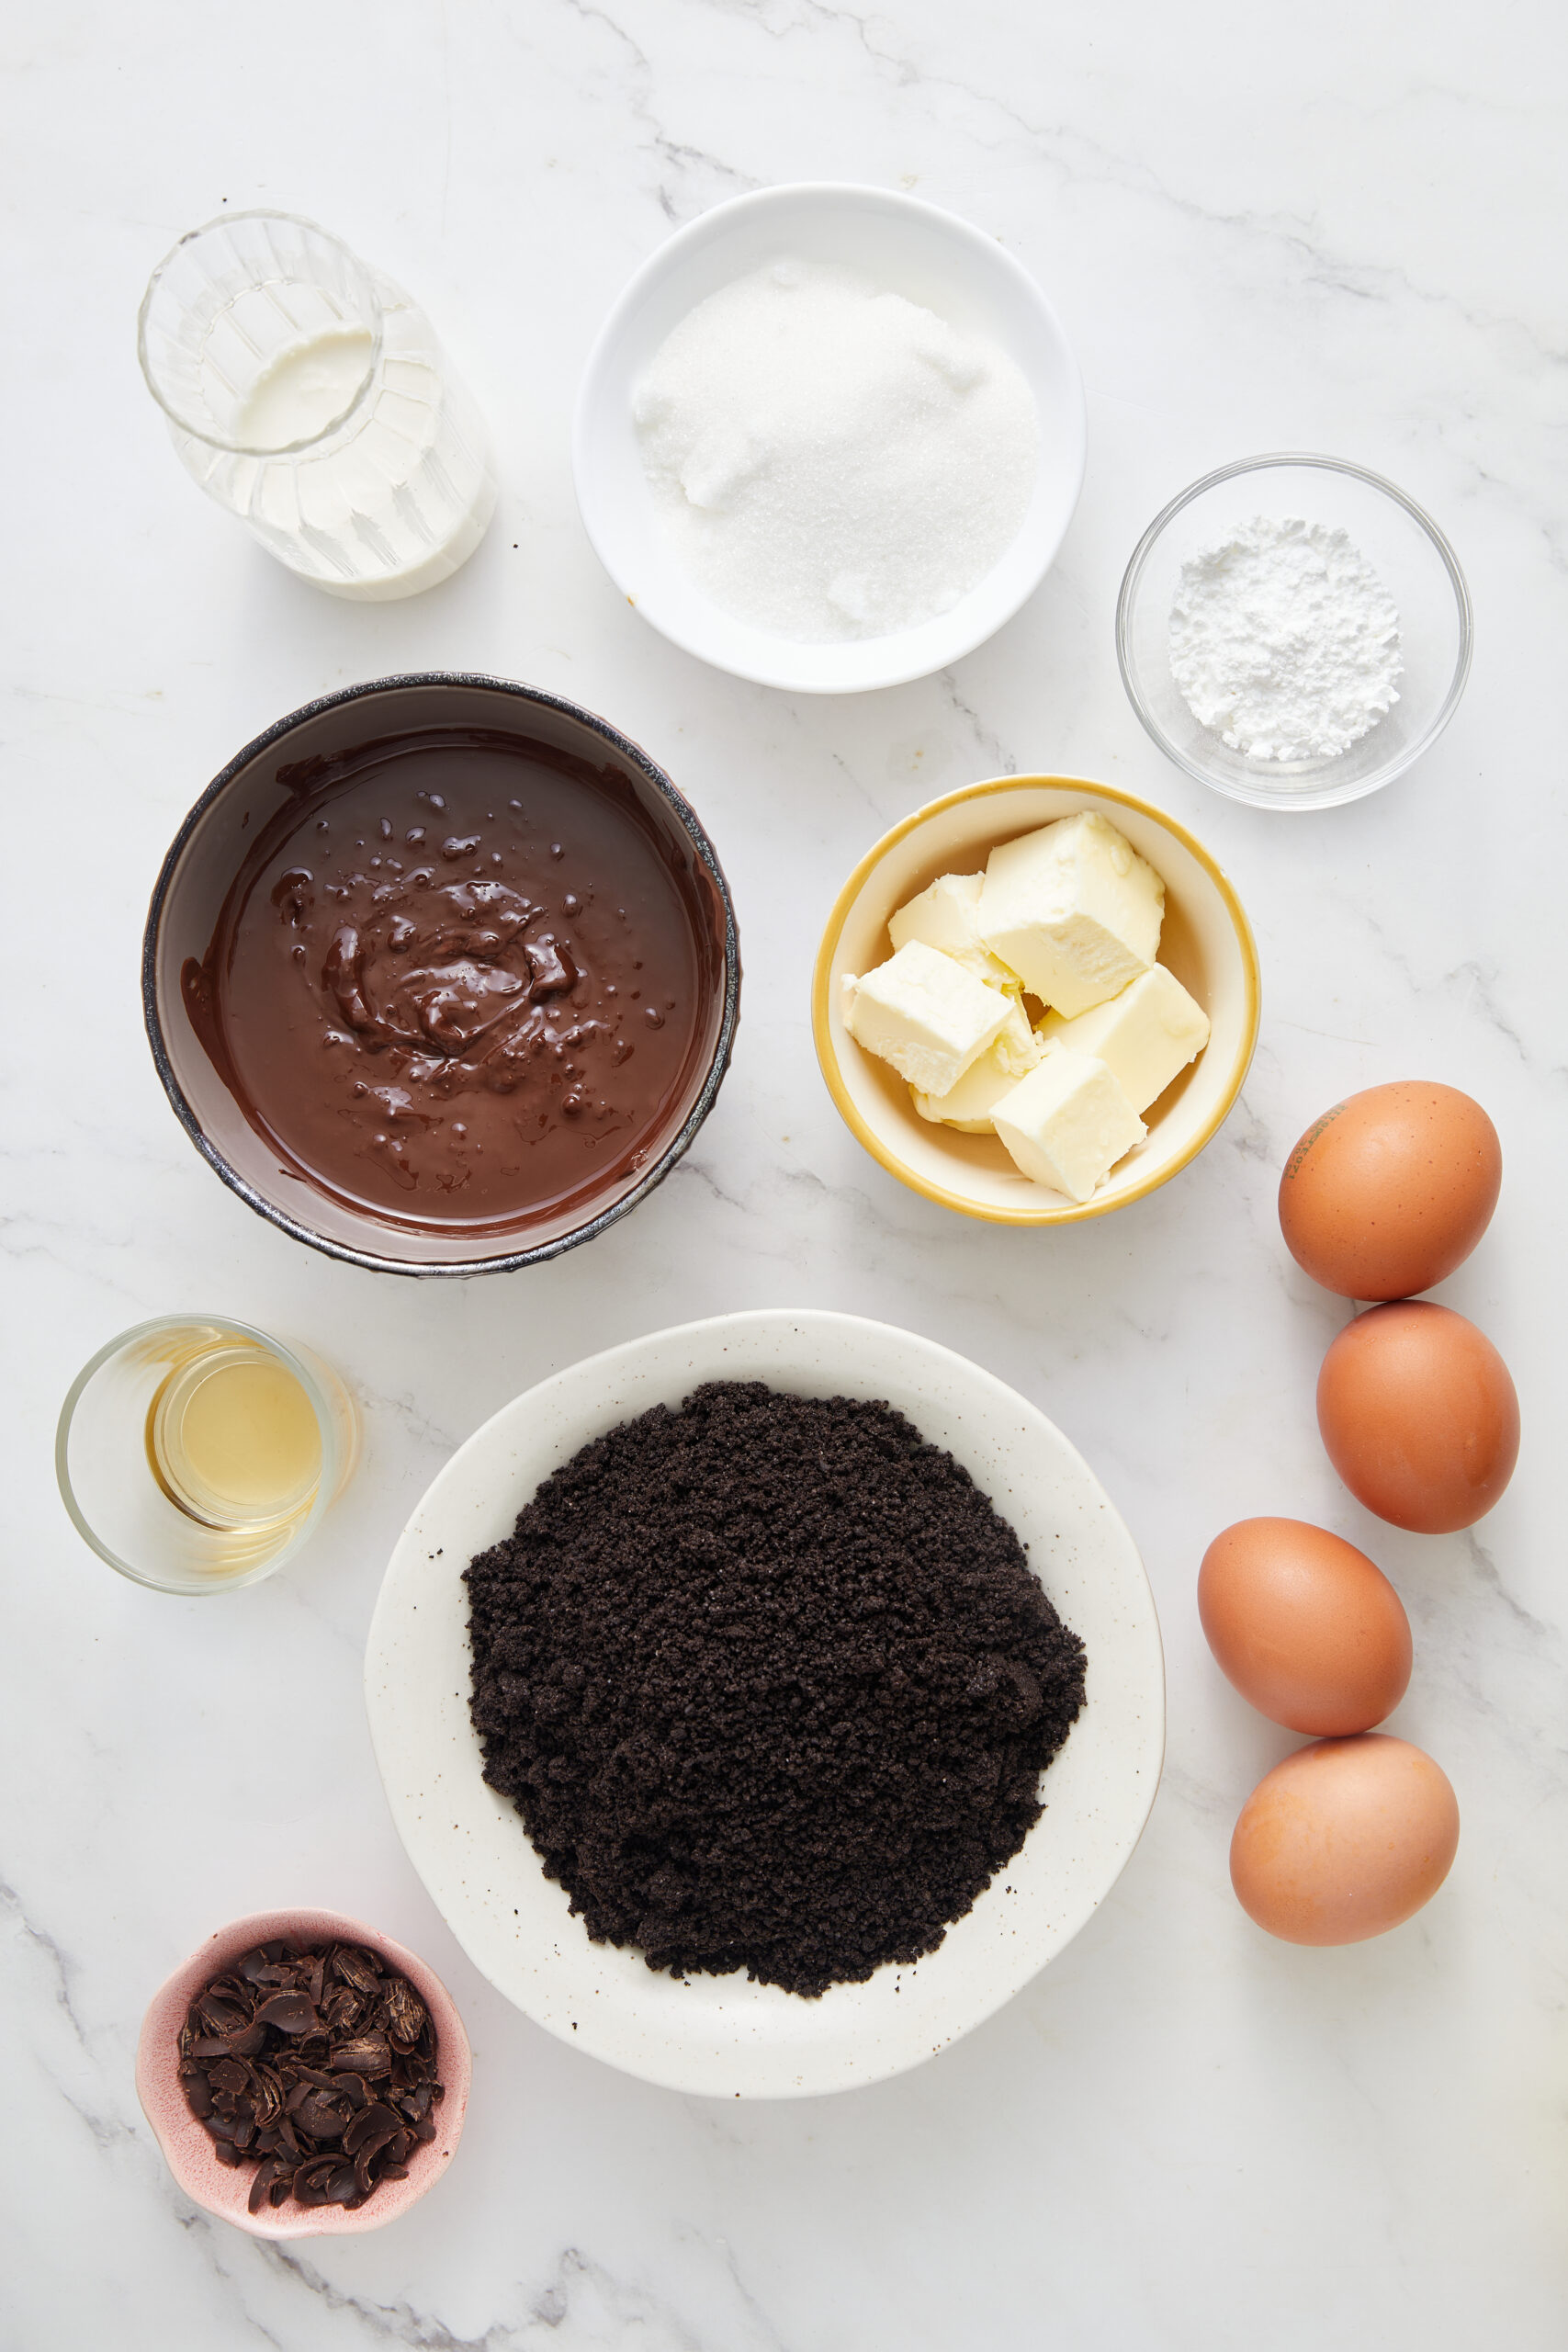
Ingredients
- 3 tablespoons unsalted butter melted
- 20 chocolate sandwich cookies such as Oreos, finely ground
- 1 1/3 cups granulated sugar
- 4 large eggs at room temperature
- 8 ounces unsweetened dark chocolate melted and cooled
- 1 1/2 teaspoons vanilla extract
- 10 tablespoons unsalted butter at room temperature
- 1 1/4 cups heavy cream cold
- 1 1/2 tablespoons powdered sugar
- 1 cup heavy cream cold (for topping)
- 2 1/2 tablespoons powdered sugar for topping
- 3/4 teaspoon vanilla extract for topping
- Chocolate shavings or cocoa powder optional, for garnish
Instructions
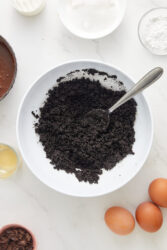
- Preheat your oven to 350°F. Add the melted butter to the cookie crumbs and blend until just combined. Press the mixture evenly into the bottom and a bit up the sides of a greased 9-inch pie dish.
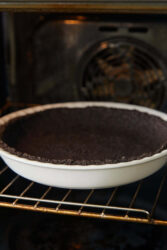
- Bake for about 10 minutes until the crust is set and fragrant. Remove and let cool completely on a wire rack.
- In a small saucepan, whisk together the granulated sugar and eggs over medium-low heat while stirring constantly until the mixture reaches 160°F (check with a digital thermometer).

- Remove from heat. Stir in the melted dark chocolate and vanilla extract until smooth. Set aside to cool to room temperature, which could take 1 hour or more.
- In a separate bowl, beat the room-temperature butter until light and fluffy, about 2-3 minutes. Gradually incorporate the cooled chocolate mixture by beating on medium-high speed until the mixture becomes light and airy.
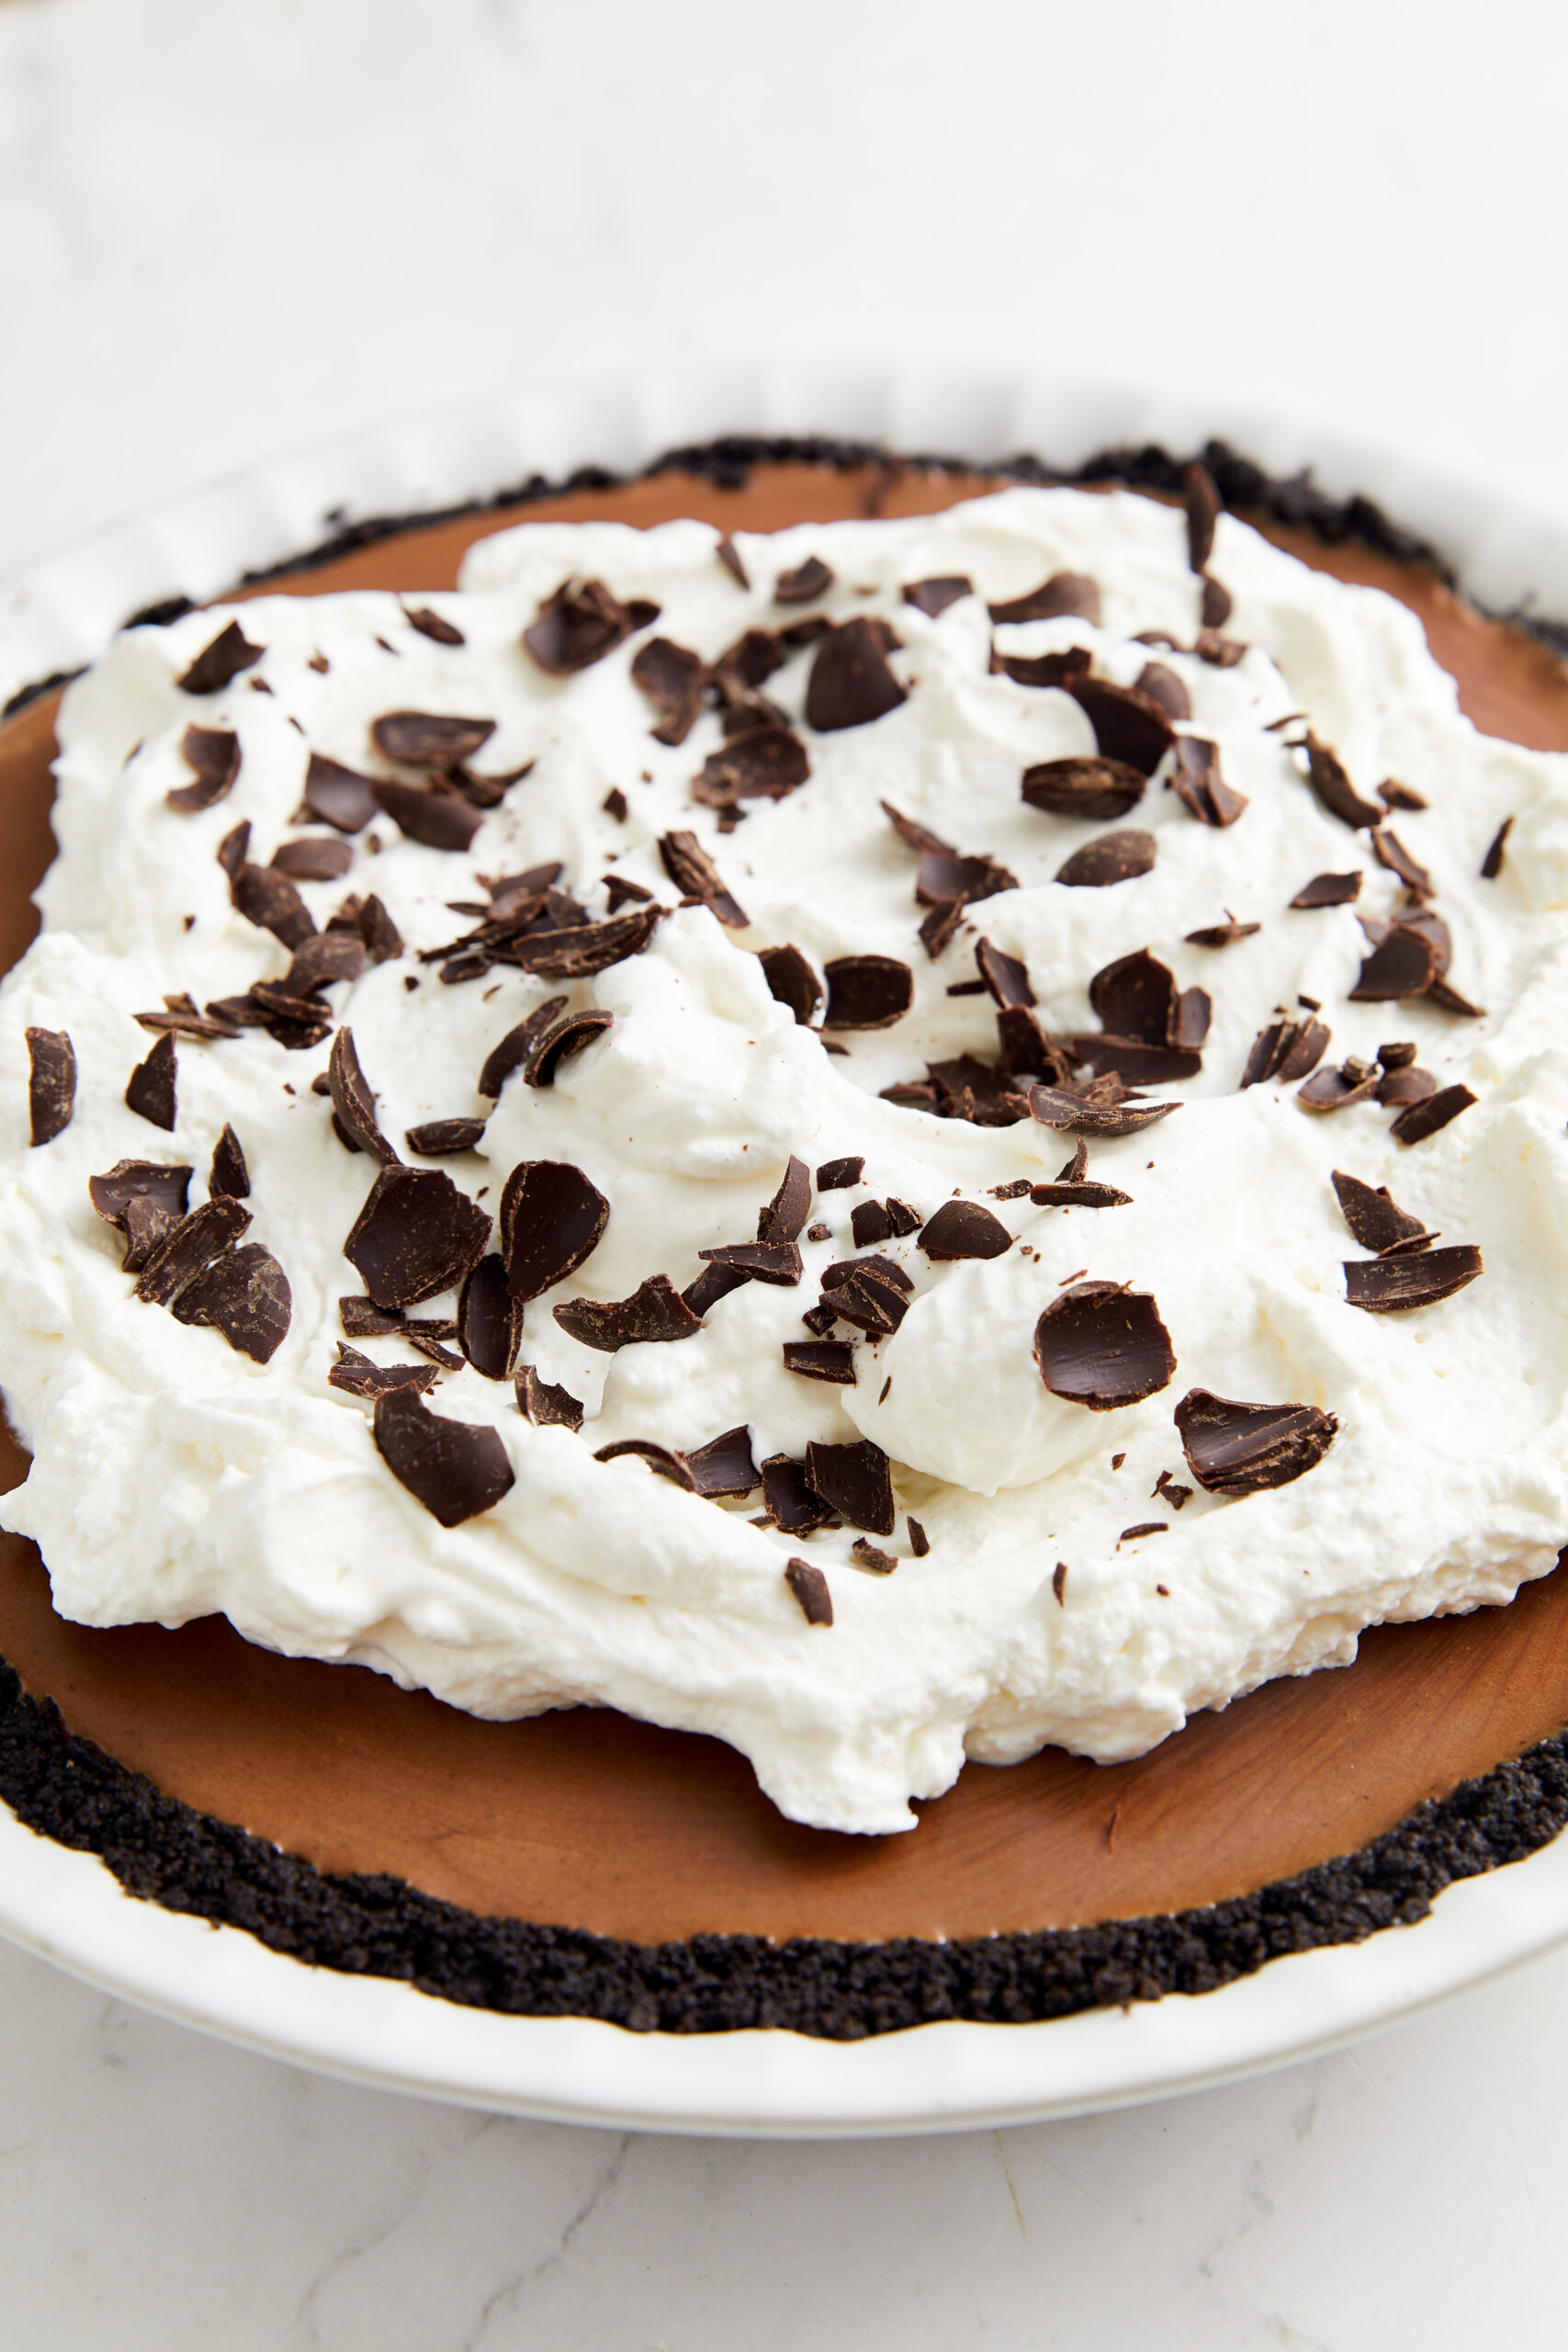
- In another bowl, whip the cold heavy cream with powdered sugar until stiff peaks form, then gently fold it into the chocolate mixture. Pour the filling into the cooled crust, smoothing the top with an offset spatula, and refrigerate until fully set, at least 4-6 hours .
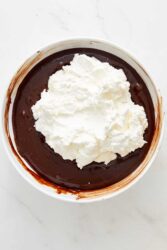
- For the topping: In a clean bowl whip the remaining 1 cup of cold heavy cream with powdered sugar and vanilla extract until soft peaks form. Spread or pipe the whipped cream on top of the chilled pie. Garnish with chocolate shavings or a light dusting of cocoa powder, if desired. Serve chilled.
Nutrition Info:
Nutrition information are estimates only and may vary based on the specific brands, ingredients, and portion sizes you use. This data is provided for informational purposes only.
Leave a Comment