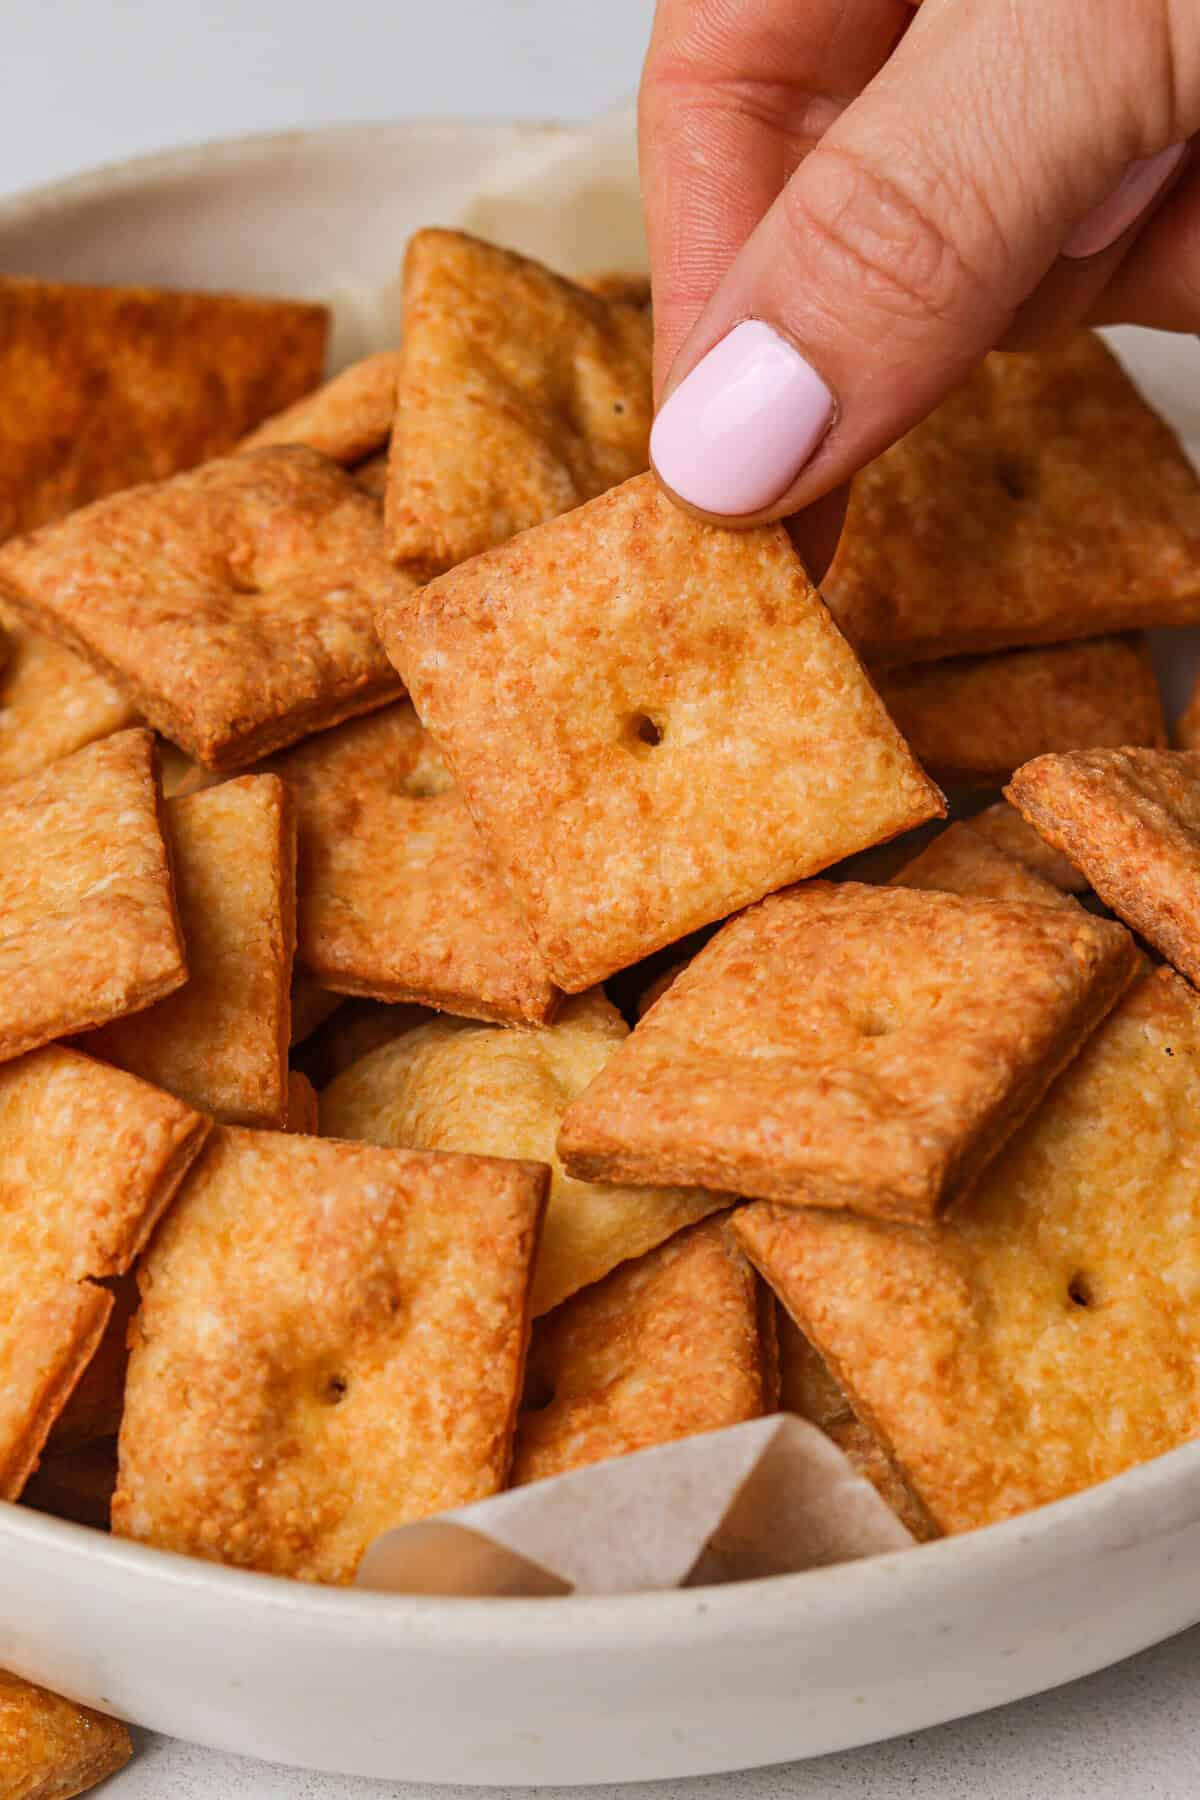
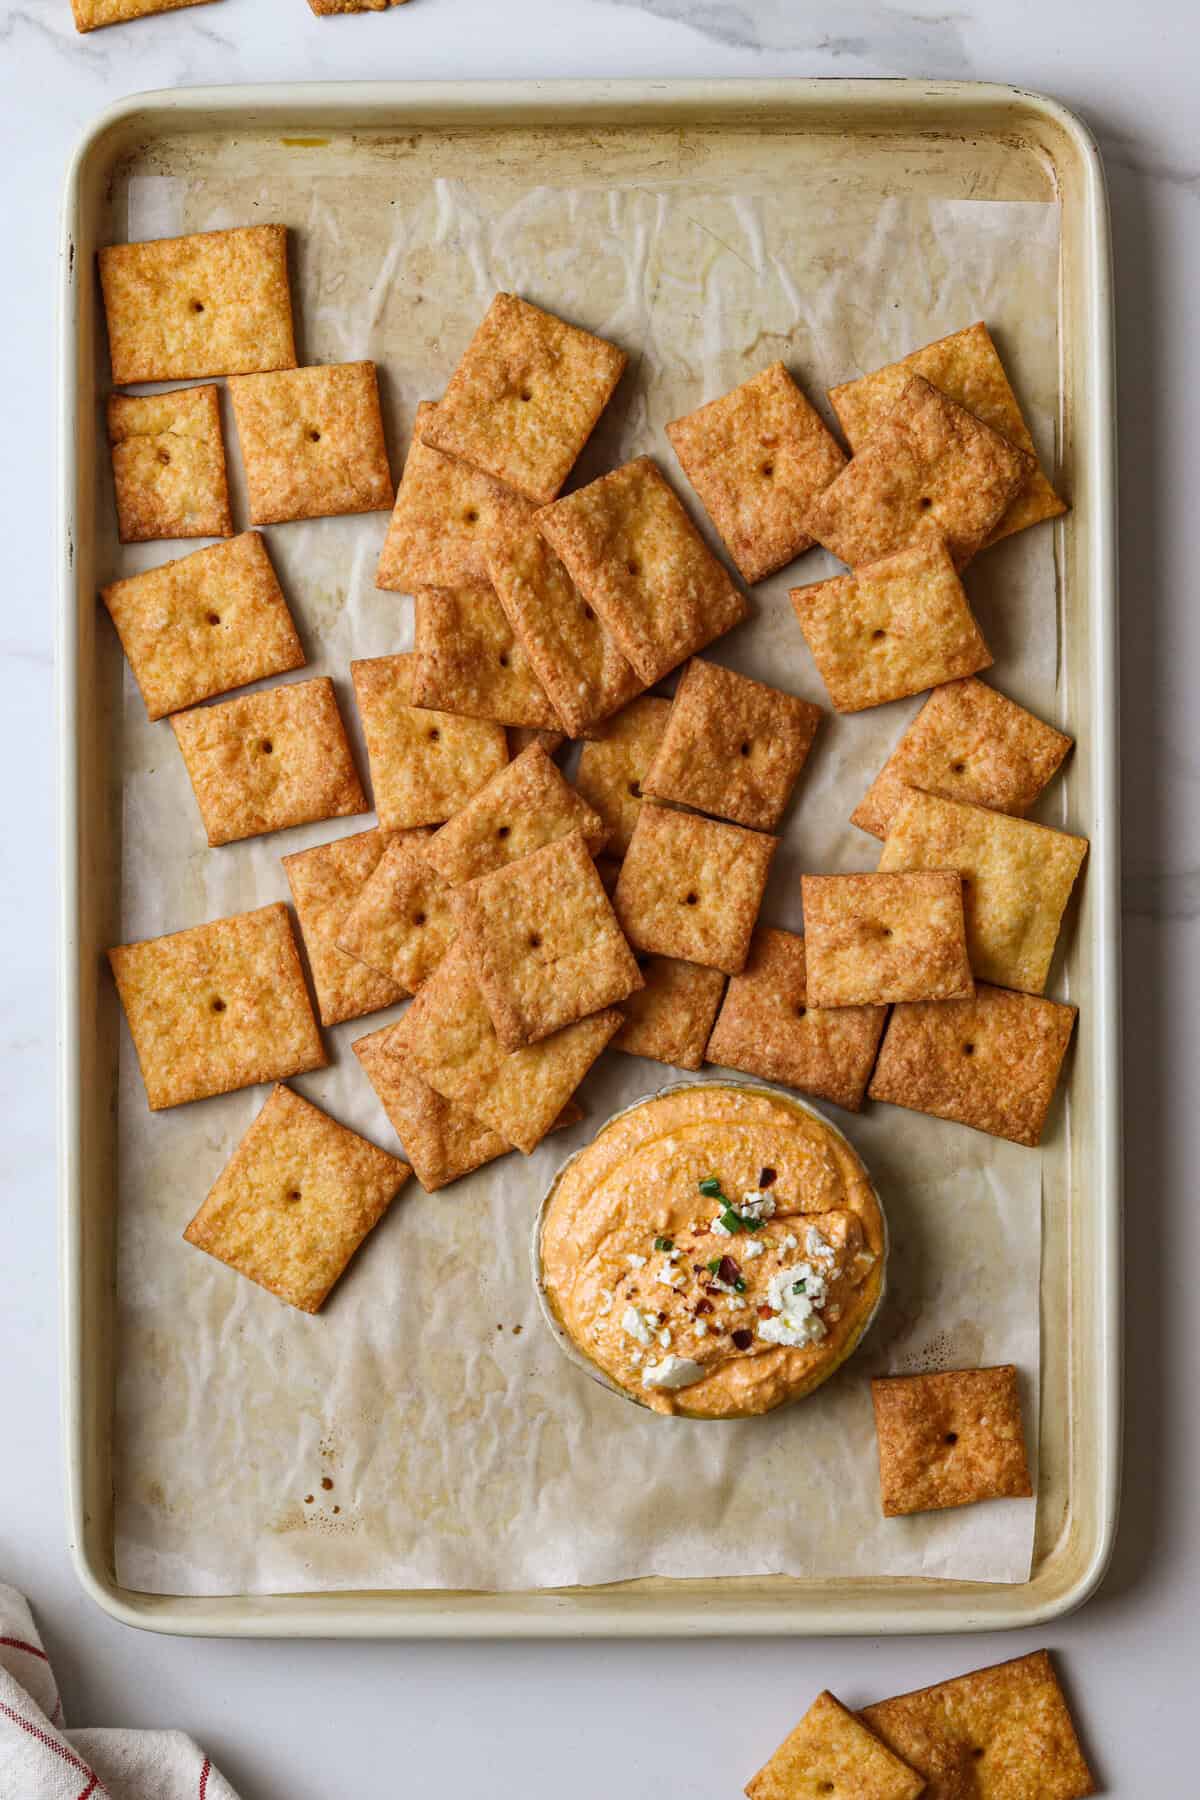
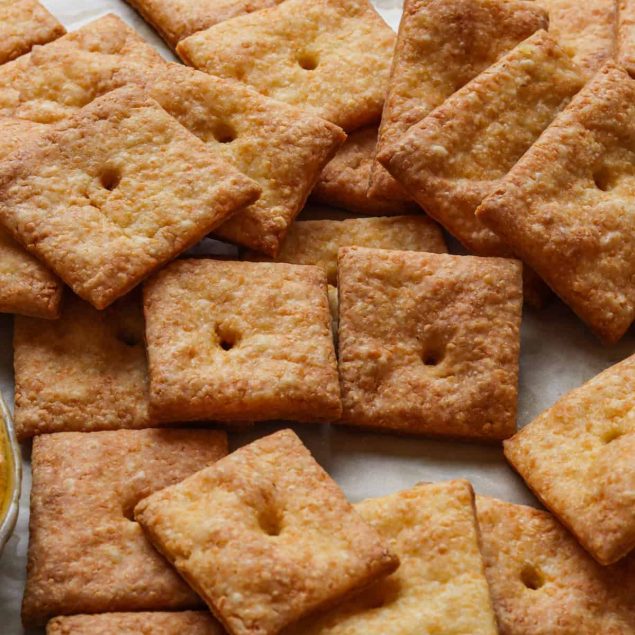
Kick Cheez-Its out of your cabinet! Instead, snack on these crisp DIY Cheese Crackers.
Let’s face it: when we’re craving crispy cheese crackers, the easiest thing to do is head to the grocery store. Hey, there’s no denying the convenience (and tastiness!) of boxed cracker brands. From Cheez-Its to Goldfish, there are plenty of cheesy options to toss in your cart for quick snacking.
While many of us have fond memories of indulging in store-bought cheese crackers, have you ever thought about making your own version of this salty snack? It might take a little elbow grease to roll out those squares, but I bet you won’t feel the urge to splurge on pre-packaged products anymore.
DIY cheese crackers are a fun way to elevate your snacking game, and they don’t require much skill or time. Plus, as the cracker chef, you get to customize the flavors to your liking, making your snack truly your own.
So, if you’re ready for a more artisanal cheese cracker experience, set aside some time and give this recipe a try!
Are Cheese Crackers Healthy?
Sorry snacking fans, but cheese crackers aren’t as healthy as kale chips. However, there’s a big positive for baking cheese crackers at home: you get to control your ingredients. So, if you want to cut back on the salt or opt for a low-fat cheese, you can easily tailor these crackers to your dietary needs.
There are also a few ways to make these crackers healthier with some simple ingredient swaps. For instance, you could use a whole-grain flour to boost the fiber and nutrient content. You might also want to experiment with healthier fats, like avocado oil instead of butter. Lastly, for all you super health-conscious folks, try sneaking in a little grated carrot, and see if you notice a taste difference!
Besides Cheddar, What Works in DIY Cheese Crackers?
Cheddar is the classic option for cheese crackers, but you can get creative with your cheese choices. Whether you want to add extra dimensions to cheddar or replace it with a different taste altogether, other cheese varieties offer tantalizing flavor profiles.
This recipe works best with hard or semi-hard cheeses. For example, consider adding a little kick to your crackers by mixing in a spicy cheese like Pepper Jack. Other cheese options, like Colby, Monterey Jack, and Parmesan, also offer their own special taste.
So, mix and match cheese options and find whatever flavor combination pleases your palate. You could even make different batches of cheese crackers to add variety to your snacking hour.
How to make ahead and store
The best way to preserve your cheese crackers’ crunch is to pop them in an airtight container once they’re fully cooled. The faster you eat these crackers, the better they’ll taste, but they usually stay crisp for up to 3 days at room temperature. The dough can be made a day in advance and stored in the fridge, wrapped in plastic. Take it out 5 minutes before rolling to make it easier to work with.
Serving Suggestions
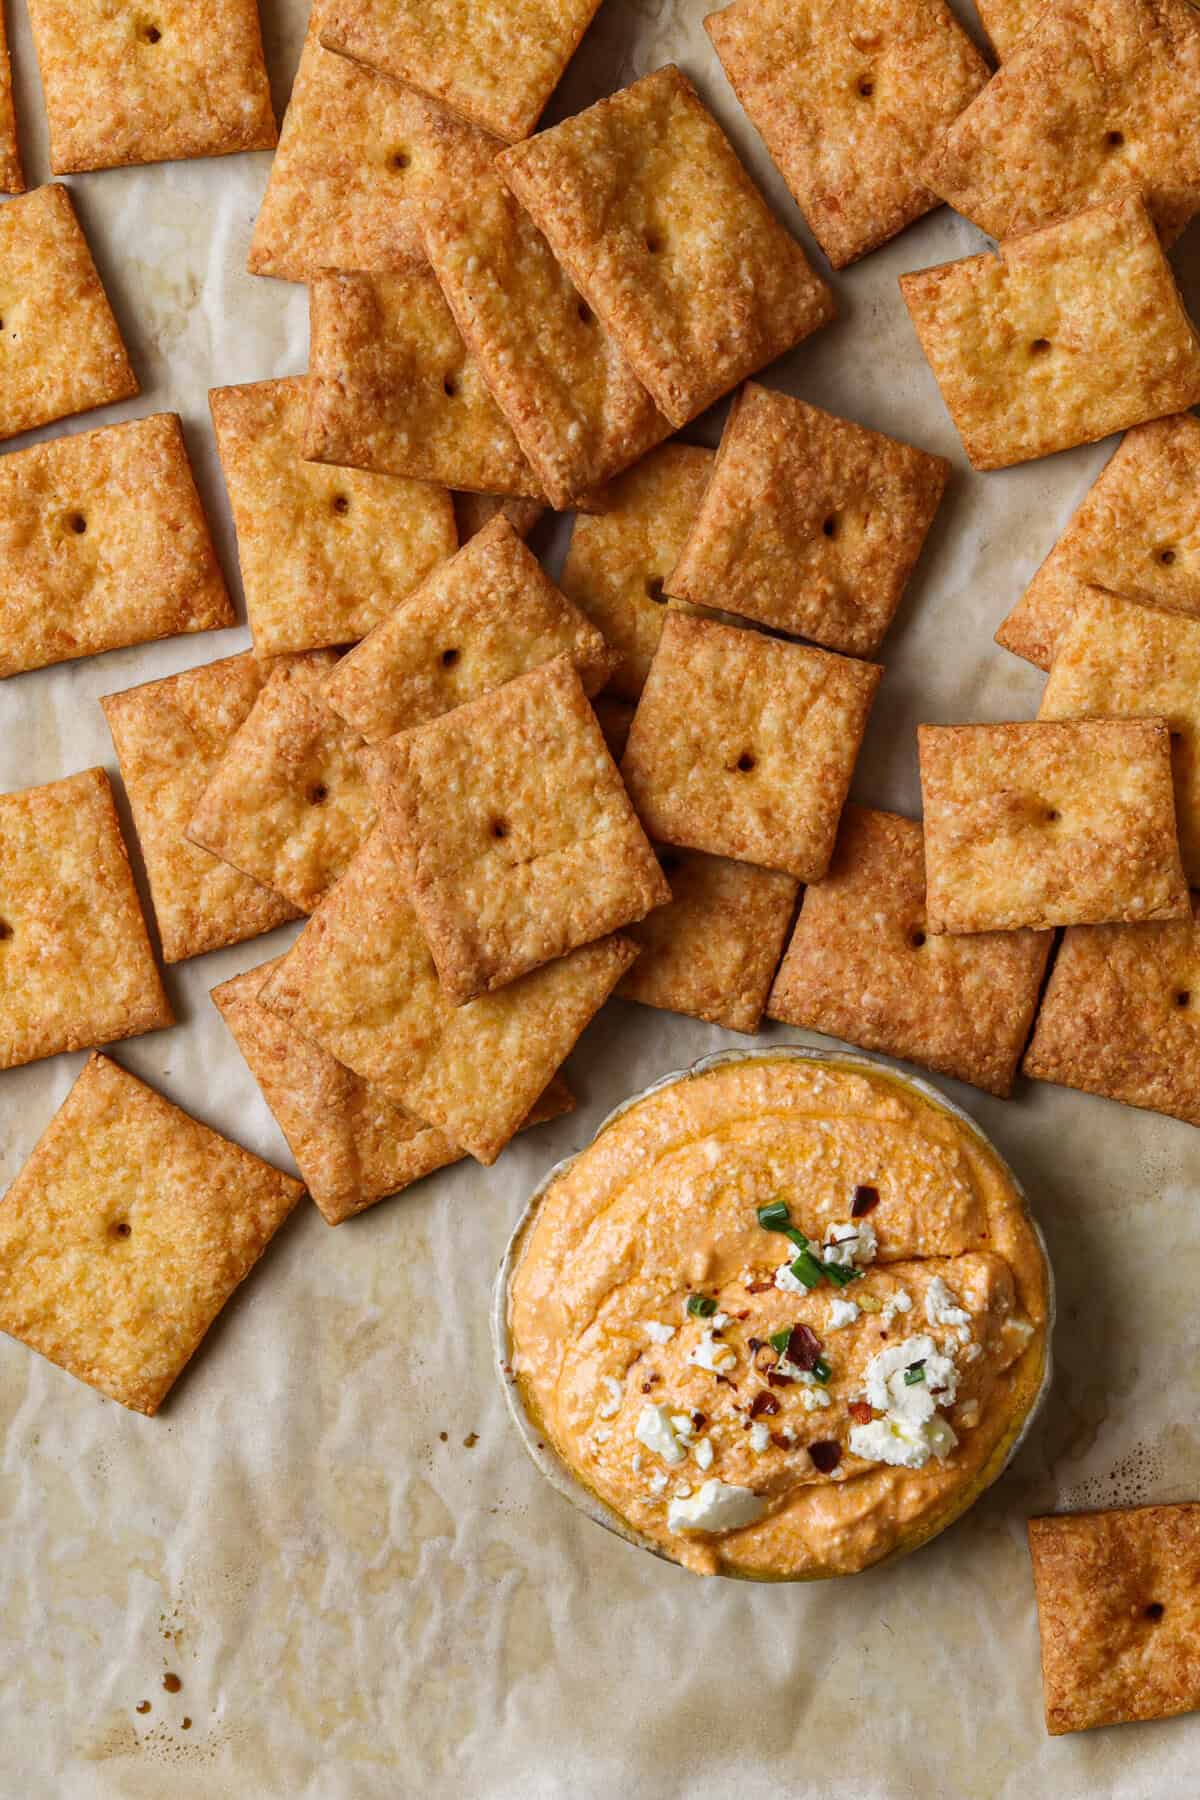
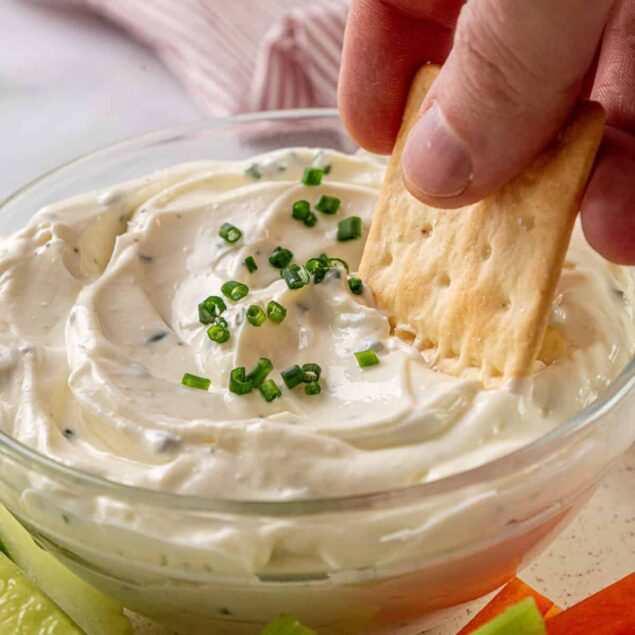
There’s nothing wrong with simply enjoying these cheese crackers straight out of the bowl, but nobody will complain if you have a DIY dip nearby. Whether you like Avocado Hummus, Salsa, or (of course) Velveeta Cheese Dip, there are plenty of ways to jazz up the flavors in these delightful cheese crackers.
But you don’t need these crackers to take center stage every time. Sure, snacking on cheese crackers is always fun, but consider serving them alongside a comforting bowl of soup like Cream Cheese Potato Soup. You might even want to use your cheese crackers (crumbled) as a topping for a salad like this Corn Salad Recipe.
Ingredients
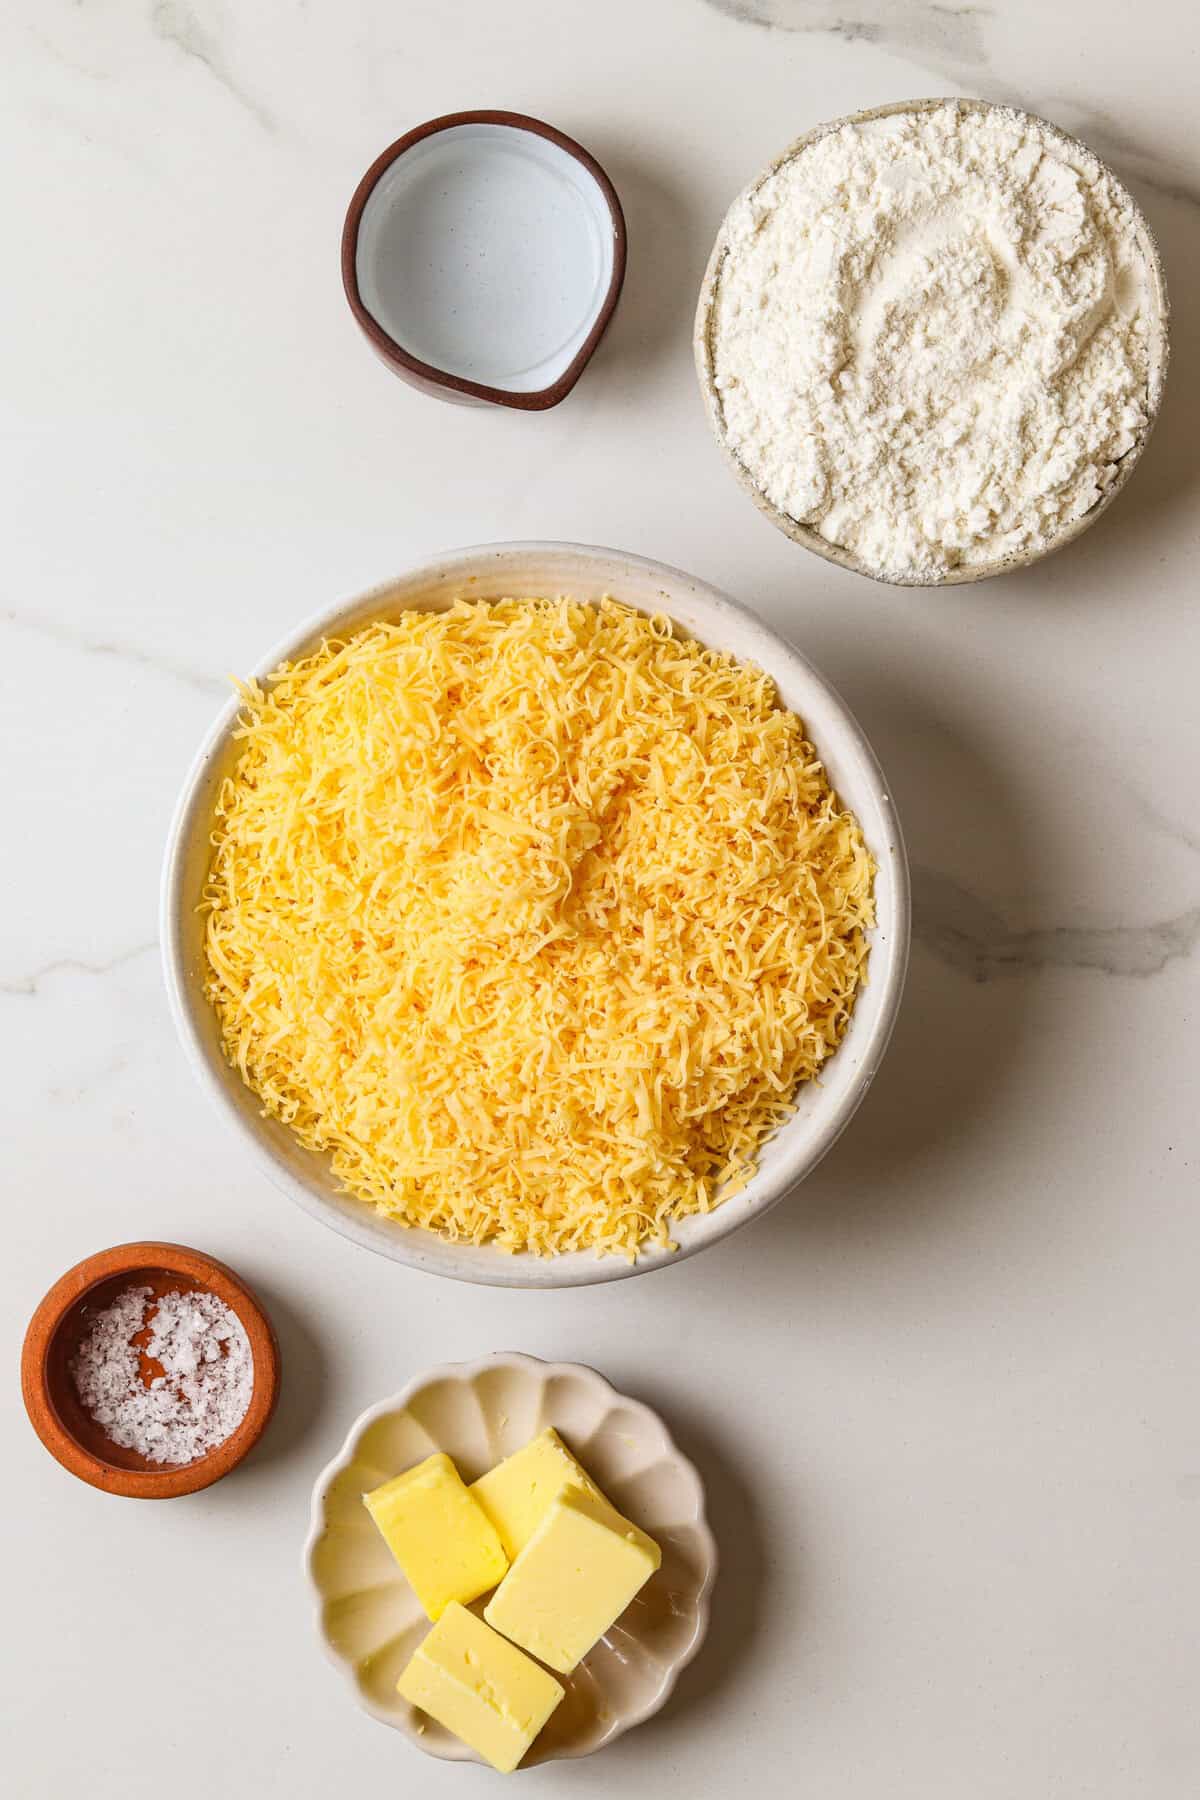
- 1 cup all-purpose flour
- 1/2 teaspoon salt
- 4 tablespoons unsalted butter cold and cubed
- 8 ounces sharp cheddar cheese finely grated
- 2-3 tablespoons cold water
Instructions
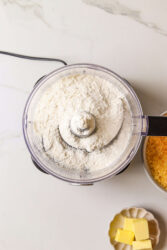
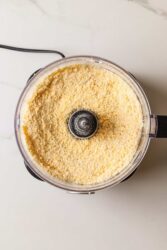
- In a food processor, combine the flour and salt.
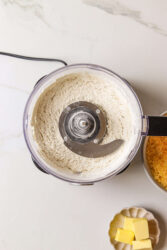
- Add the cold, cubed butter and grated cheddar cheese to the appliance. Pulse until the mixture is coarse and crumbly.
- Gradually add cold water, one tablespoon at a time, pulsing after each addition until the dough comes together but isn’t too wet.
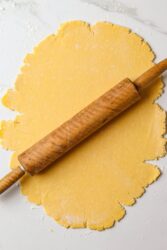
- Wrap the dough in plastic wrap. Refrigerate for at least 30 minutes.
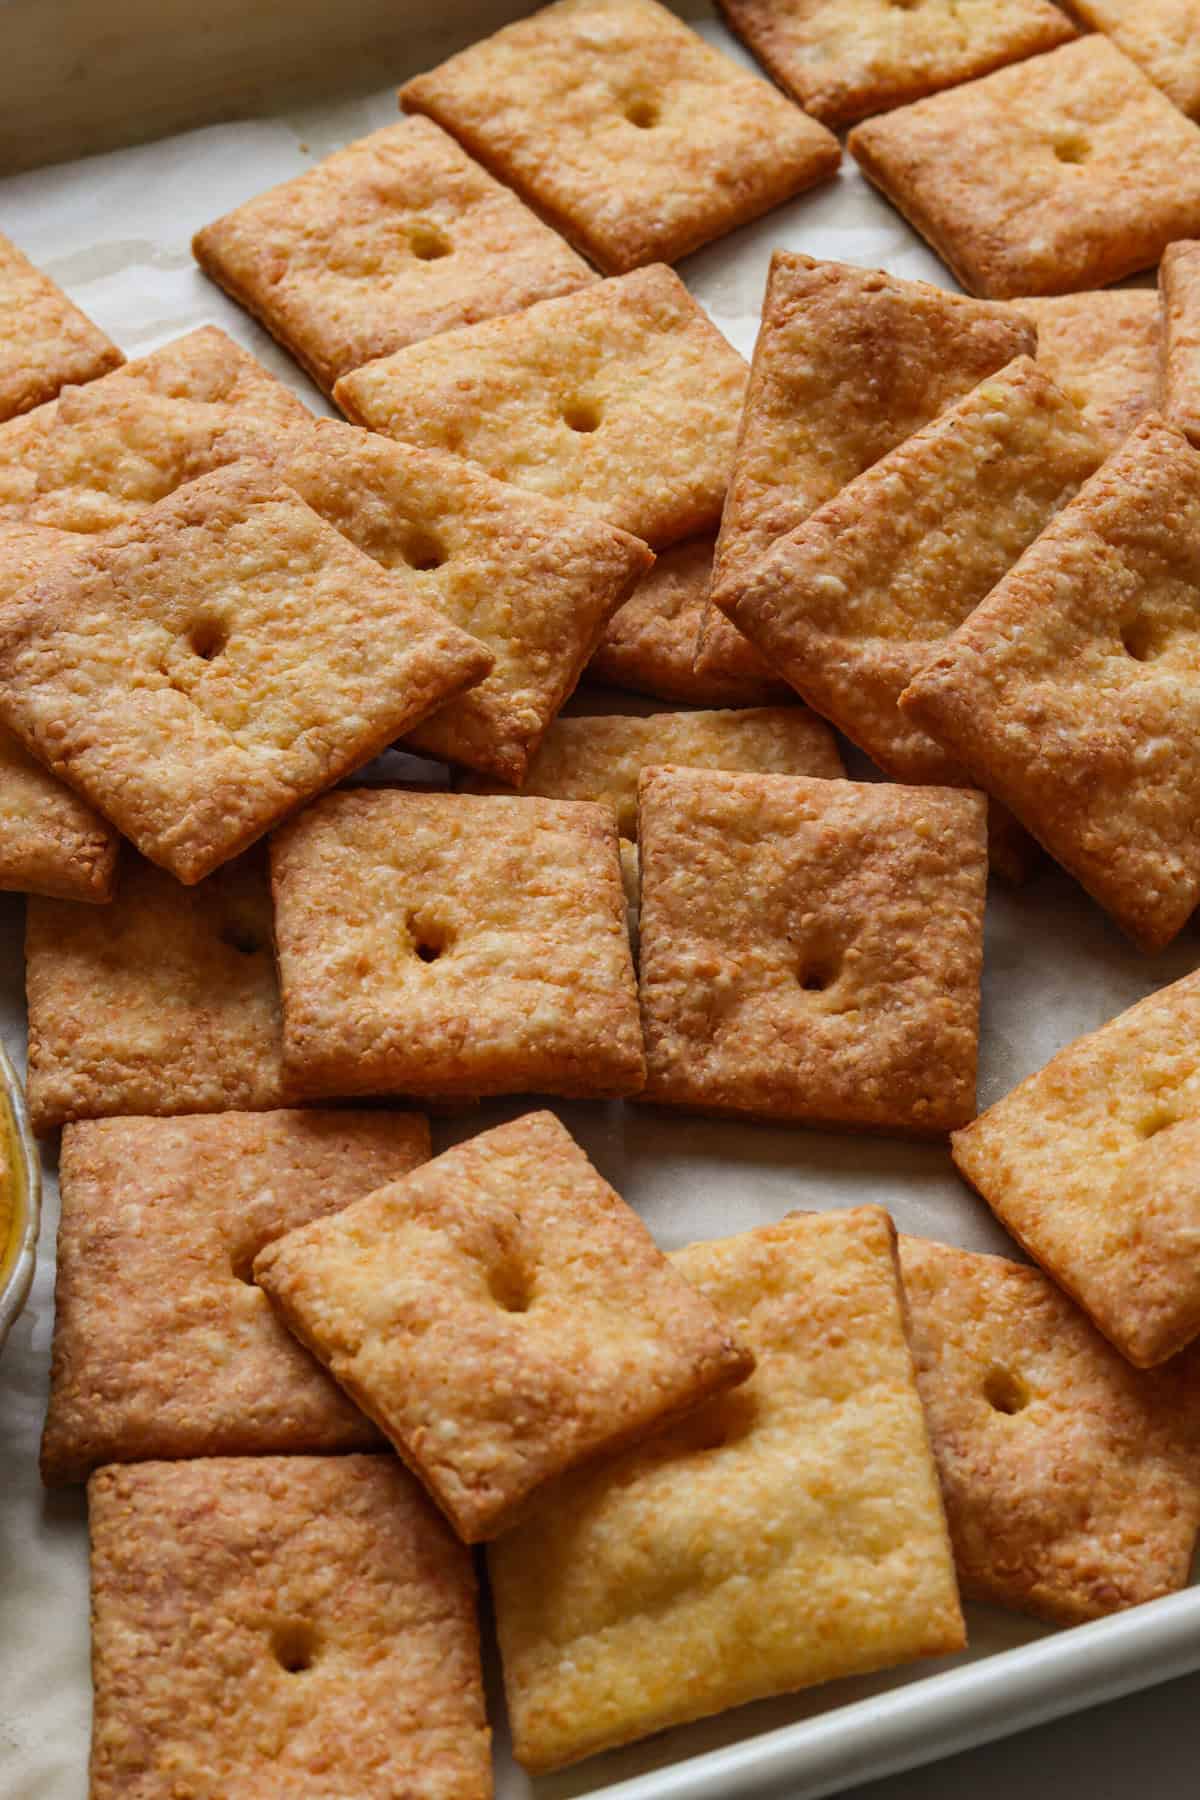
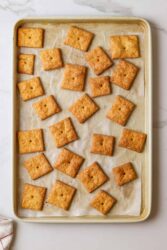
- Roll the dough 1/8 inch thick on a lightly floured surface. Cut into 1-inch squares and spread them out on a baking sheet lined with parchment paper.
- Bake in a preheated oven at 350°F for 18-20 minutes or until the edges are golden brown. Turn the tray halfway through baking if needed.
Nutrition Info:
Nutrition information are estimates only and may vary based on the specific brands, ingredients, and portion sizes you use. This data is provided for informational purposes only.
Thank you, Eric!