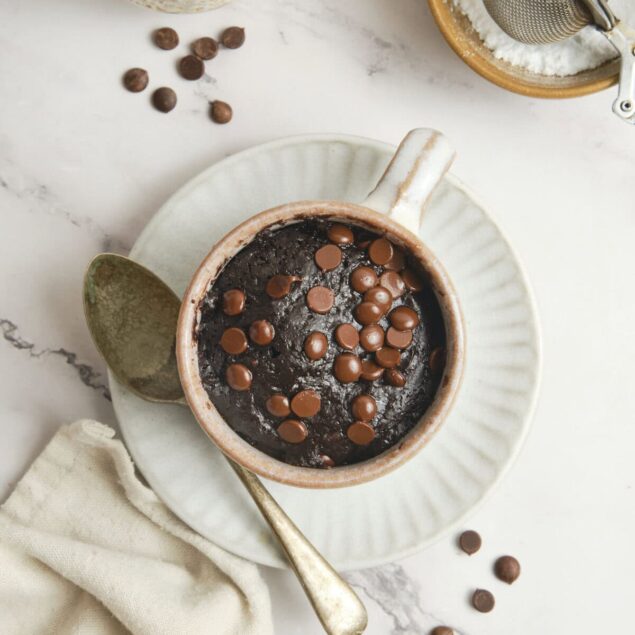
This sweet recipe comes in handy for those on-the-go cocoa cravings.
A few years ago, my college roommate and I had many witty ways to reward ourselves for certain academic achievements. The easy, dreamy brownie in a mug was one of them. It takes less than 10 minutes to mix the ingredients with a fork and then pop it in the microwave. So, whether it was a quick craving for chocolate during finals week or a celebratory treat for graduation, this is the dessert of champions.
Now, don’t get me wrong—I believe that the best treats are baked, not microwaved. But we have to give credit where credit is due. In a fast-paced world that demands our attention at work, school, and beyond, microwavable desserts like this one can be helpful in a pinch! If you don’t have an oven, but you want to learn a bit about the chemistry behind baking, this recipe is a great place to start.
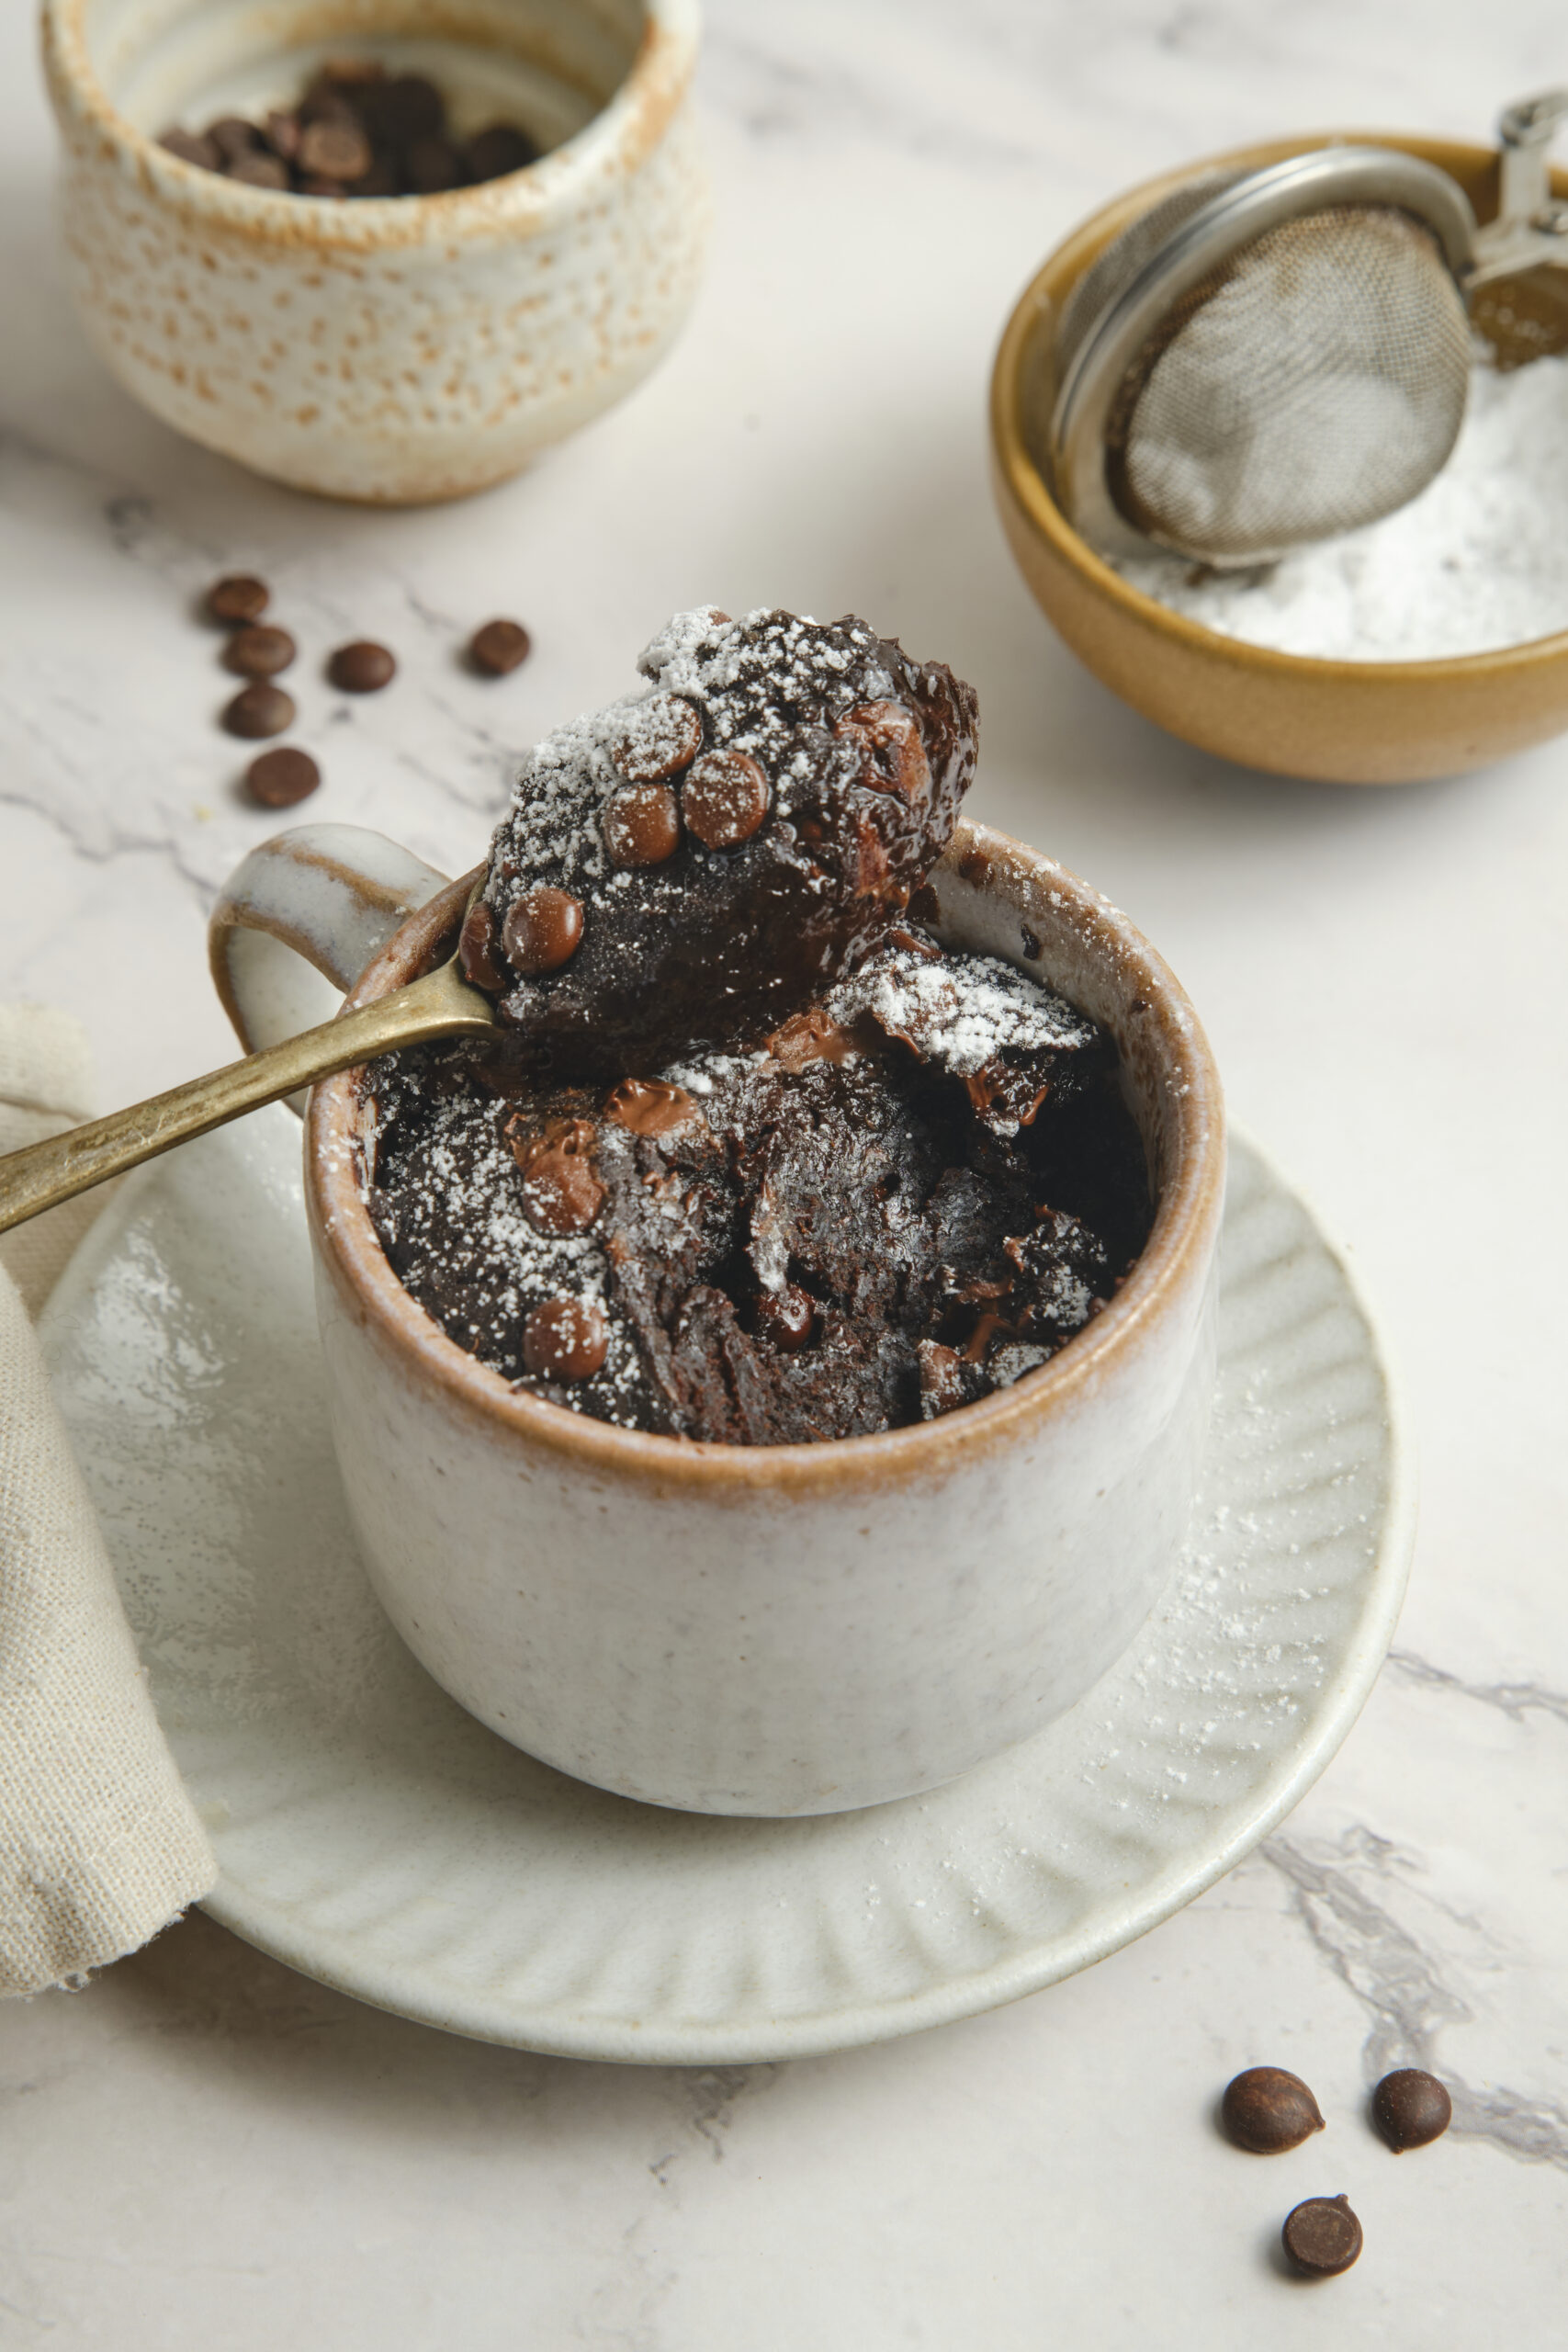
Plus, if you live alone, this one-serving dish is just right, and it leaves behind minimal mess. In college, I enjoyed this treat so much, I scraped the mug out with a small spatula to get every last fudgy piece. Why? Because it’s sweet, fluffy, and oh-so decadent. What’s not to love about this rich, chocolaty brownie in a mug?
Was the microwave always kitchen-friendly?
Although it’s a common household item today, the microwave mechanism was not originally intended for kitchen use. A device called the compact cavity magnetron tube was invented in England in 1940, and it was used to detect enemy signals in the Second World War. While experimenting with this technology in 1945 at the Raytheon Company offices in the U.S., Percy Spencer realized that the microwaves had melted a chocolate bar in his pocket, which sparked the idea to use such technology in cooking. By the time microwave ovens reached the marketplace, chefs and homemakers alike were chomping at the bit to get their hands on this innovation that could cut cooking time in half.
How do I store leftovers?
Your brownie in a mug will taste best fresh, but you can cover the mug in plastic wrap and store it in the fridge for 2-3 days. For longer storage, scoop your sweet treat out of the mug and transfer it to a freezer-safe container for up to a month. Just thaw overnight in the fridge. When you’re ready to dig into the leftovers, microwave them for 30-45 seconds, until they’re completely warm.
Serving suggestions
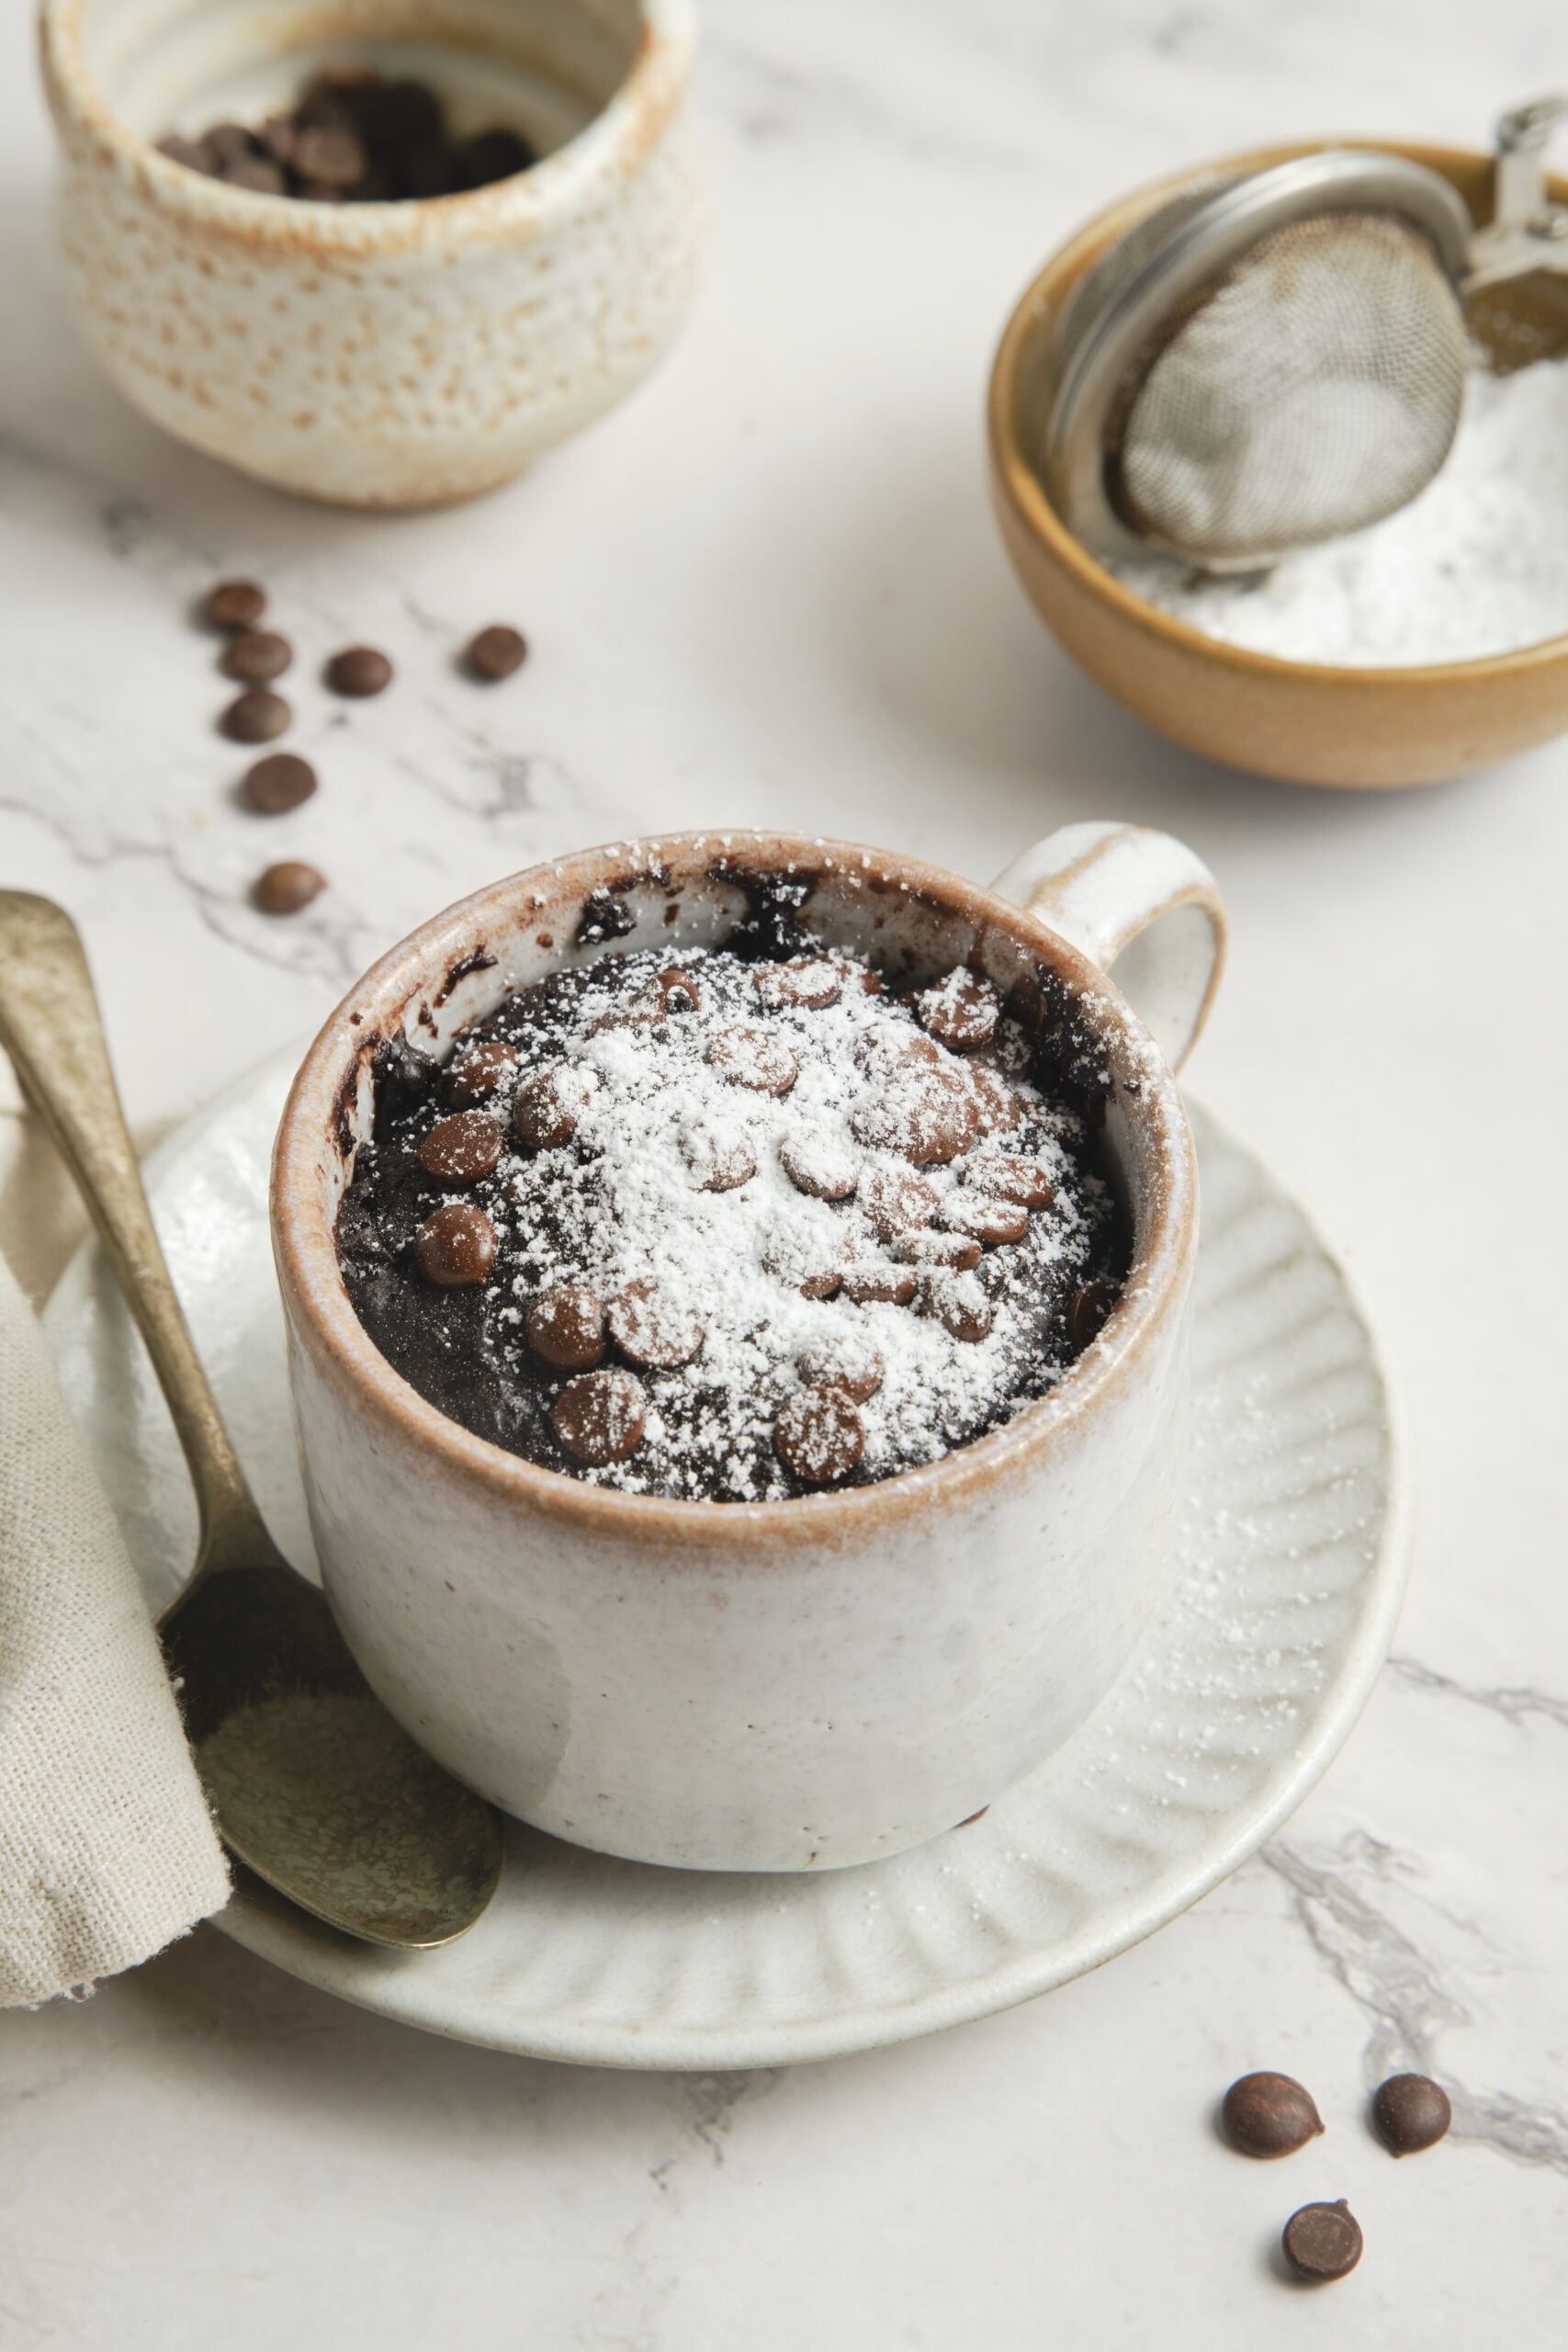
Take your brownie in a mug out of the microwave, let it sit for a minute, and then top it off with powdered sugar or ice cream. Try Cottage Cheese Ice Cream, Healthy Ice Cream With Chocolate And Pomegranate, or Cookie Dough Banana Ice Cream. Alternatively, pair your mouthwatering mug brownie with creamy Greek yogurt, a cold glass of homemade almond milk, or a thick and rich Coffee Smoothie.

Ingredients
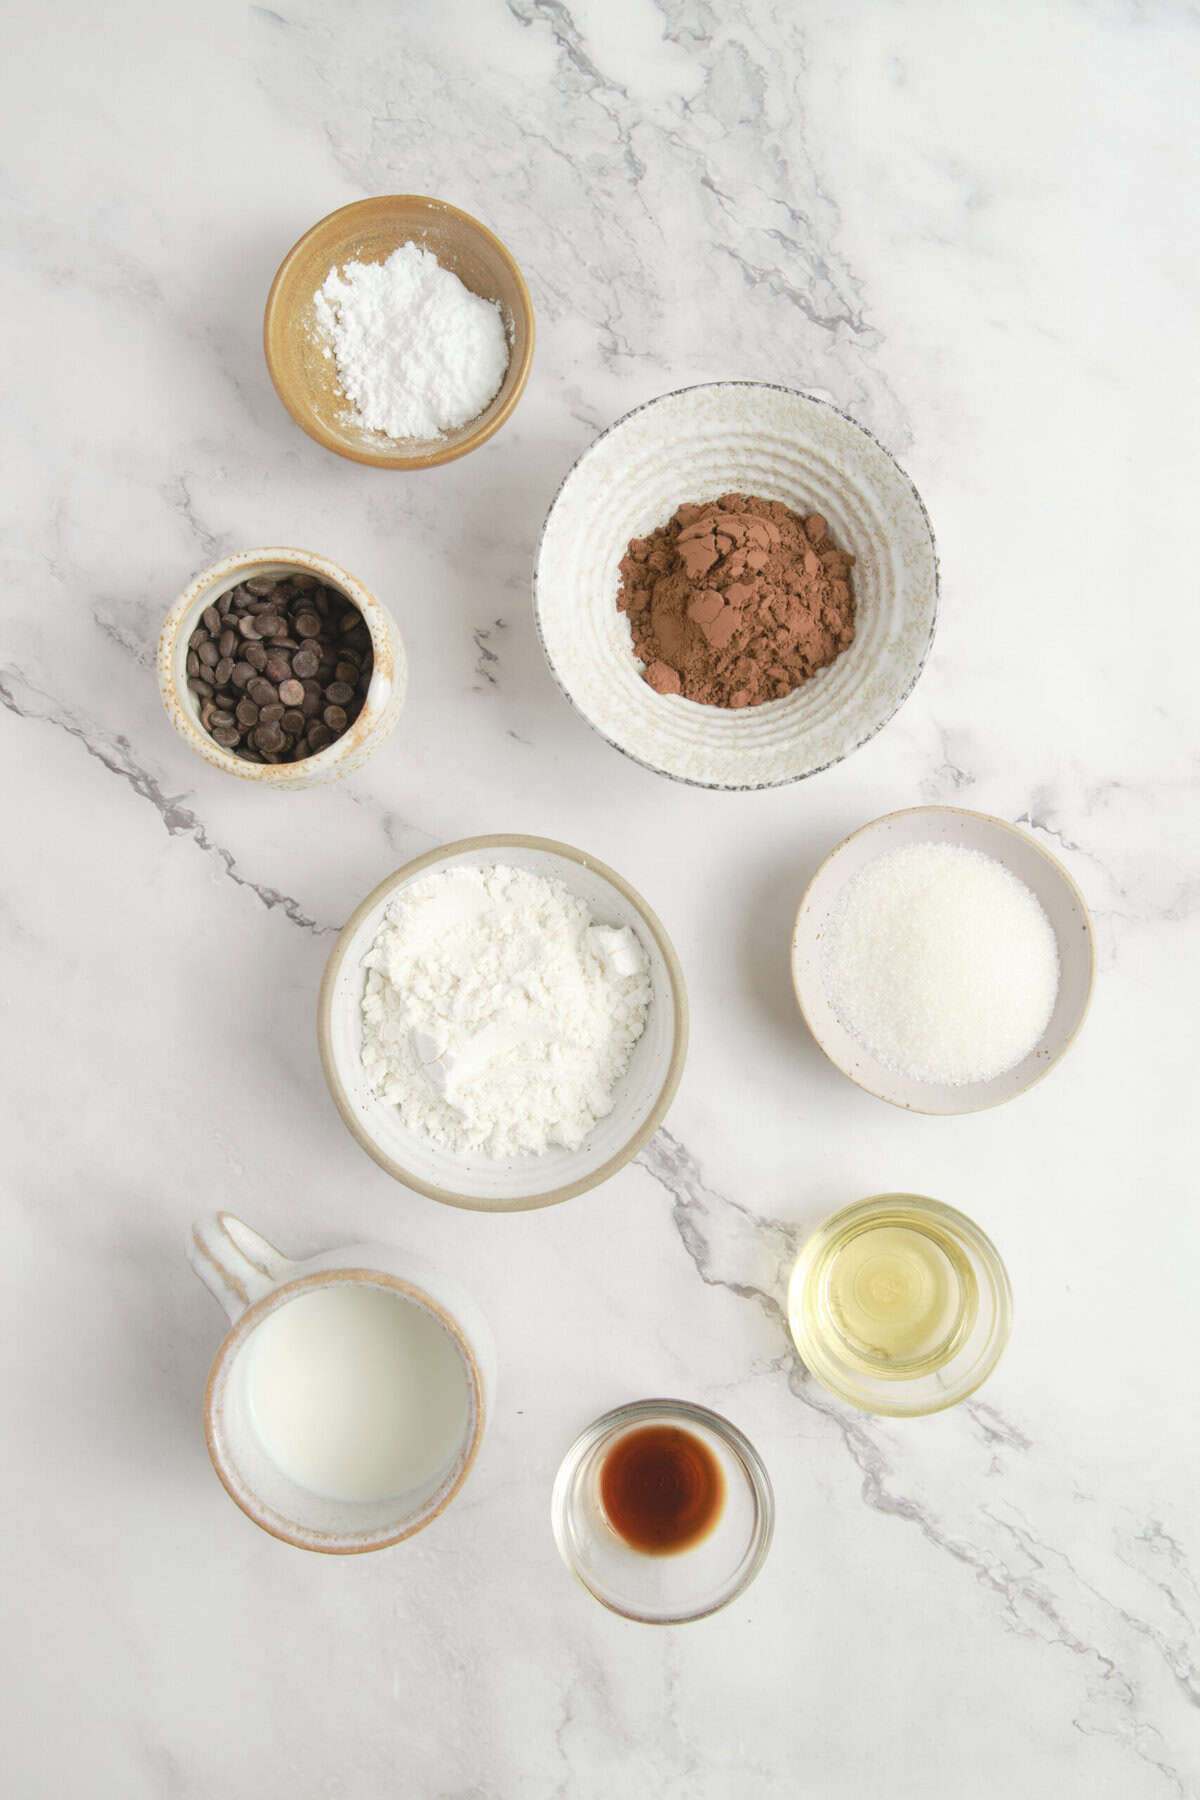
- 2 1/2 tablespoons granulated sugar
- 3 tablespoons all-purpose flour
- 1 1/2 tablespoons unsweetened cocoa powder
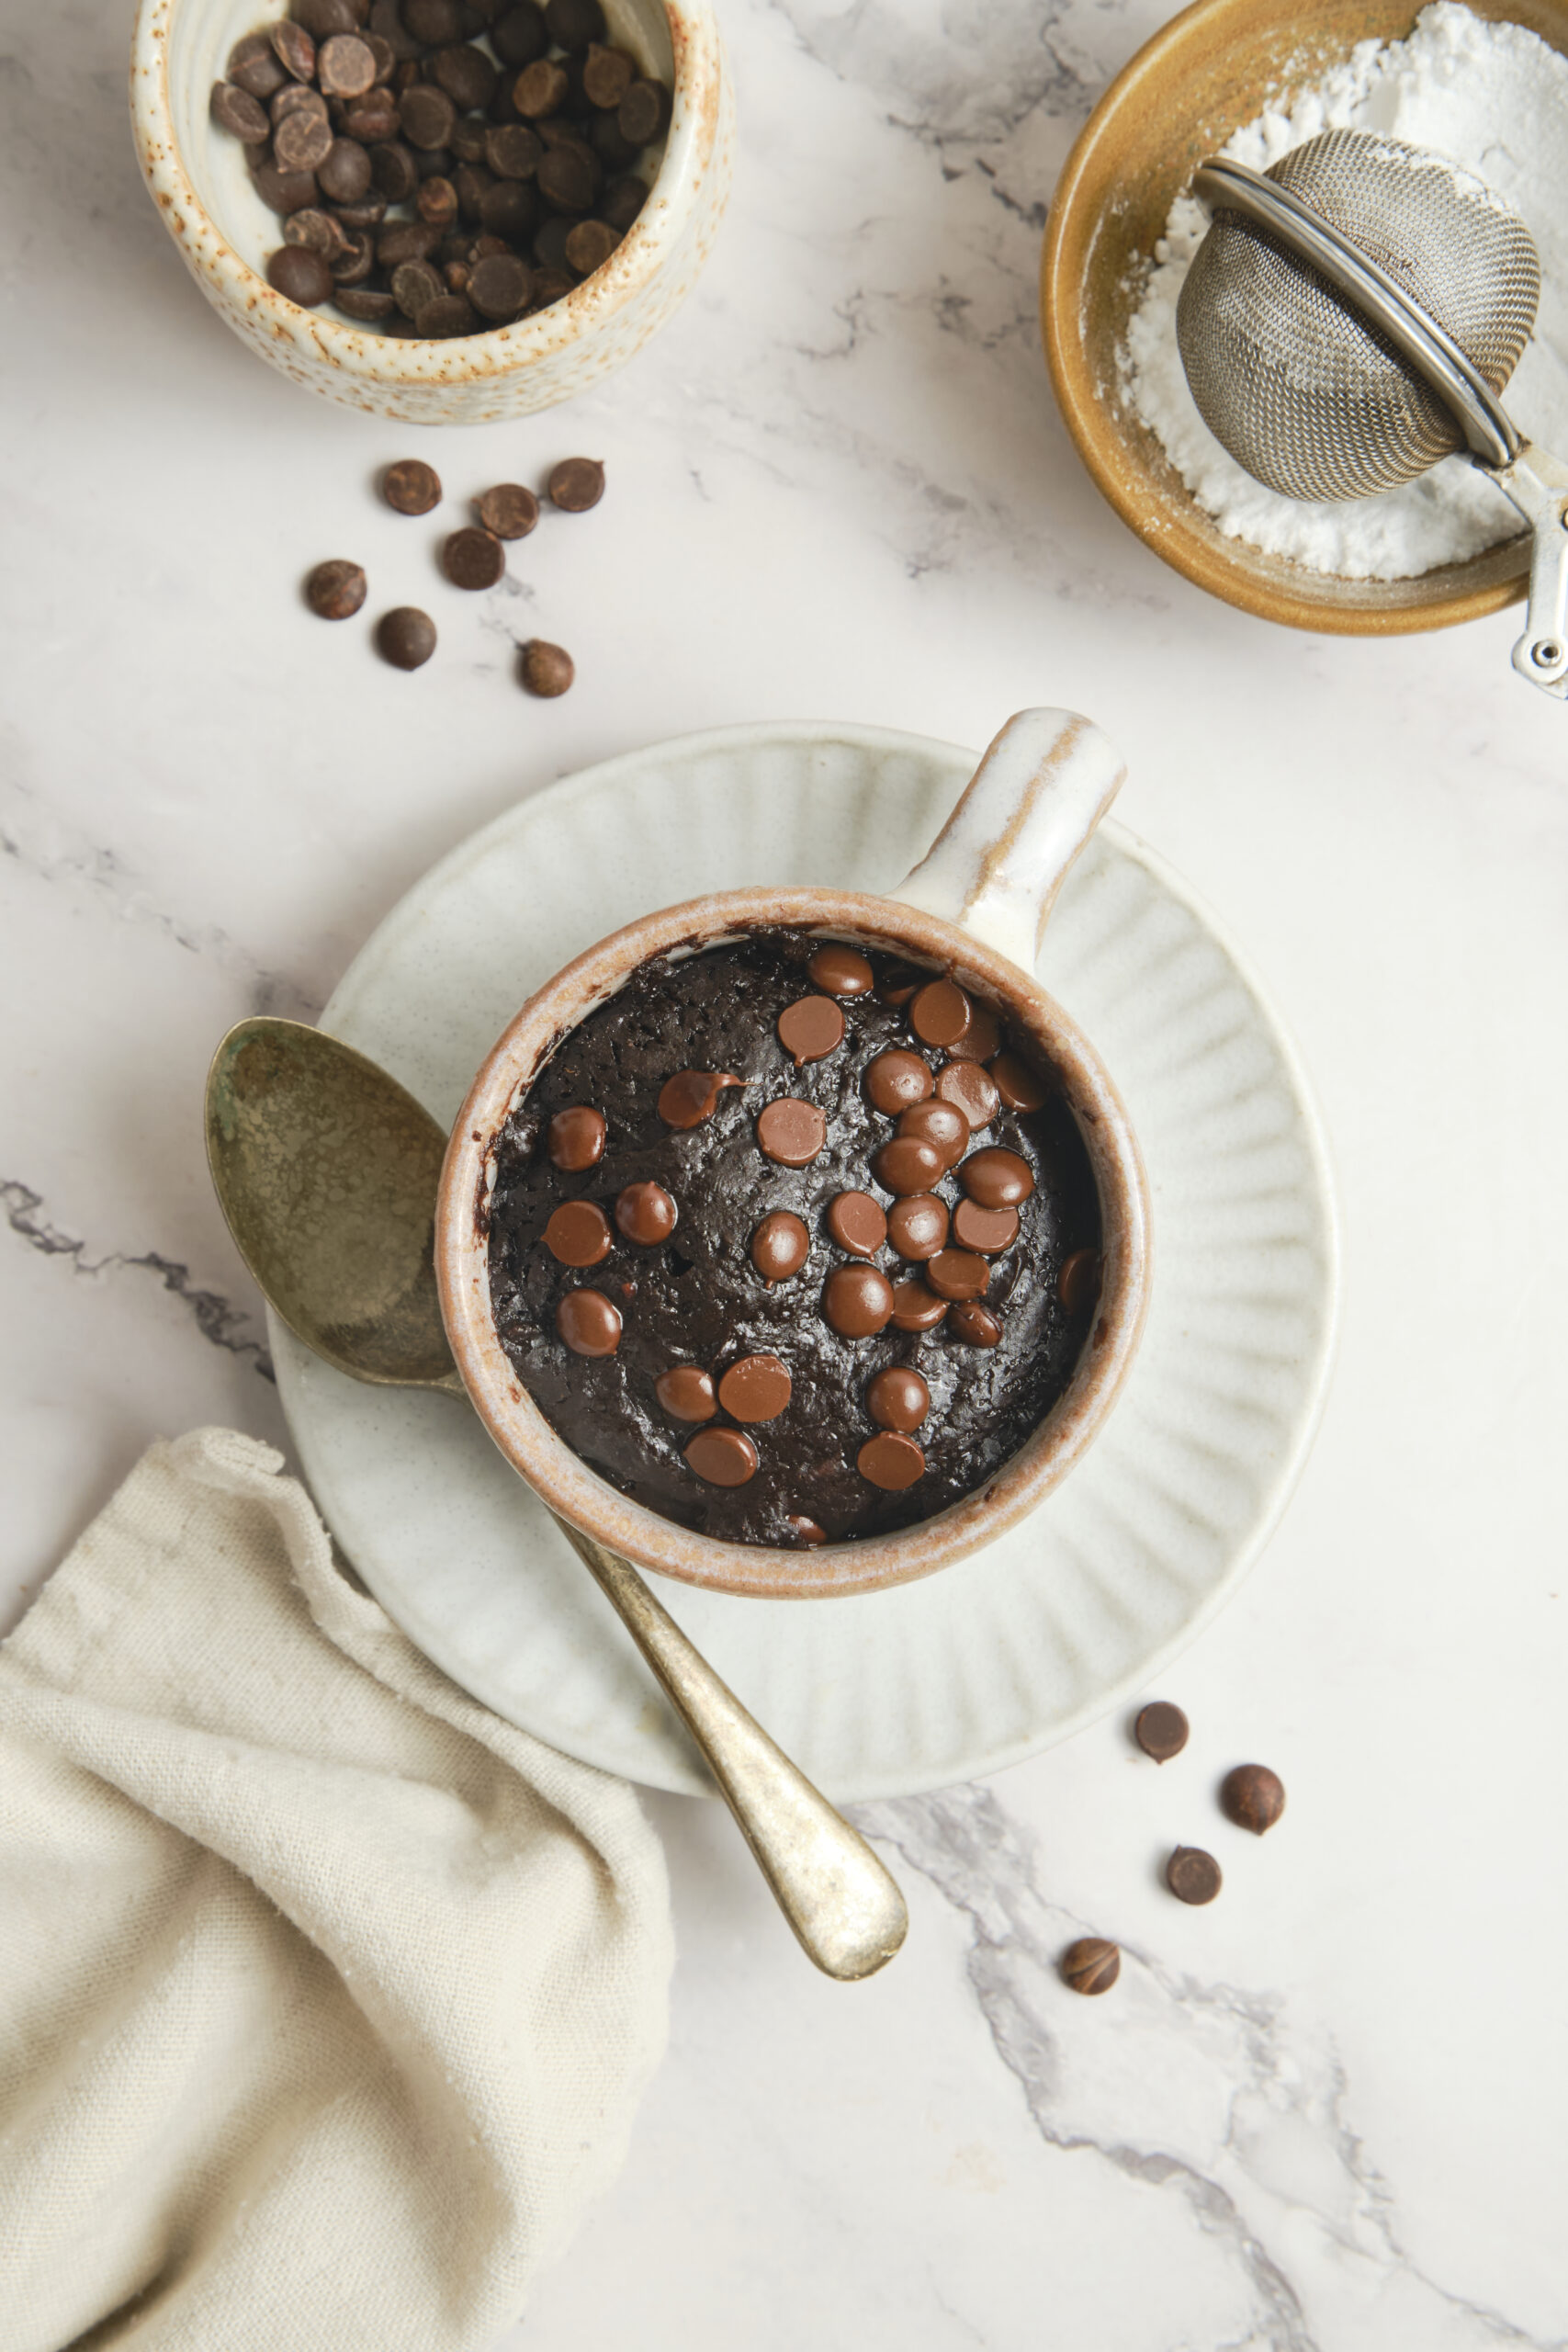
- 1 1/2 tablespoons chocolate chips plus extra for topping
- 1 1/2 tablespoons vegetable oil
- 3 tablespoons milk
- 1/4 teaspoon vanilla extract
- Powdered sugar for topping (optional)
- Vanilla ice cream for serving (optional)
Instructions
- In a microwave-safe mug, stir together the granulated sugar, all-purpose flour, and unsweetened cocoa powder until the mixture is lump-free.
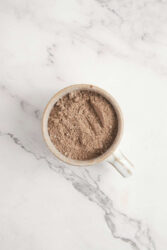
- Add the chocolate chips, vegetable oil, milk, and vanilla extract. Stir gently until the batter is just combined; avoid overmixing for a fudgy texture.

- Sprinkle a few more chocolate chips on top, then microwave on high for 60 seconds. Check the center and, if needed, microwave in 10-second bursts until set but still moist.

- Allow the brownie to rest for about 1 minute before serving. Enjoy it on its own with powdered sugar on top or with a scoop of ice cream.

Nutrition Info:
Nutrition information are estimates only and may vary based on the specific brands, ingredients, and portion sizes you use. This data is provided for informational purposes only.

Leave a Comment